The New Americans

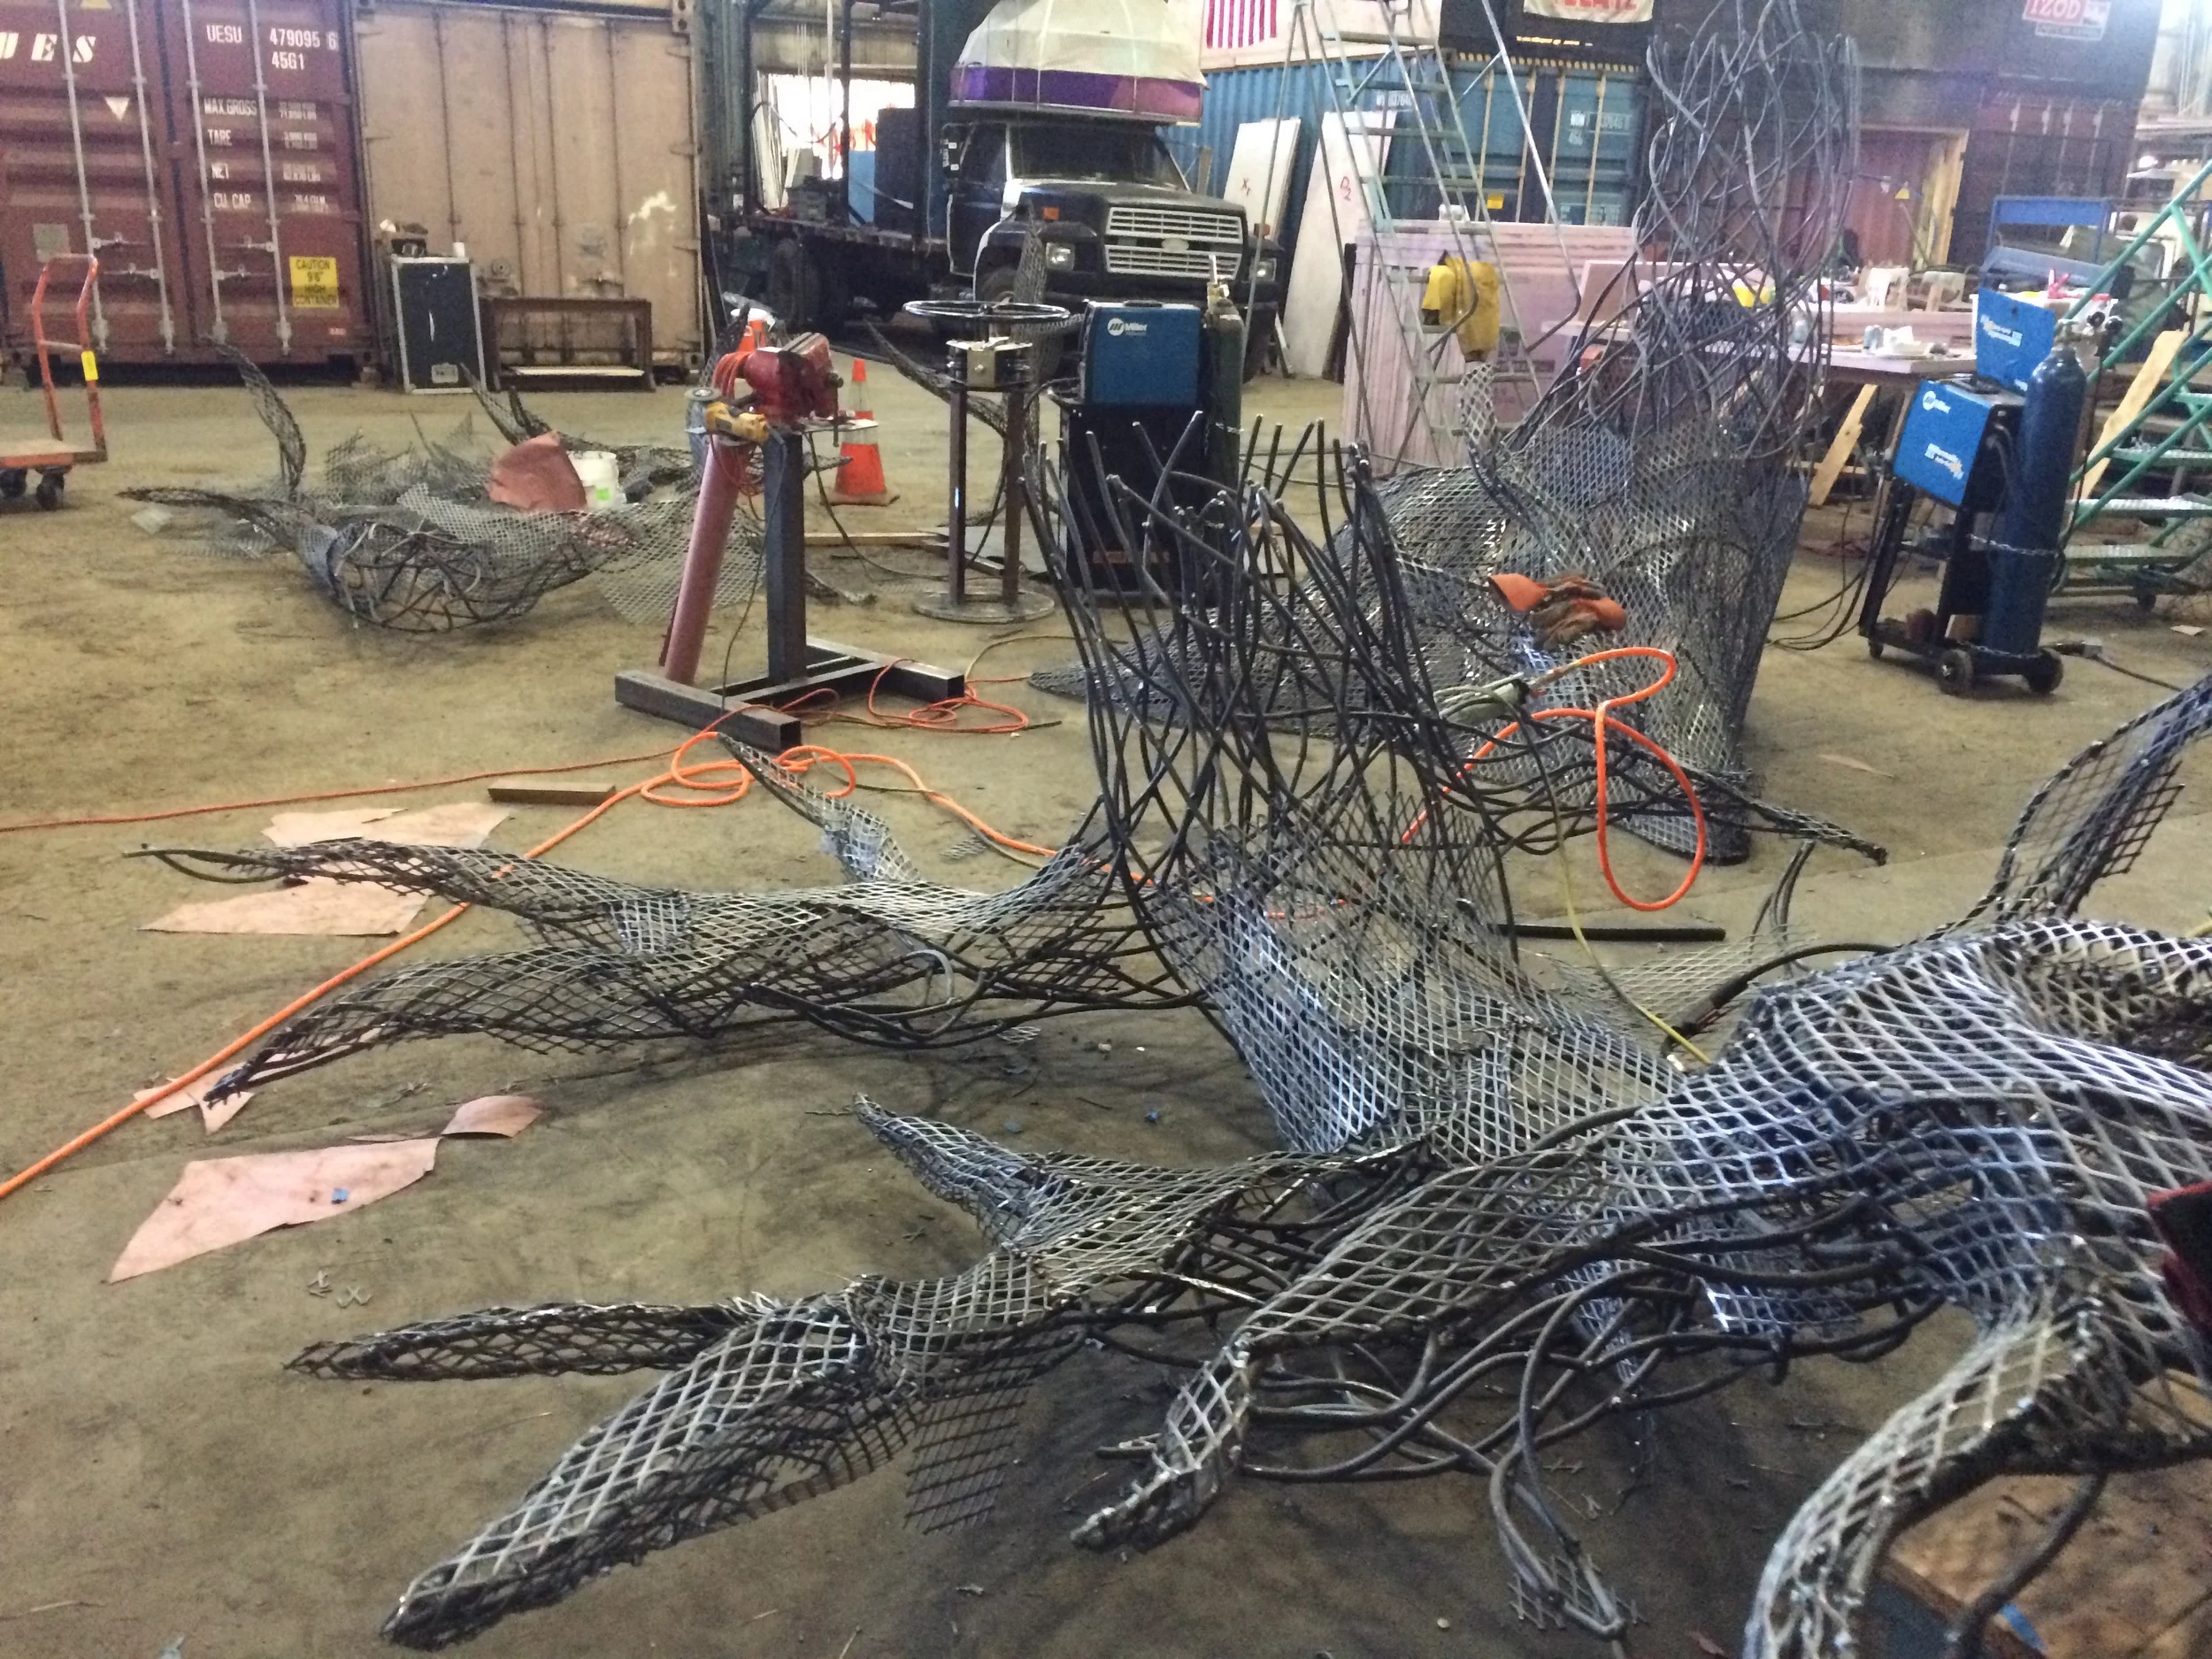
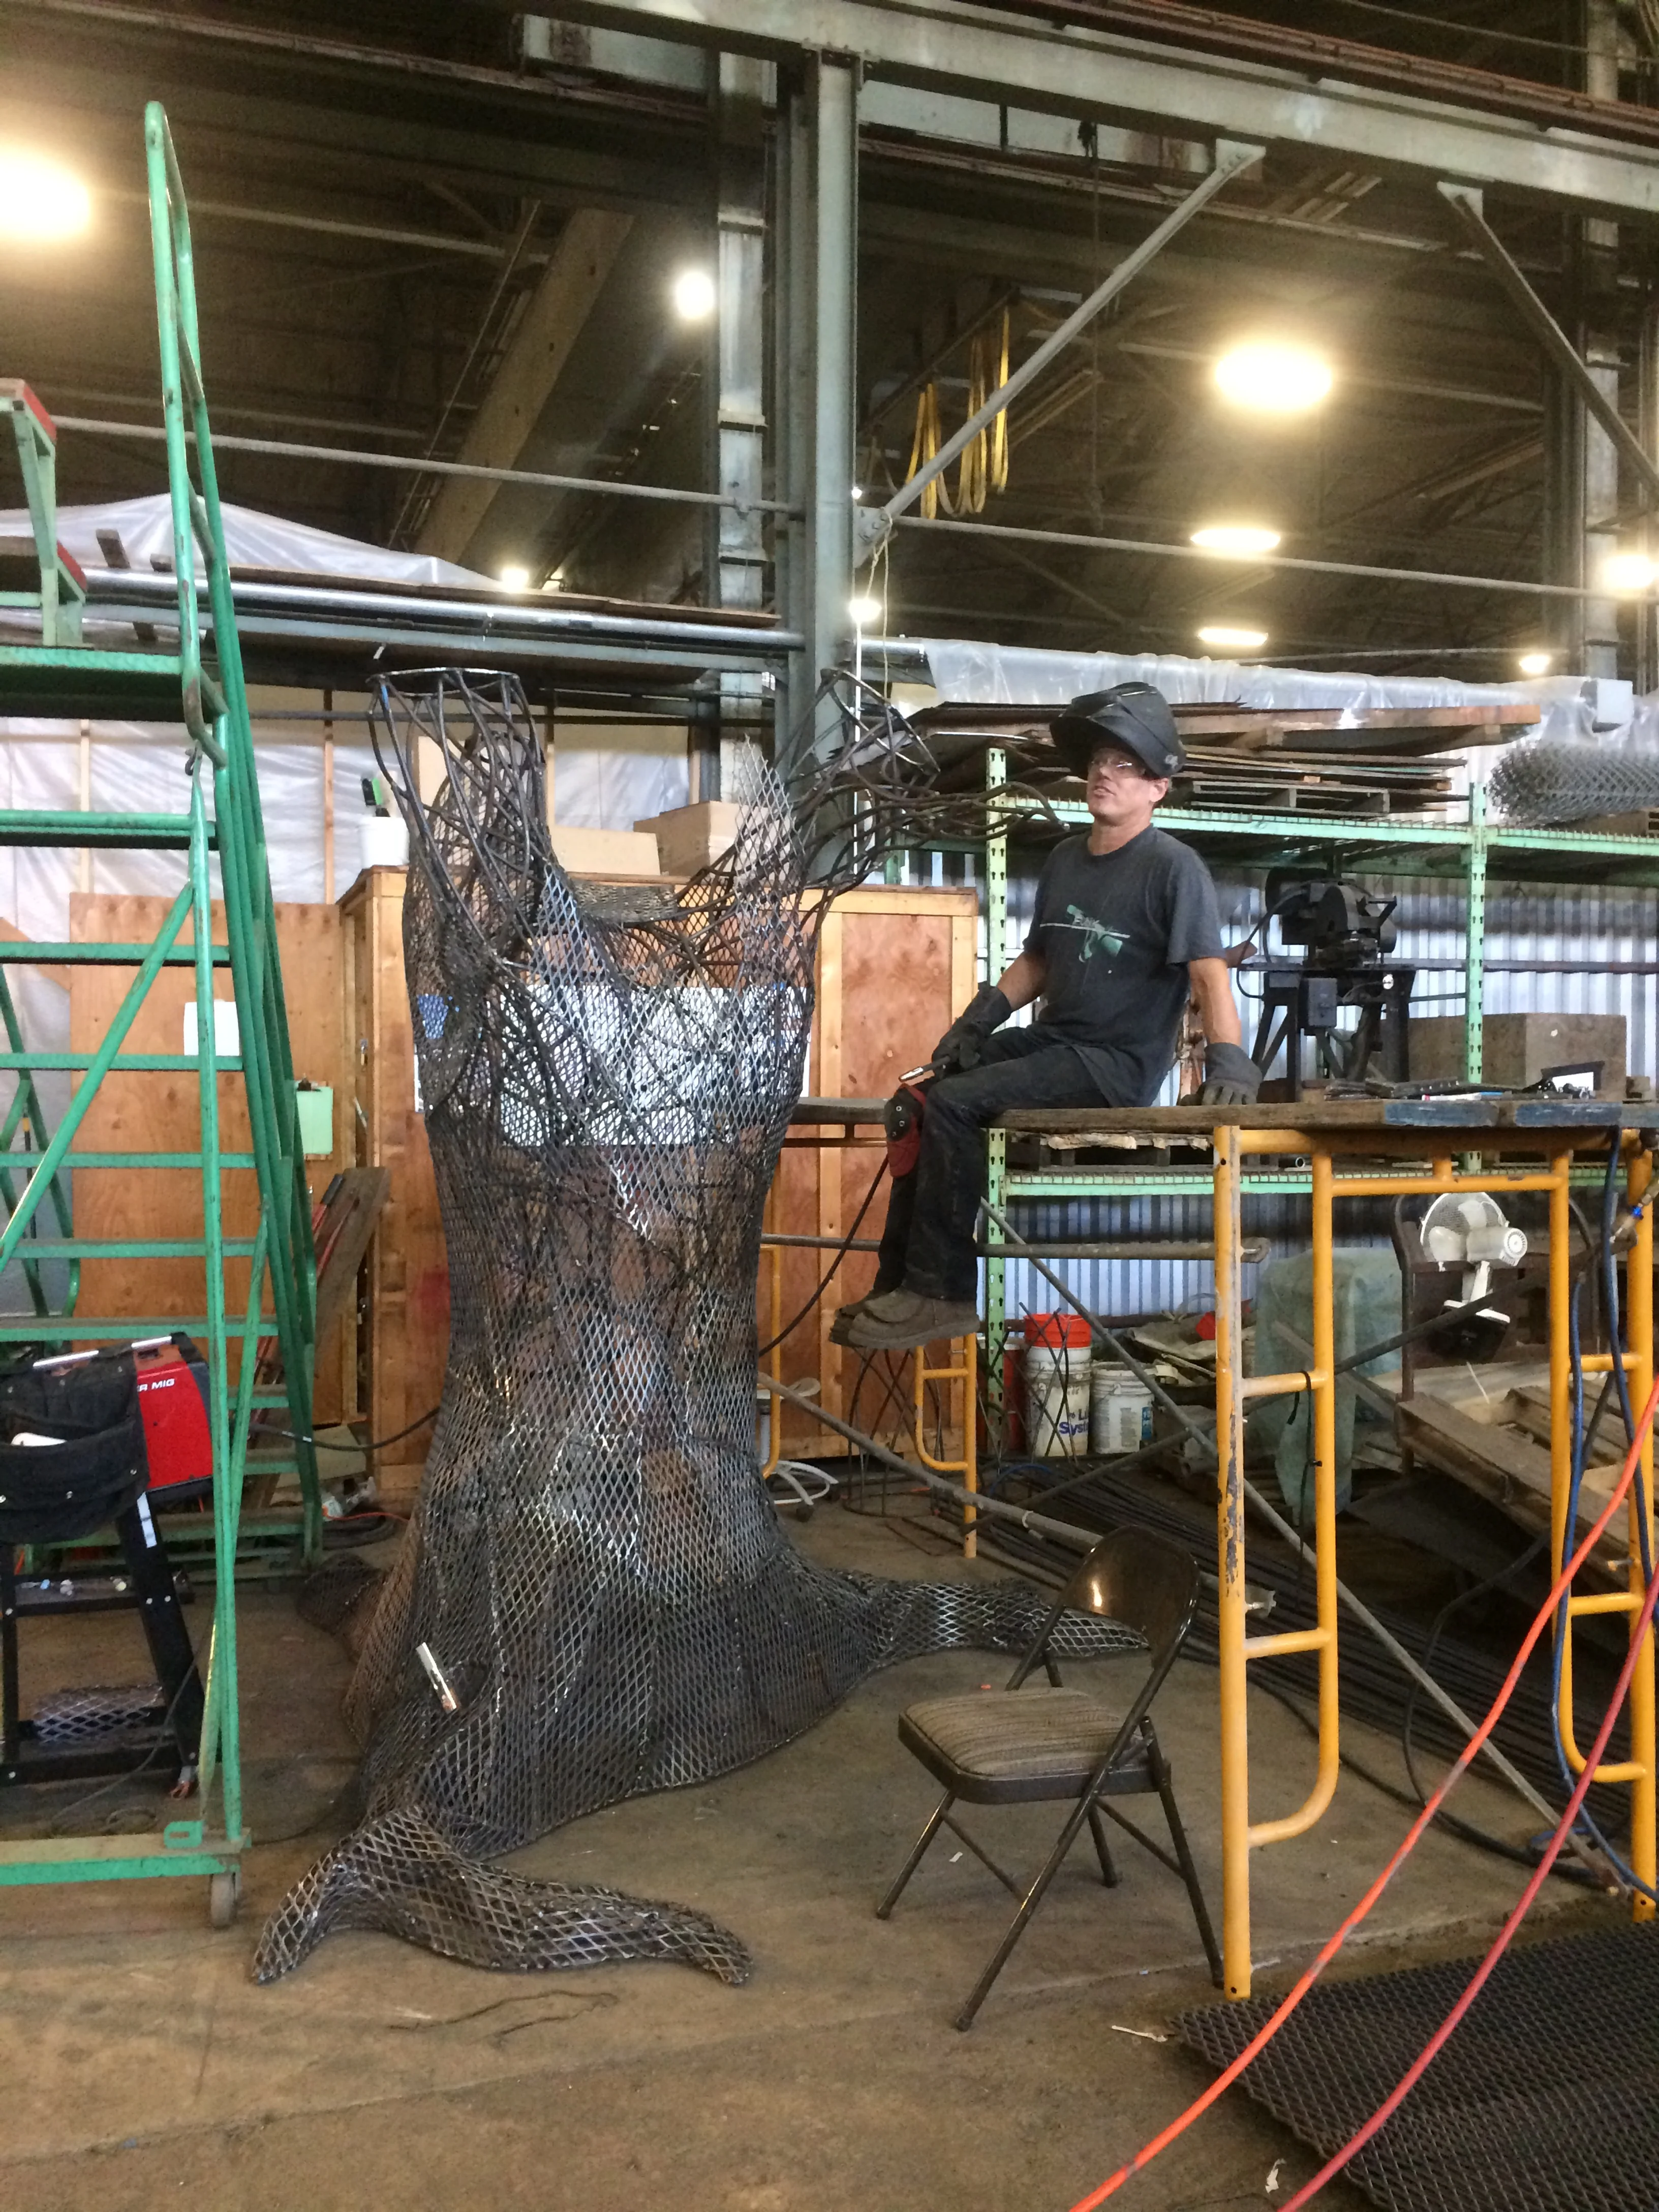
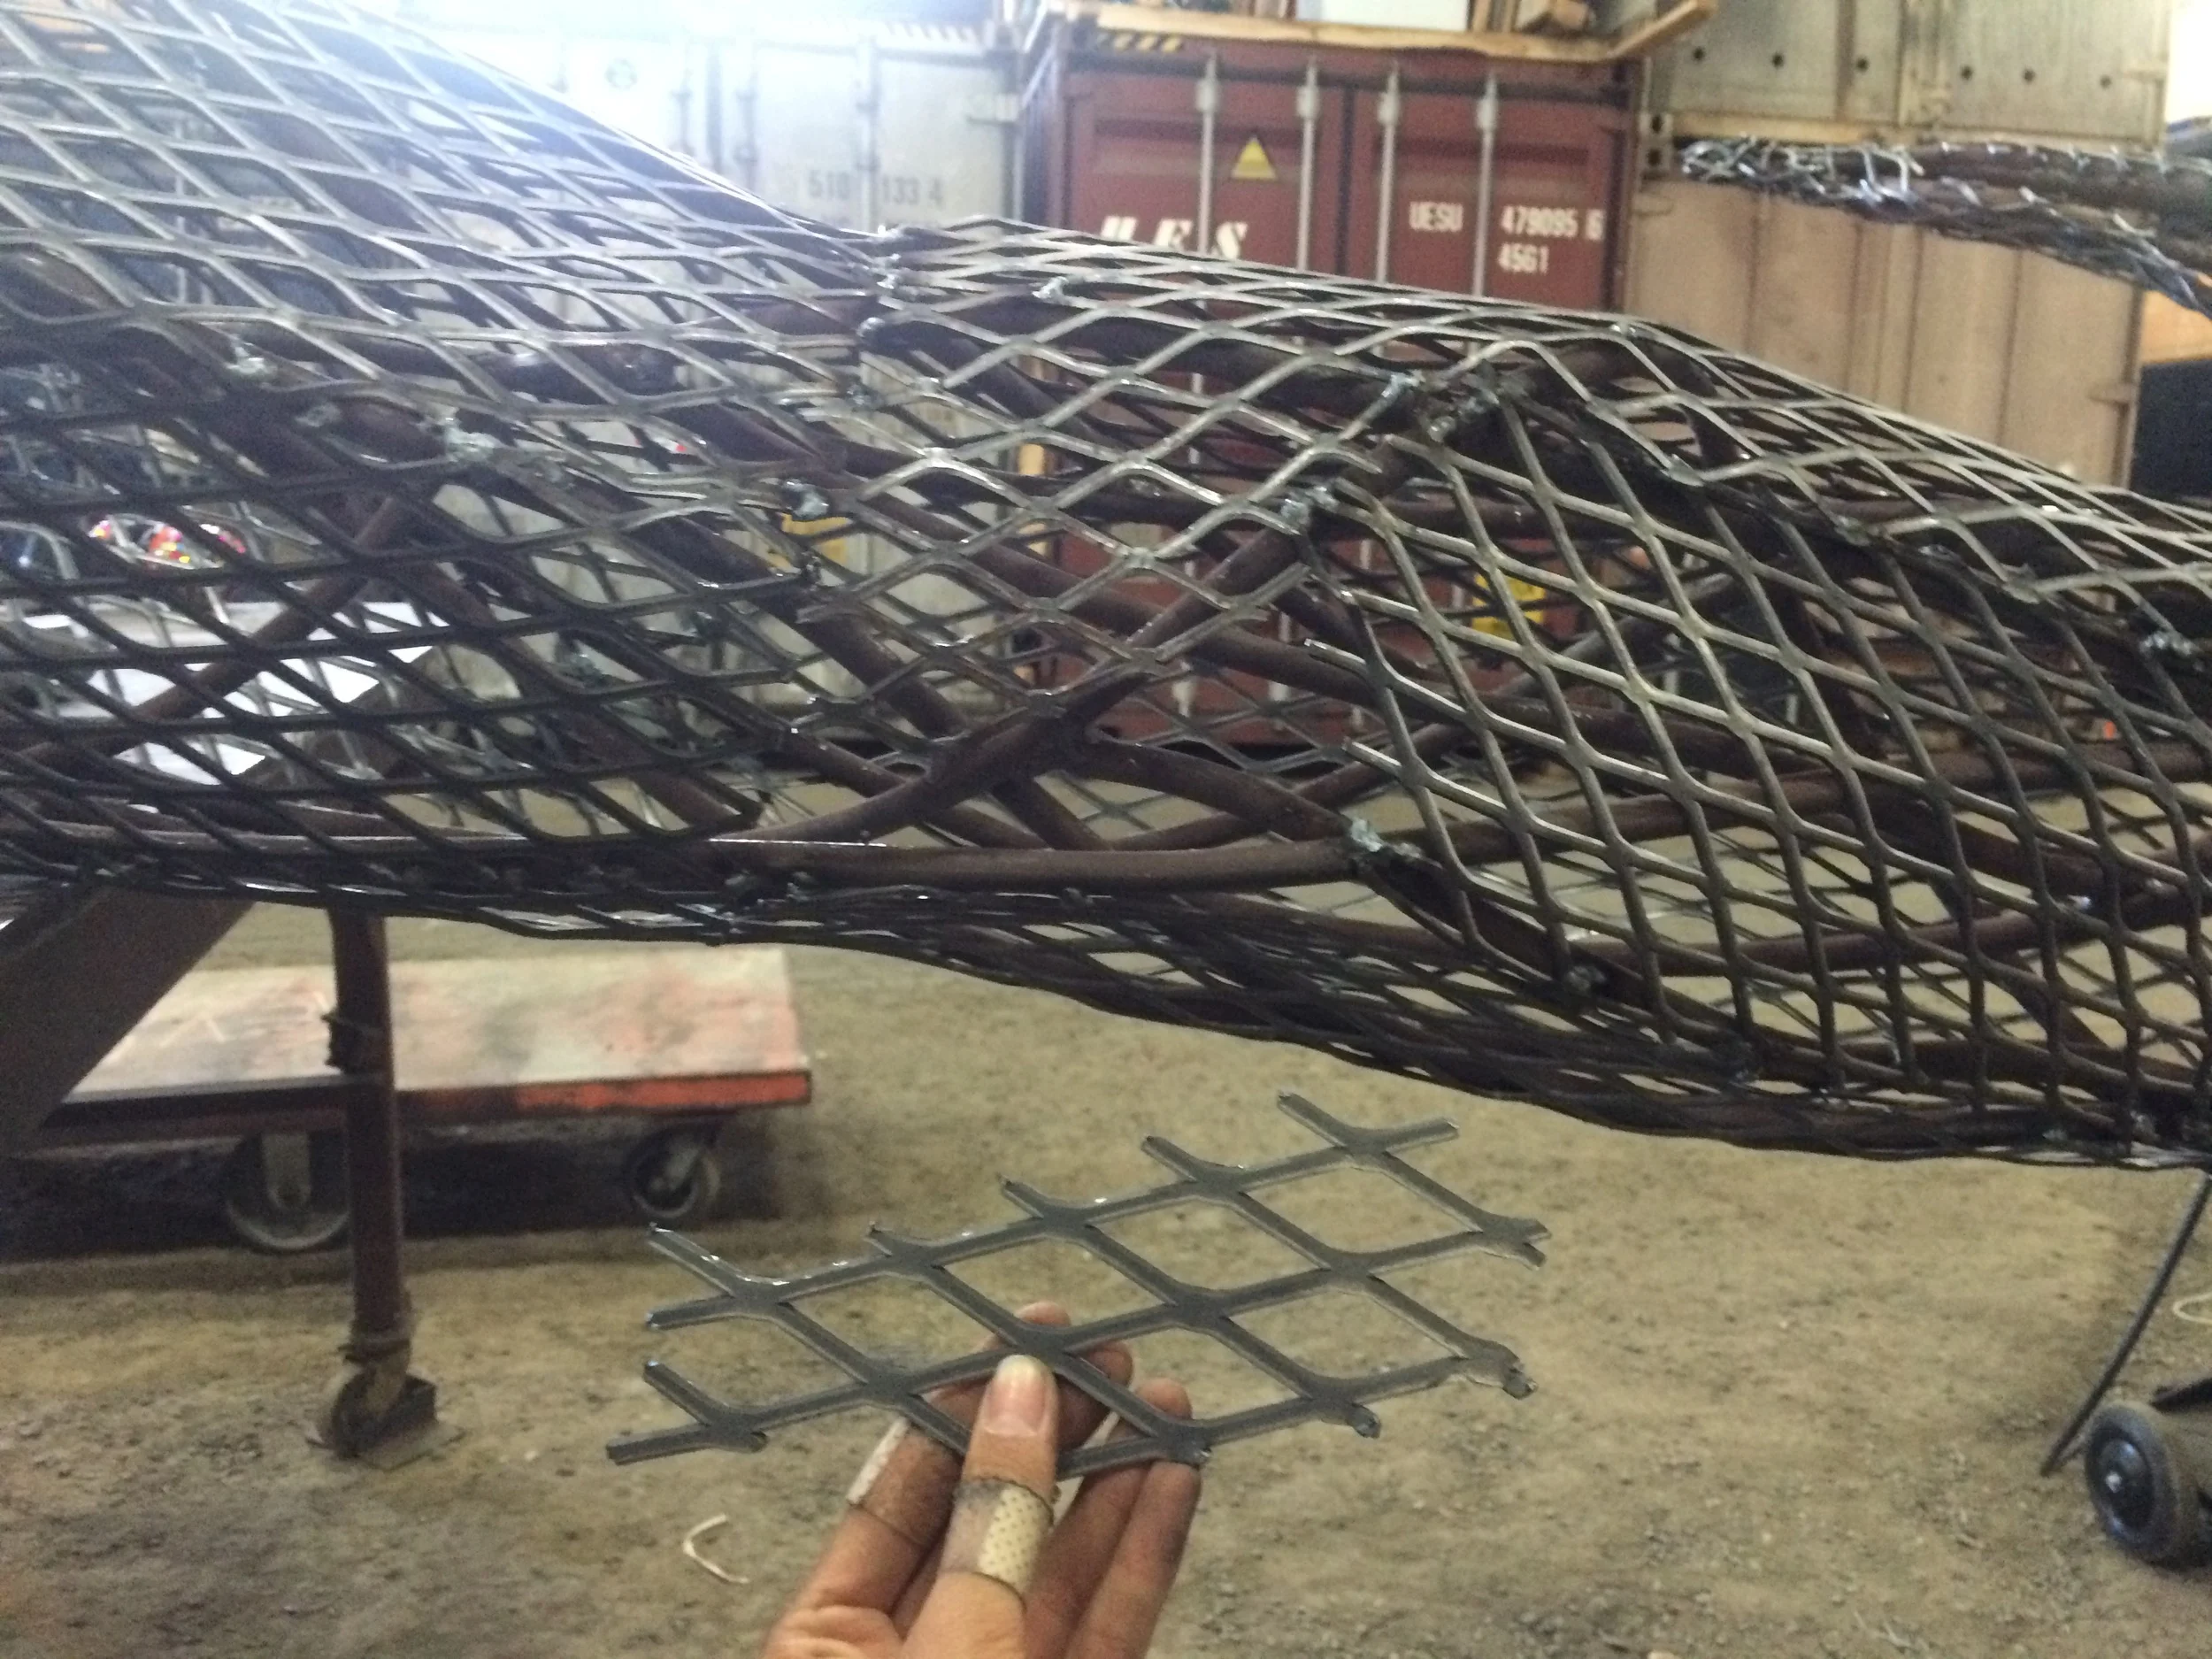
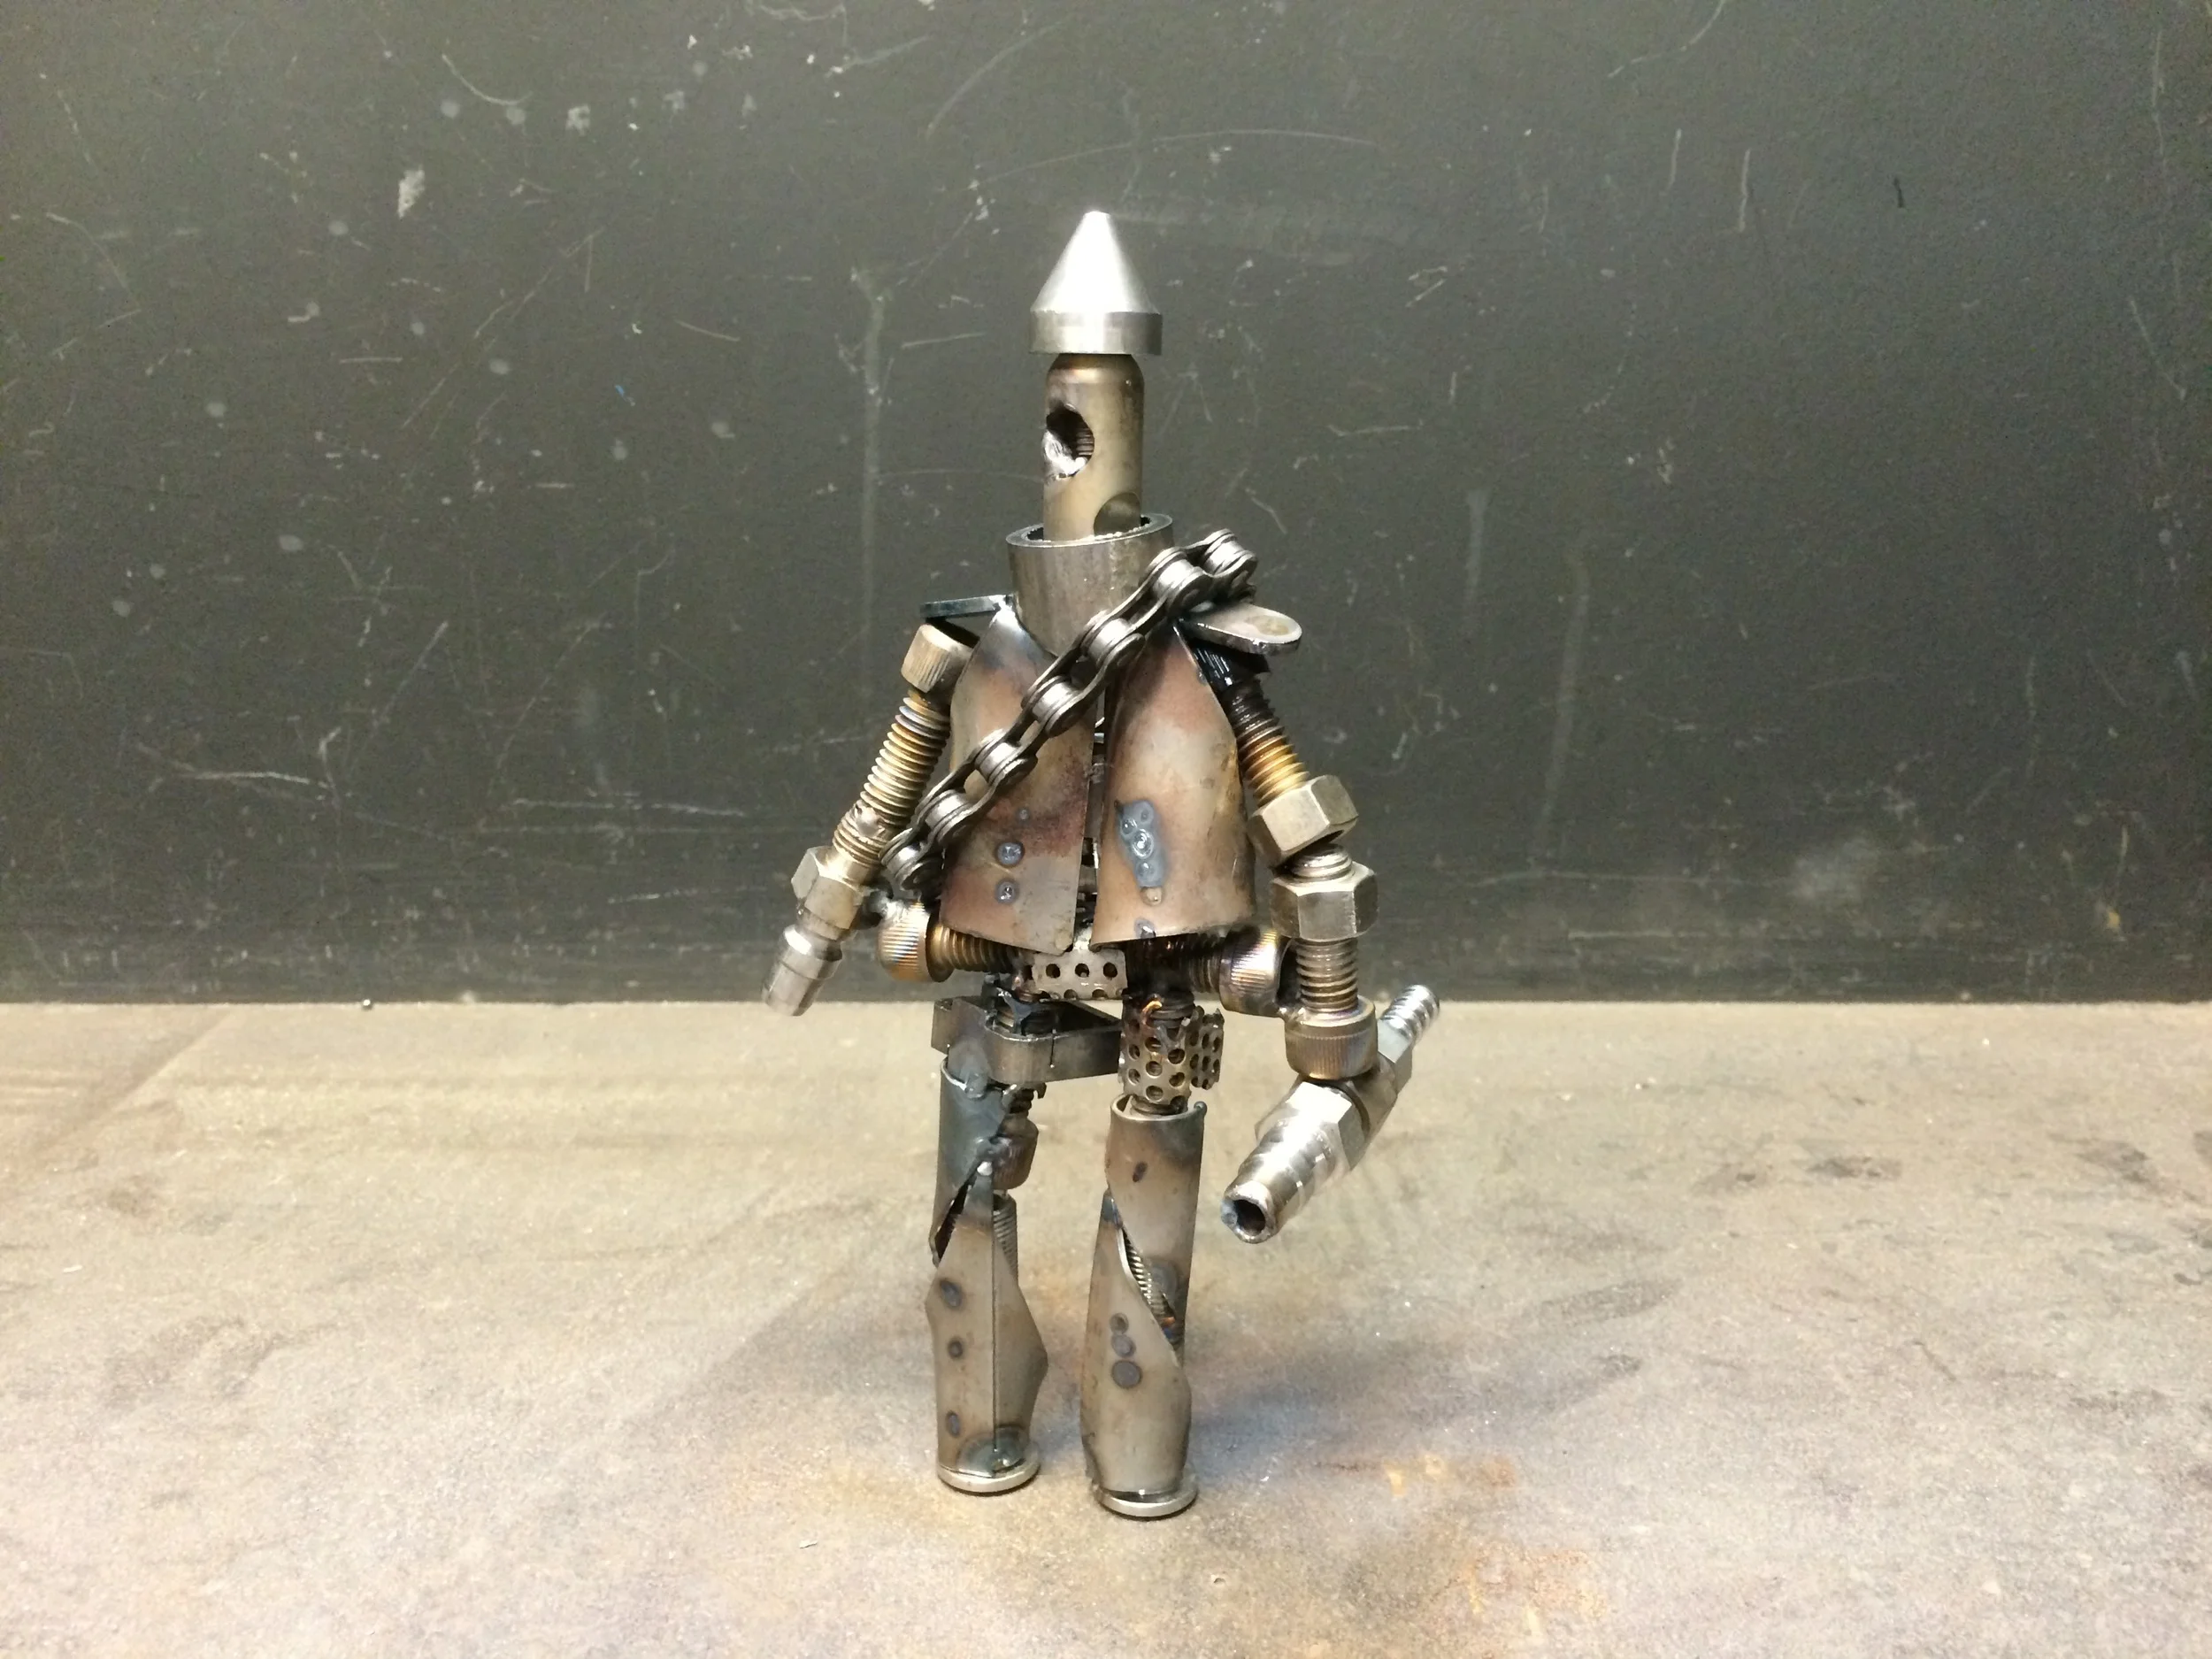
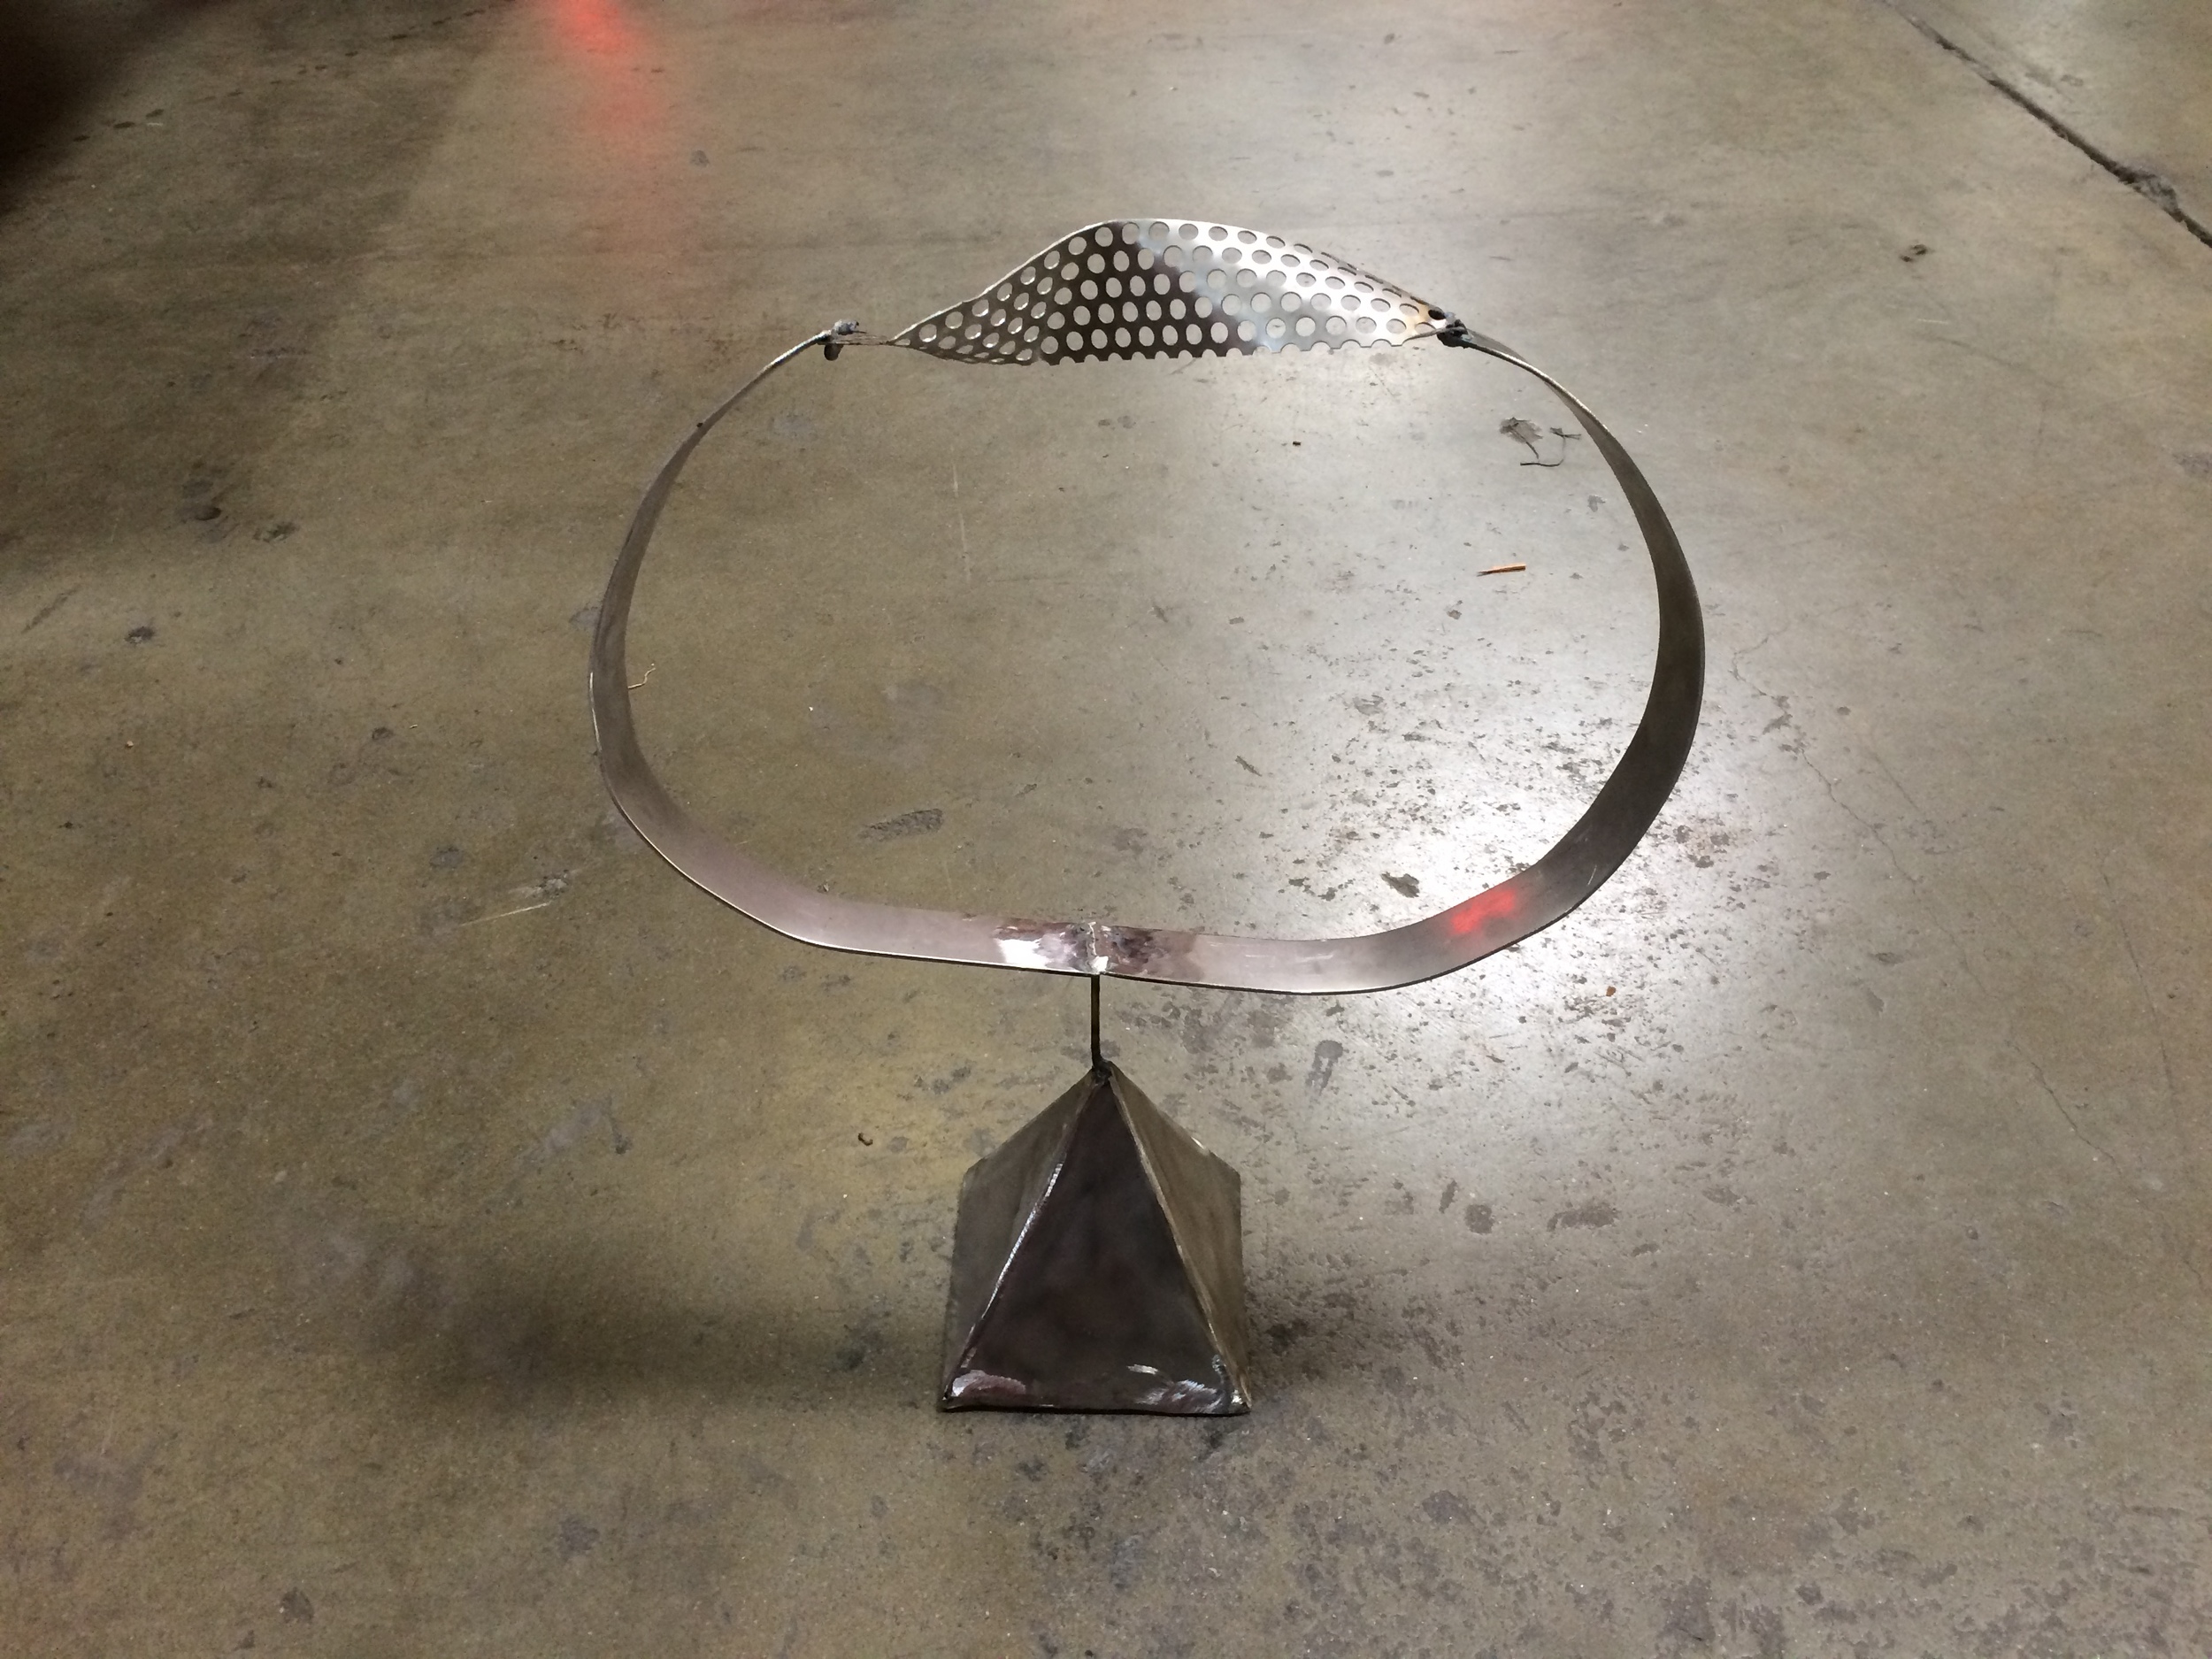
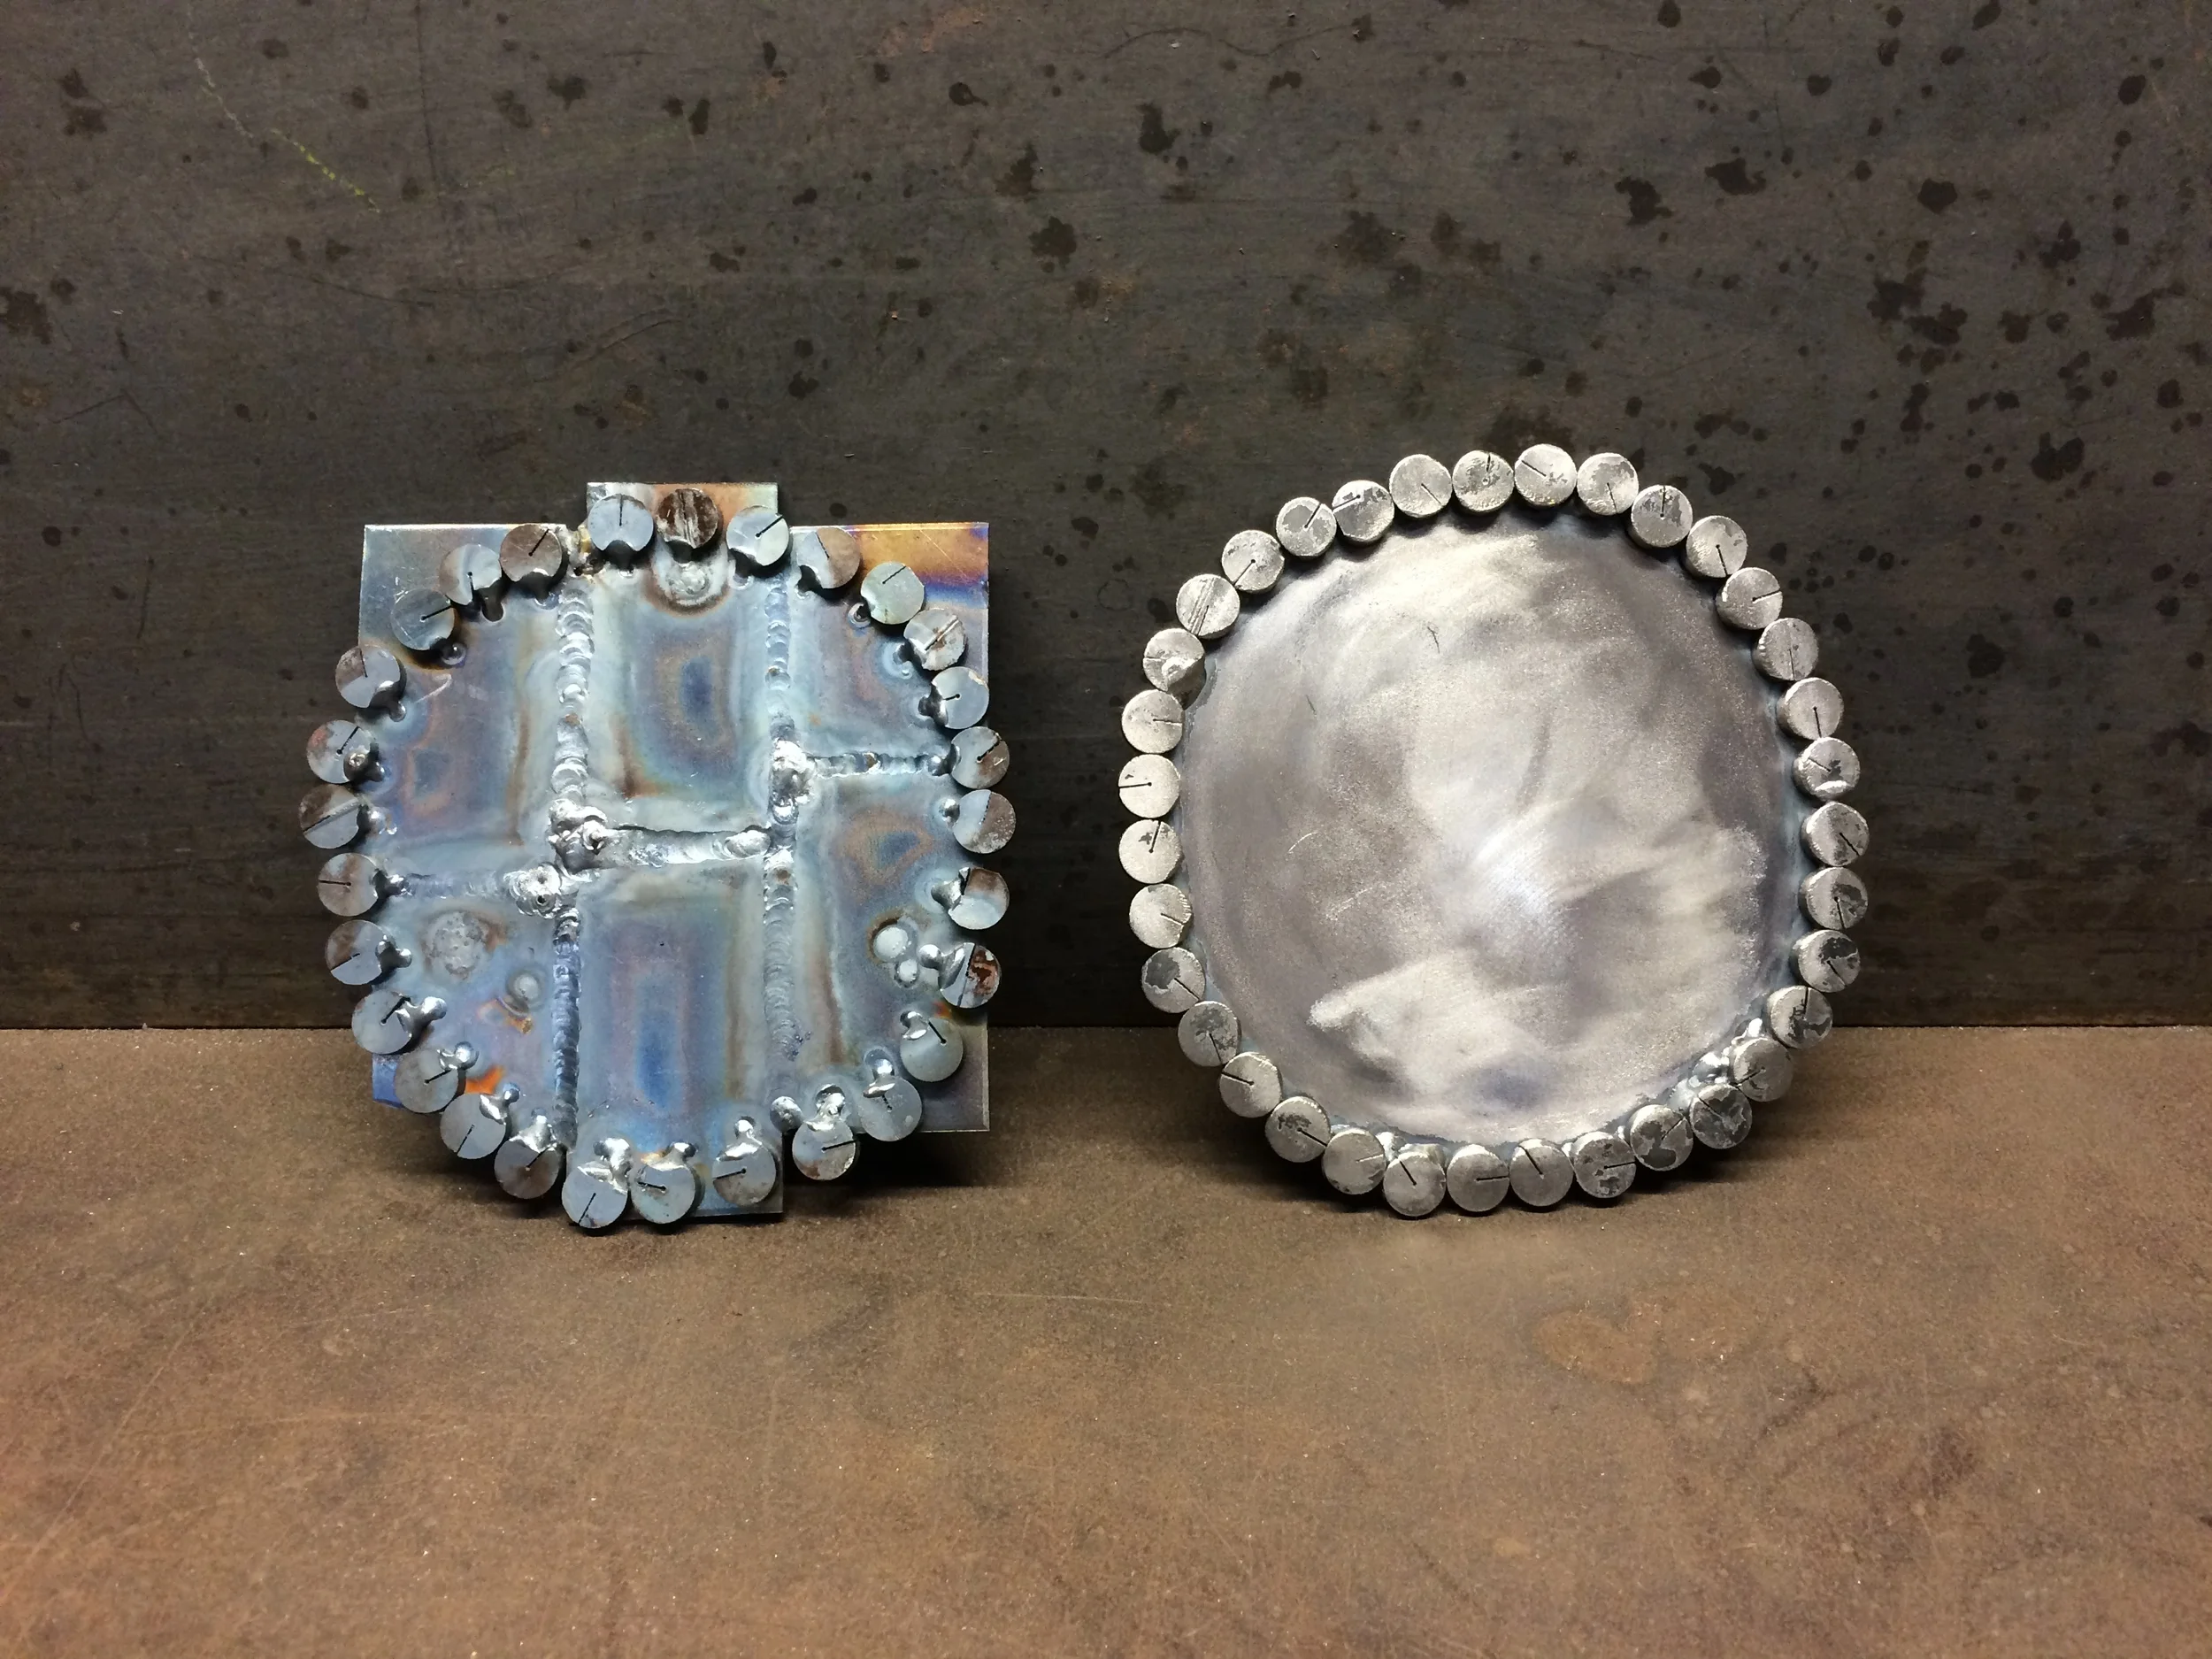
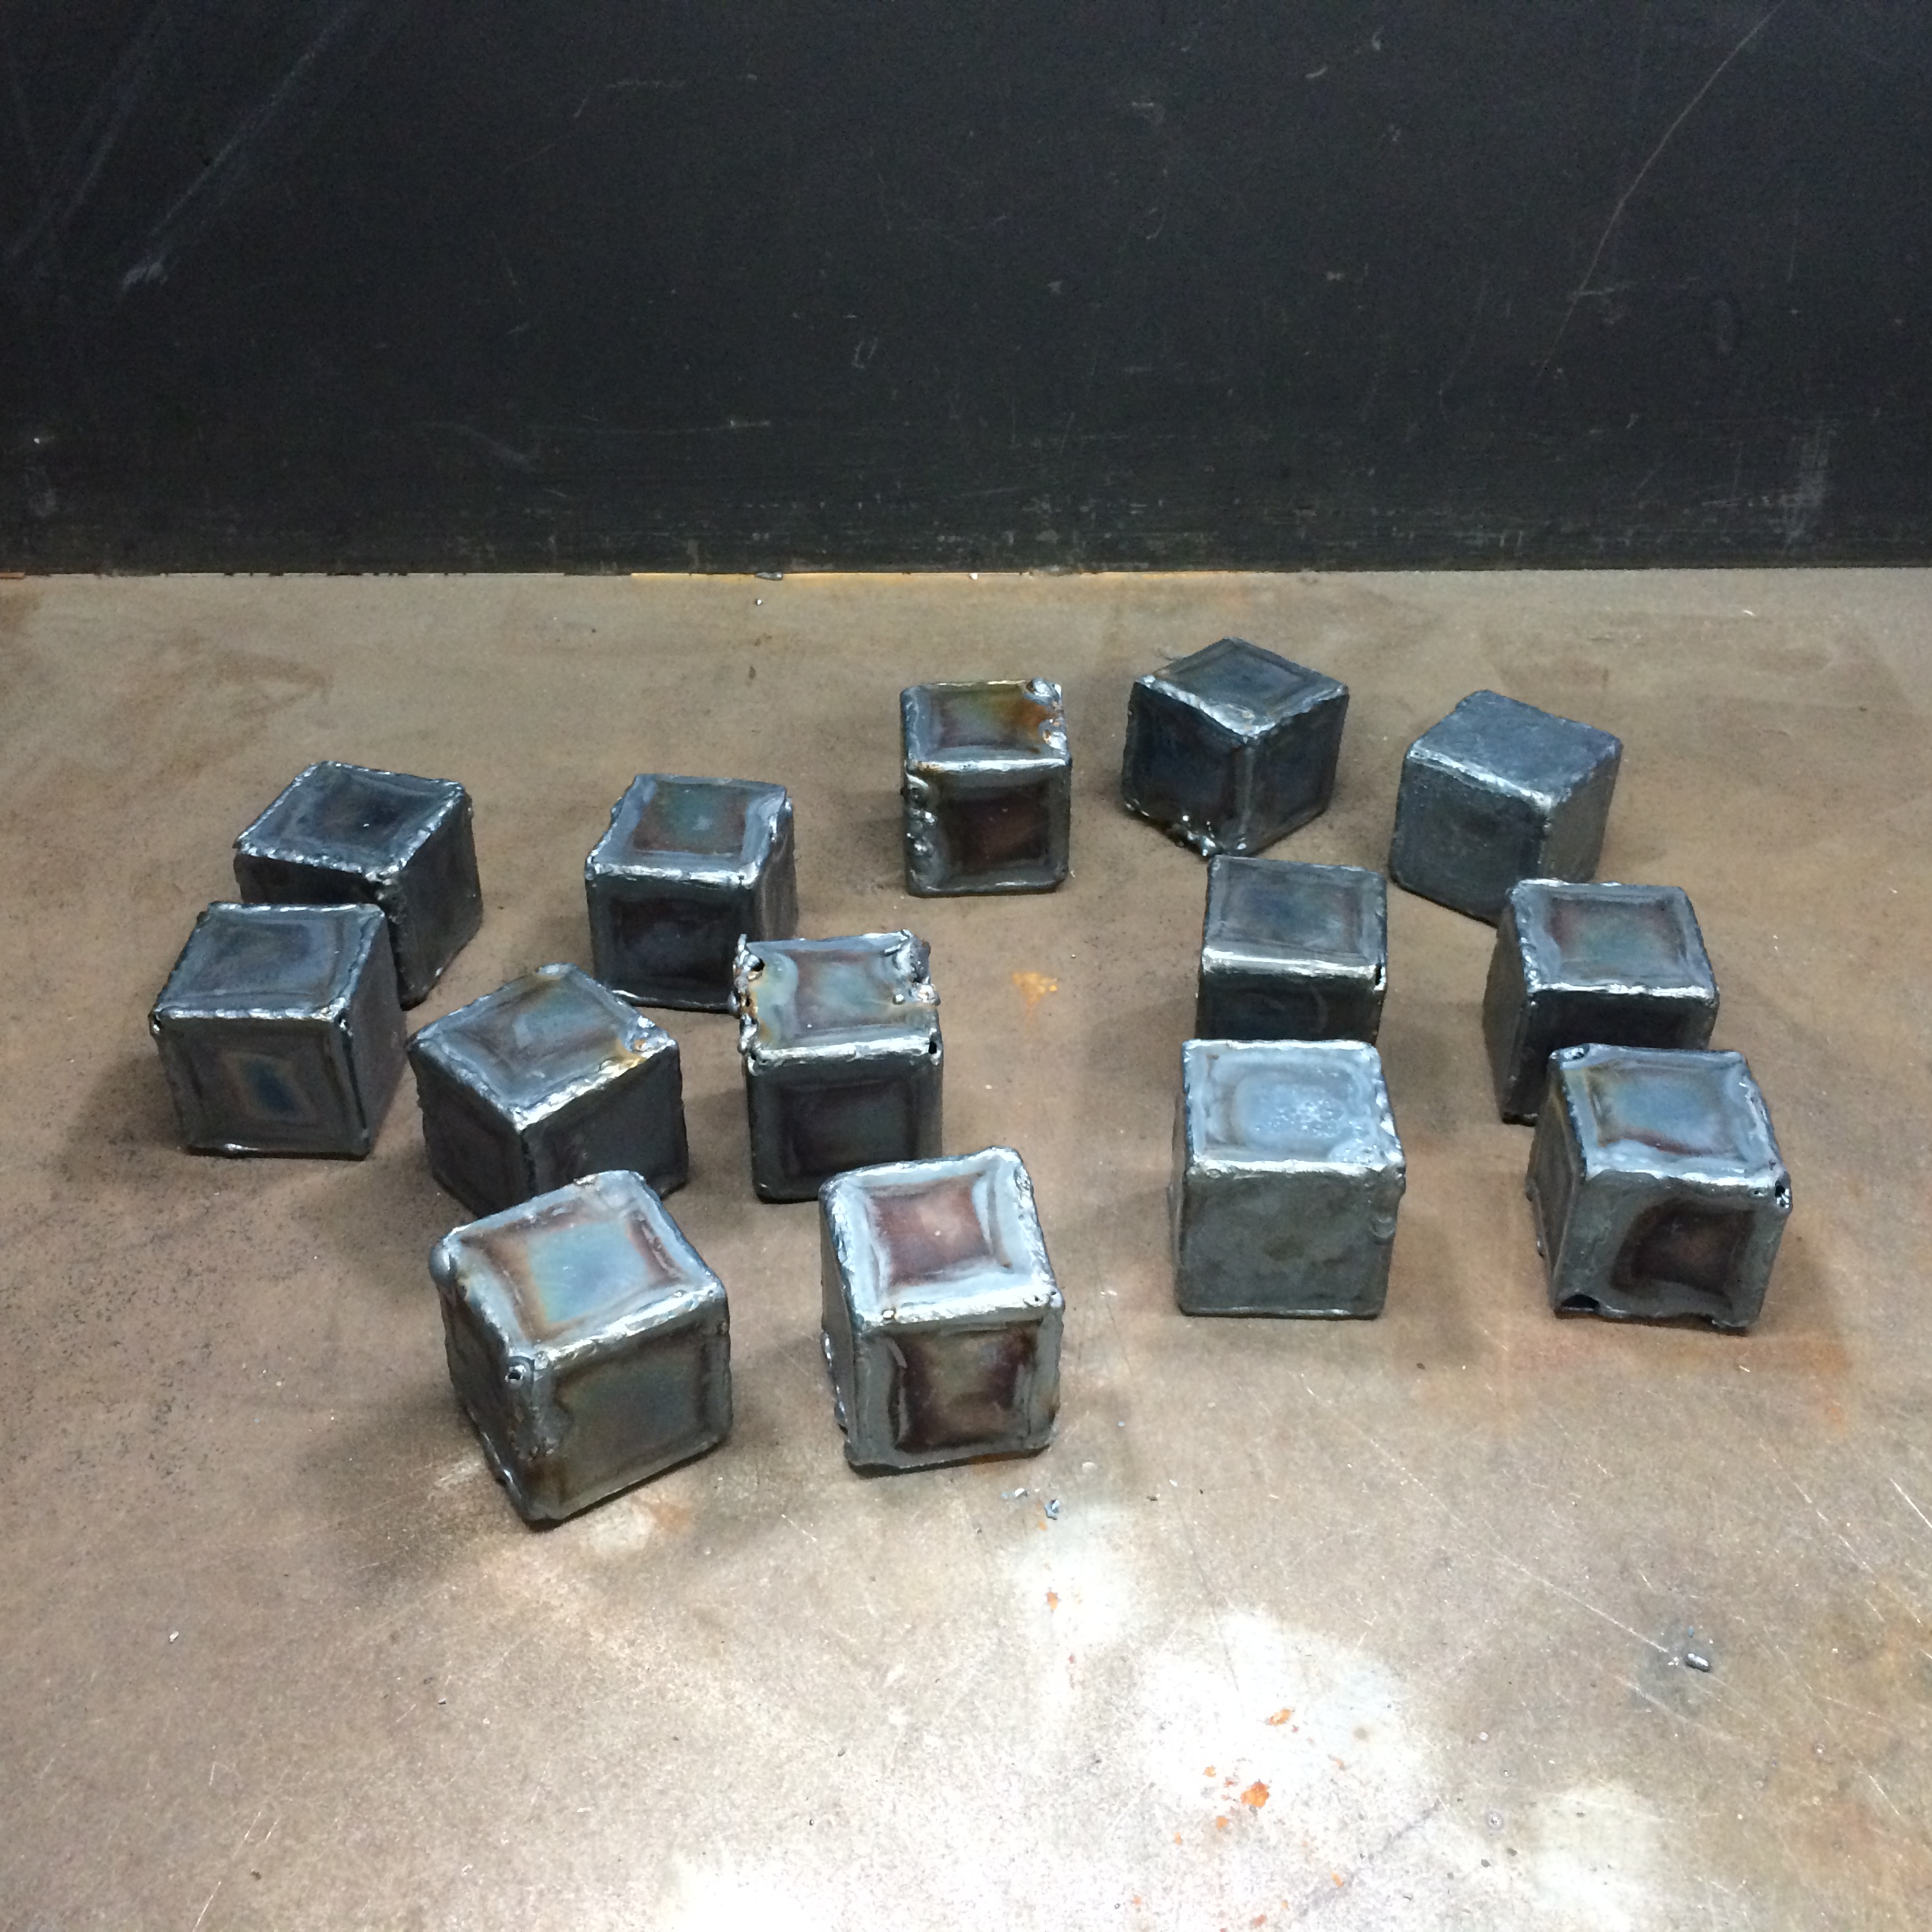
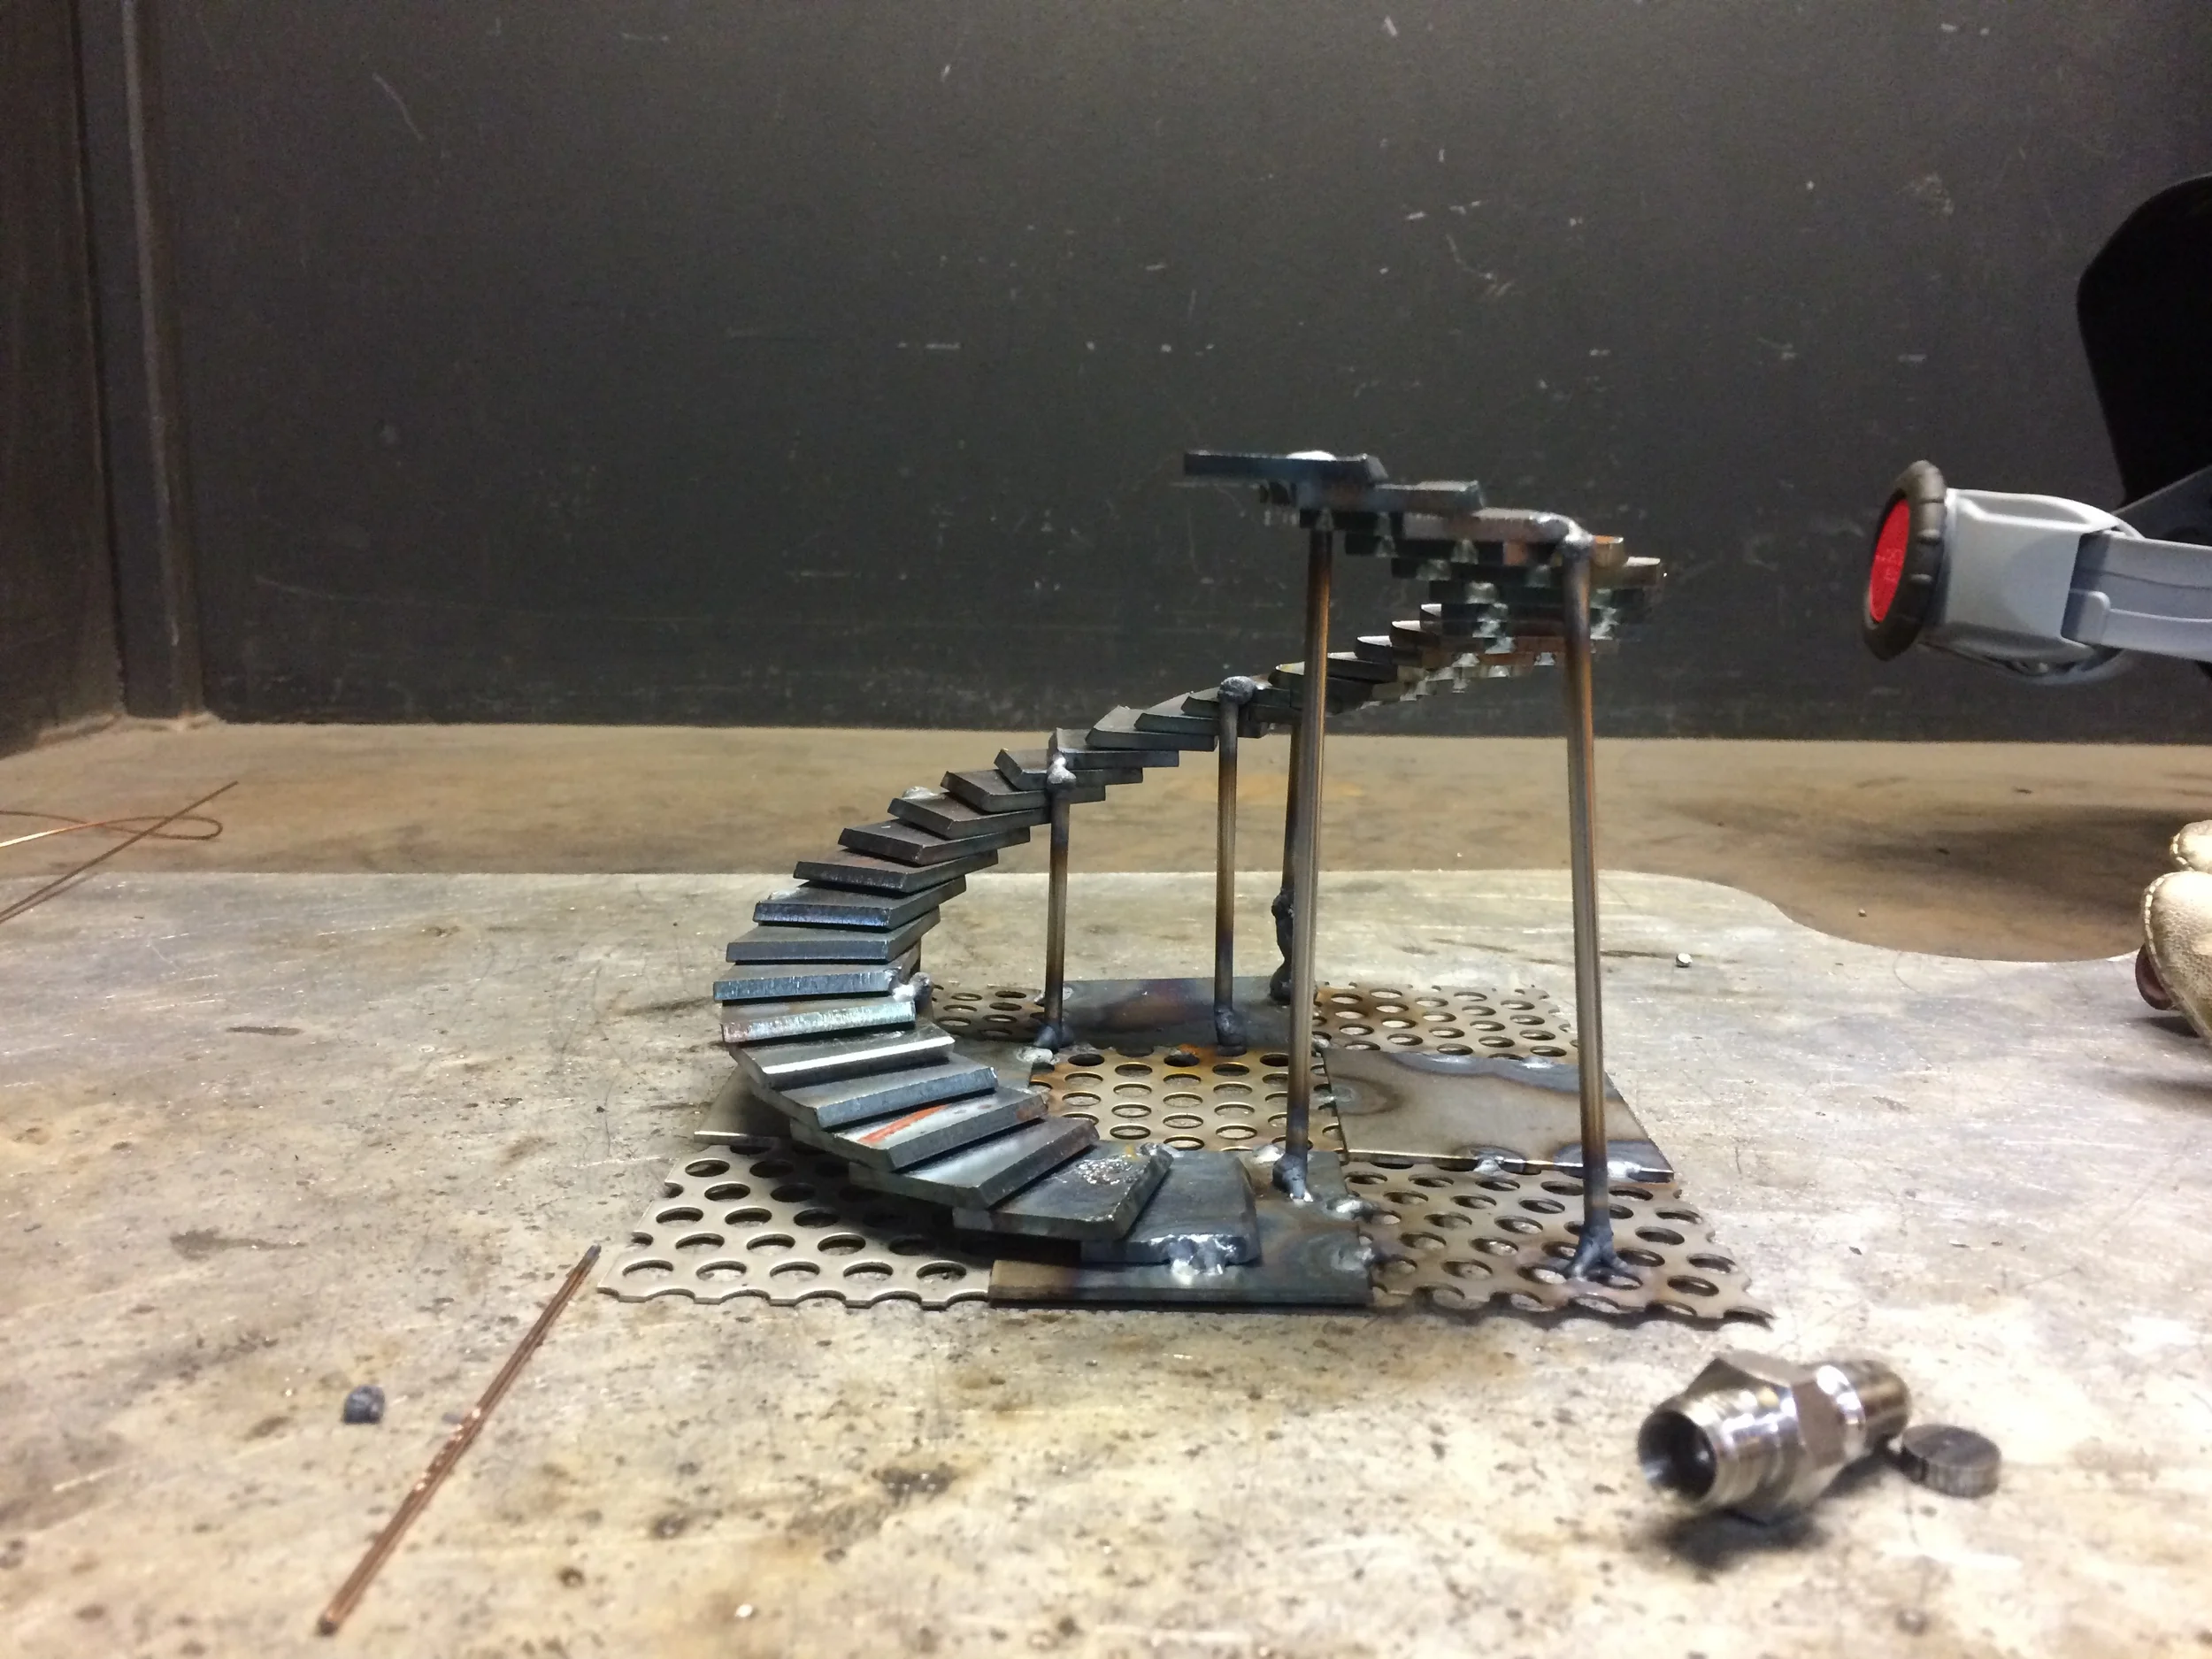
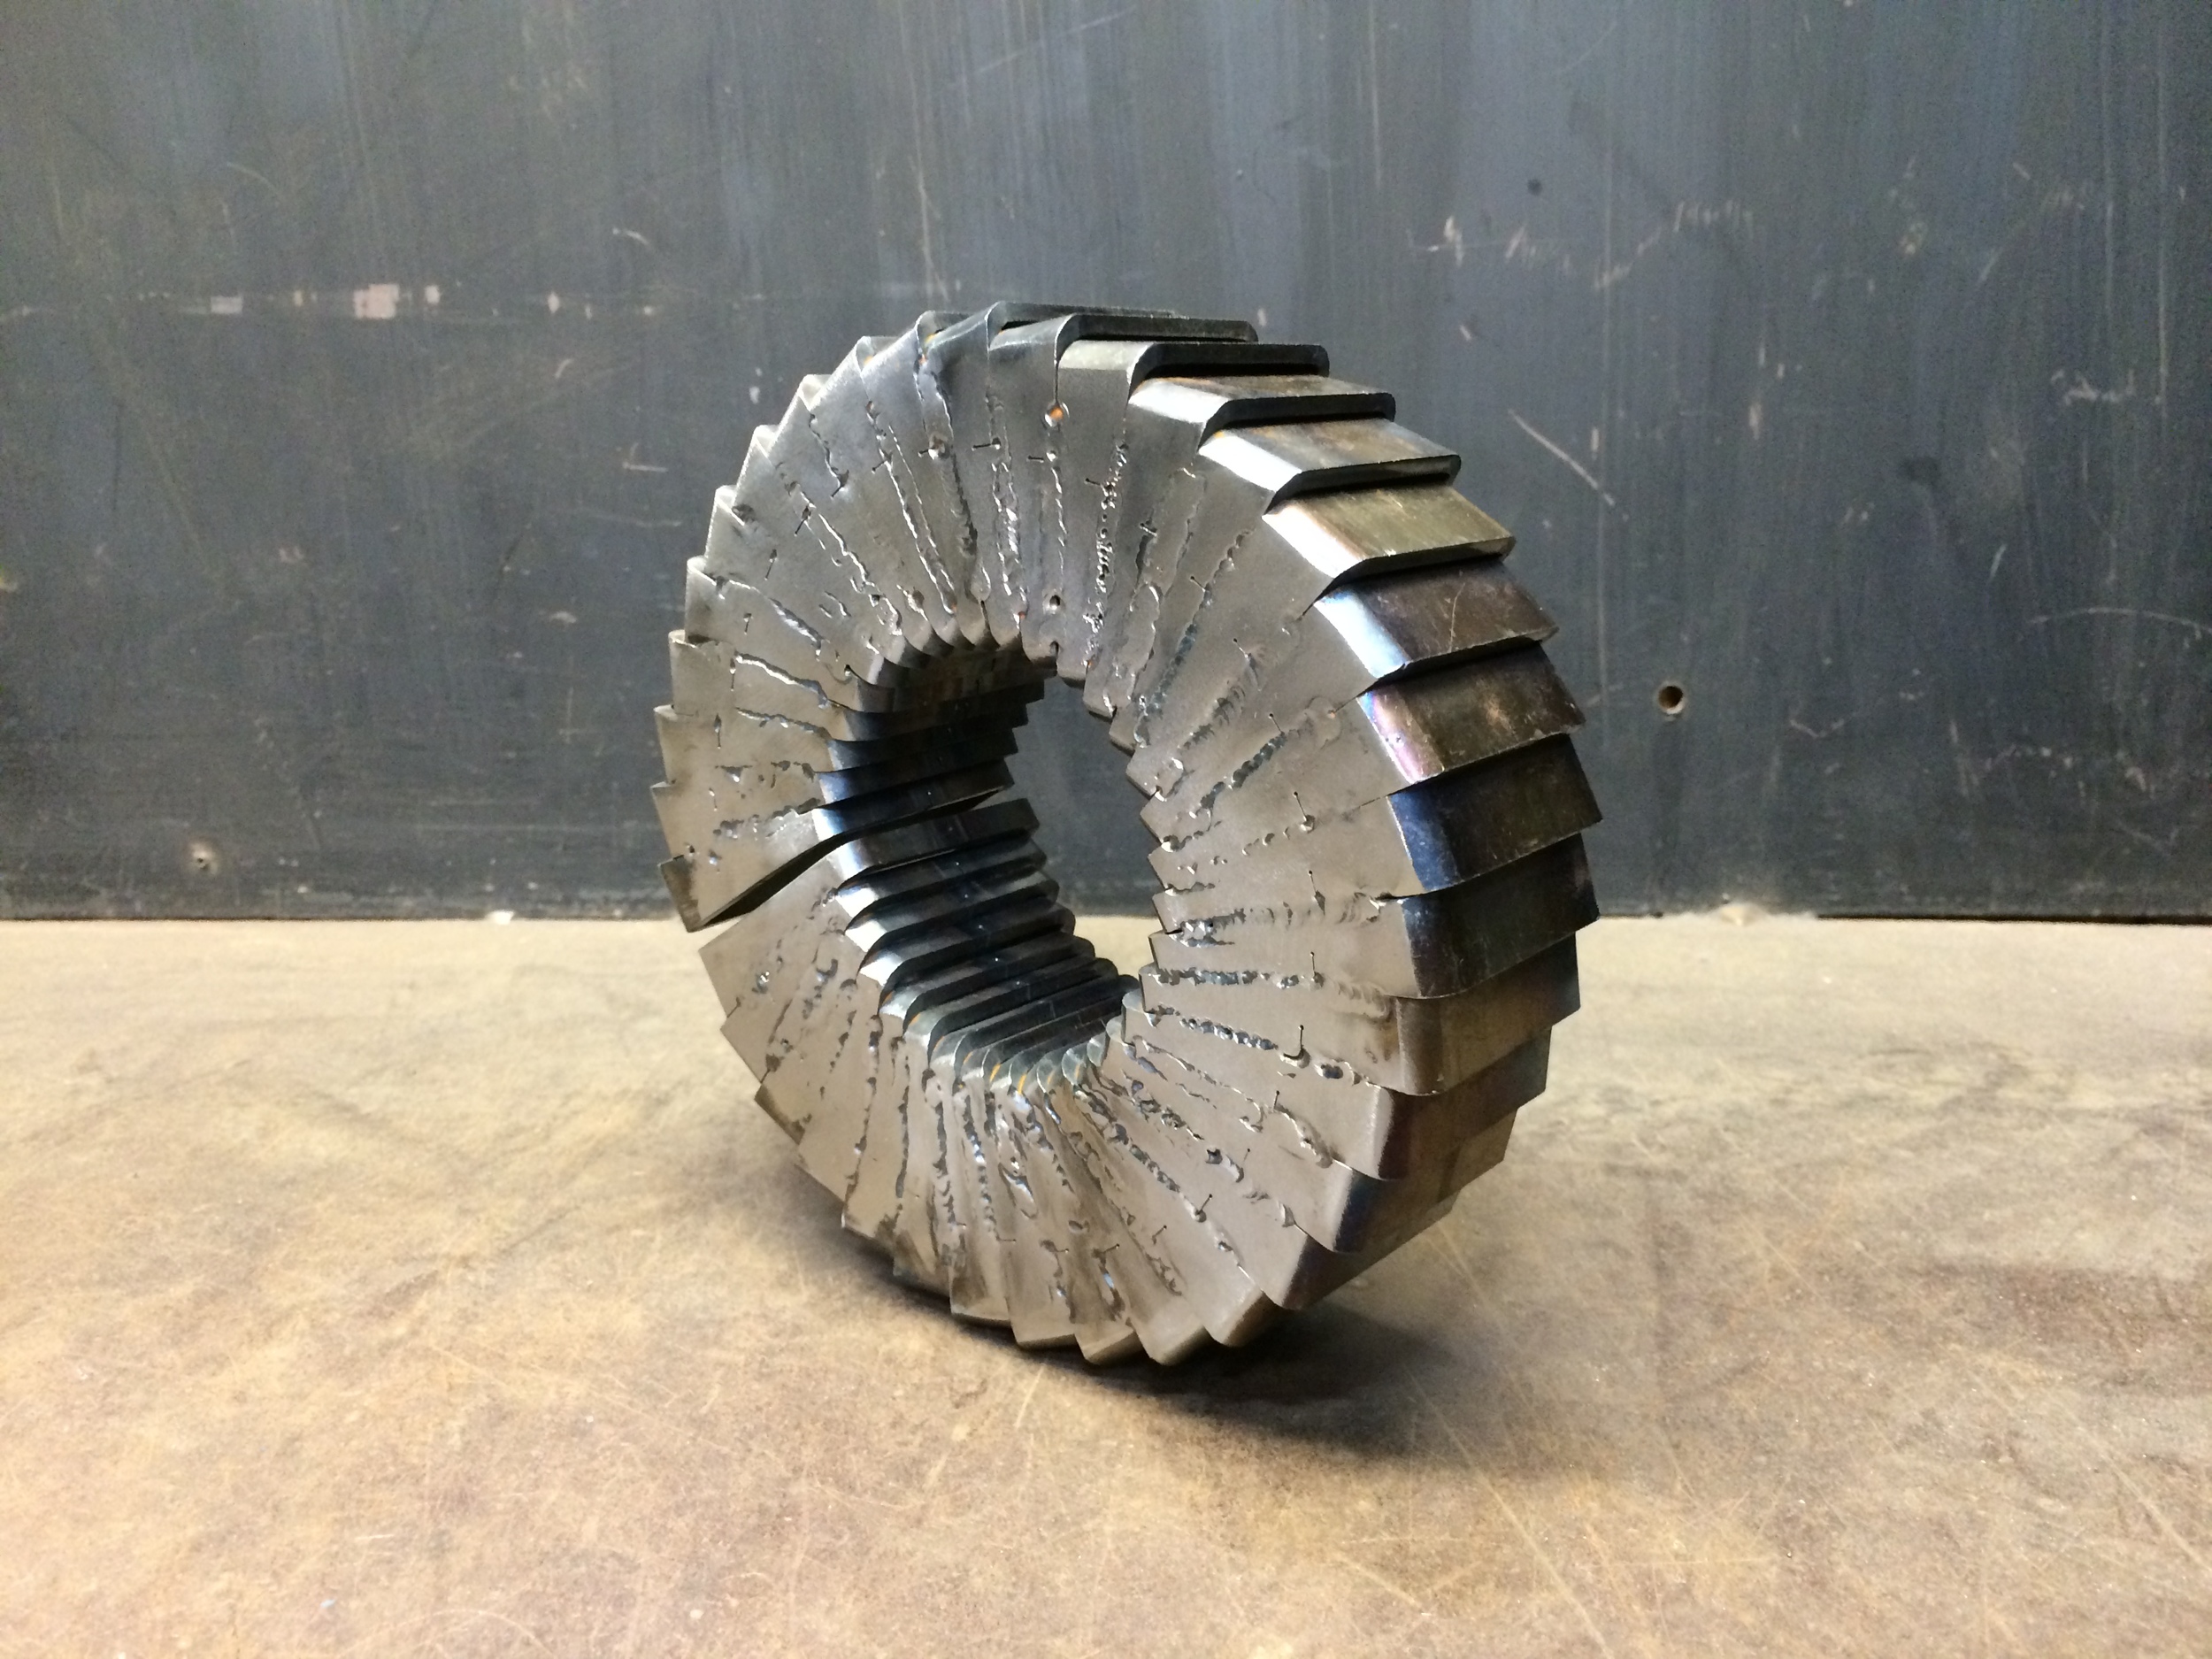
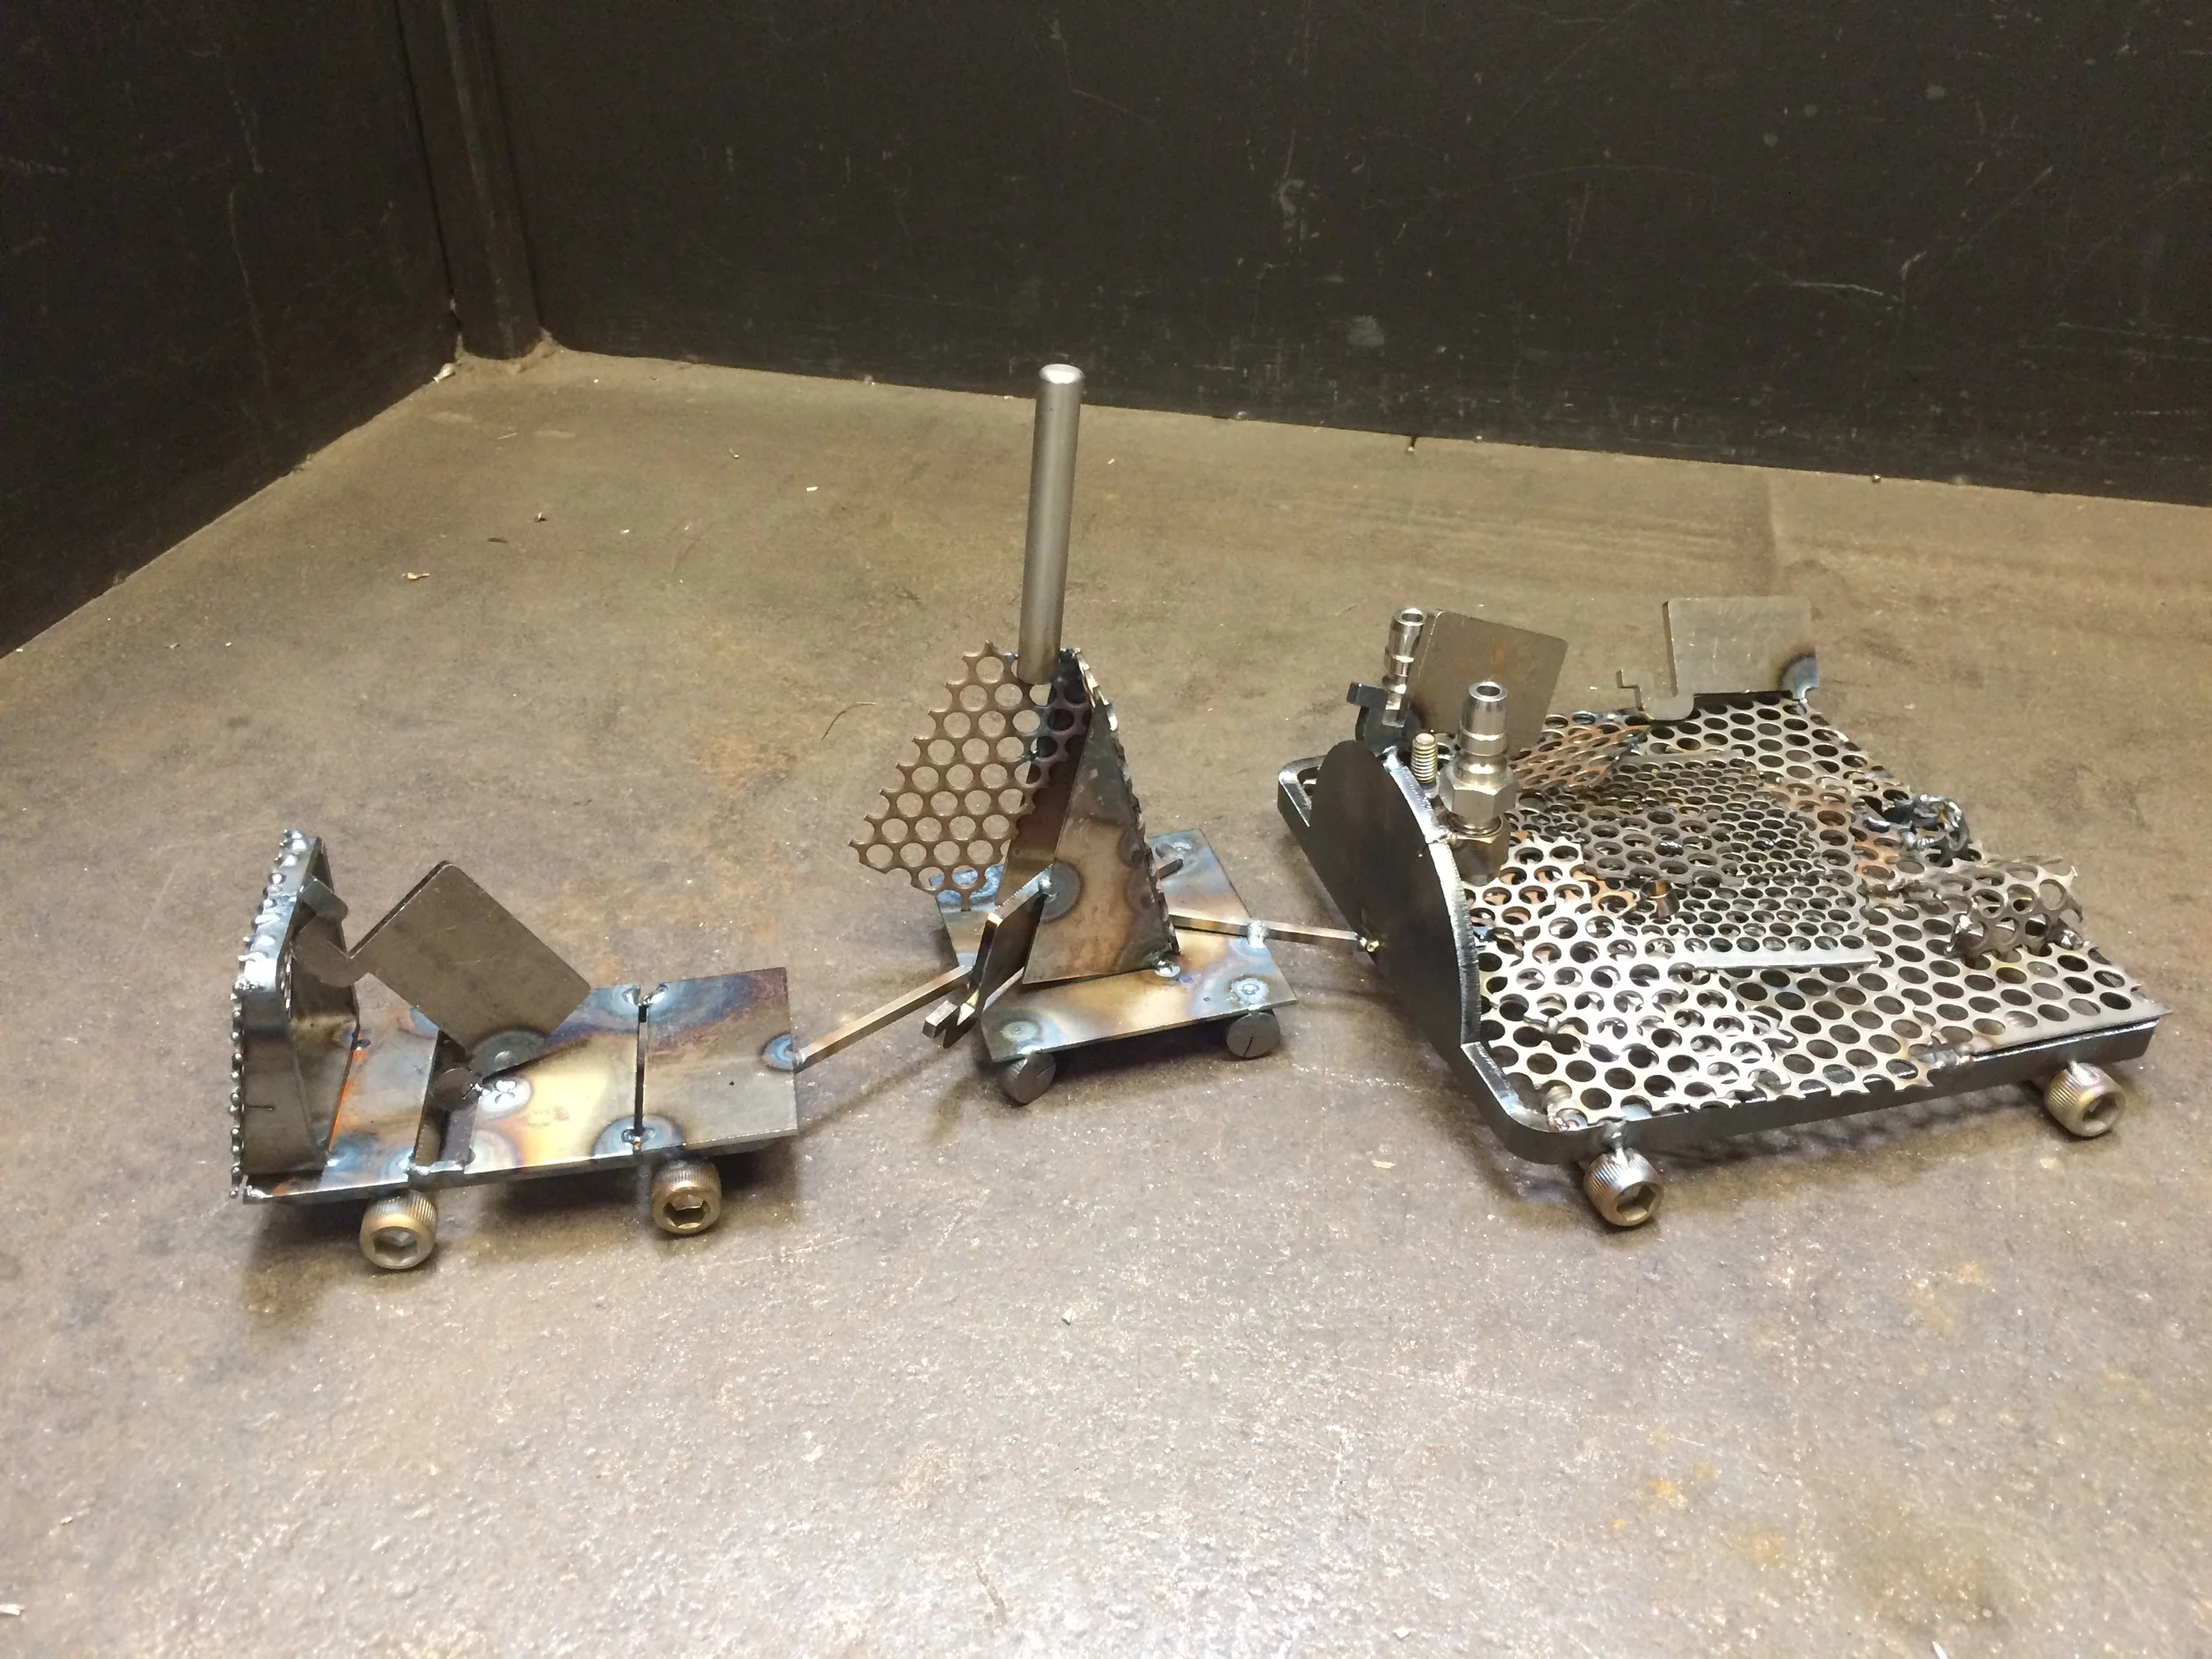
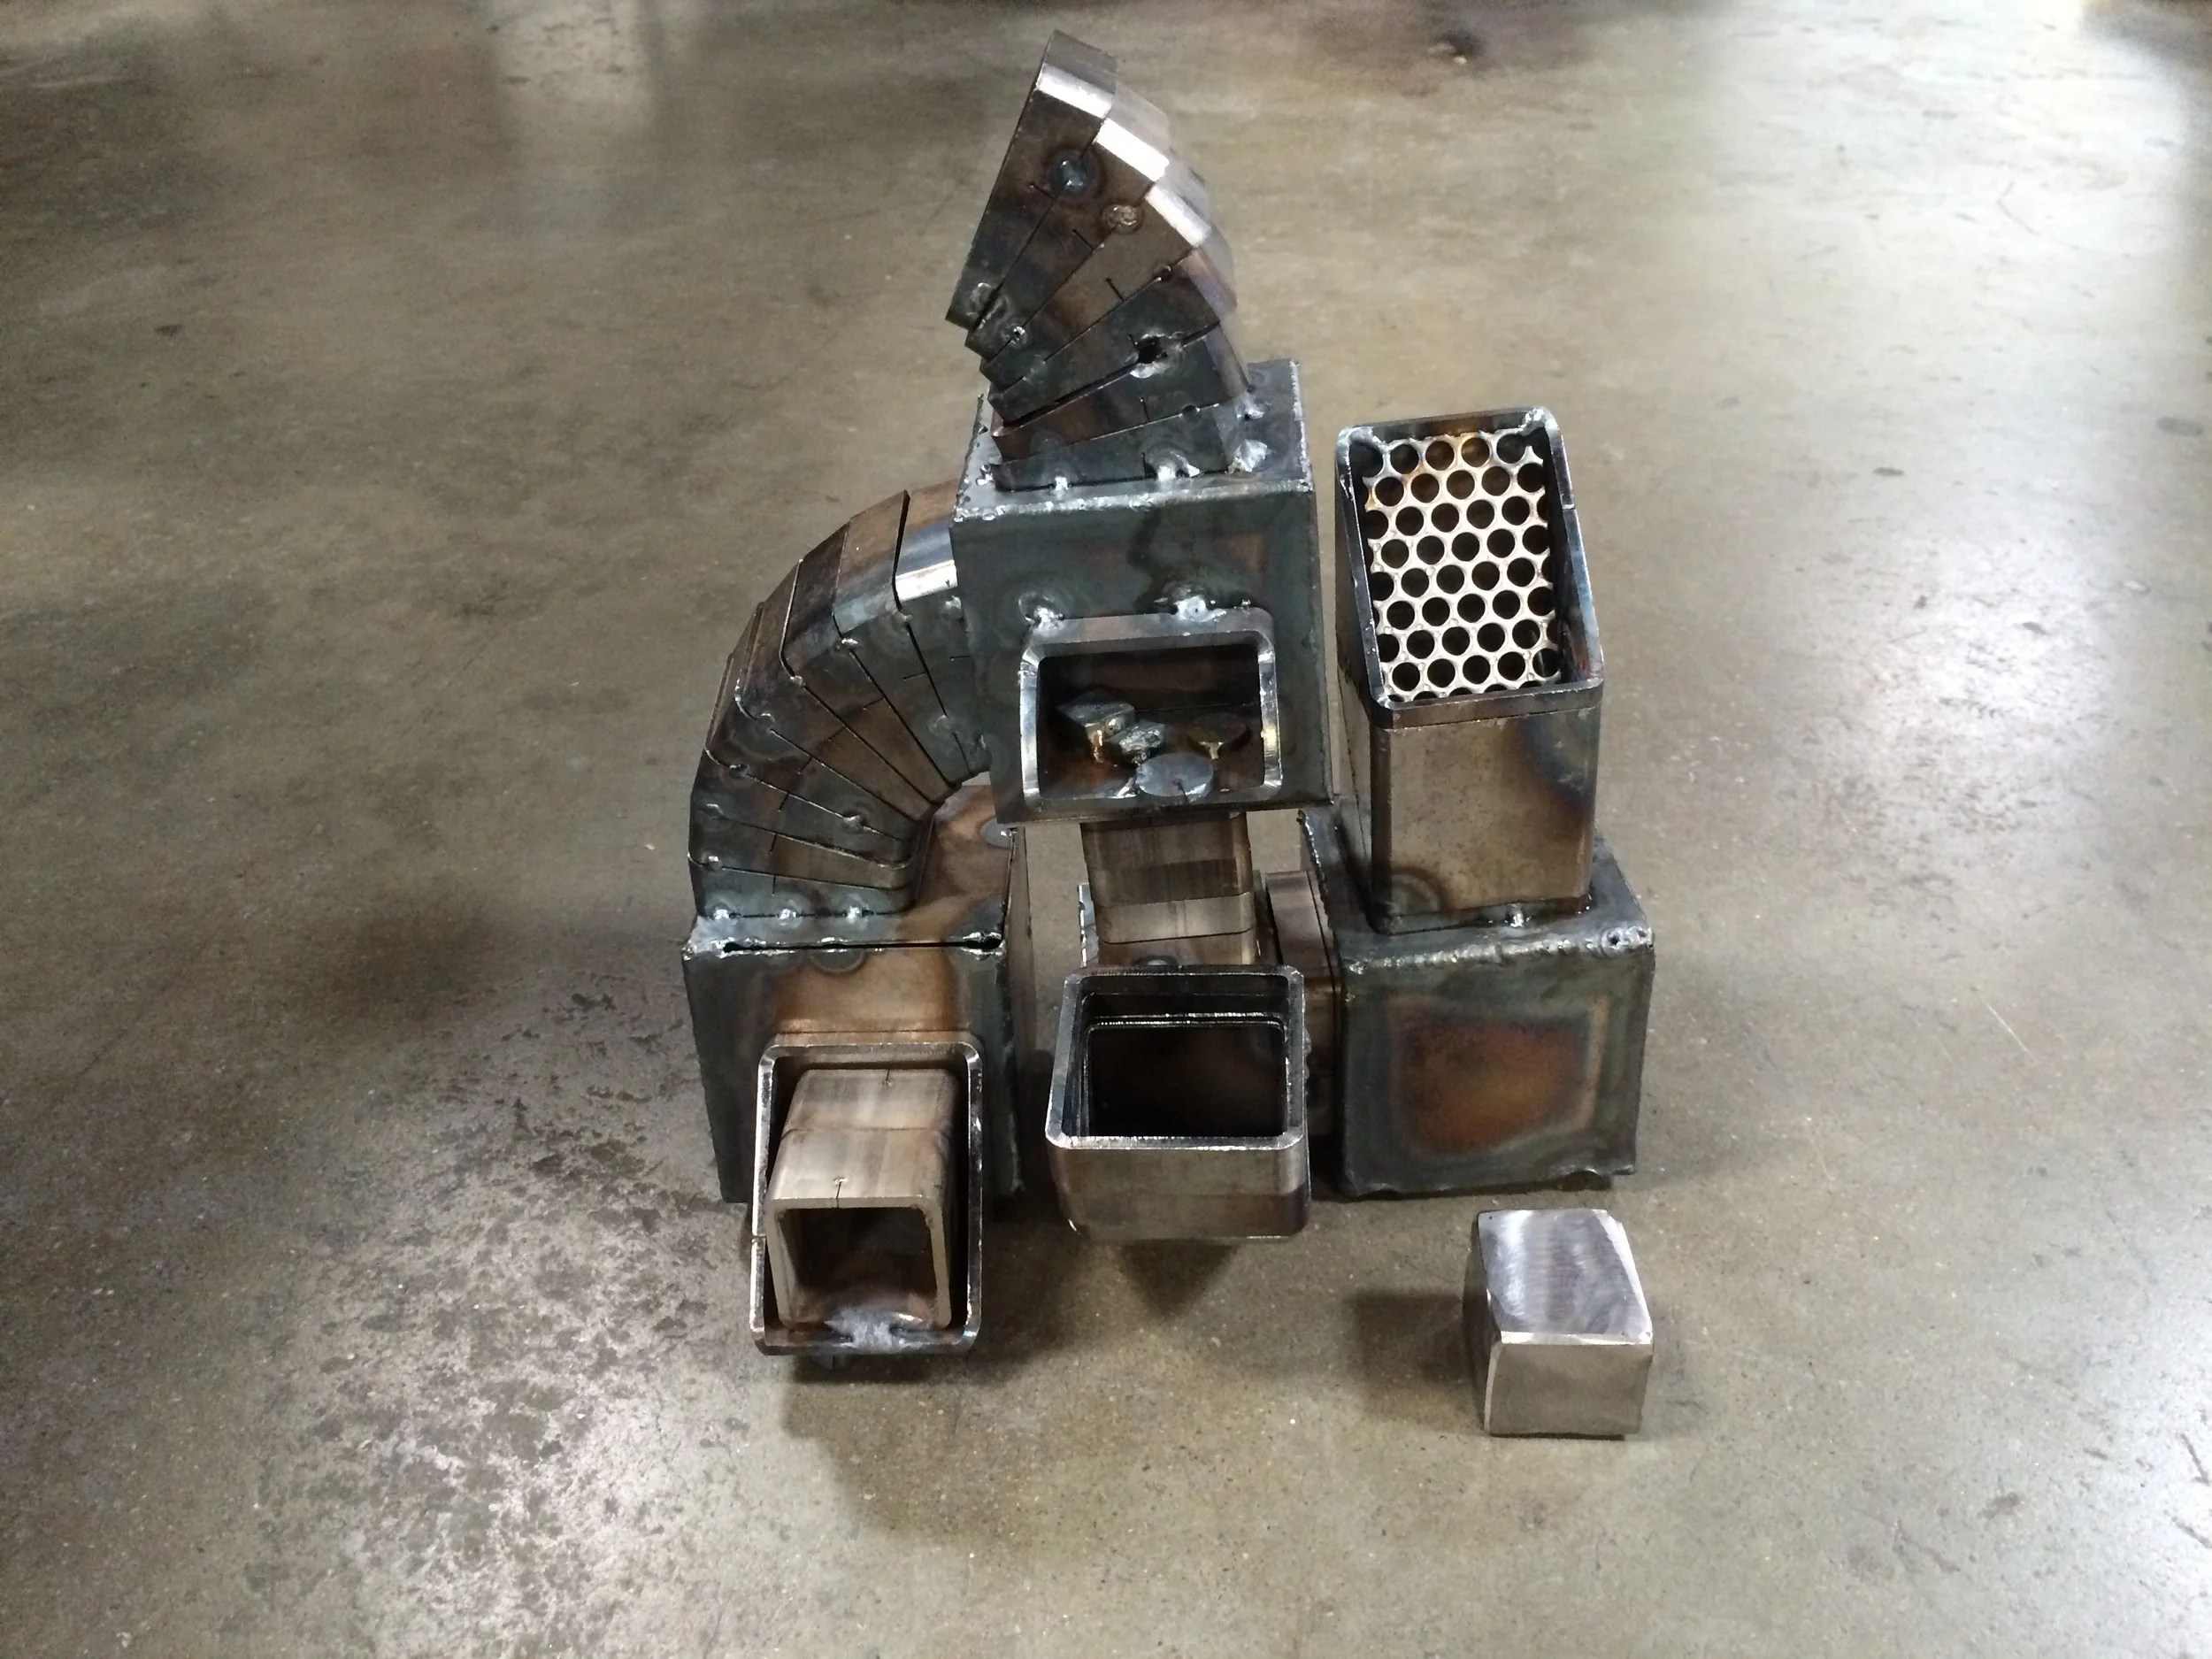
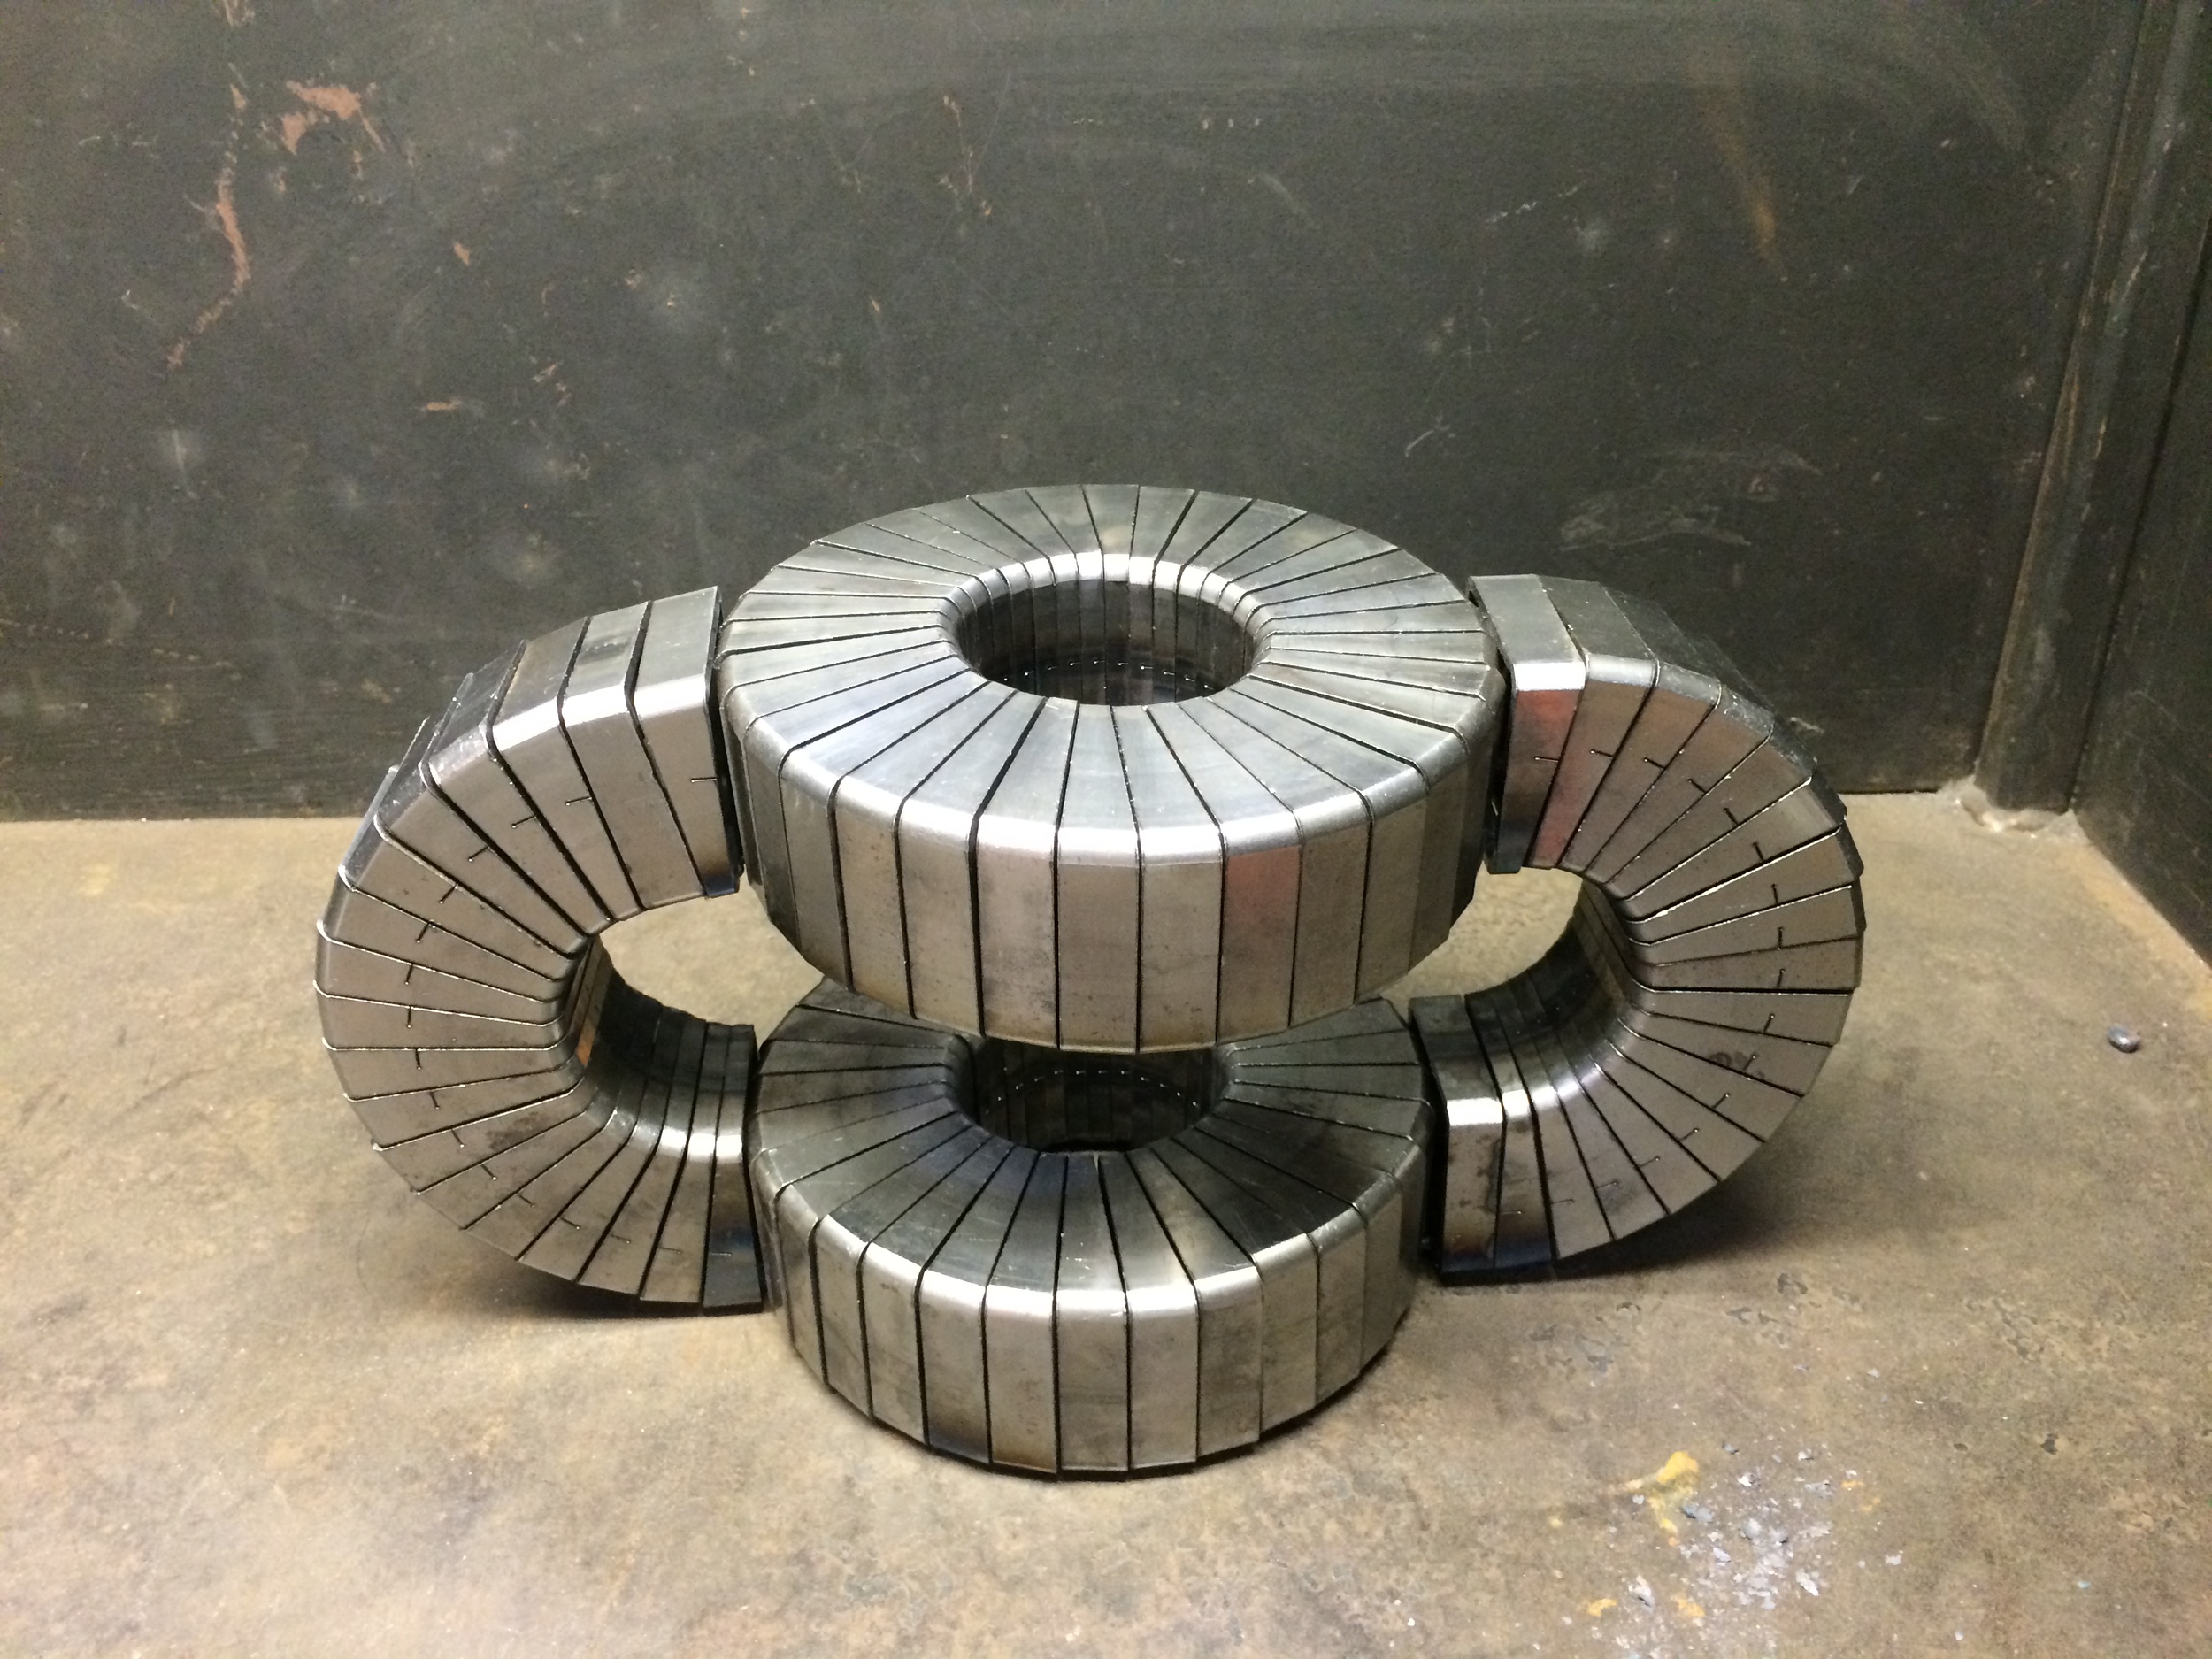
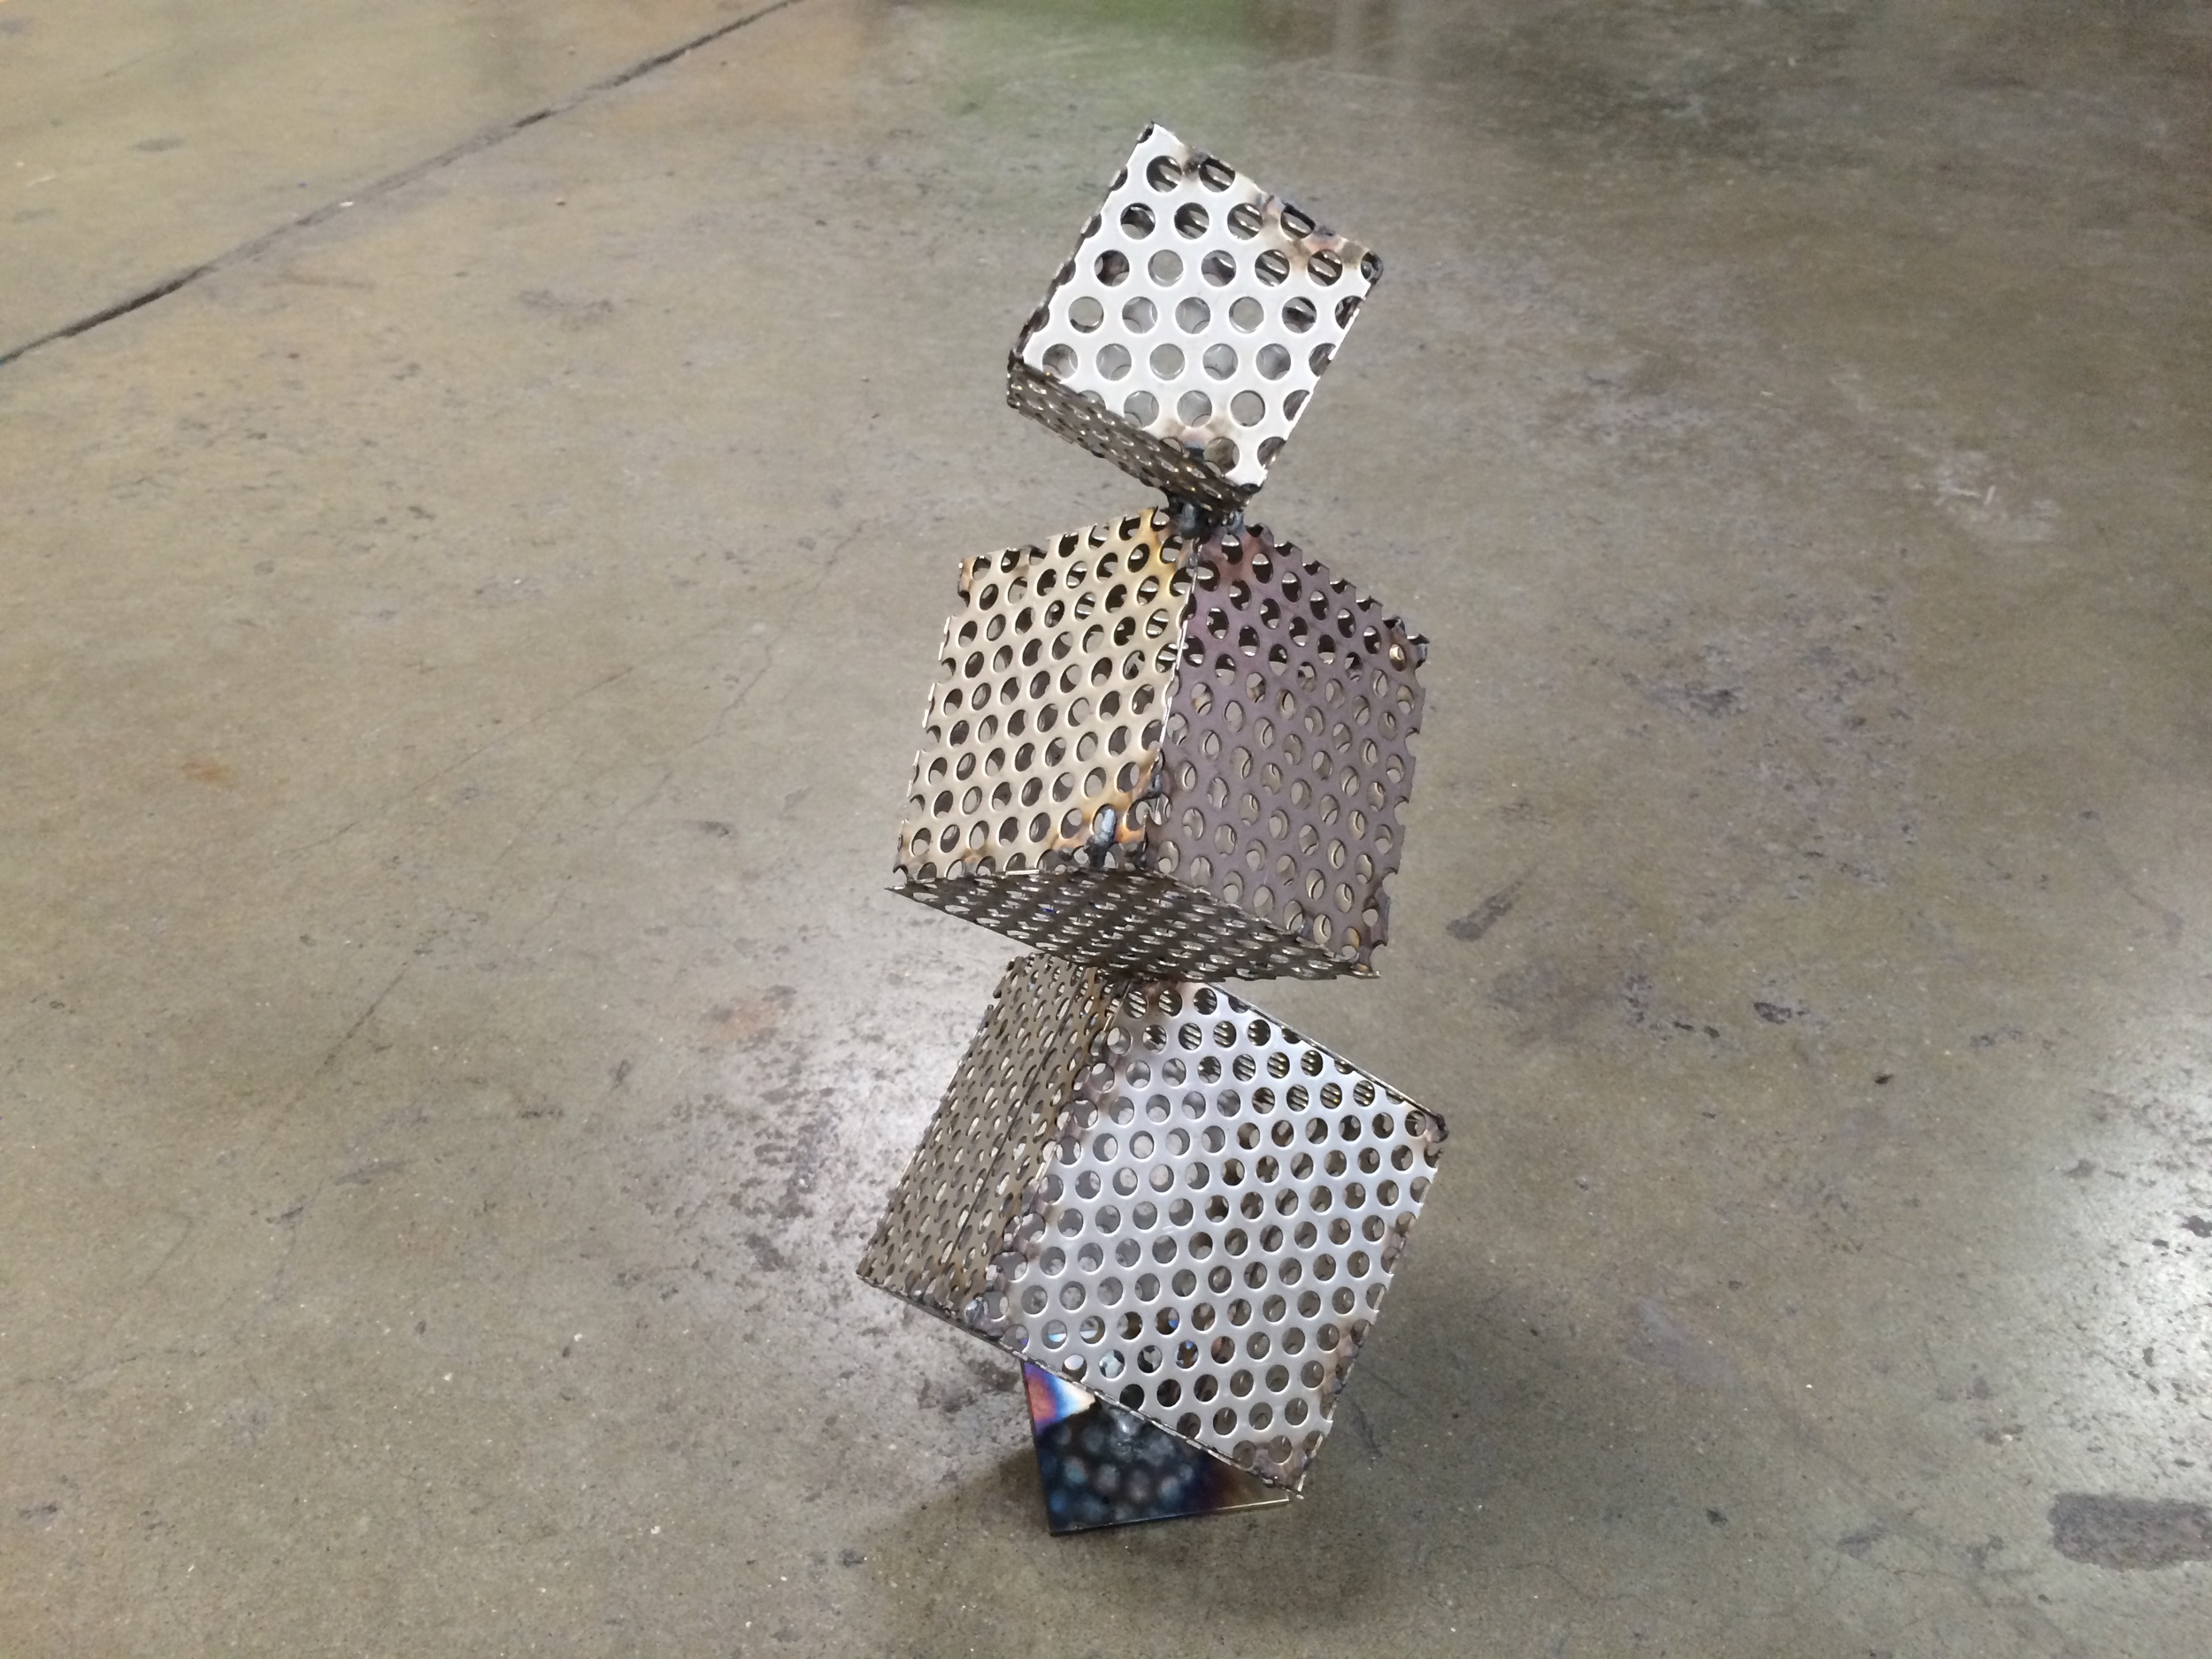
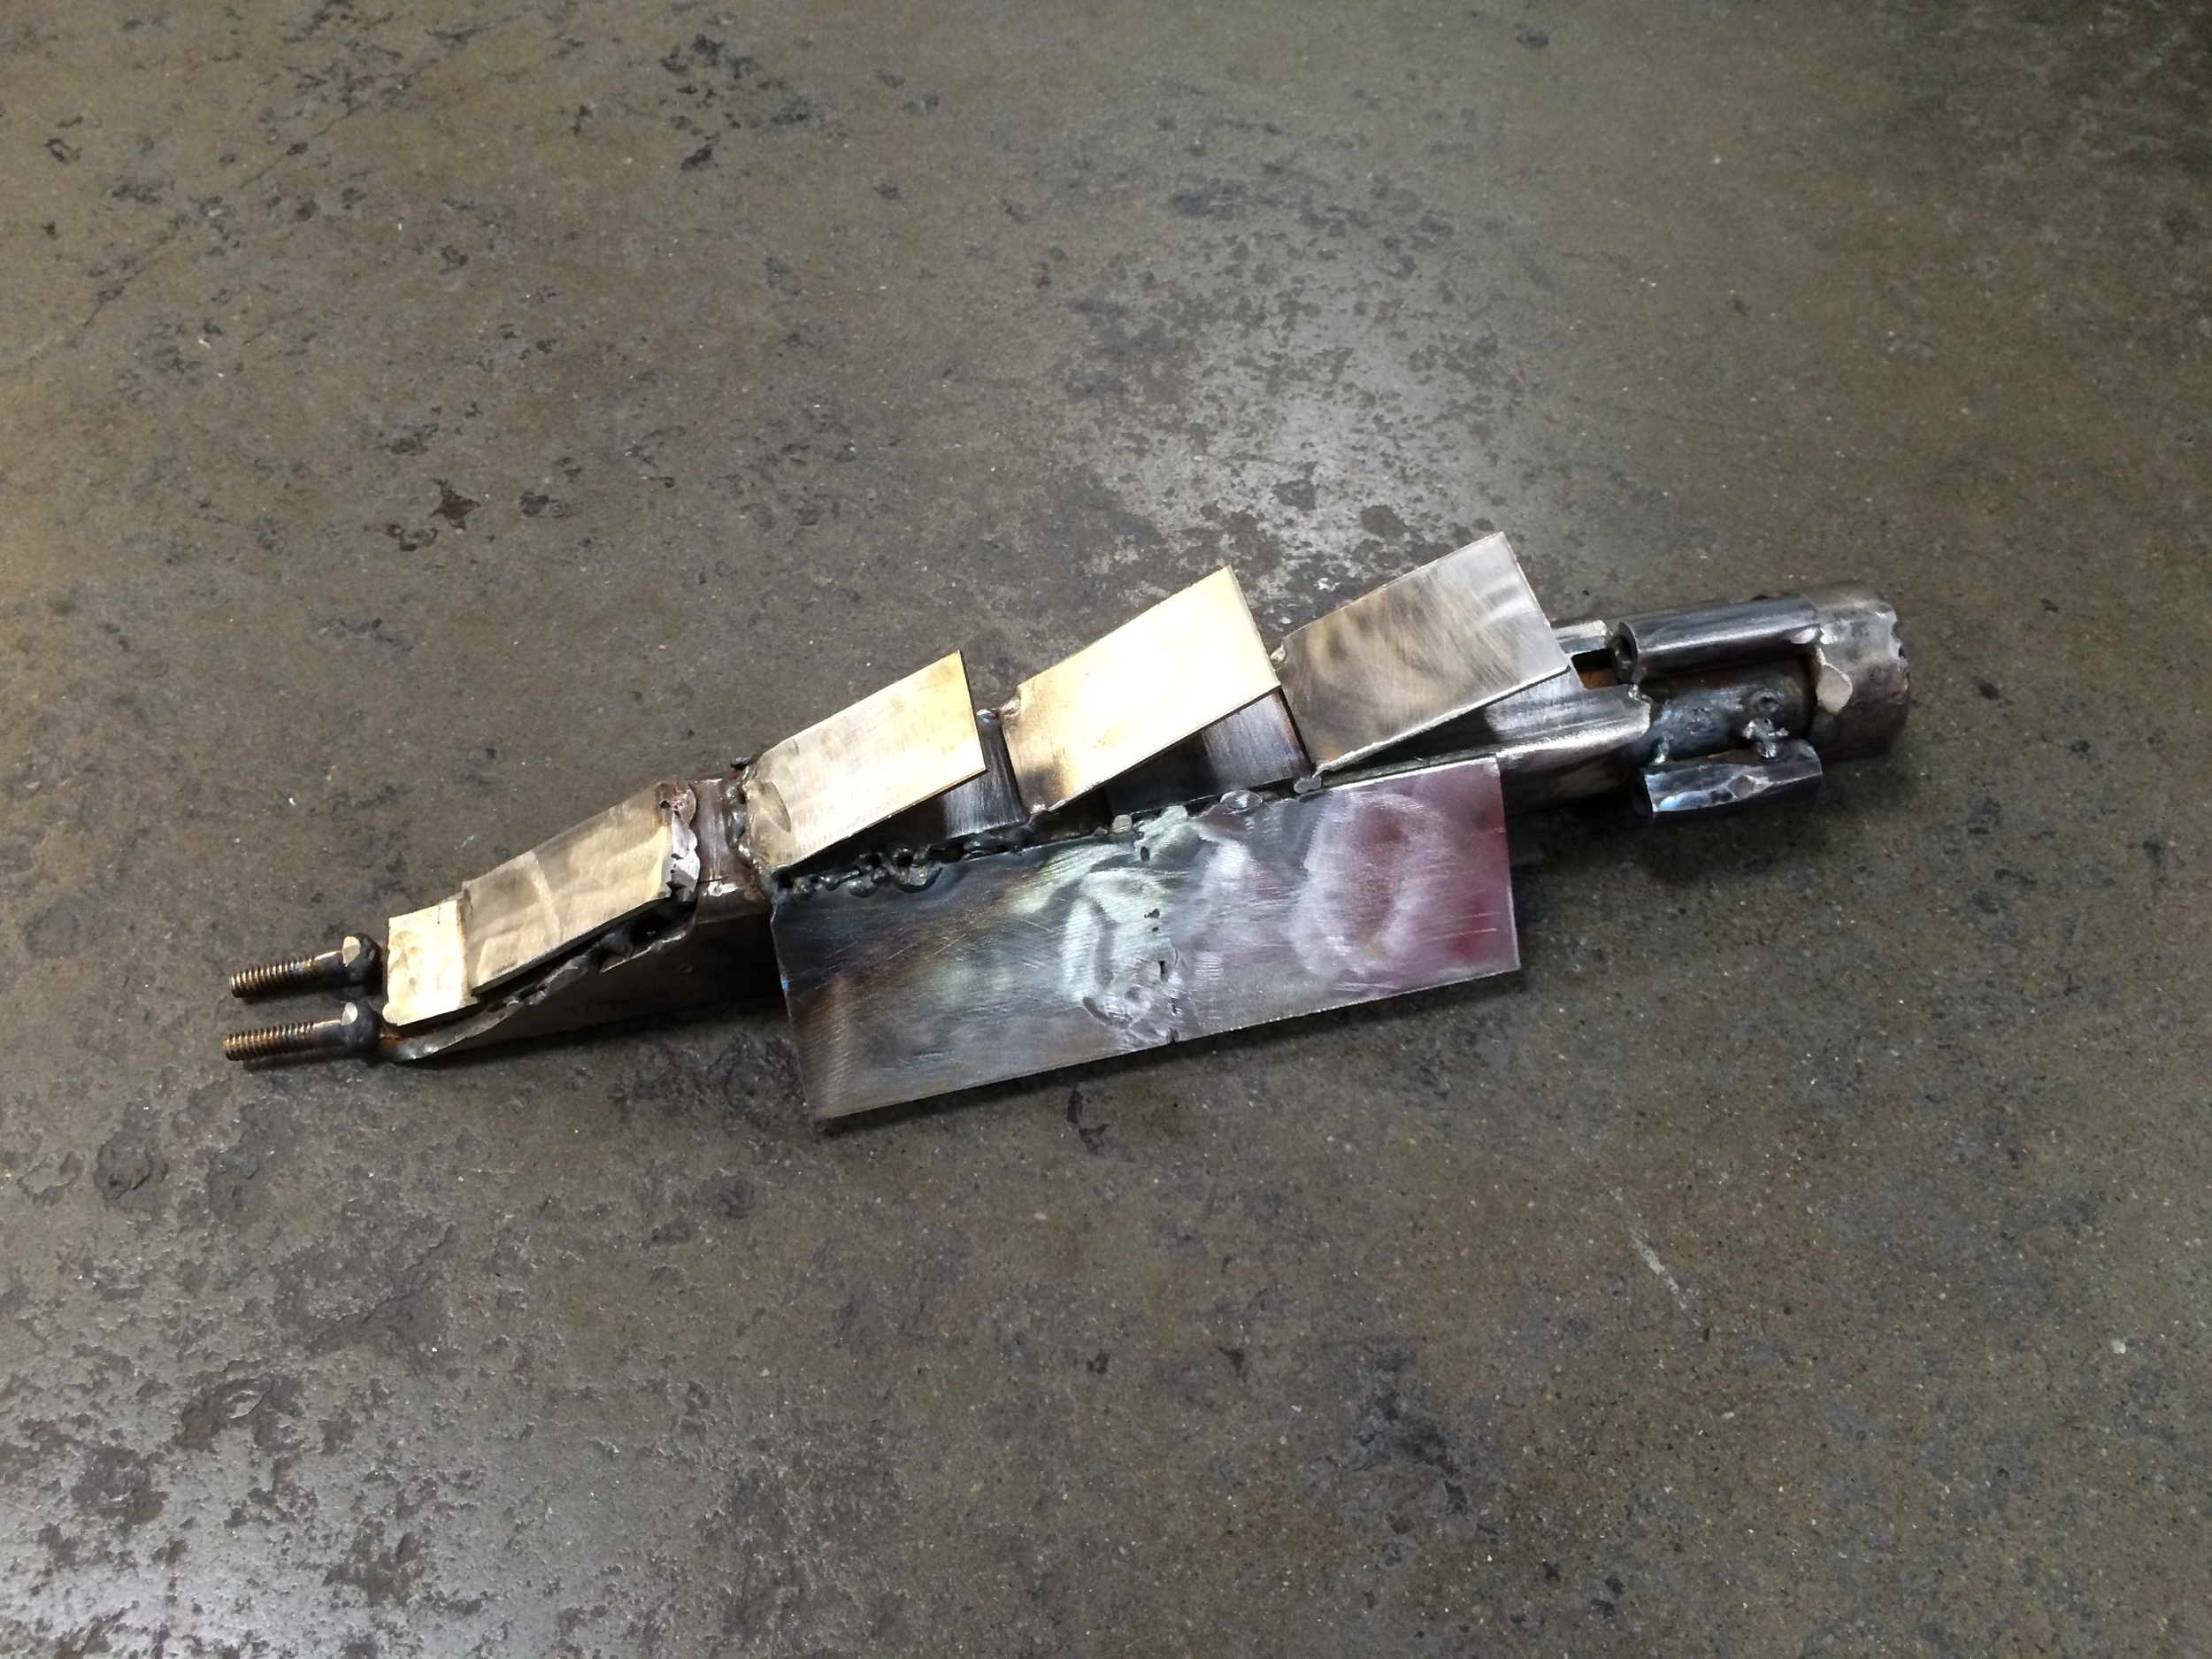
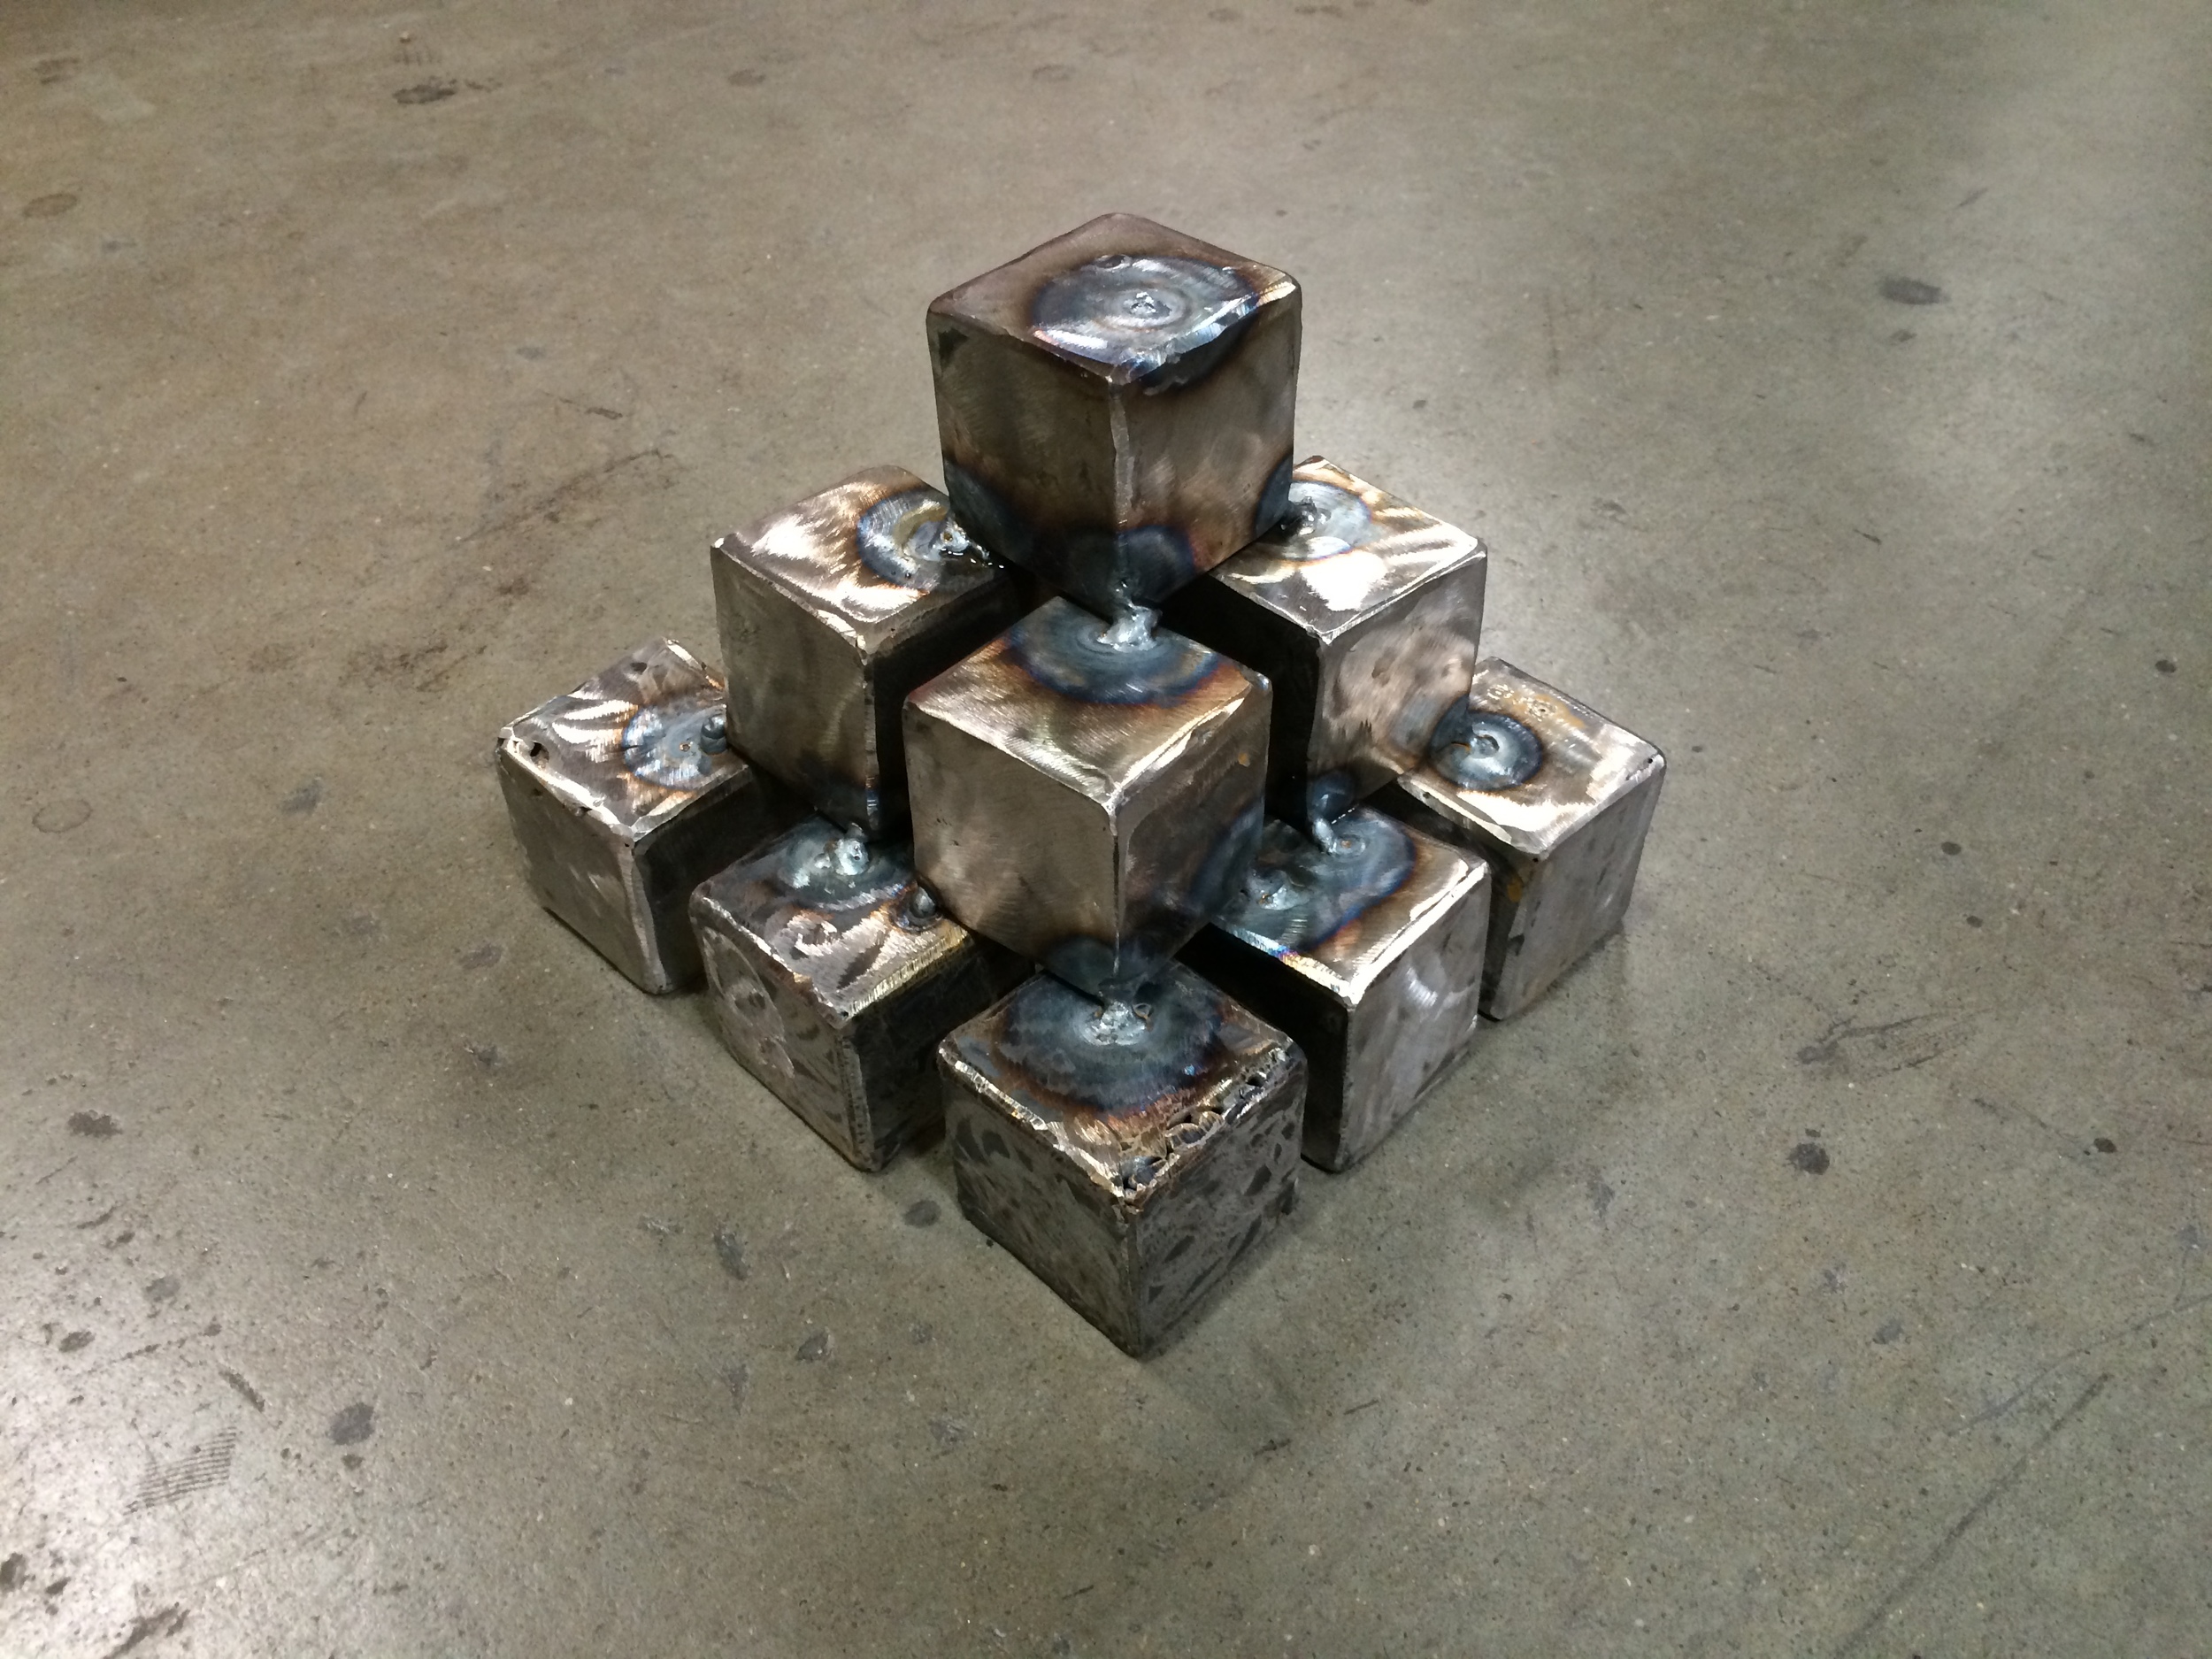
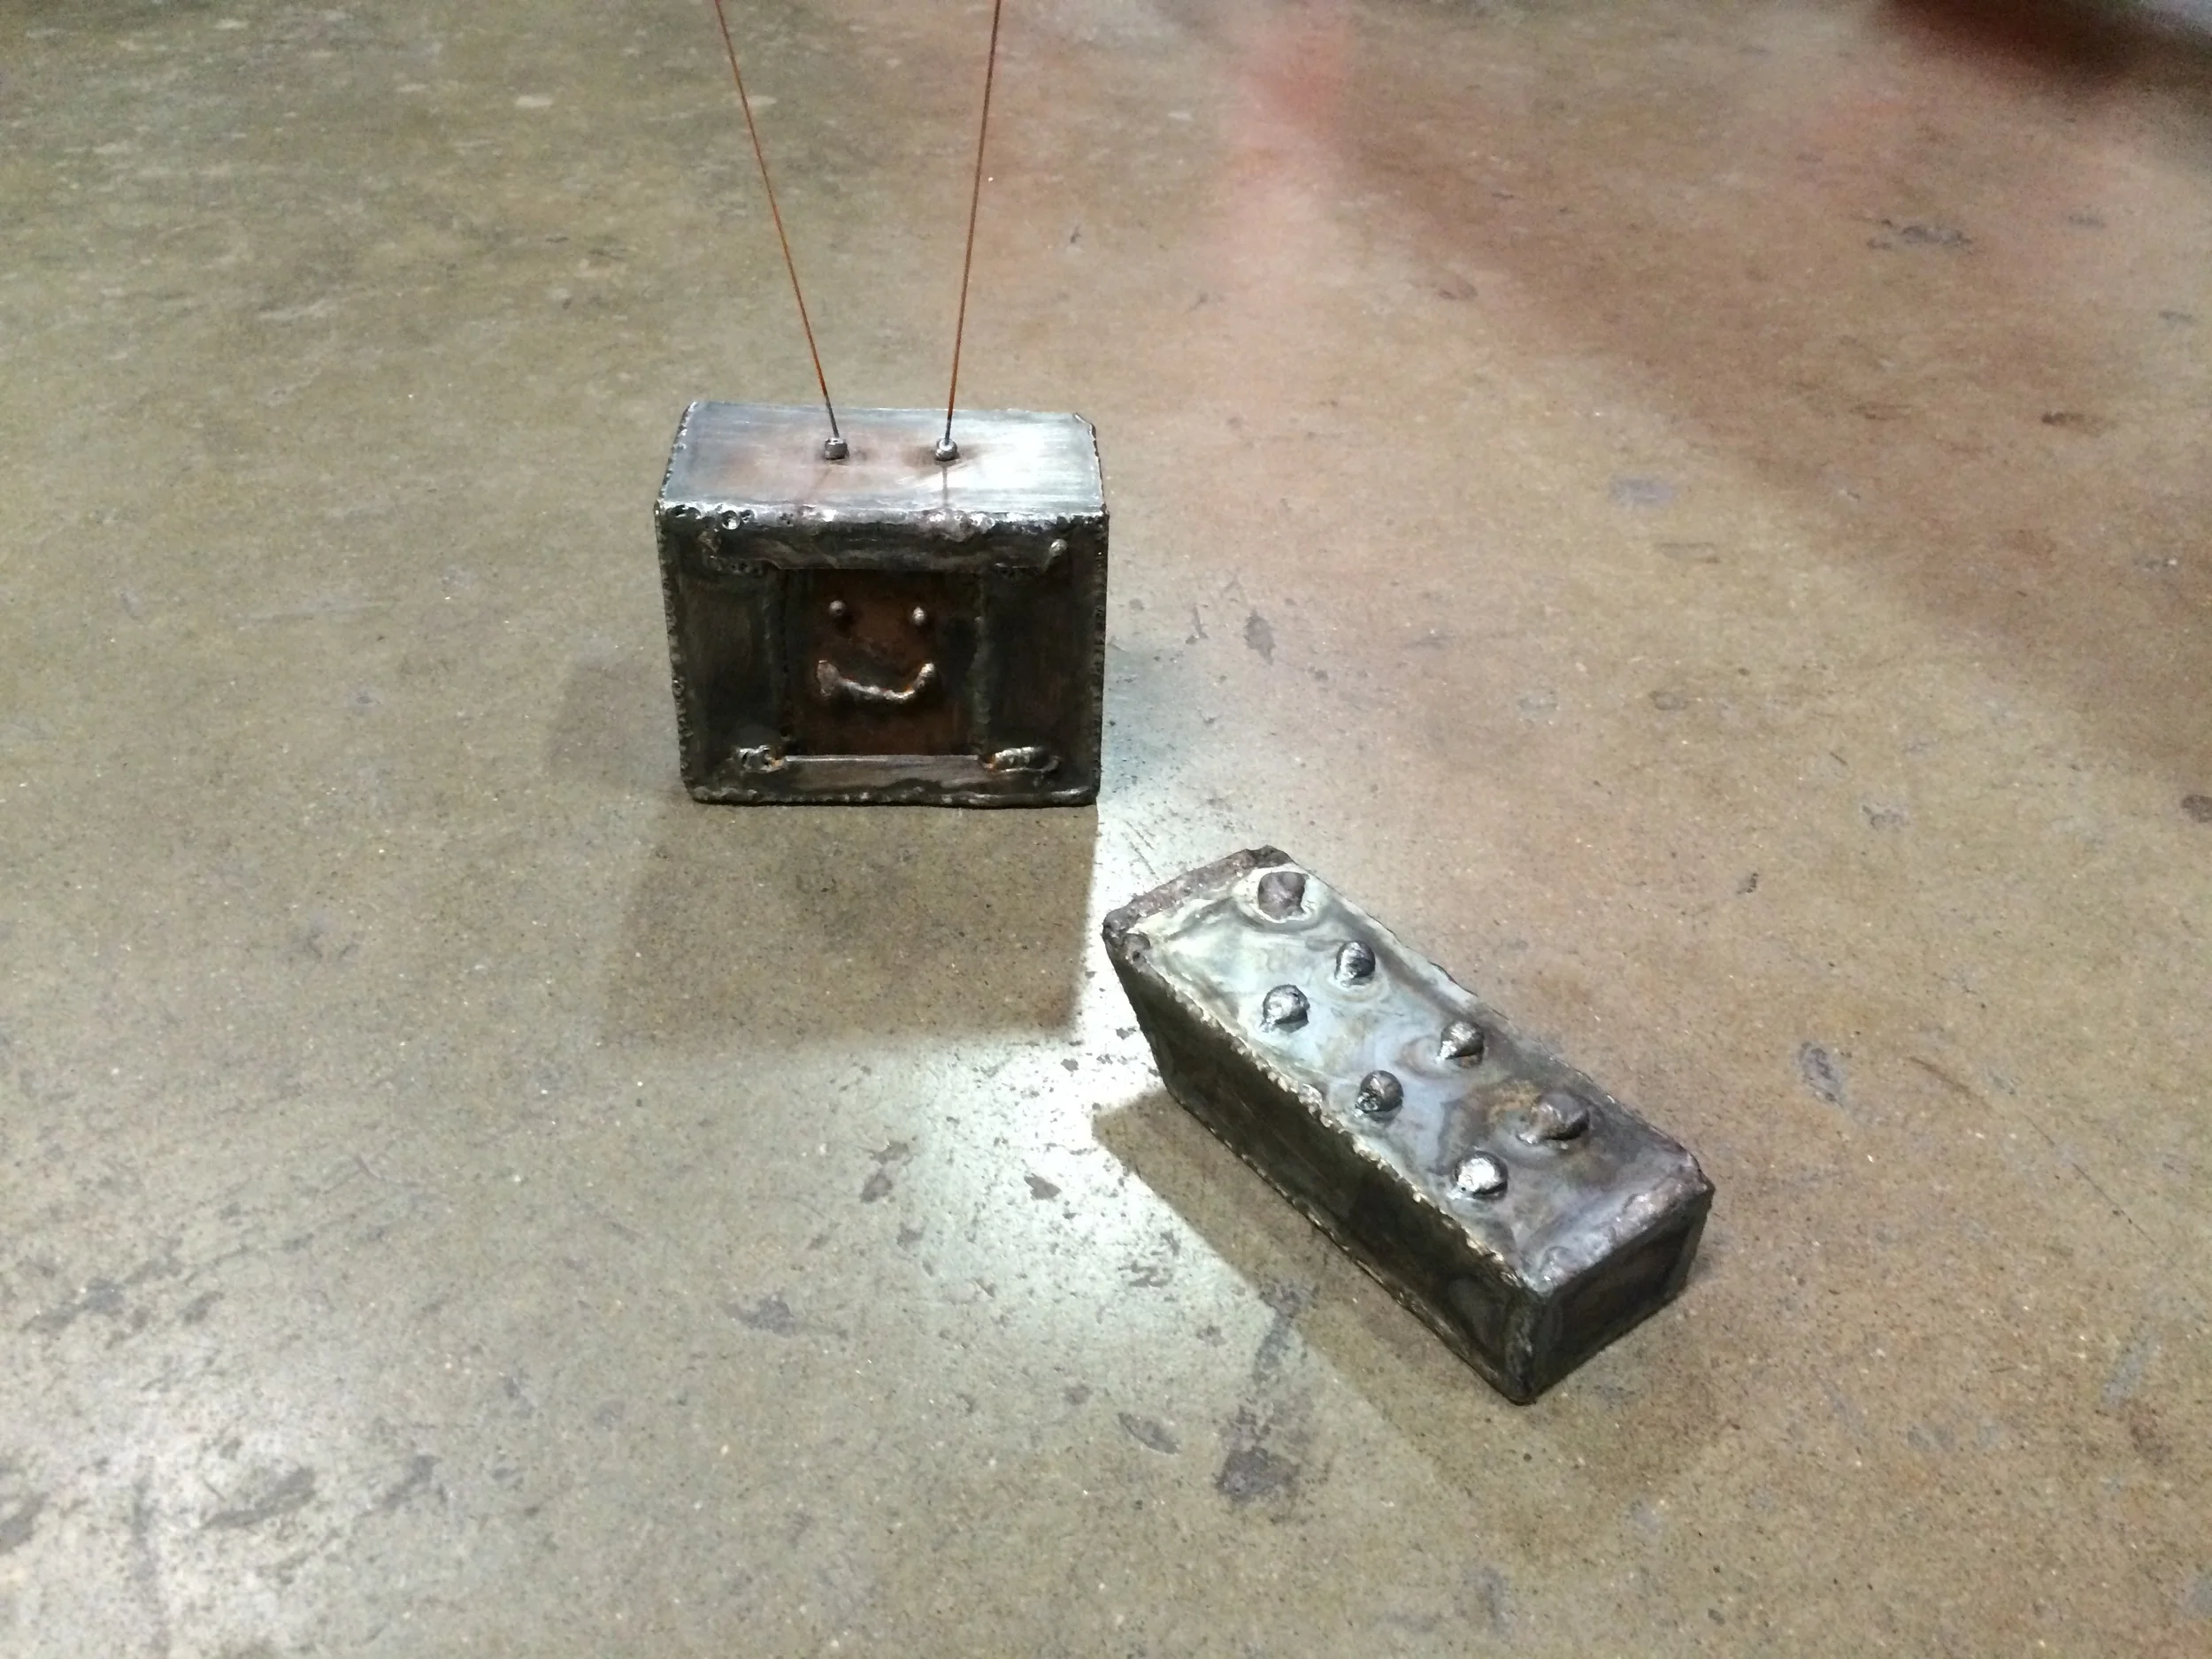
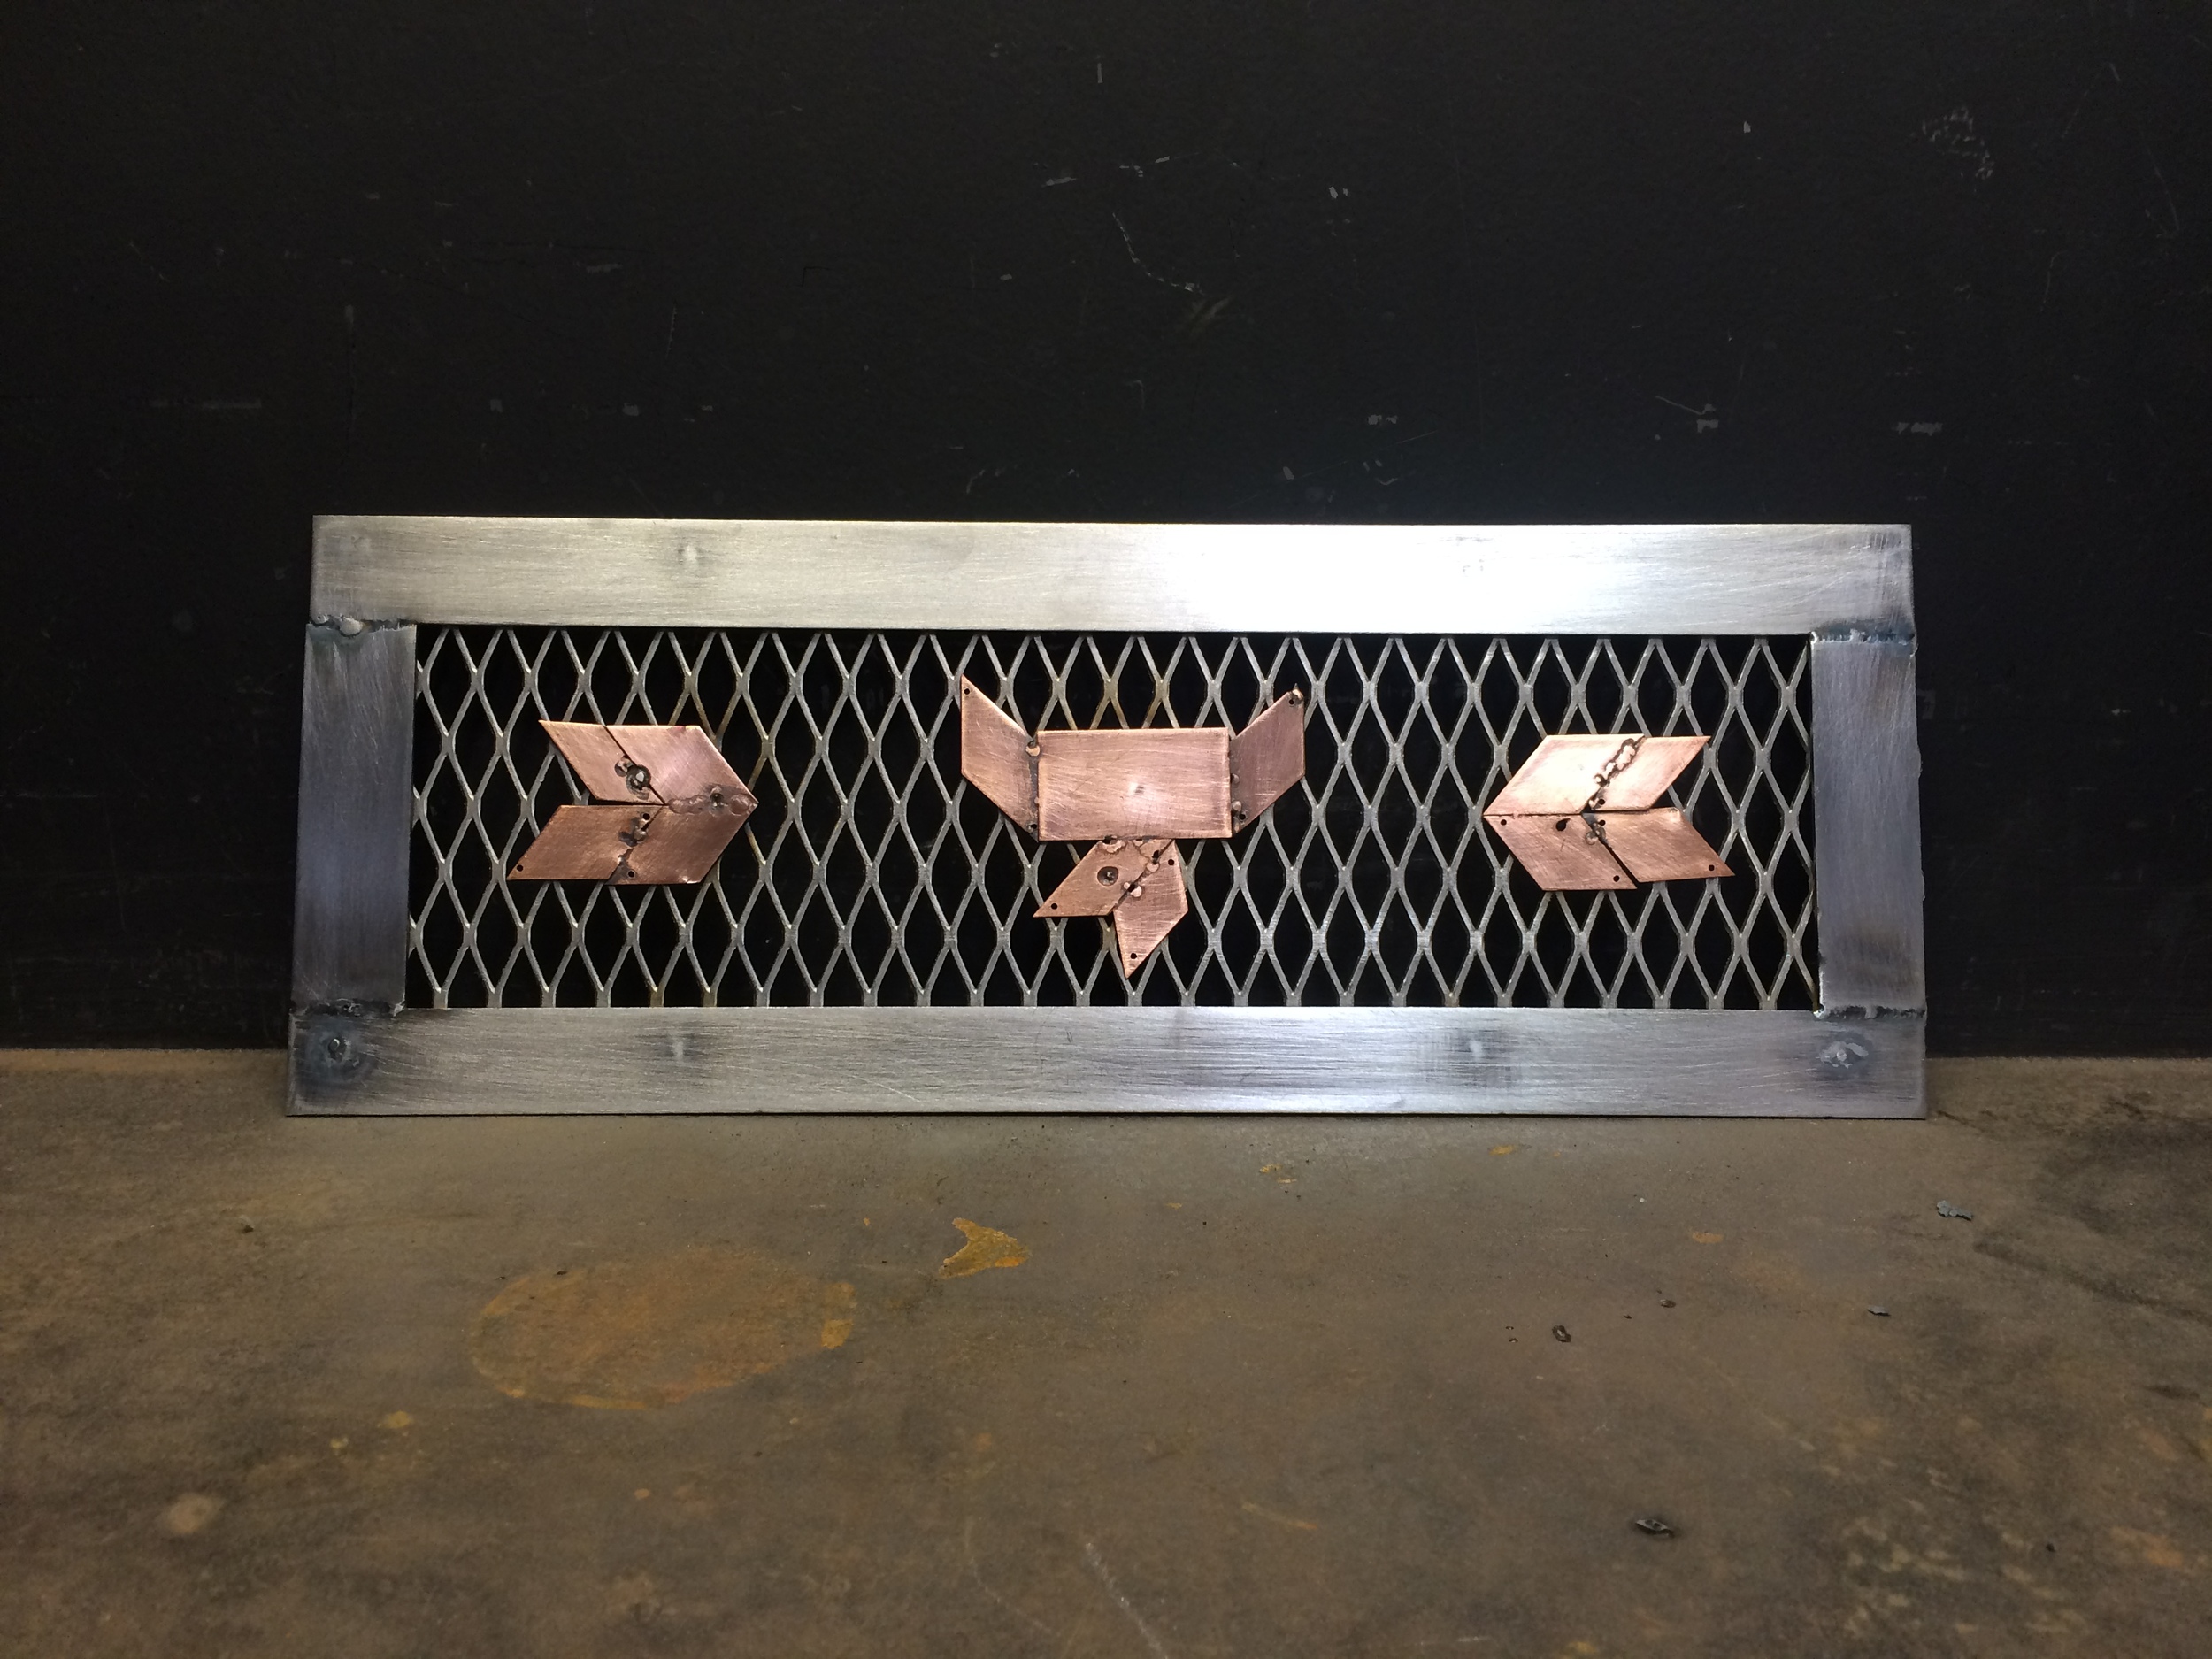
Photographers Elle Wildhagen and Zachary Domes put together this beautiful piece about me for their project, The New Americans. It features 20 people across the U.S. with completely different lives and stories -- each one is poignant and thoughtful its own way. In my story, I talk about welding, impostor syndrome, and "mansplaining" in the metal shop.

It's clear that Elle and Zach are master storytellers, in addition to being skilled photographers. I loved talking with them, and showing them around the shop. I felt like they really "got" me -- It felt so good to be seen and heard and understood. What a gift. See the other stories on Vimeo.

Time-Lapse Geo Planter, Start to Finish

Ever wonder what goes into each Elektra Steel piece? Here's a time-lapse video of me creating a Geo Planter from start to finish. You'll see me cutting out all 17 stainless steel parts with a power shear, drilling a hole for drainage, TIG welding the parts together, sandblasting the interior, sanding down the exterior welds with an angle grinder, buffing the outside with Scotch-Brite, cleaning it with alcohol, and finally sealing it with a clear metal oil. All in a day's work!

Volunteer Welding for the Temple of Promise

I recently started volunteering to help build a part of the Temple of Promise for Burning Man 2015. My friend Jazz Tigan is the artist who created this year’s winning design, and he's been bugging me for months to put my metalworking skills to use. I finally joined the volunteer team of builders, and I'm so glad I did!

The design of the Temple is a giant, sweeping spiral made of wood and copper. In the center is a grove of steel trees -- that's the part that I've been working on. Though most of the Temple construction has been happening in Alameda, sculptor and metalworker Kevin Byall has been spearheading the Grove fabrication at American Steel in West Oakland -- just a couple blocks away from my studio at The Crucible. Hear Kevin describe the project in his own words:

So far, it’s been an absolute blast. They’d already created the tree frames out of steel rod when I joined, and now we're cutting steel screen into slivers and wrapping it around the tree frames. I don’t have much experience working with organic, flowing curves, and I’ve learned a lot of new fabrication tricks already.

One aspect that I've really enjoyed so far is the experience of being a worker bee on a large team of volunteers. I’m used to working solo on Elektra Steel stuff, and it’s really cool be able to tag-team construction challenges with a buddy or two.

It’s also given me an opportunity to brush up on my MIG welding and plasma cutting skills, neither of which I’d used since high school. I forgot how many sparks there are with MIG! I foolishly welded without a jacket one day, and I'm pretty sure I singed off most of my arm hair. 

Helping out on such a giant project is starting to give me a sense for how massive sculptures are constructed. I’m getting inspired! I'm thinking that I might want to design something huge at some point in the next year or two...

This is just a small peek into one portion of the Temple prep -- there's a whole other circus going on in Alameda, where a team of volunteers have spent the entire summer working on the Temple itself. They're loading up the trucks now and will be hitting the road soon! Follow Temple of Promise on Facebook for more updates.

If you’re going to Burning Man this year and would like to contribute to the Temple of Promise, please consider donating to the Kickstarter campaign. It’s going to be a stunning space in which to reflect, and its existence is due to the passion, money, and elbow grease of the Burning Man community. Thank you, and see you on the Playa!

Geo Vase Instructable

If you're curious about how I designed and fabricated this 31-sided stainless steel vase, check out the Instructables article I just published! In it, I share every step of the design and fabrication process with photos, time-lapse videos, and step-by-step instructions.

The article actually just got featured on the Instructables homepage, which is so rad! They have a metal-themed contest running right now, so if you think I should win, feel free to vote for my Instructable. :) 

Here are some of my favorite behind-the-scenes photos and videos to pique your interest:

Teaching Teens How to TIG Weld

For the last few weeks, I've been teaching TIG welding at the Crucible's Youth Summer Camps! I learned how to weld when I was 14, and it's so cool that I'm now in a position to teach other young people how to weld.

Learning how to MIG, TIG, blacksmith, machine, and anodize when I was in high school had a profound impact on my teenage years. I was a quiet, studious high schooler who loved drawing and painting. But when I first stepped into the metal shop in ninth grade, I was intimidated -- I didn't see how I'd ever get comfortable with the scary-looking tools. But my shop teacher, David Clifford, taught me how to use every tool safely and confidently. And slowly, I began to see that I could use these powerful machines to create beautiful objects from my imagination. My confidence grew, and I fell in love with metalworking.

Working on my high school senior project.

Fast-forward thirteen years: David is still one of my dearest mentors (he actually served as a reference for me when I applied for the teaching job at the Crucible), and over the last couple weeks, I've taught nearly 30 young people aged 13-18 how to TIG weld. It's been an amazing experience! I'm starting to figure out what kinds of explanations and demos are most helpful, and I'm developing my own teaching style.

I've been totally blown away by my students' creativity. So far, they've made miniature art cars, spaceships, elephants, coasters, robots, cars, bridges, pencil holders, stars, factories, hands, signs, and abstract cube structures. We don't give them that much to work with -- just some sheet metal, nuts and bolts, maybe a little leftover perforated sheet -- but they make magic out of it. 

It's also amazing to see their progression over the course of a week. On Monday, they're figuring out how to wield the TIG torch, which requires a lot of coordination and finesse. That's when they need the most instruction and feedback. By Tuesday, they're successfully doing fusion welds, using filler rod, and assembling little cubes. By Wednesday, nearly every student has a project in mind, and they're figuring out how to begin fabrication. On Thursday and Friday, I'm just a consultant, doing custom cuts here and there and helping problem-solve when needed. At the end of week, the Crucible hosts a gallery walk in which youth camp students across all departments (TIG, arc, blacksmithing, foundry, jewelry, glassblowing, kinetics, leather, etc.) showcase their work for each other and for parents. The students are always beaming, and I feel like a proud parent!

Dream team Jazzy and Kobe

None of this would be possible without Jazzy, my 19-year-old TA, and Kobe, my 17-year-old youth intern. This brother-and-sister duo started taking classes at the Crucible when they were only 12! They help me set up for class each morning, lead demos, mentor students one-on-one, and -- now that they've mastered the horizontal band saw, power shear, and angle grinder -- they're also assisting students with cutting and grinding during class. In return, I'm doing my best to help them add new tools and skills to their own metalworking repertoires. As I'm drafting this, Kobe and I are both working late in the TIG room -- I'm writing, and he's finishing up a gorgeous steel Godzilla sculpture for the Crucible's Fuego Internship showcase. I'm lucky to be teaching (and learning myself!) alongside these two stellar young metalworkers.

Kobe working on Godzilla, his final project for The Crucible's Fuego Internship Showcase

If you live in the Bay Area, come check out the Crucible! They offer tons of amazing classes for both adults and young people. They also host team-building workshops for organizations, which are always a lot of fun (I've taught workshops for companies like Cisco and Zynga). Ask your boss if you can come to the Crucible for your next offsite!

Geo Bowl Instructable

I just published my very first Instructable! I did a super detailed instructional write-up of how I made those geo bowls, complete with dozens of process photos and videos. Unlike the blog post I wrote a few weeks ago about the bowls, the Instructable is geared at my fellow metalworkers -- I nerd out about TIG filler rod thickness, how to weld without clamps or vice grips, and the advantages to waxing stainless steel.

Are you a metalworker? Check out the Instructable -- I'm curious to hear your feedback, questions, and tips!

Fifteen Centerpiece Geo Bowls

I spent the last two weeks designing and fabricating 15 custom geometric bowls for a global tech company based in San Francisco. Their annual client and developer conference is coming up in a few days, and the bowls will be used as table centerpieces.

A friend on their events team had seen a photo of the geo planter I made a few months ago, and reached out to see if the design could be customized for their needs. I'd never done a production run this large before, but I was excited for the challenge.

Here's how I made the bowls!

First, I created a 3D model of the design in SketchUp. I started with a dodecahedron (my favorite platonic solid) and modified it to create an open, faceted bowl. As soon as I got the thumbs-up from the client, it was time to waterjet cut the pieces. I used Adobe Illustrator to create a vector line drawing of all of the pieces that I'd need to cut out of stainless steel sheet.

The last time I made a piece like this, I did all the waterjet cutting myself, which was time-consuming because I was still learning. Due to the scale of this project, I decided to outsource the cutting. So glad I did! The company I used, Triton Waterjet, was super pro -- clean edges, no burrs or tabs, flawless steel, and quick turnaround time. Here are one hundred pounds of beautiful pentagons, ready to go:

And then the welding marathon began! I started by tacking the faces together at each vertex. A number of metalworkers have asked me how I clamp down the pieces for this type of project. I actually don't use clamps or jigs at all. Instead, I just prop up the pieces on a block -- or even hold them together with my gloved hands -- and do a quick flash-tack to join the pieces. Then I bend the pieces into the correct angle before continuing to weld.

Once the form was tacked together, it was time to weld all the edges. TIG welding is my absolute favorite part of metalworking, and I was thrilled when the moment finally arrived to lay down a bead. And then another one. And then another one. And then another one...

Stainless steel is one of my favorite metals to work with because it welds cleanly and makes shimmery rainbows patterns.

Here's what the bowl looked like after welding all the edges.

For those of you who are really curious about this whole process, here's a four-minute time-lapse video of me tacking and welding a bowl.

Aaaannnd repeat x15!

It was both luxurious and exhausting doing nothing but weld all day long. I welded all fifteen bowls in two and a half days, which is definitely some sort of personal record. What's interesting is how much I improved over the course of the project: When I made the initial prototype, the welding took me six hours (lots of trial and error!). Bowl number one took two and a half hours to weld (better, but still learning). By bowl number four, I'd gotten it down to 40 minutes (I'm a machine!!). I learned a lot about efficiency and scale with this project!

Once the bowls were assembled, it was time for sanding and buffing. I like this step because it's like the big reveal -- I finally get to see the sharp jumble of sheet metal transformed into the lovely and smooth piece I'd envisioned in my mind. For sanding and buffing, a variable-speed angle grinder is my best friend. I started with an 80-grit flapwheel disc to sand down the welds, and then went over the entire outer surface with a Scotch-Brite disc to give it a satiny sheen. 

Here's a time-lapse video of me sanding and buffing a bowl. It shortens 45 minutes of elbow grease into a snappy 35 seconds. 

Not gonna lie, I was physically exhausted after sanding all 15 bowls. The weight, vibrations, and centrifugal force of the angle grinder did a number on my forearms and hands. My neck ached from bending over, and I was covered in a fine layer of metal dust at the end of each day. It was a relief to finally move on from this stage!

For the last step, I gave each bowl a coat of clear metal wax, which hardens and cures after being buffed. A protective sealant isn't really necessary for stainless steel, as it won't rust or tarnish, but I like the way wax looks. It gives the piece a little extra sheen, and it keeps fingerprints from appearing on the surface.

Here's a close-up of the bottom of a bowl, on which I'd stamped my company name, letter by letter. I had recently gotten coffee with Meyghan Hill from Whorehaus Studios (she's a kickass LA-based designer, welder, and business woman), and when chatting about this project, she insisted that I mark each piece with my company name -- brilliant. I immediately ordered metal alphabet stamps for myself. Thank you for the tip, Meyghan!

And here's a photo of the bowl at the conference! 

Time-Lapse TIG Welding

This week, I'm making 15 stainless steel centerpiece bowls for a tech company's annual conference. This is the largest production run I've done so far. It took me two and a half hours to weld the first bowl together, but by bowl number six, I'd gotten it down to 40 minutes. Here's a four-minute time-lapse video I made of me welding one bowl at 12x speed.