Well, it took me a year to get around to doing this, but I finally sent out the very first Elektra Steel newsletter! Take a peek below, and if you enjoy it, why not sign up to receive the next one in your inbox?

Mark Your Calendar: Holiday Craft Fairs!
I'm excited to announce that Elektra Steel will be selling at two holiday craft fairs in SF this winter! I know it's not even Halloween yet, but if you enjoy shopping for unique, handcrafted goods, get these two awesome events on your calendar now:
SF Etsy Indie Holiday Emporium
Saturday and Sunday, November 28th-29th, 11am - 5pm
Pier 35, San Francisco
Add to Calendar
11/28/2015 11:00 AM
11/28/2015 5:00 PM
America/Los_Angeles
Elektra Steel at the SF Etsy Indie Holiday Emporium!
Elektra Steel will have a booth at the SF Etsy Indie Holiday Emporium! Swing by to get a head-start on your holiday shopping!
(Google Calendar users: Please note that event is happening on BOTH Saturday AND Sunday, 11am-5pm, even though Google Cal might only show it as being on Saturday.) Pier 35, San Francisco, CA https://www.facebook.com/events/143629982648495 false MM/DD/YYYY 15 FREQ=DAILY;COUNT=2
(Google Calendar users: Please note that event is happening on BOTH Saturday AND Sunday, 11am-5pm, even though Google Cal might only show it as being on Saturday.) Pier 35, San Francisco, CA https://www.facebook.com/events/143629982648495 false MM/DD/YYYY 15 FREQ=DAILY;COUNT=2
Urban Air Market: Holiday Show
Sunday, December 13th, 2015, 11am - 5pm
Pier 70, San Francisco
Add to Calendar
12/13/2015 11:00 AM
12/13/2015 5:00 PM
America/Los_Angeles
Elektra Steel at Urban Air Market: Holiday Show!
https://www.facebook.com/events/1521435664814846/
Elektra Steel will have a booth at Urban Air Market: Holiday Show! Come by to say hello and do some holiday shopping!
Pier 70, San Francisco, CA
false
MM/DD/YYYY
Elektra Steel will be at the SF Etsy Indie Holiday Emporium this year! (photo credit: SF Etsy Team)
Personally, I love doing my holiday shopping at craft fairs. It's the best way to find unique, beautifully-crafted gifts while also supporting local artists and craftspeople. (I also love shopping for myself at holiday craft fairs!)
Swing by the Urban Air Market: Holiday Show! (image credit: Urban Air Market)
I appreciate having the opportunity to understand the person and the story behind the object -- a refreshing change from online shopping. Last year at West Coast Craft, I bought a gorgeous horsehair necklace from fiber artist Faye Kendall. She and I talked for over half an hour about her process and her business! Now whenever I wear the necklace, it feels extra powerful because I know a bit of the story that surrounds the piece -- what inspired her, how she made it, and how much effort went into creating it.
Anyway, I'm hard at work gearing up for my first two craft fairs: I'm designing my booth, ordering printed marketing materials, getting my Square card reader up and running, placing steel lasercutting orders, and -- most importantly -- blocking off five solid weeks for building up my inventory. I'm going to be doing a lot of welding these next few months!
So, mark your calendars, wish me luck, and I hope to see you in person at one or both of these events!
The Elektra Steel Logo
If you've seen me in person lately, you may have noticed that I'm a bit obsessed with my own logo: I have custom-branded headphones, t-shirts, tanks, jacket, stickers, and a phone case. When I first started thinking about developing a brand identity last winter, I knew I wanted a logo that was so compelling, that I'd want to put it on everything. Thanks to my talented designer (and childhood best friend!) Jen Wong, I can finally say: Mission accomplished!


Jen and I have been friends since kindergarten. We took drawing classes together every Wednesday after school, stayed up late reading Wishbone books underneath blanket forts, did elaborate art projects during summer vacations, and spent much of fourth grade passing teeny, rolled-up notes to one another. After high school, she attended RISD, and then established herself as an incredibly talented design director at a digital agency in New York City.


Coincidentally, she began her freelance career right around the same time that I left my tech marketing job to start Elektra Steel. When she heard about what I was doing, she offered to help create my brand identity. I jumped at the opportunity to hire her -- I'd admired her portfolio and personal style for years, and I had complete trust in all her aesthetic choices. (Case in point: her mouth-watering Instagram.)
We started with the mark: I wanted a design that was bold, geometric, and edgy. In Jen's words: "We spent the most time developing a strong mark for Elektra Steel, going through many sketches, directions and iterations. The biggest challenge was developing a strong, geometric 2D mark that also hinted at three-dimensionality." Here's a photo of her sketchbook, during that initial brainstorming phase:
"After several weeks, we had three directions but realized — while they were close — they were not quite there." I had a gut feeling that I wasn't completely in love with the logo, but I felt bad asking Jen to go back to the drawing board -- especially after all the work she'd put into it already. When I finally brought it up, Jen was incredibly understanding and professional about my last-minute panic, and graciously agreed to rework the design.
When she showed me a brand-new direction the very next week, my heart started pounding and I practically jumped out of my seat -- I knew it was the one. The mark she designed was bold and geometric, and felt simultaneously edgy and balanced to me. It was suggestive of a lightning bolt, reminiscent of the arc of electricity used in TIG welding. It immediately felt right. I was in love.
The rest of the pieces fell into place quickly. "Once we had a mark we were happy with, I played with a few type options to match," says Jen. "Ultimately, I ended up modifying an existing typeface to better echo the sharp angles and points in the mark we created." After that, she whipped together a killer business card design, some Instagram templates, and a comprehensive set of brand guidelines that I refer to every time I'm creating a new asset or tweaking my website.
Having a sharp, consistent, and professional-looking brand across both digital and print has been a crucial step in building the Elektra Steel business. It tells a compelling story about what Elektra Steel stands for, and gives my fledgling company a polished edge. Huge kudos to Jen for her stellar work. And on a personal level, what a gift to have had this excuse to reconnect with my childhood best friend.
If you dig the Elektra Steel logo and want to order your own gear, check out my swag store!
Volunteer Welding for the Temple of Promise
I recently started volunteering to help build a part of the Temple of Promise for Burning Man 2015. My friend Jazz Tigan is the artist who created this year’s winning design, and he's been bugging me for months to put my metalworking skills to use. I finally joined the volunteer team of builders, and I'm so glad I did!


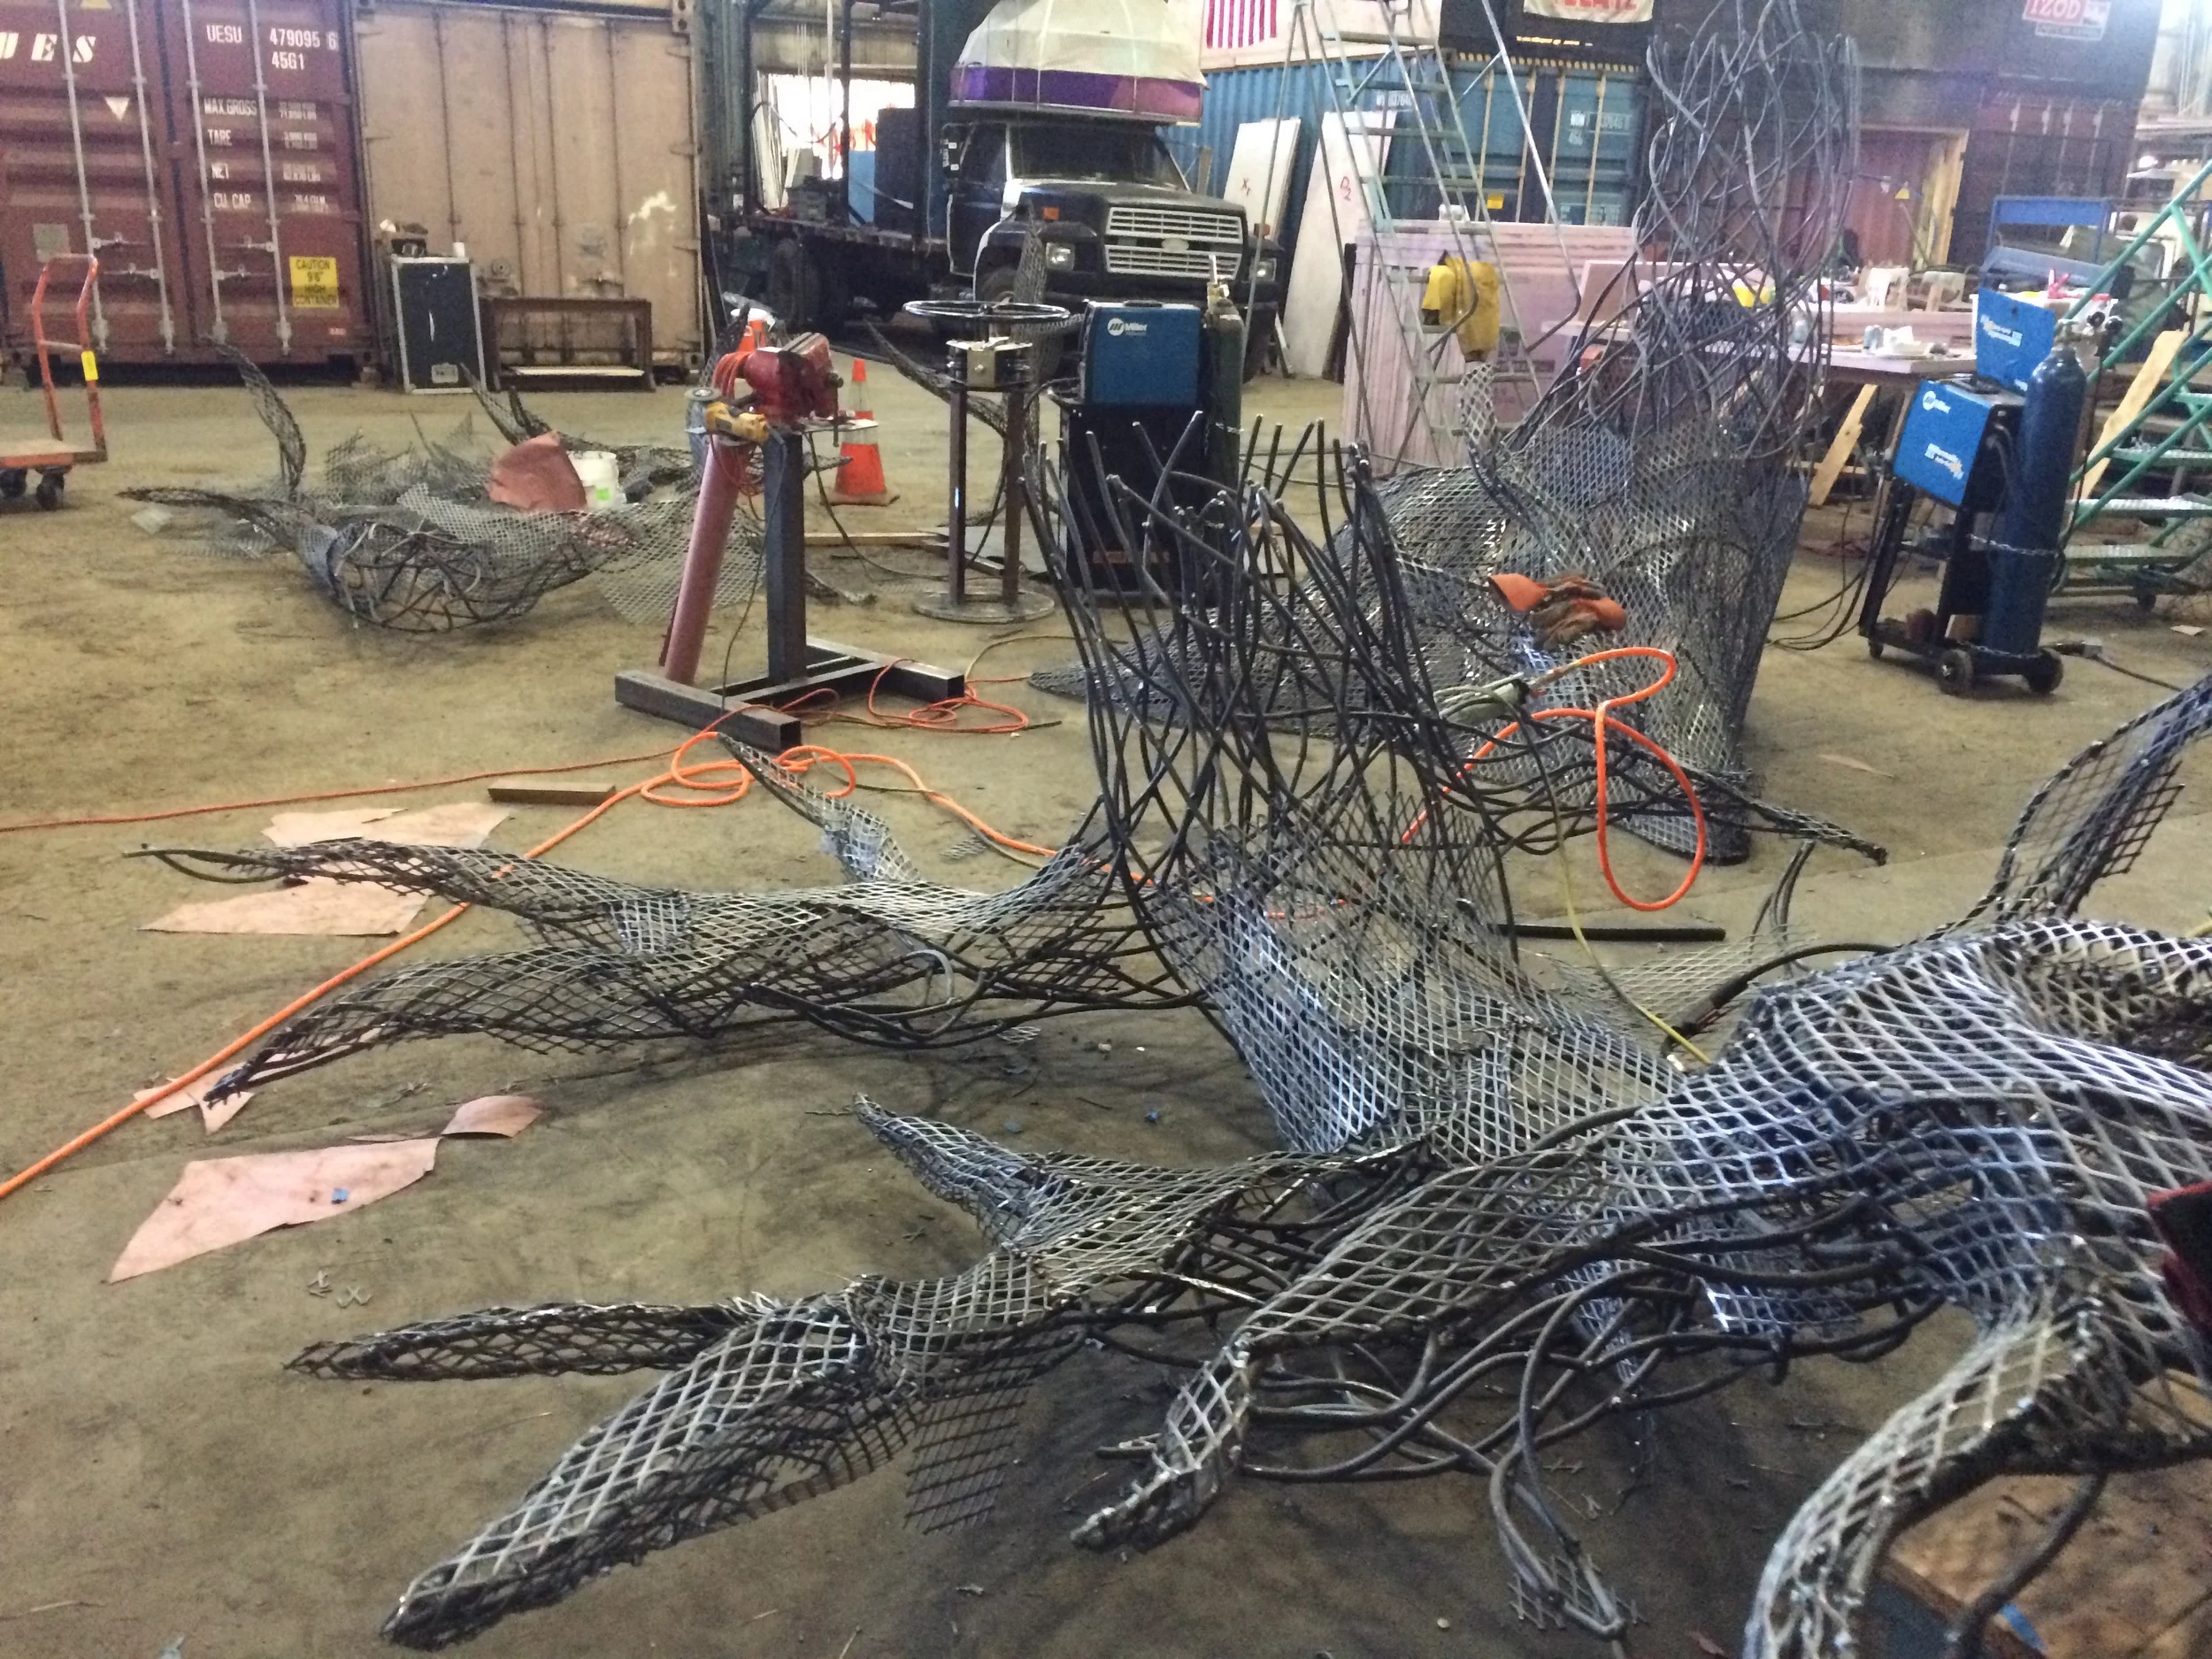
The design of the Temple is a giant, sweeping spiral made of wood and copper. In the center is a grove of steel trees -- that's the part that I've been working on. Though most of the Temple construction has been happening in Alameda, sculptor and metalworker Kevin Byall has been spearheading the Grove fabrication at American Steel in West Oakland -- just a couple blocks away from my studio at The Crucible. Hear Kevin describe the project in his own words:
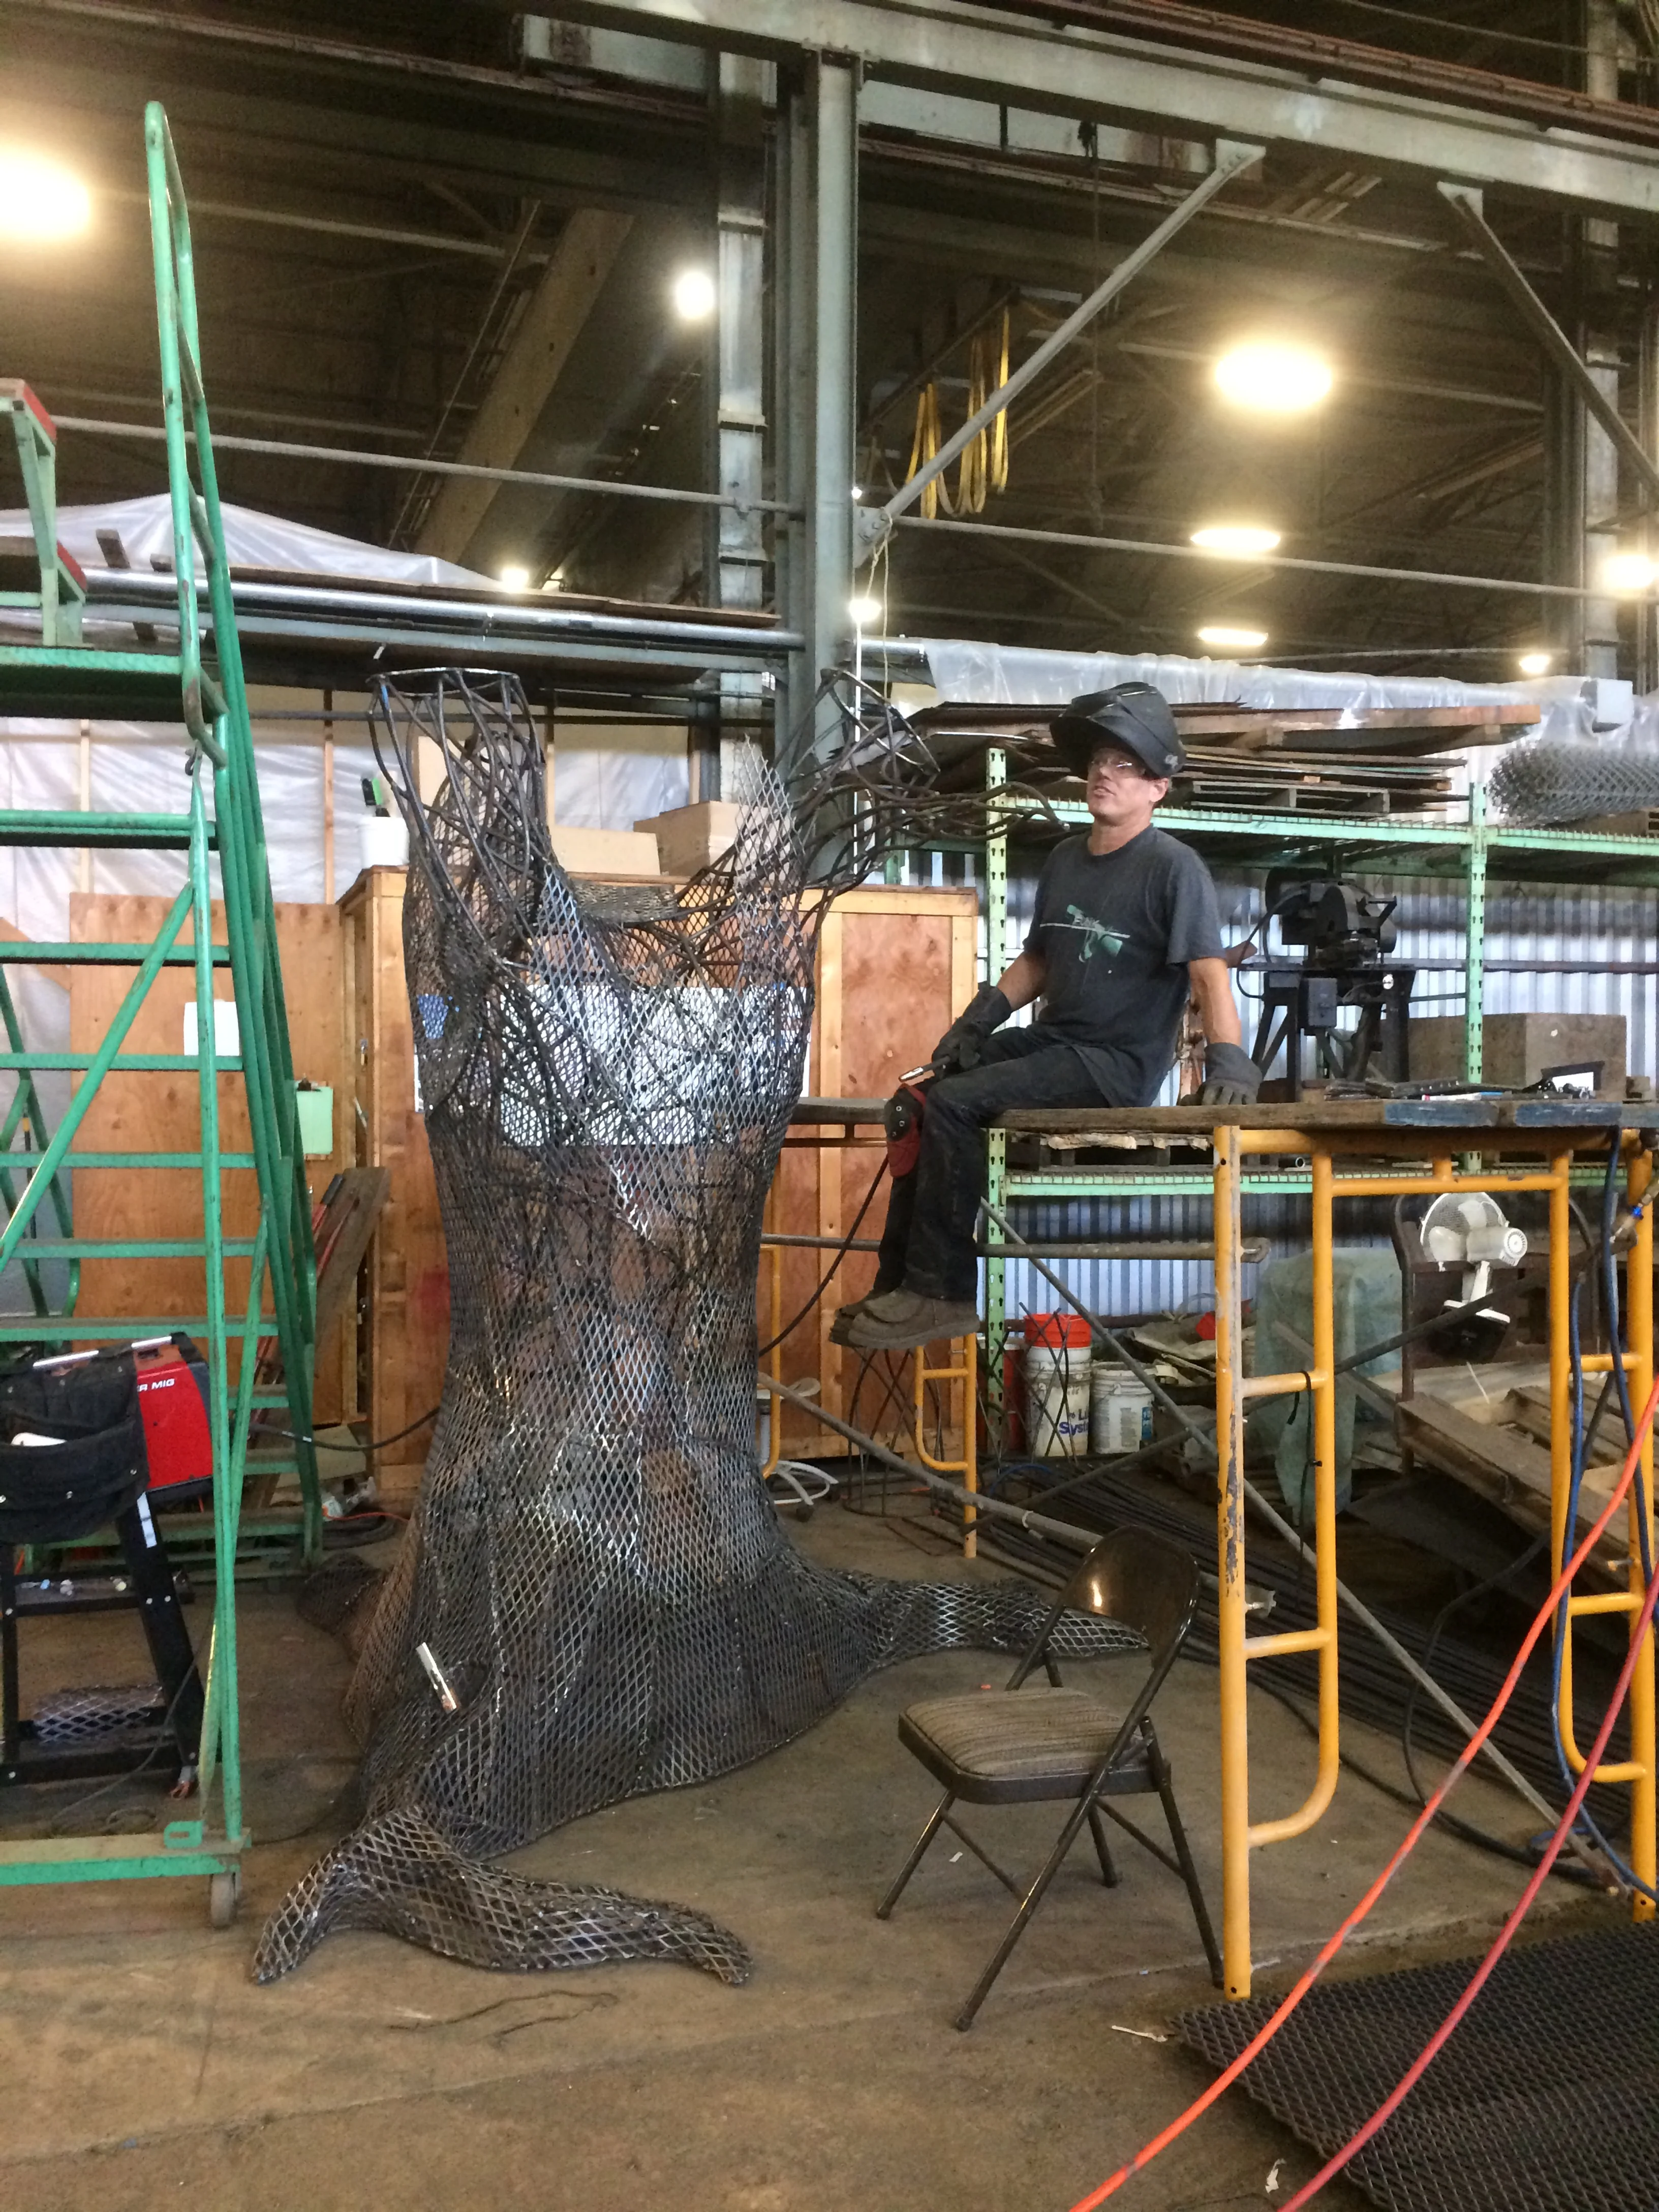
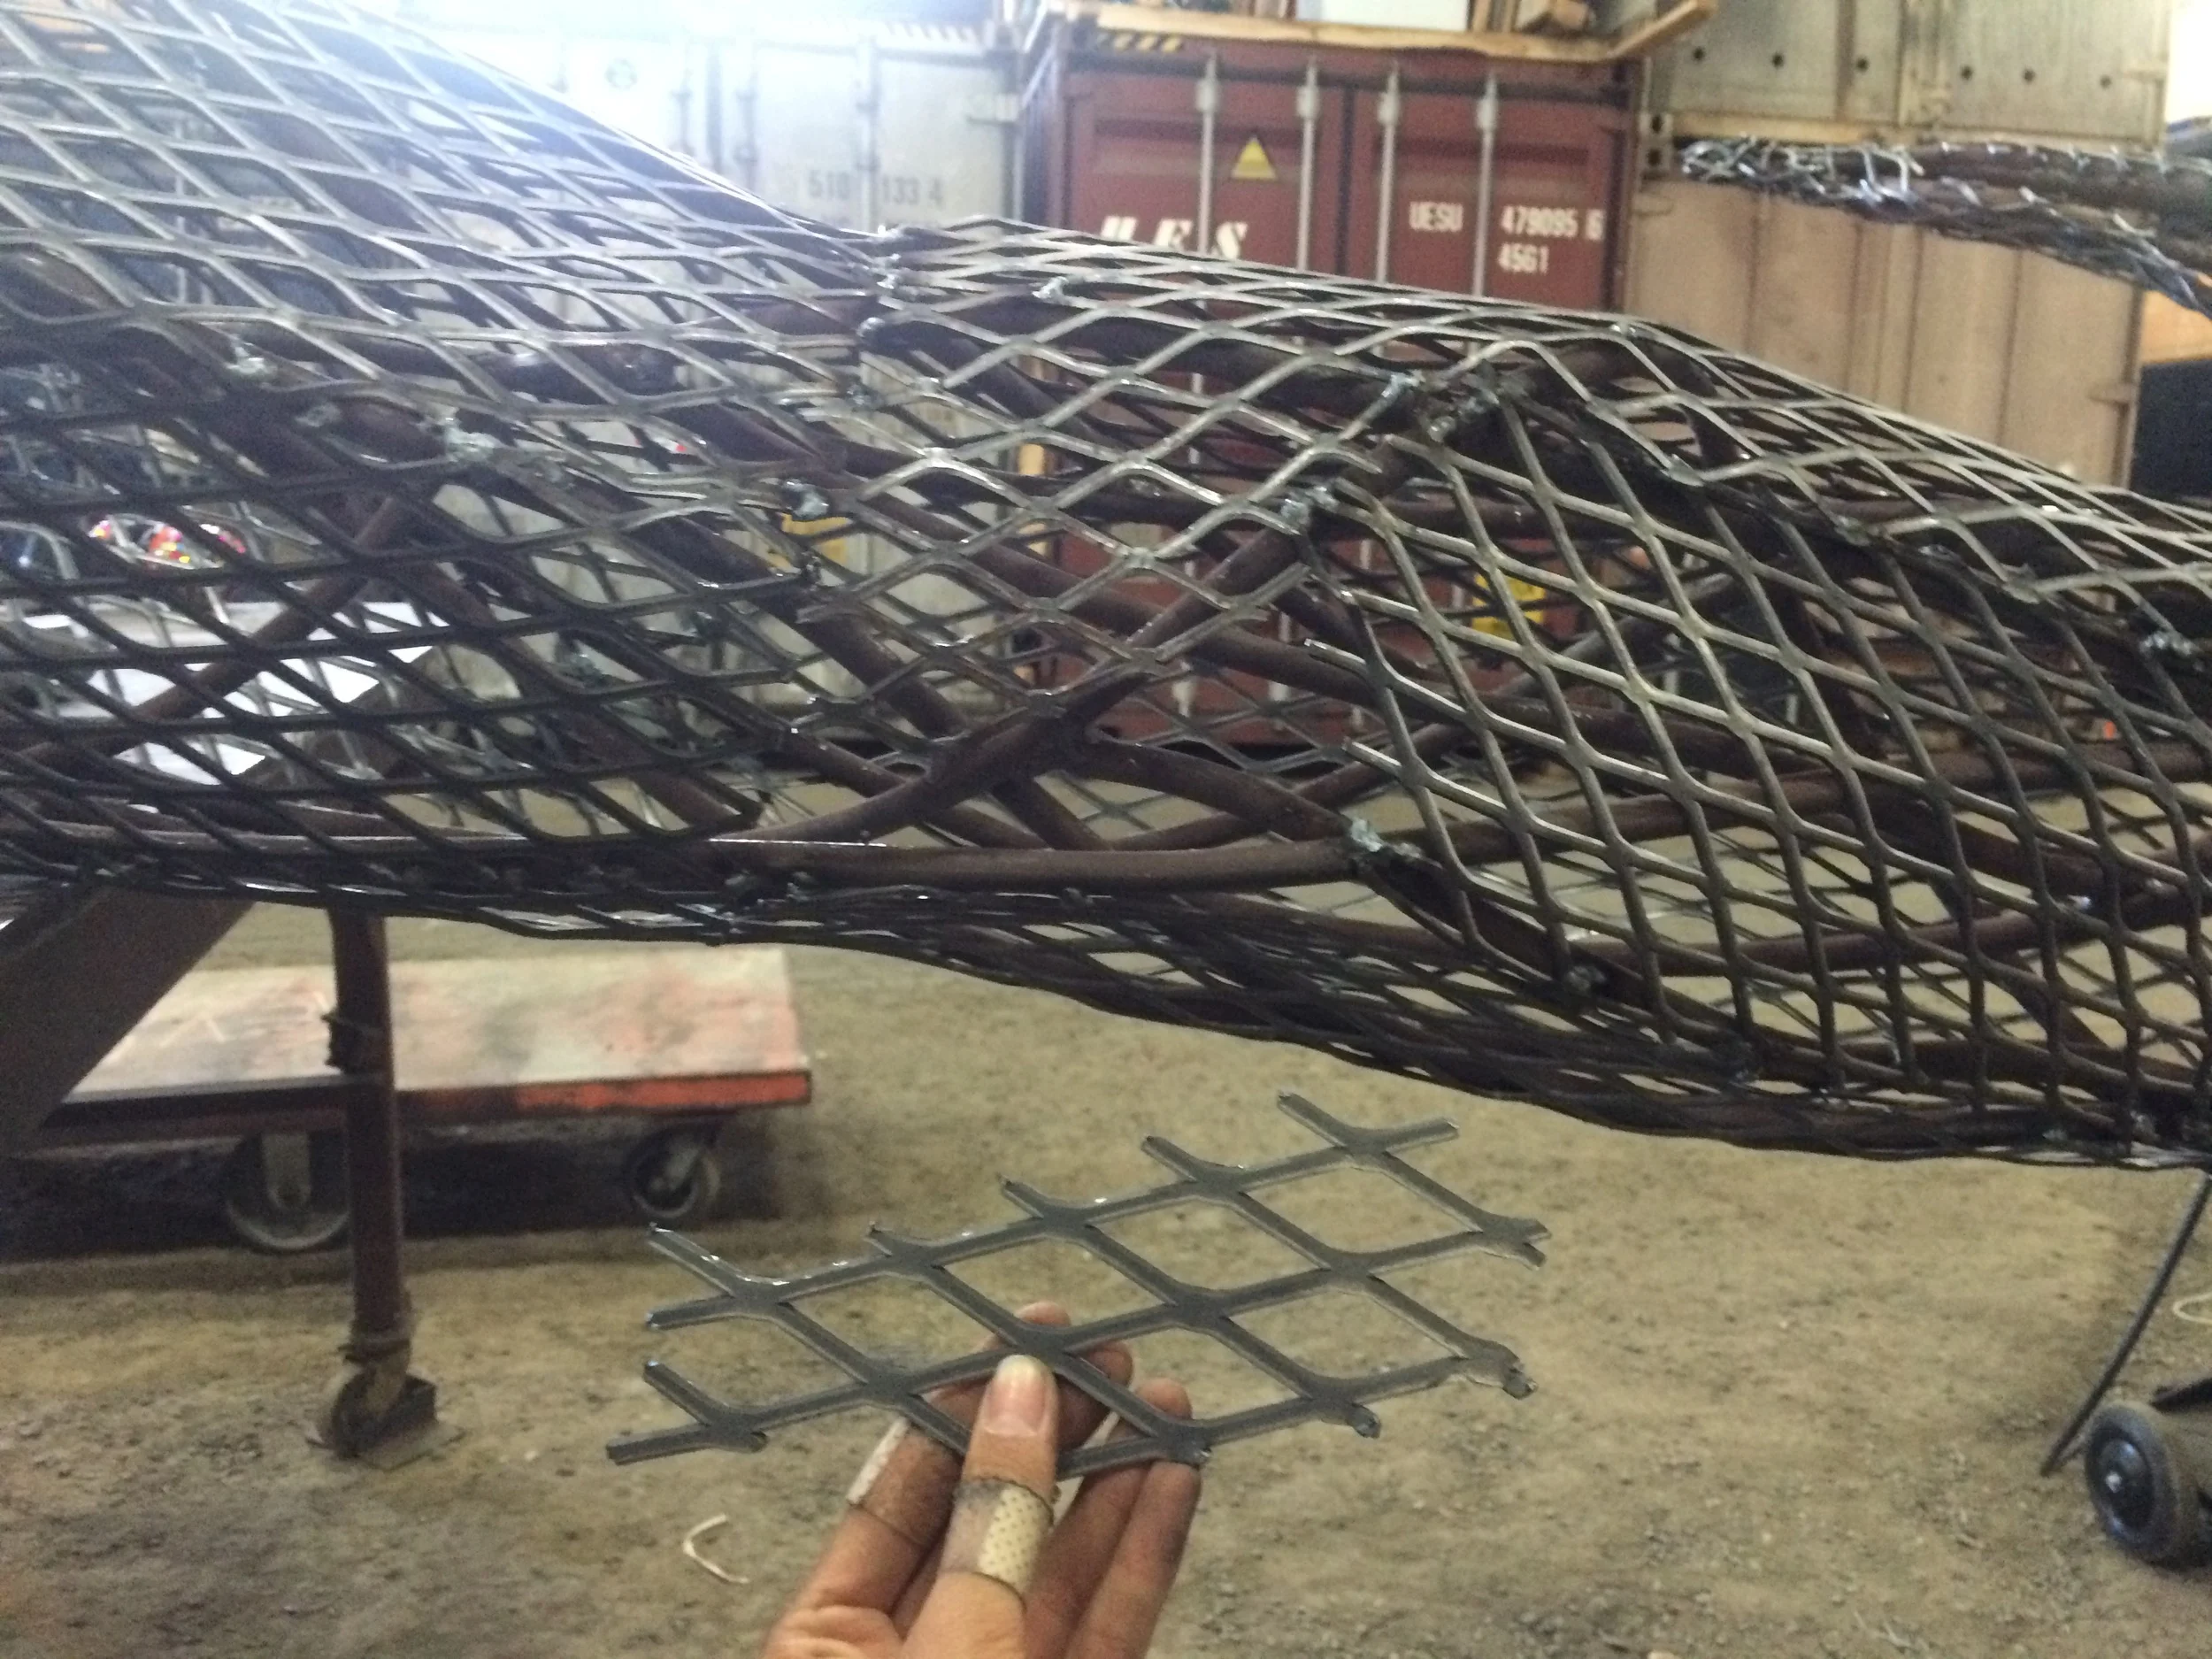
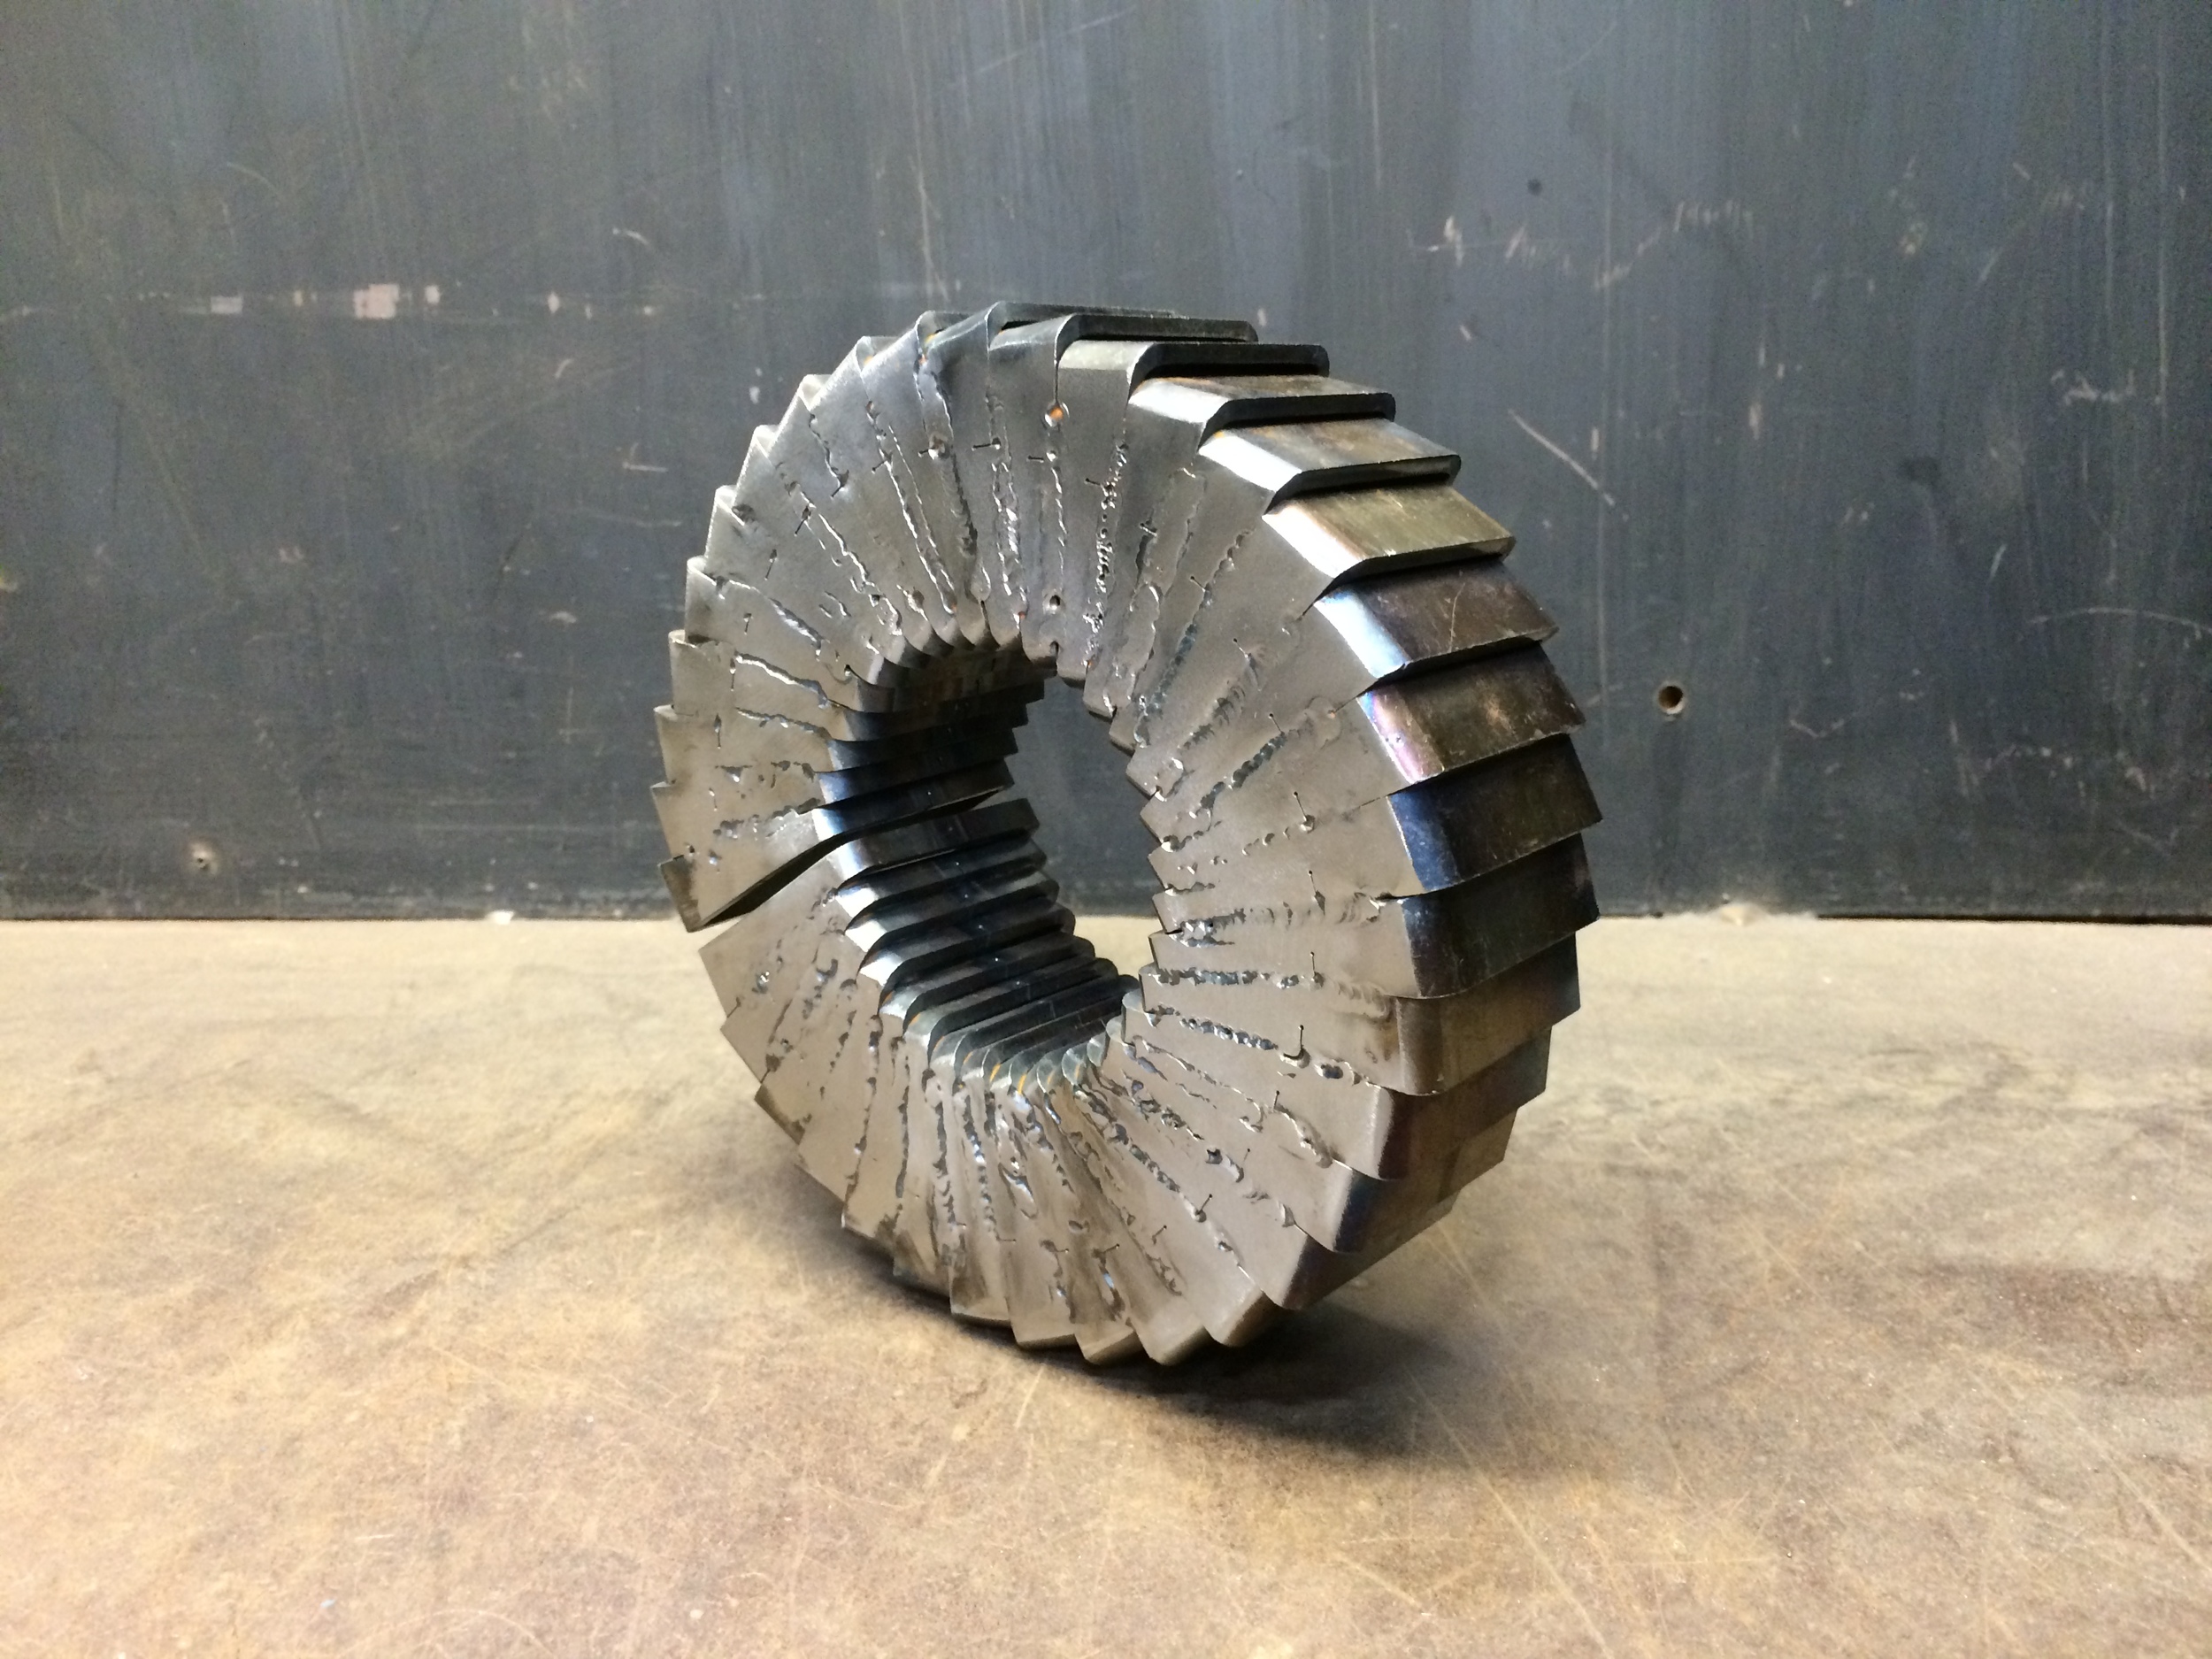
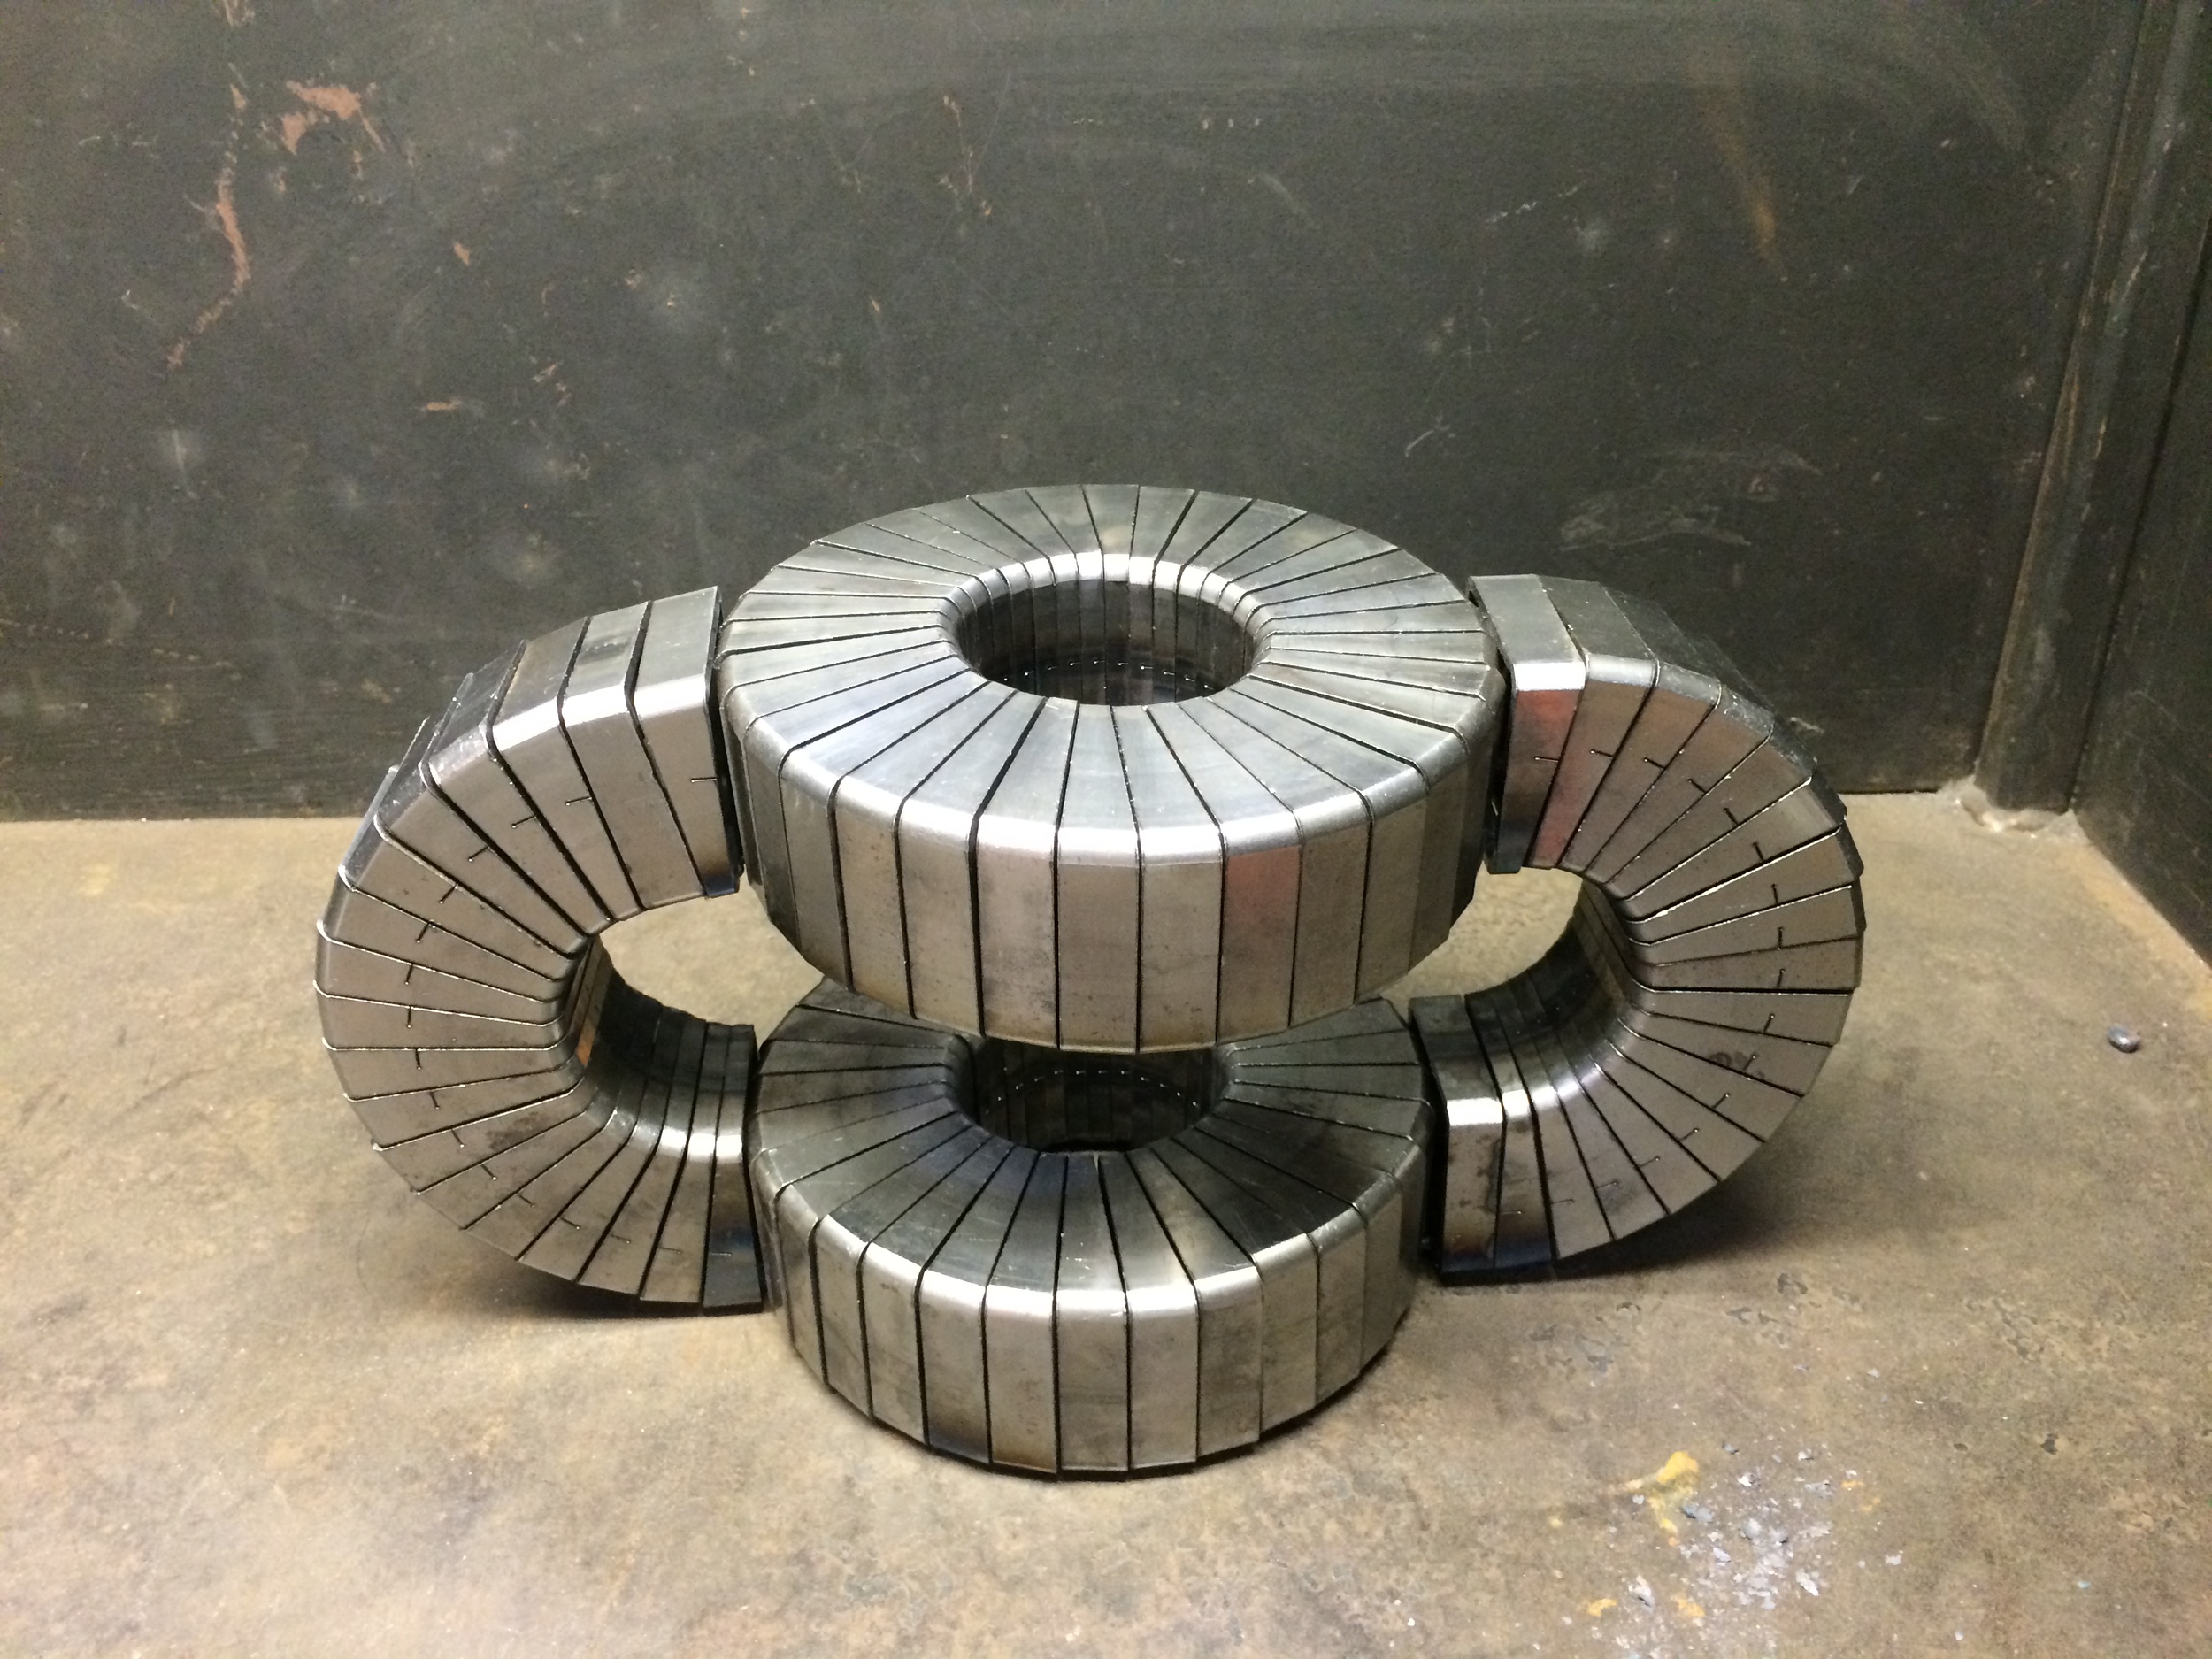
So far, it’s been an absolute blast. They’d already created the tree frames out of steel rod when I joined, and now we're cutting steel screen into slivers and wrapping it around the tree frames. I don’t have much experience working with organic, flowing curves, and I’ve learned a lot of new fabrication tricks already.
One aspect that I've really enjoyed so far is the experience of being a worker bee on a large team of volunteers. I’m used to working solo on Elektra Steel stuff, and it’s really cool be able to tag-team construction challenges with a buddy or two.
It’s also given me an opportunity to brush up on my MIG welding and plasma cutting skills, neither of which I’d used since high school. I forgot how many sparks there are with MIG! I foolishly welded without a jacket one day, and I'm pretty sure I singed off most of my arm hair.
Helping out on such a giant project is starting to give me a sense for how massive sculptures are constructed. I’m getting inspired! I'm thinking that I might want to design something huge at some point in the next year or two...


This is just a small peek into one portion of the Temple prep -- there's a whole other circus going on in Alameda, where a team of volunteers have spent the entire summer working on the Temple itself. They're loading up the trucks now and will be hitting the road soon! Follow Temple of Promise on Facebook for more updates.
If you’re going to Burning Man this year and would like to contribute to the Temple of Promise, please consider donating to the Kickstarter campaign. It’s going to be a stunning space in which to reflect, and its existence is due to the passion, money, and elbow grease of the Burning Man community. Thank you, and see you on the Playa!
Elektra Steel at the American Craft Council Show
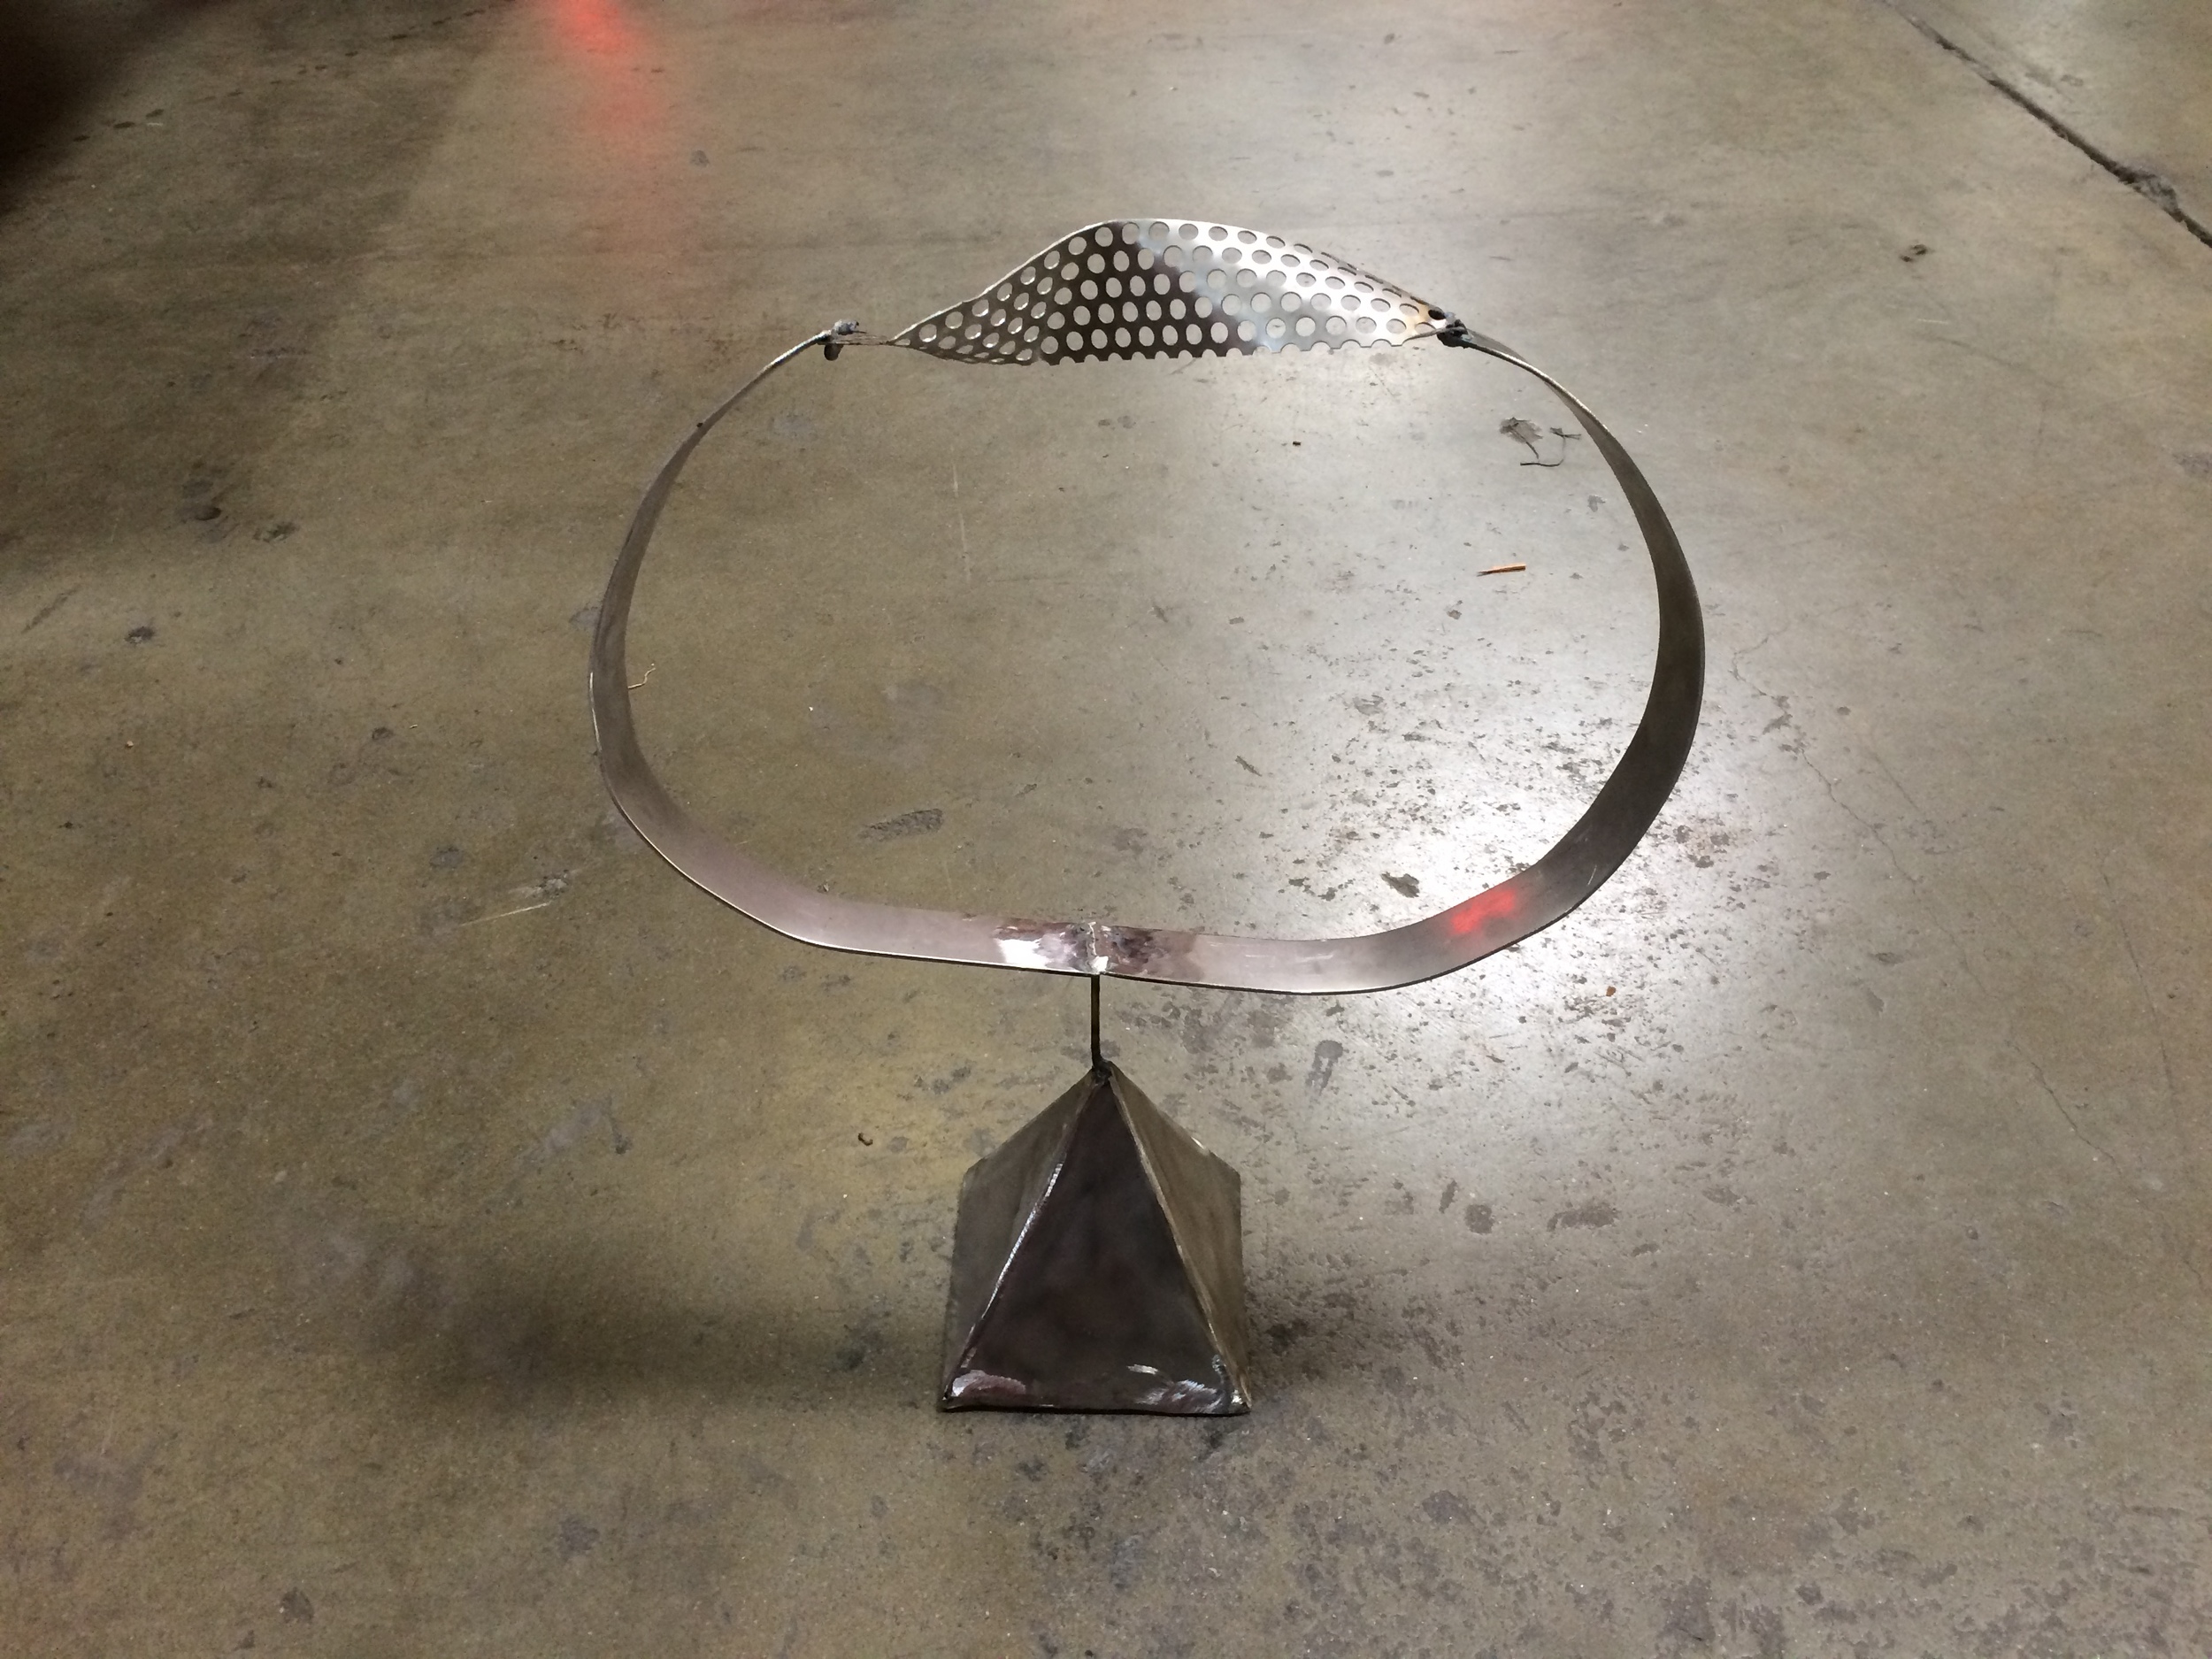
Last weekend, the Elektra Steel Geo Vase was featured in the American Craft Council Show in San Francisco!
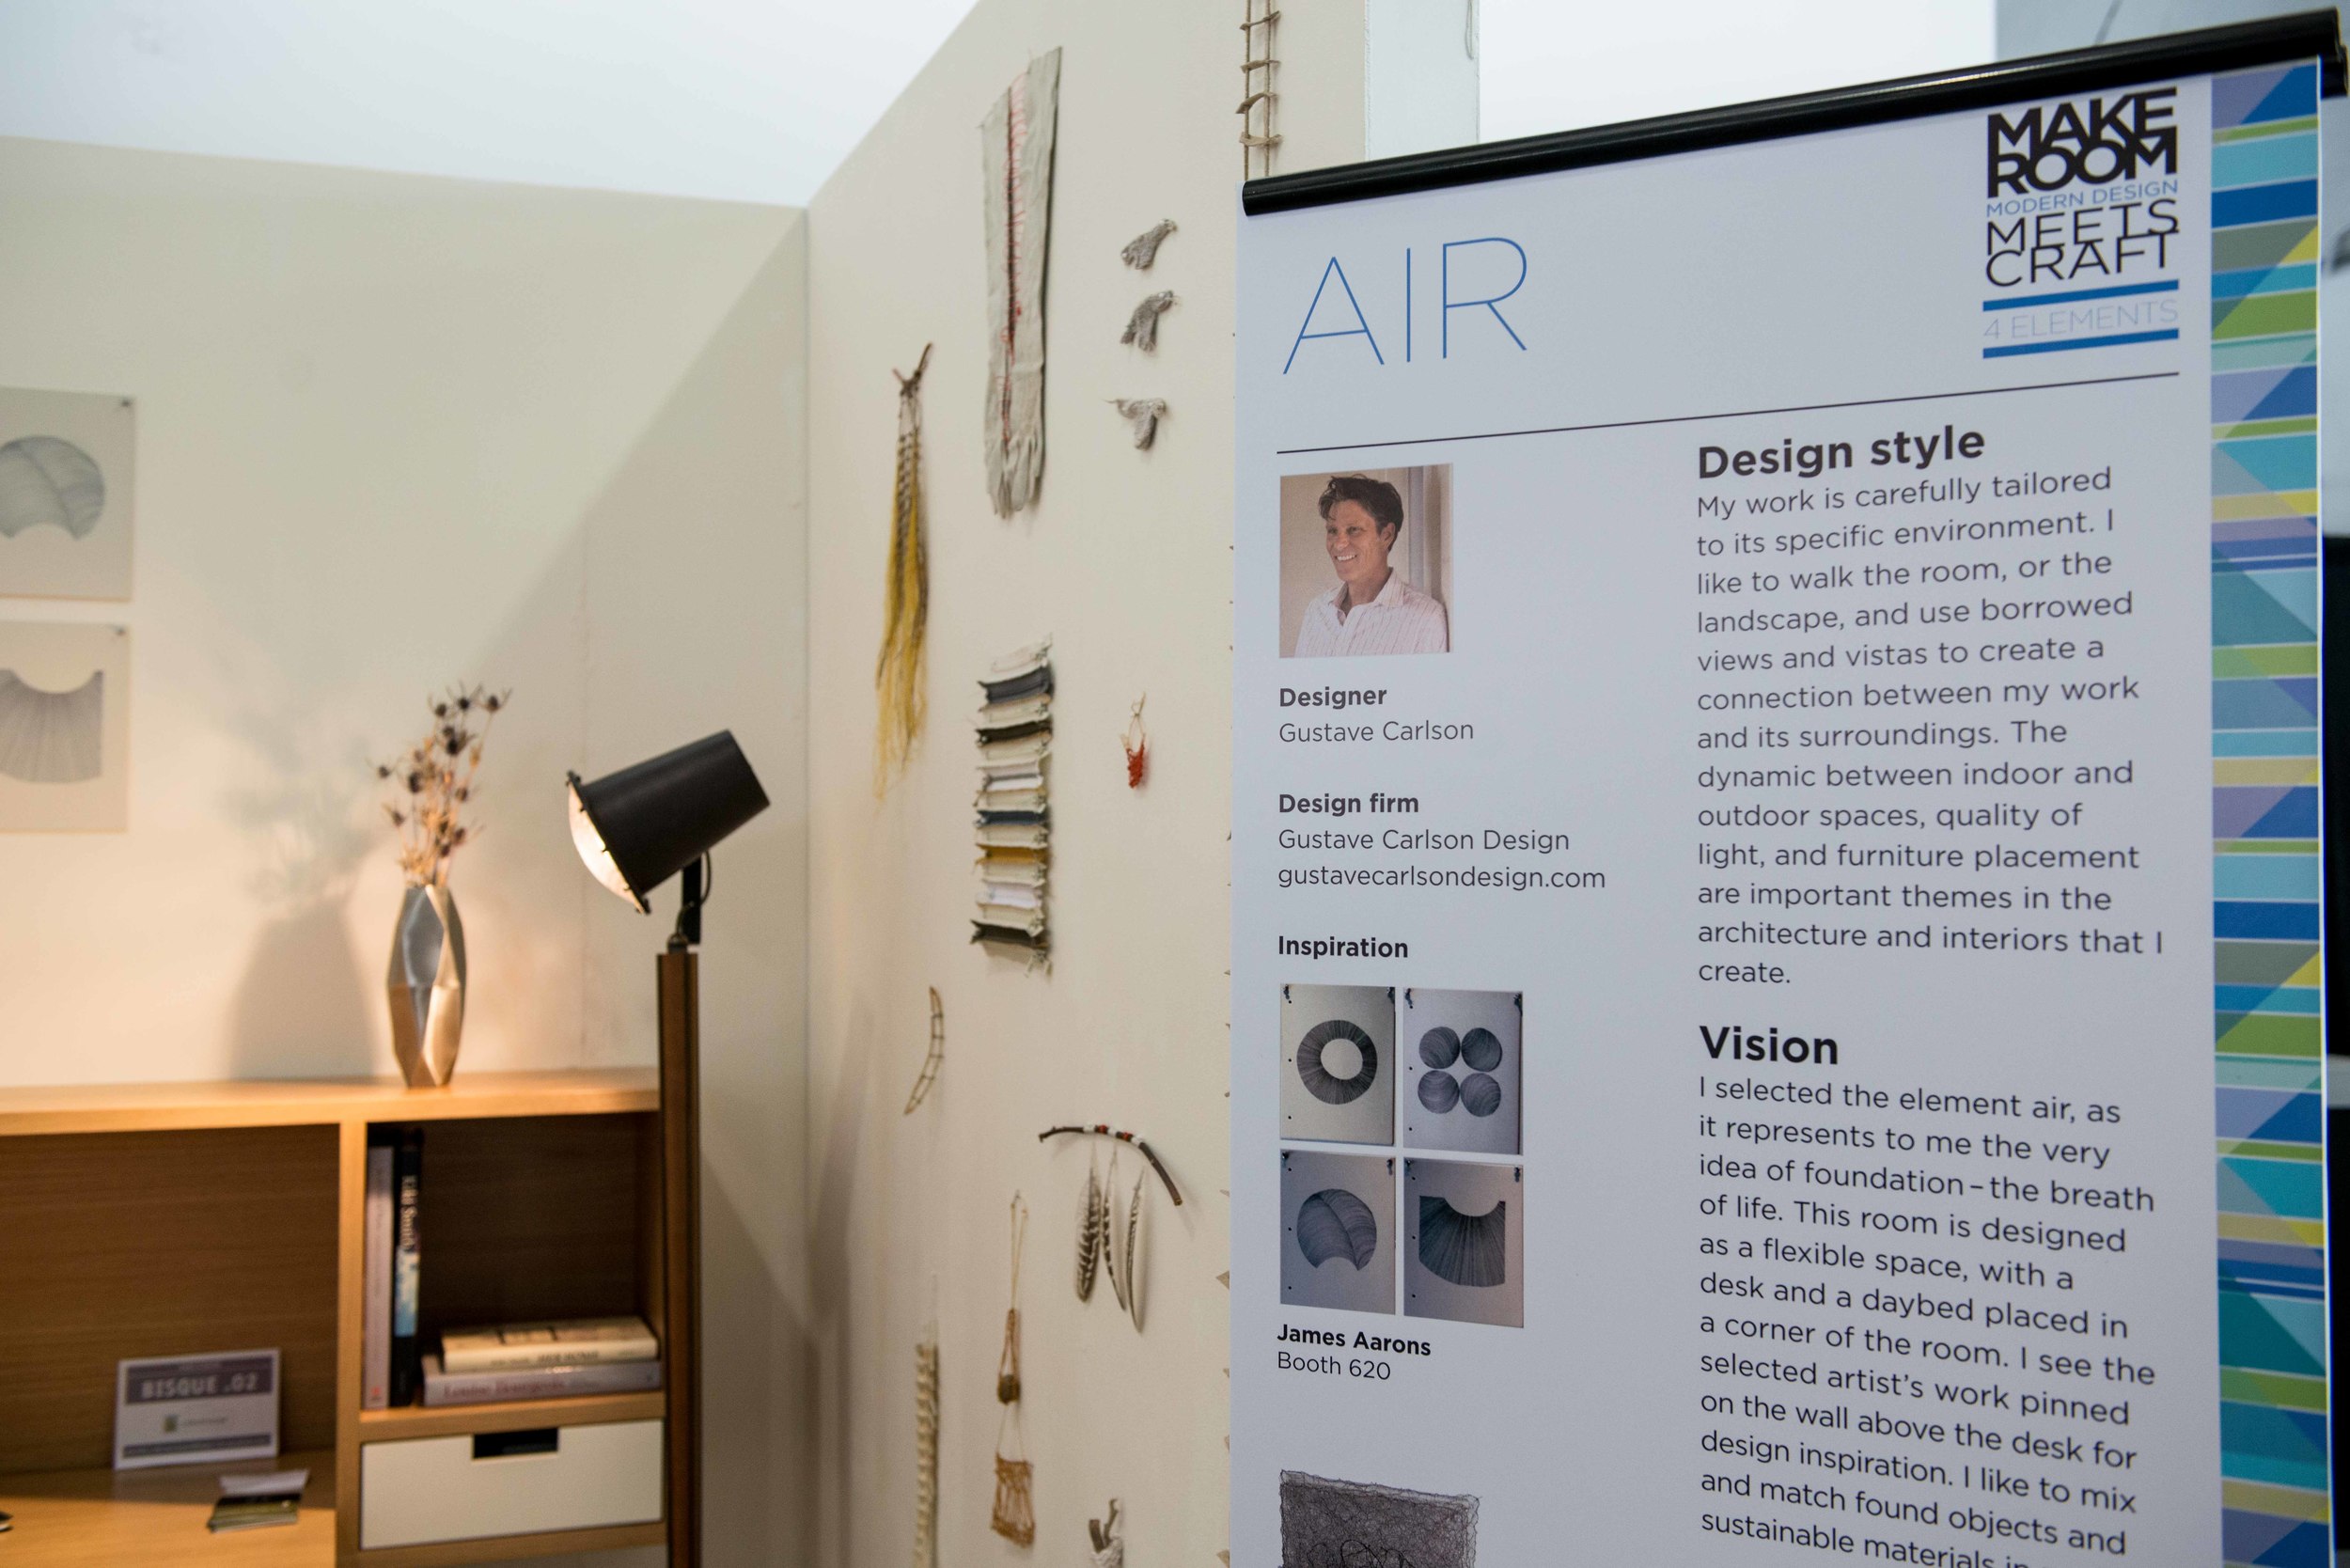
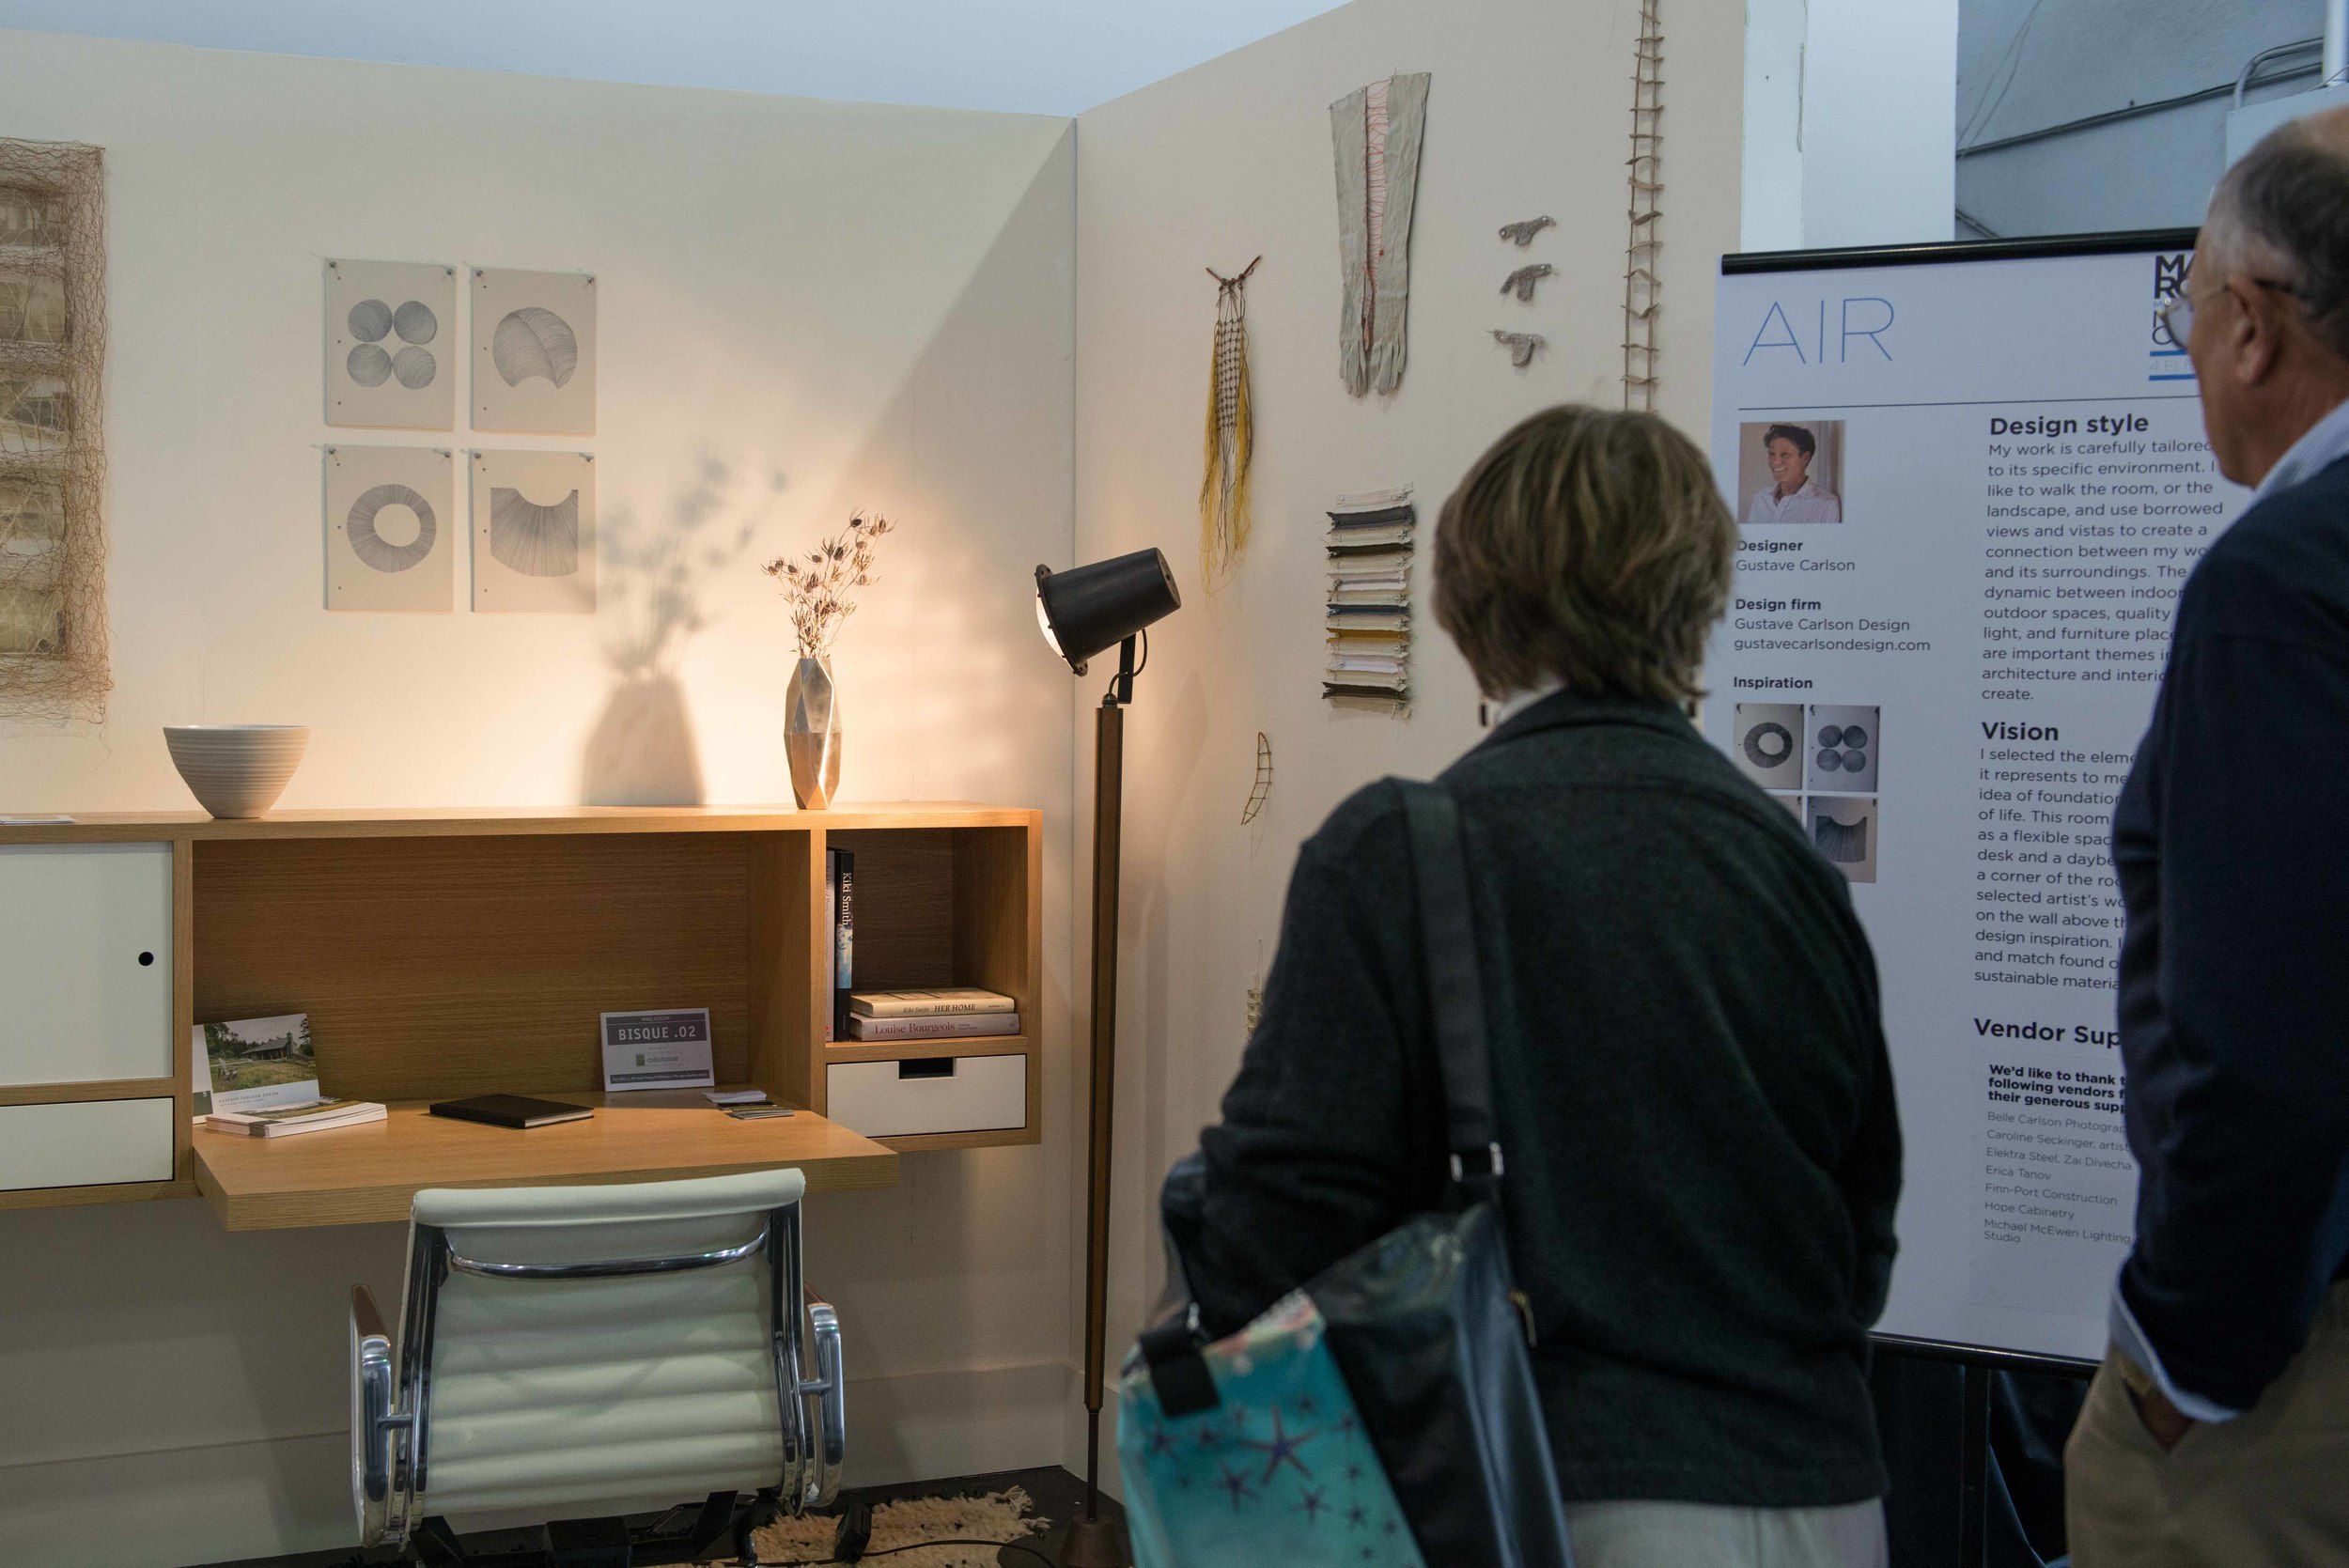
Bay Area architect and designer Gustave Carlson was asked by the American Craft Council to design a showroom in the exhibition titled, "Make Room: Modern Design Meets Craft." Each of the four rooms had a different theme -- earth, air, fire, and water -- and Gustave designed the air-themed room. He reached out to me to see if I would be interested in contributing a piece for it! I've admired Gustave's work for a long time now, so I was honored to be included.
Check out more photos of Gustave's showroom at the American Craft Council Show below. And if you're curious about how I made the Geo Vase, don't miss the step-by-step Instructables article I published earlier this week.
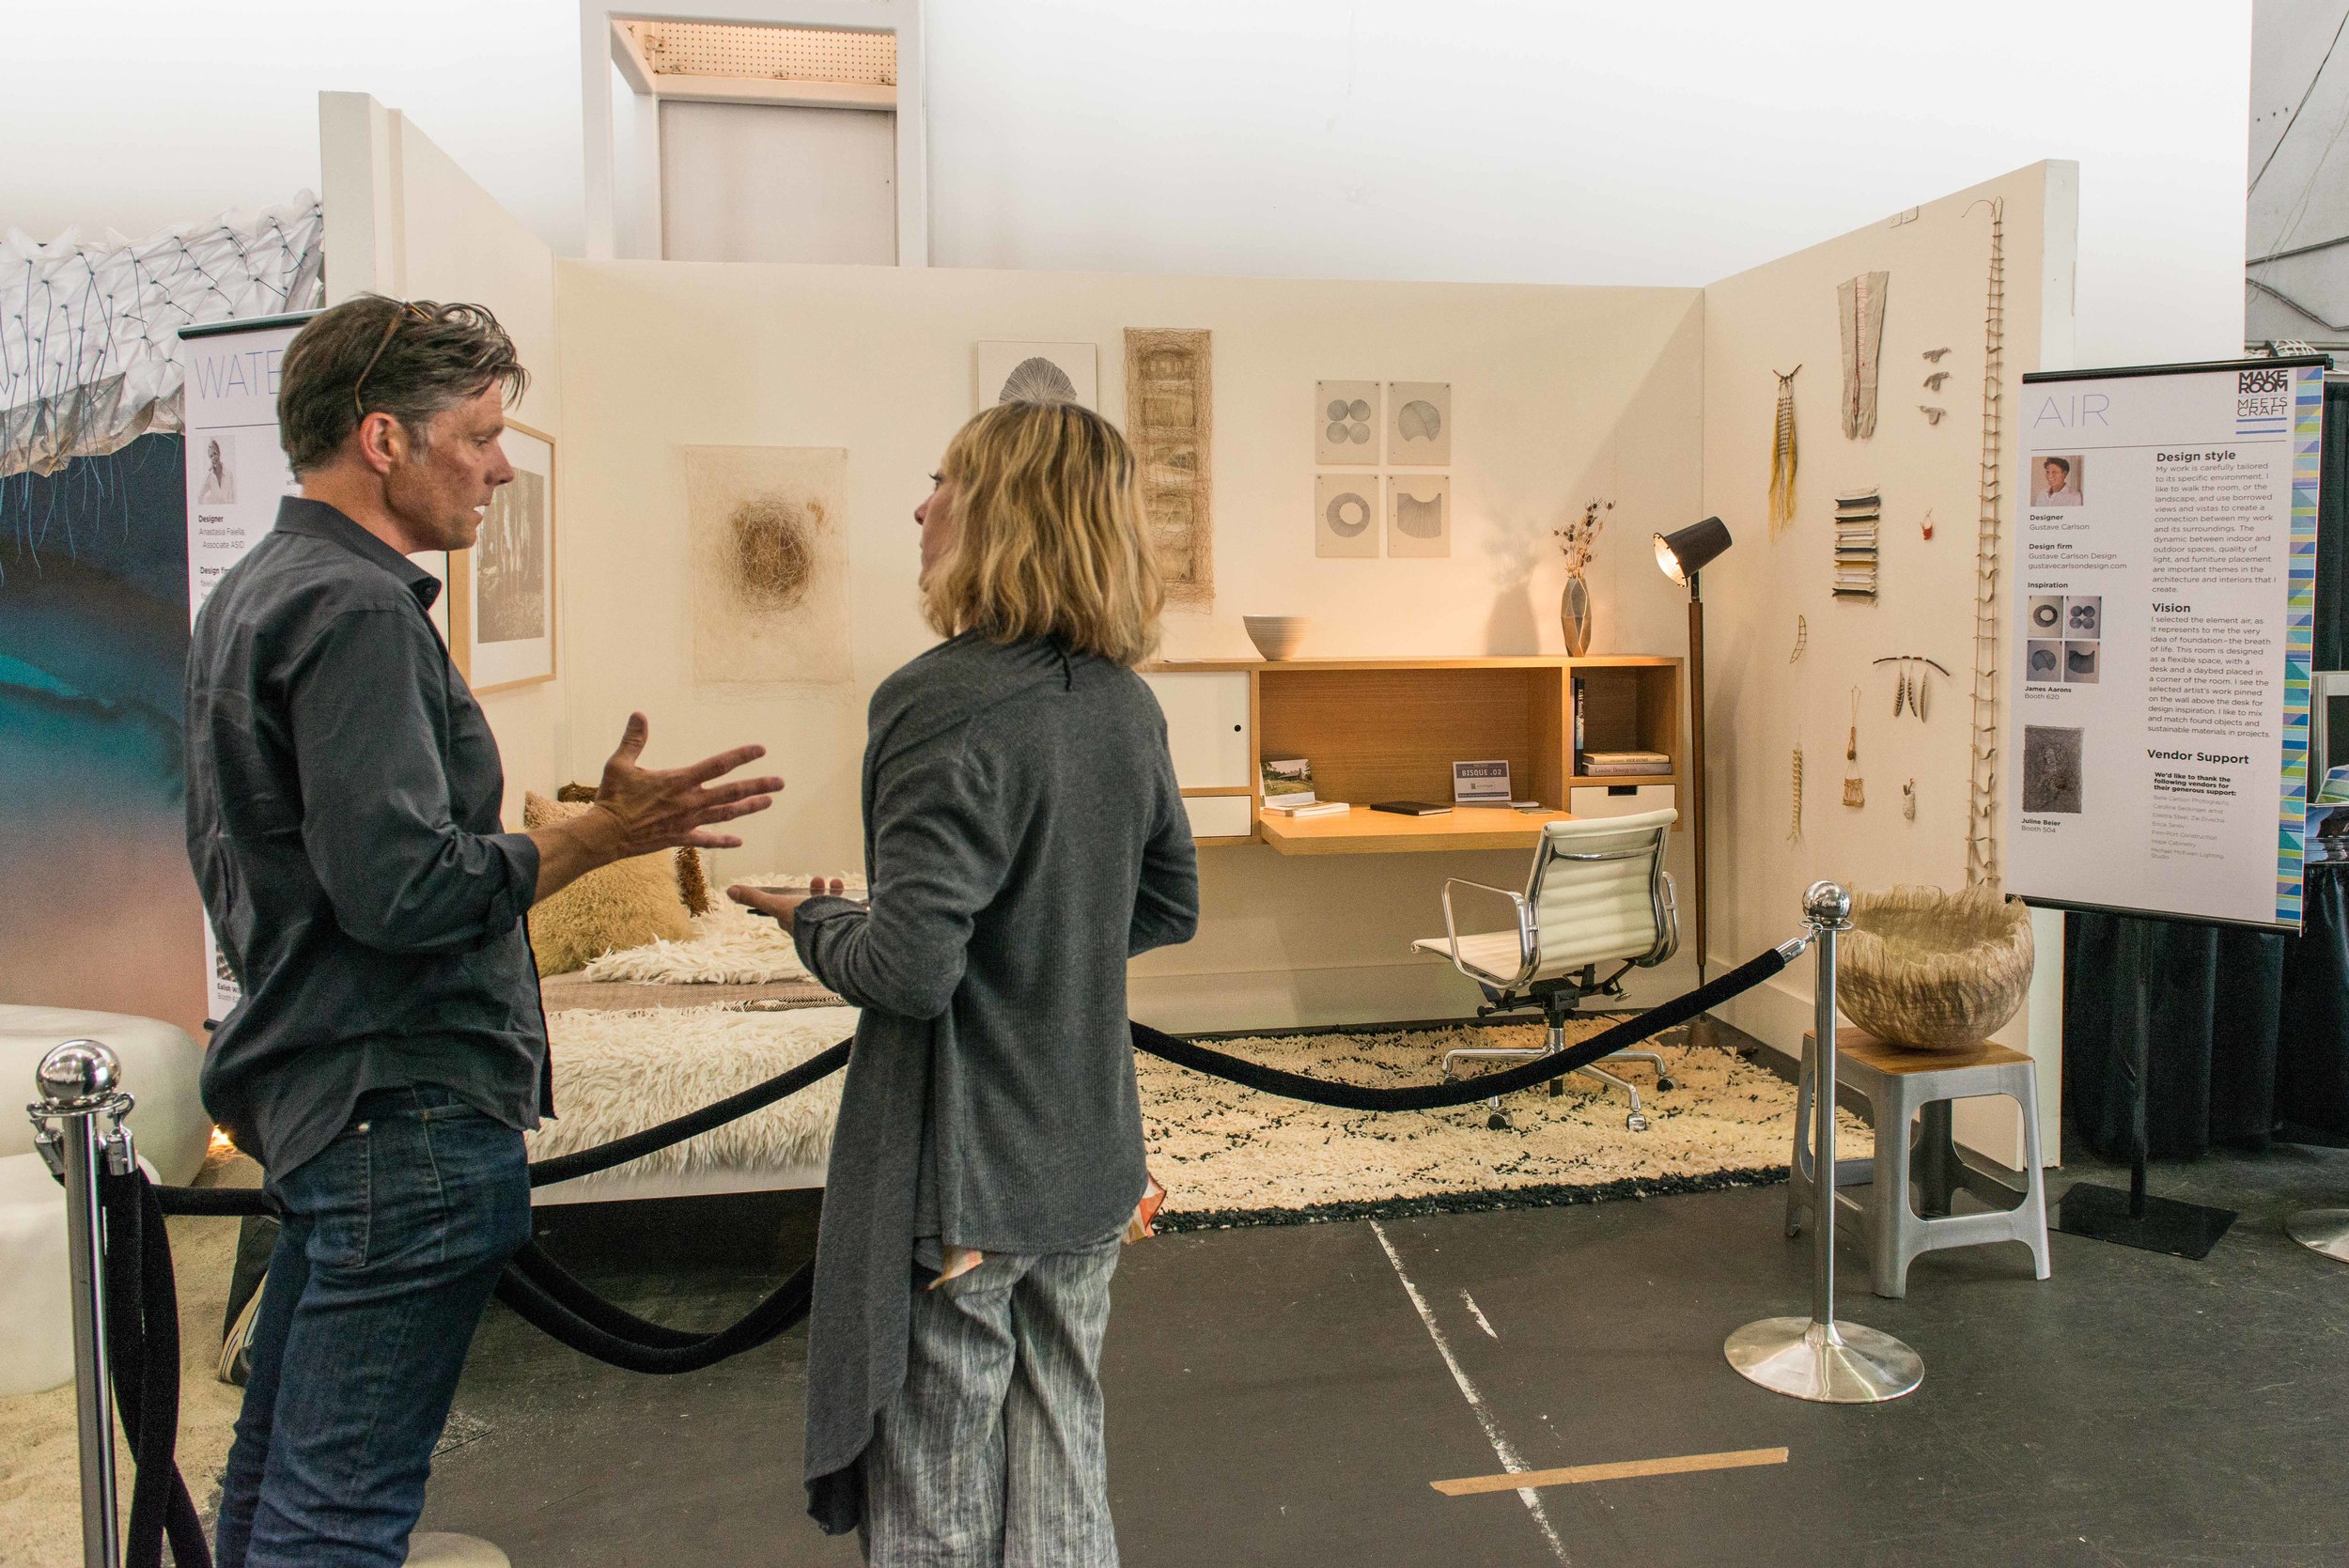
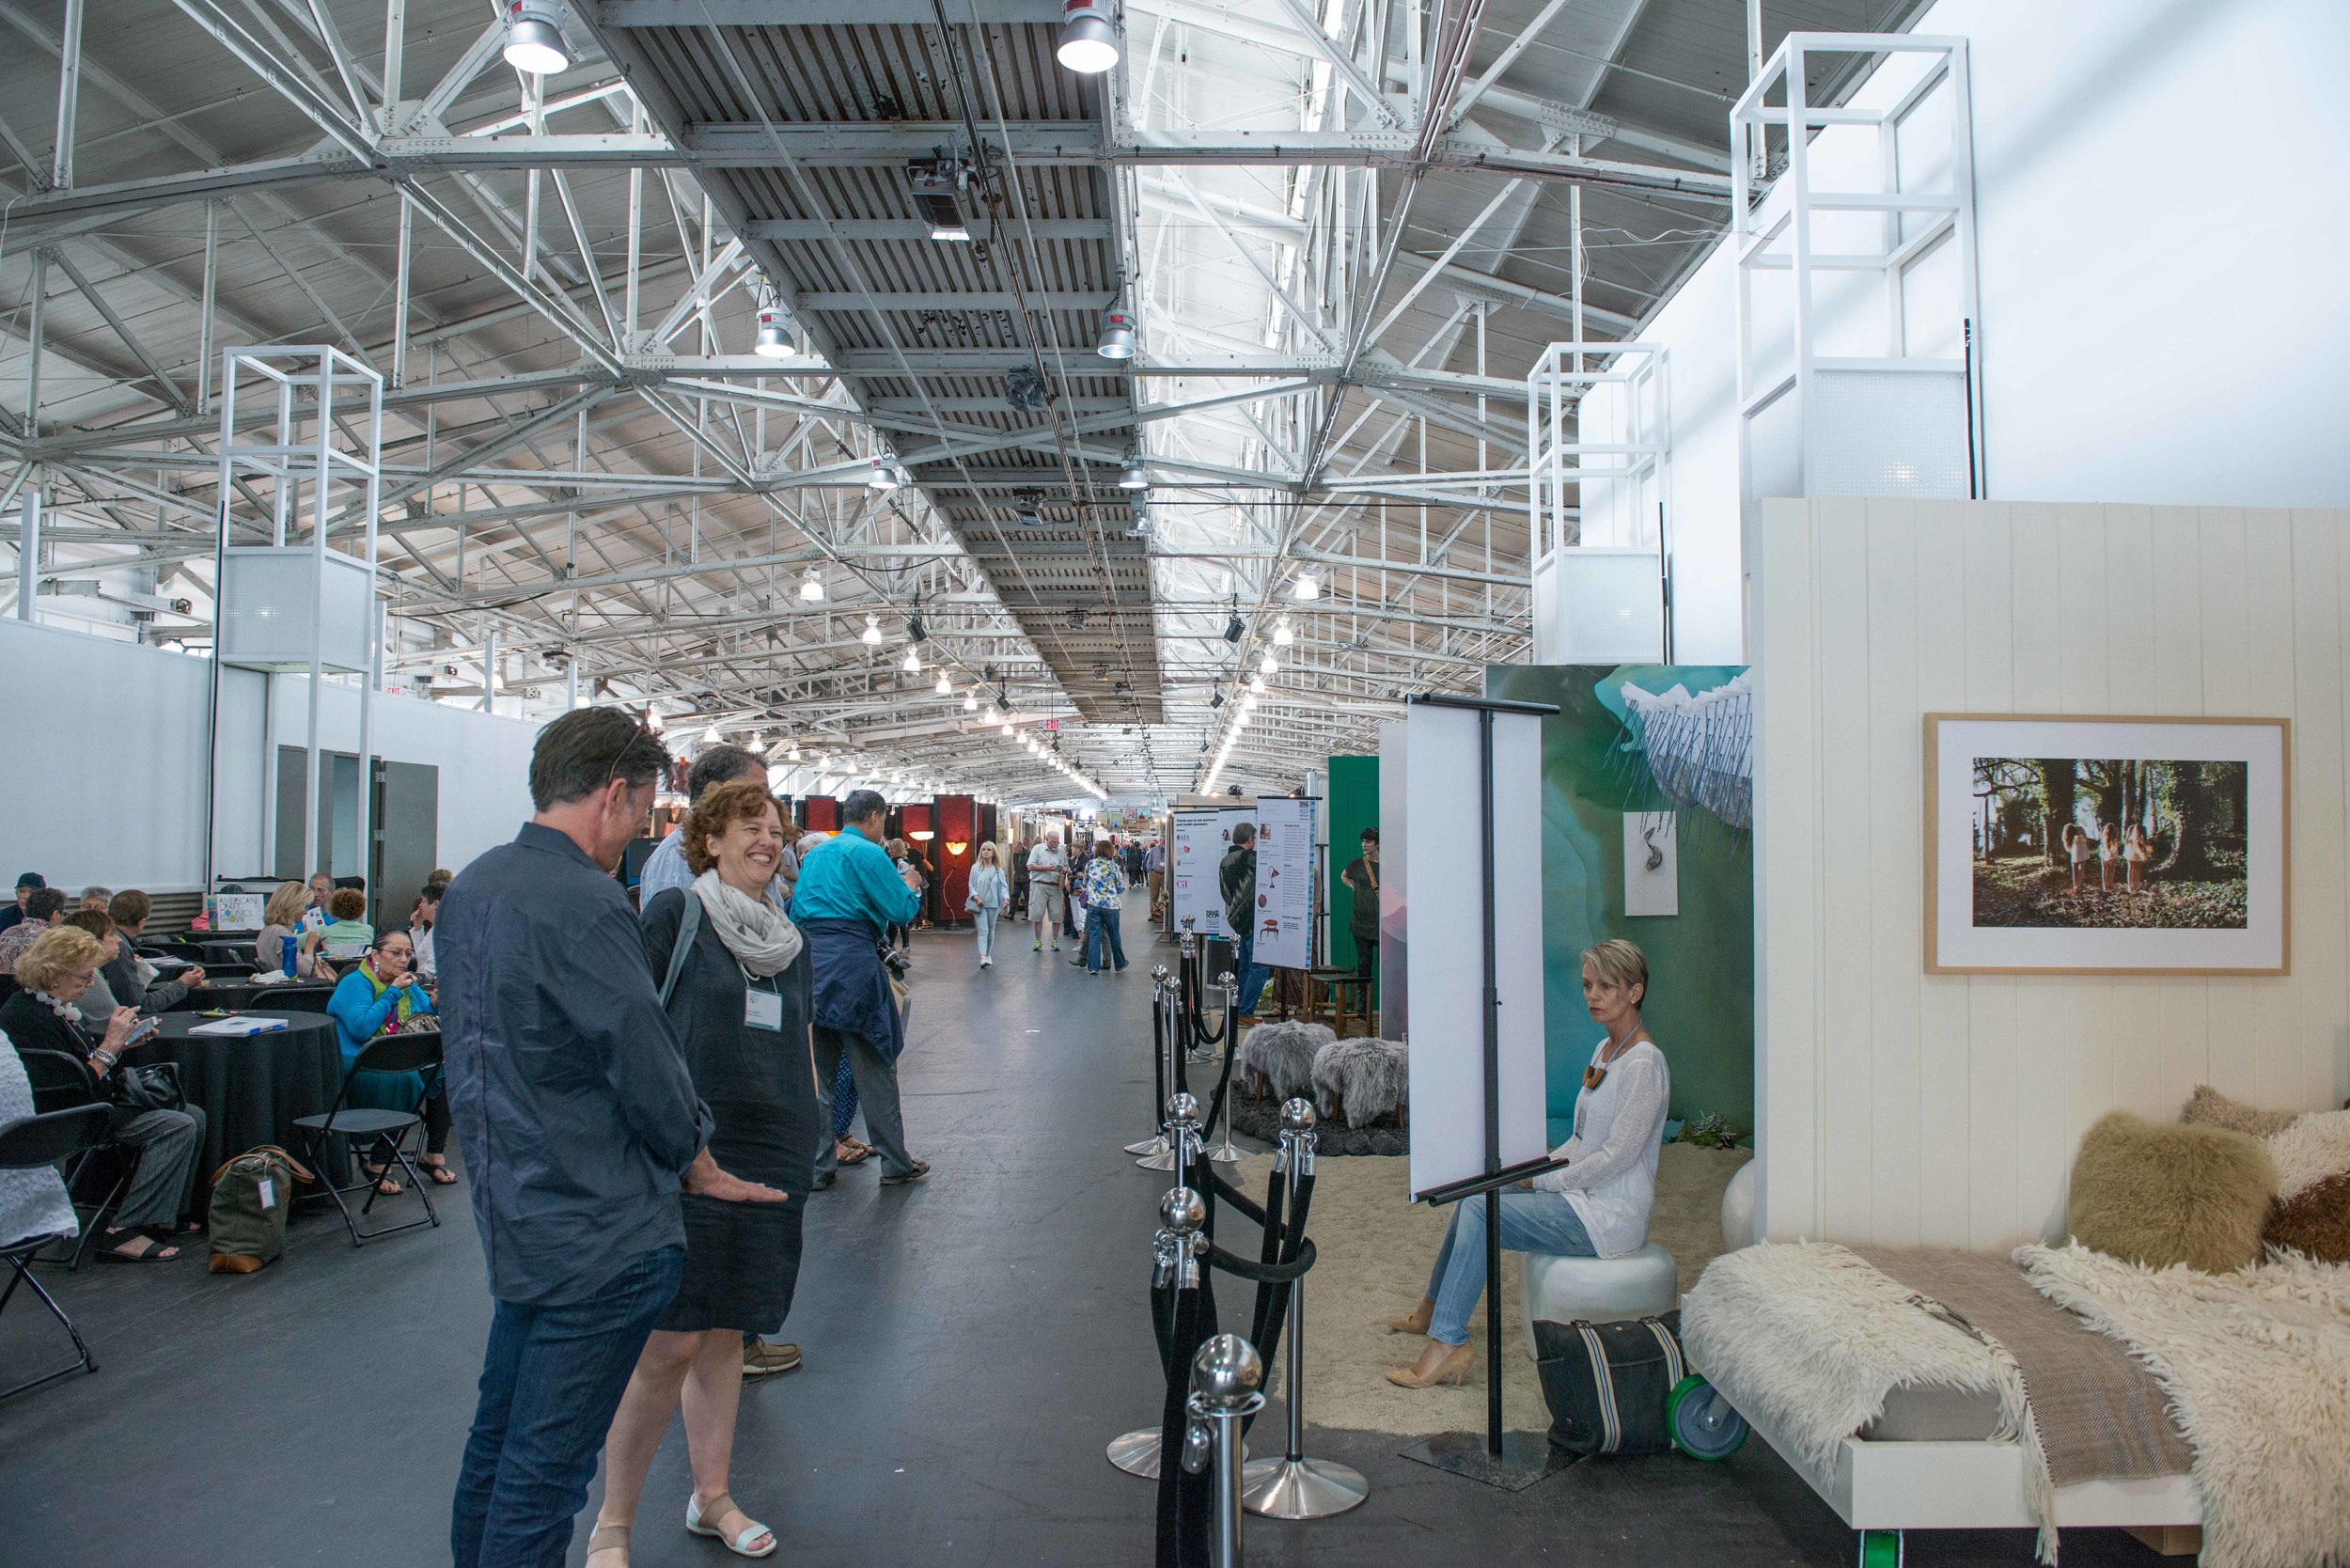
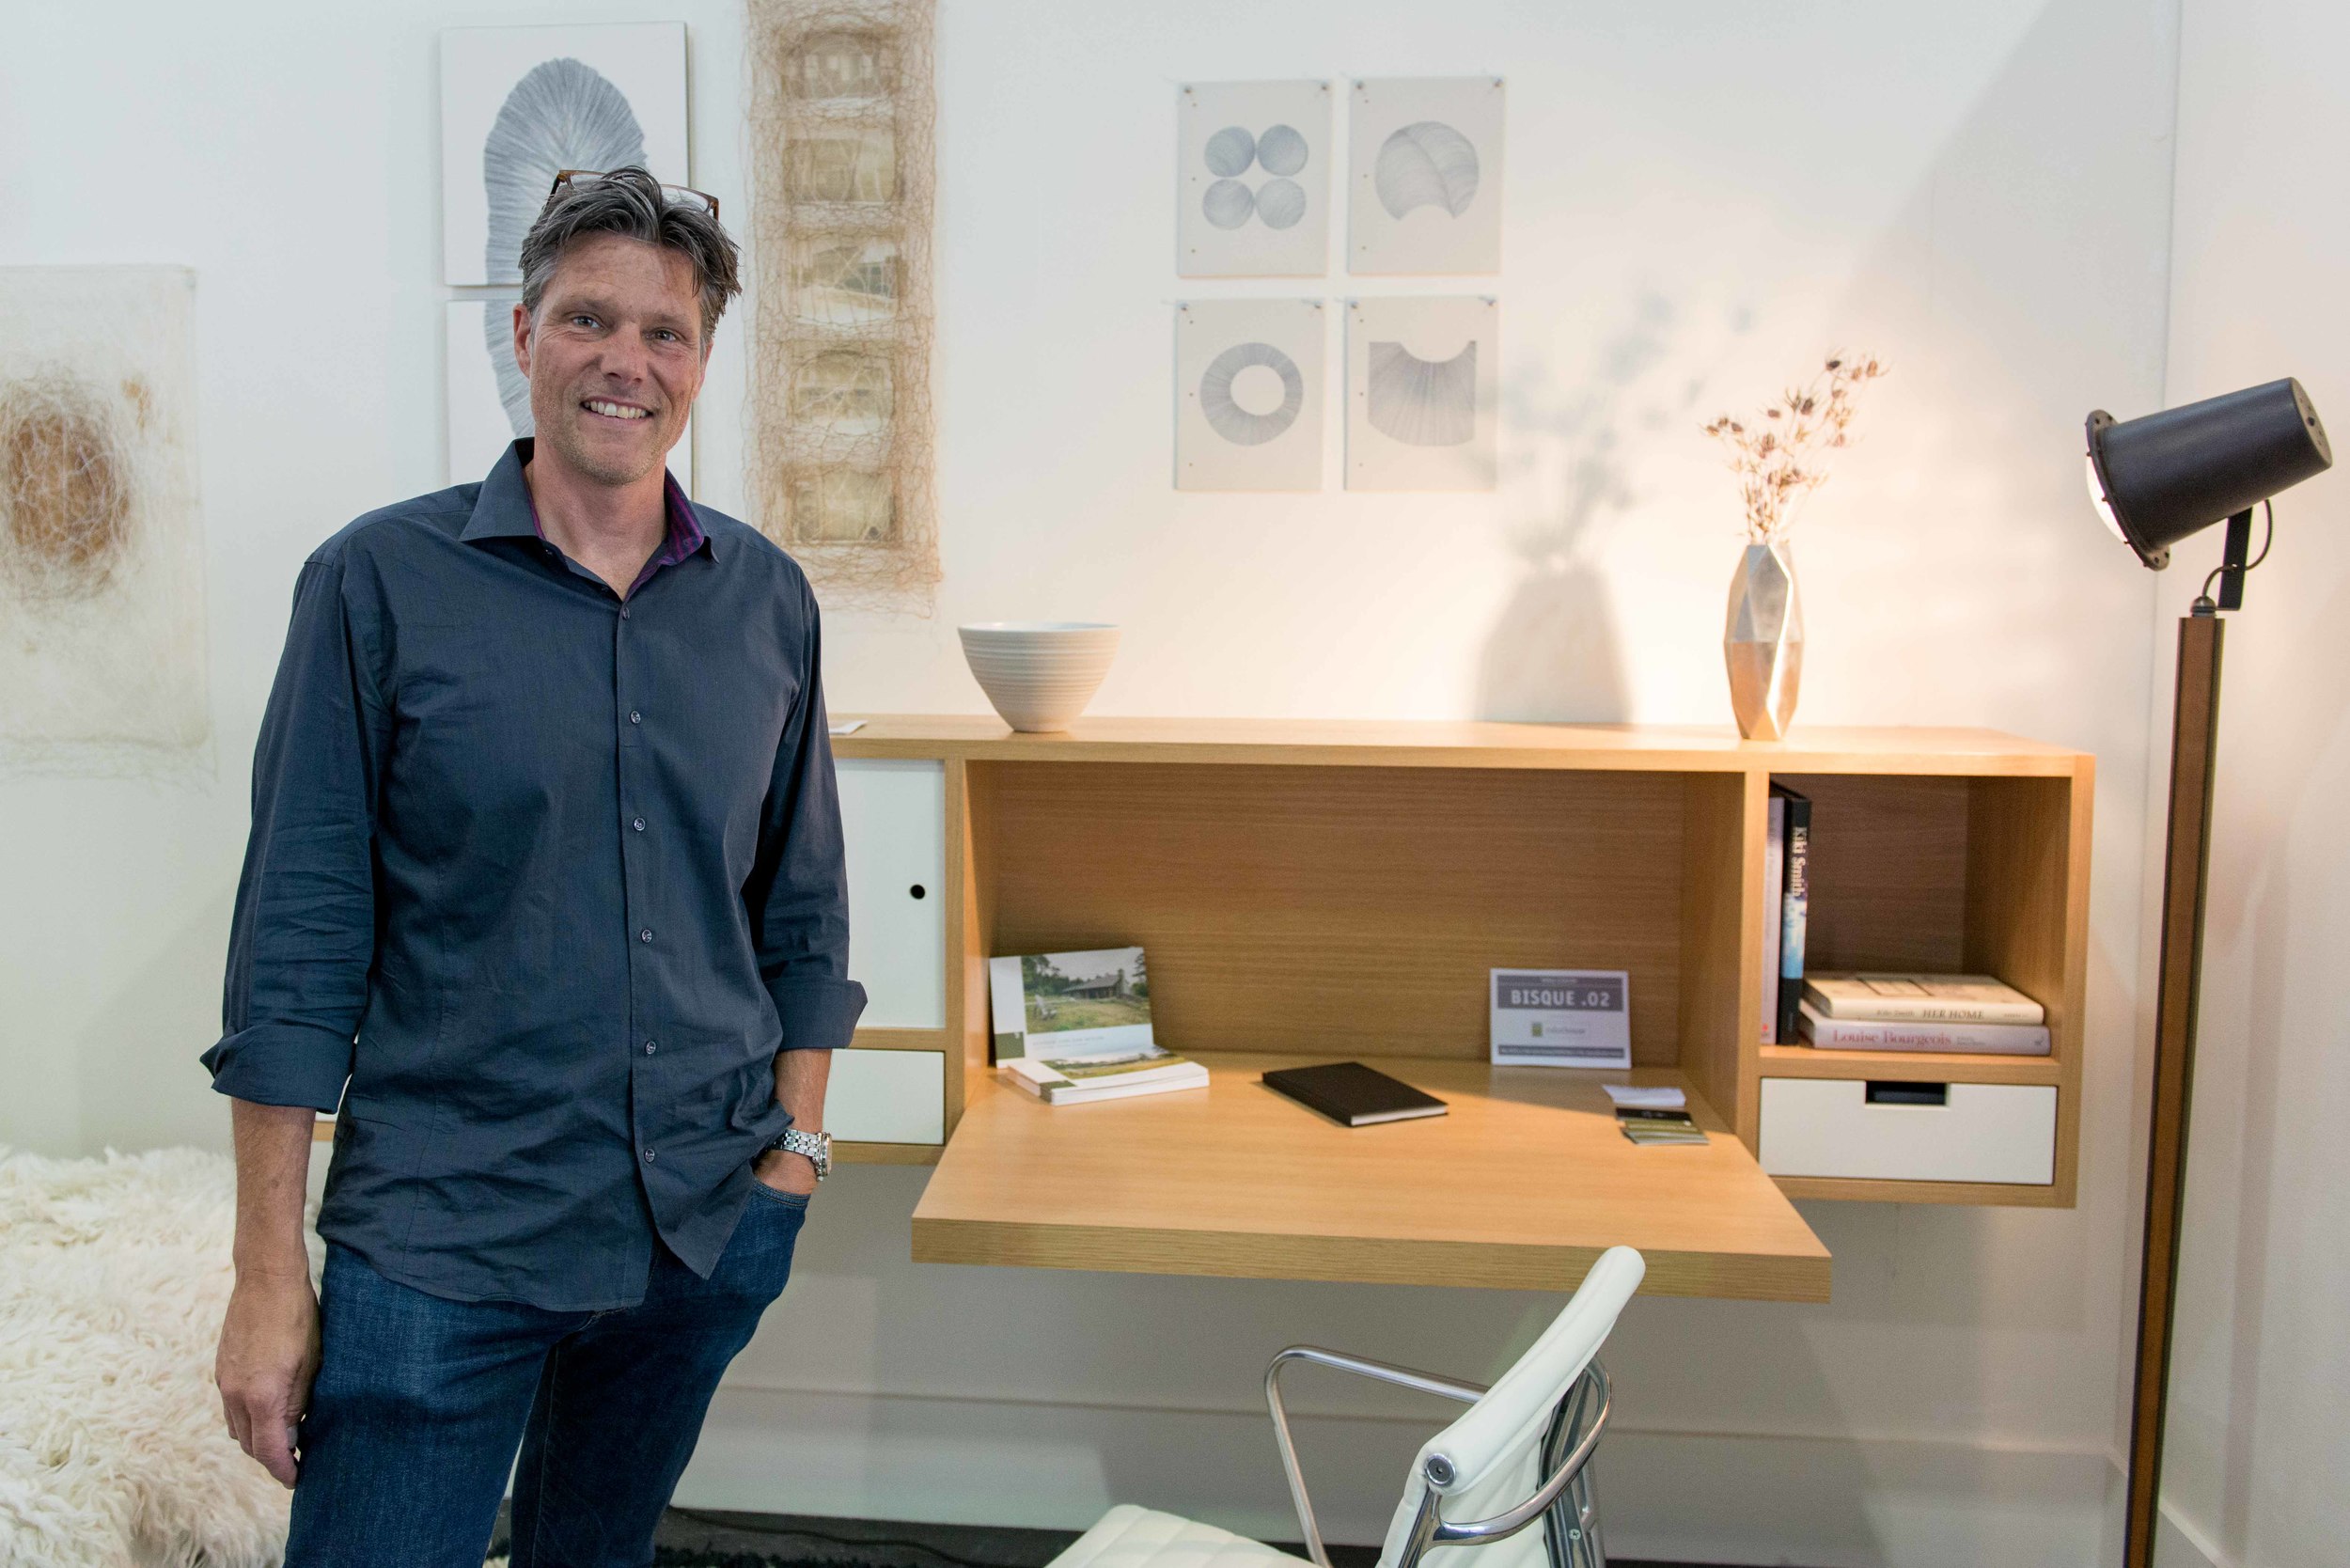
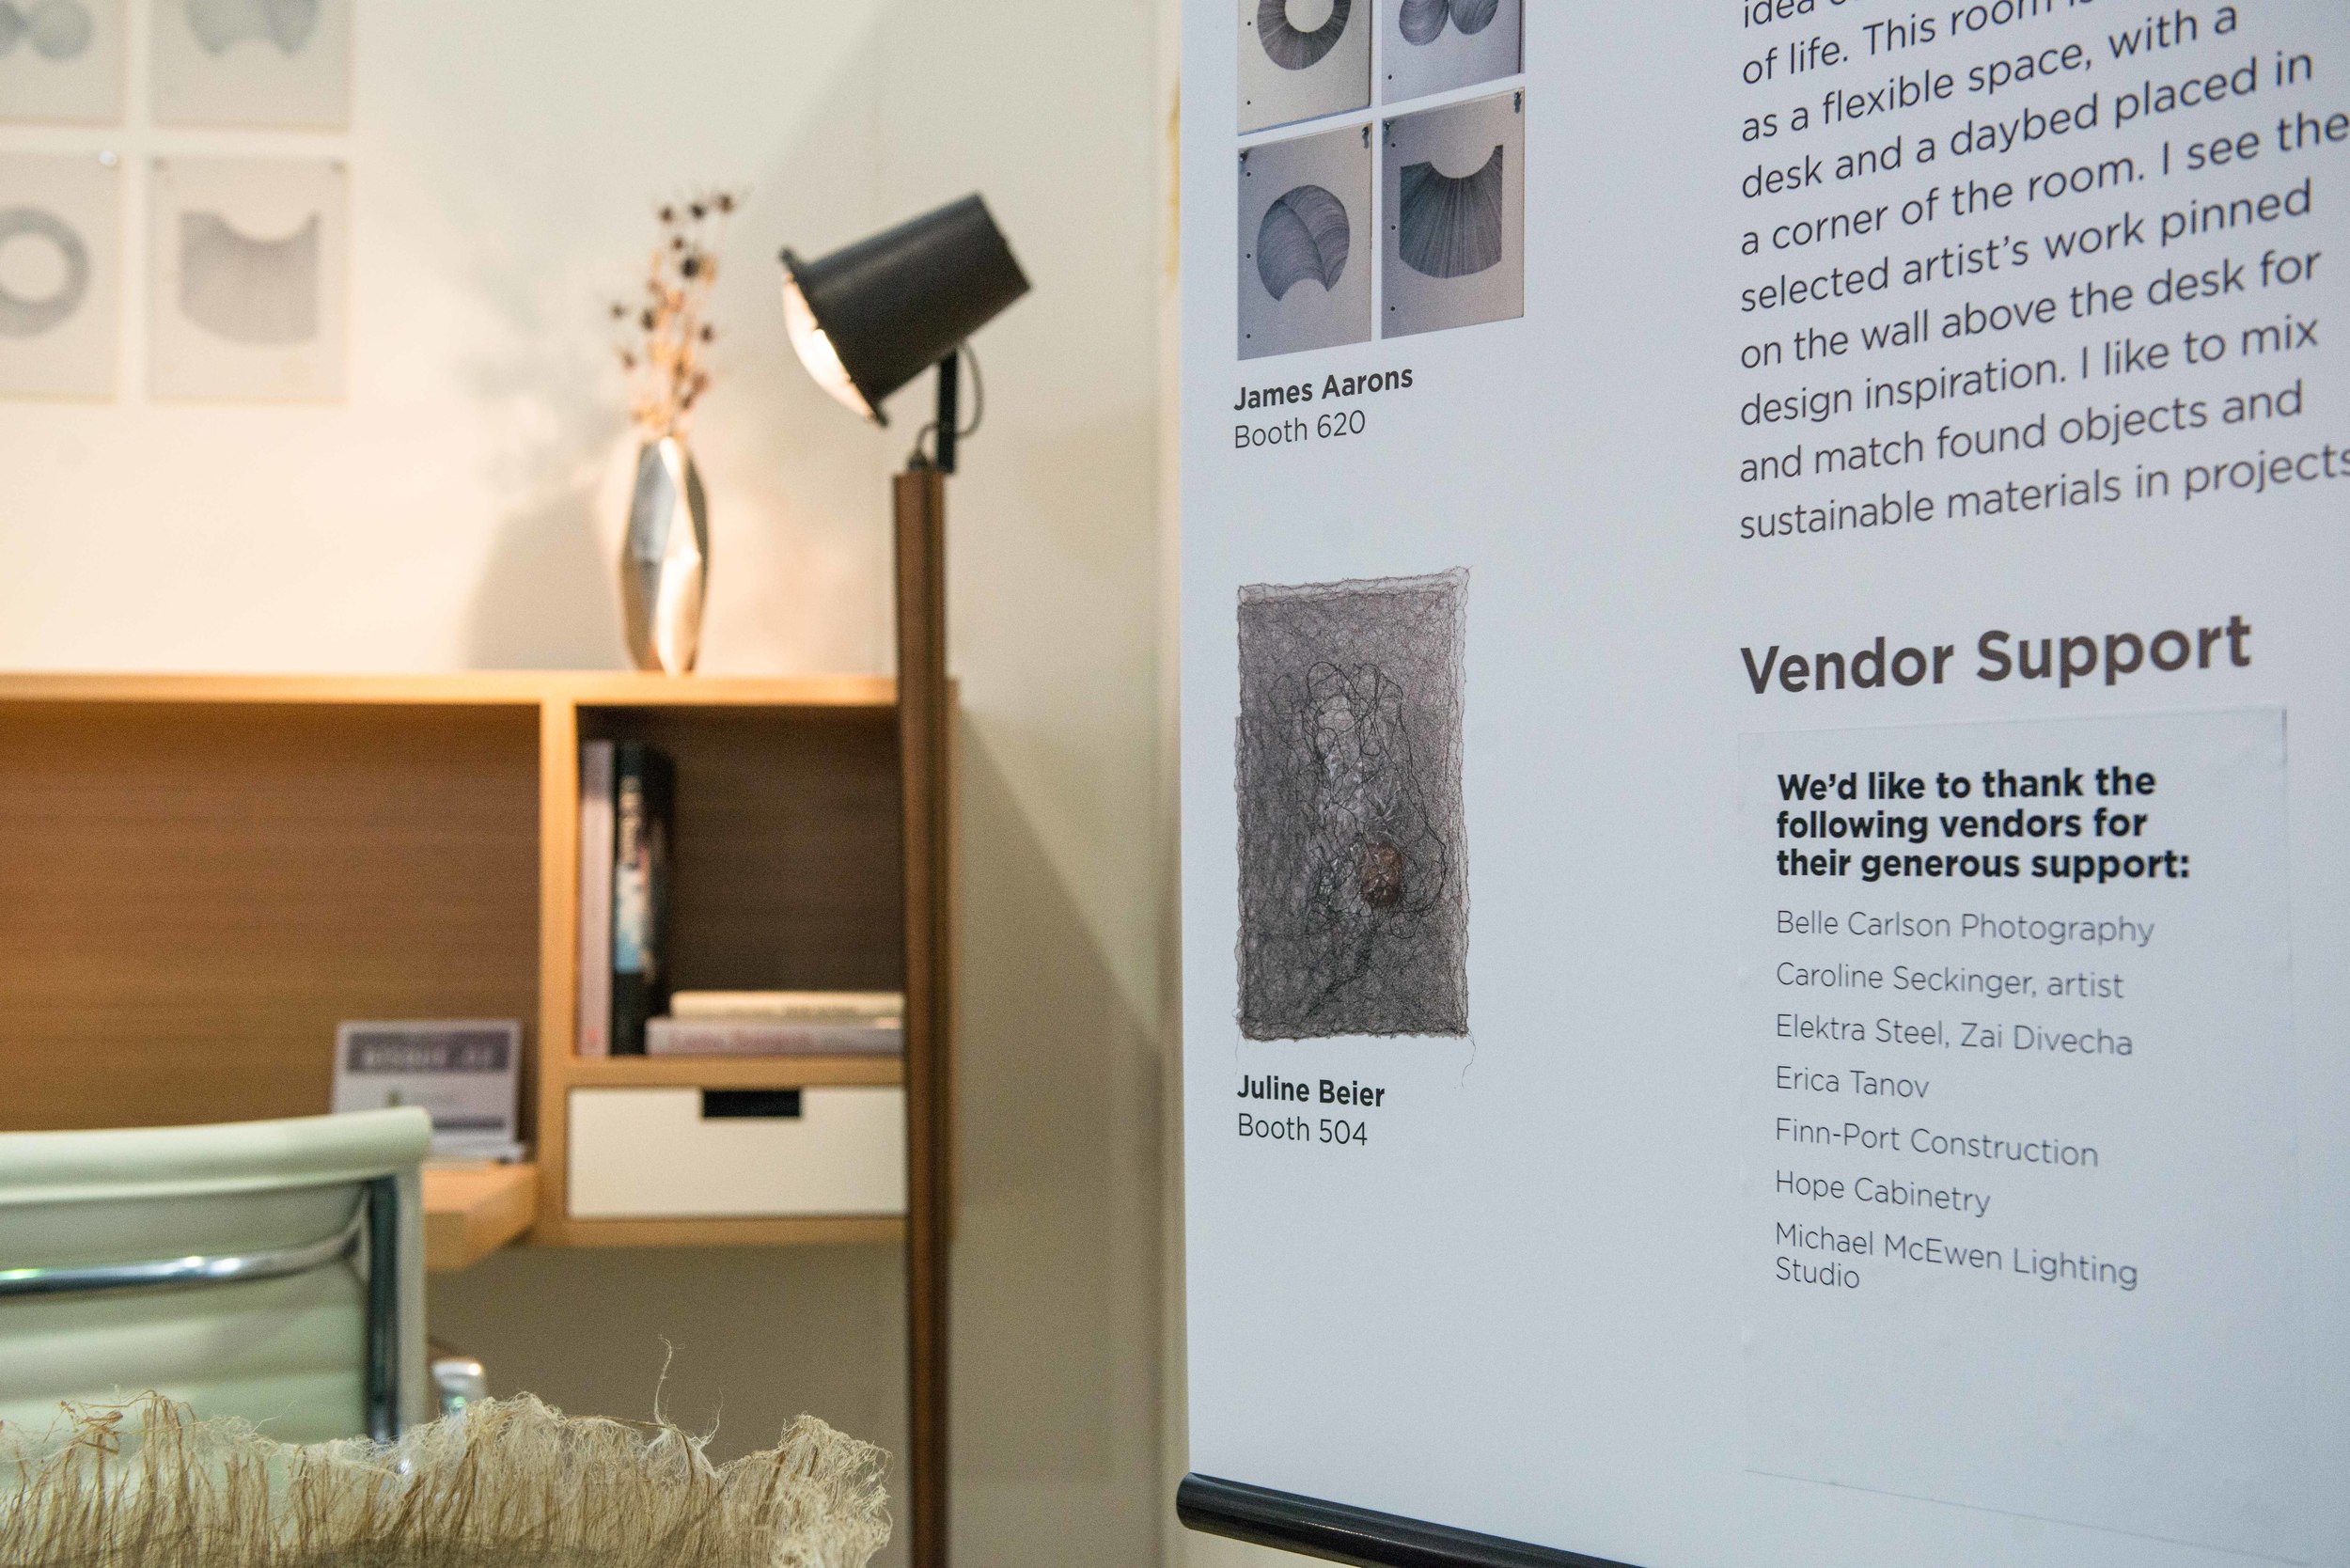
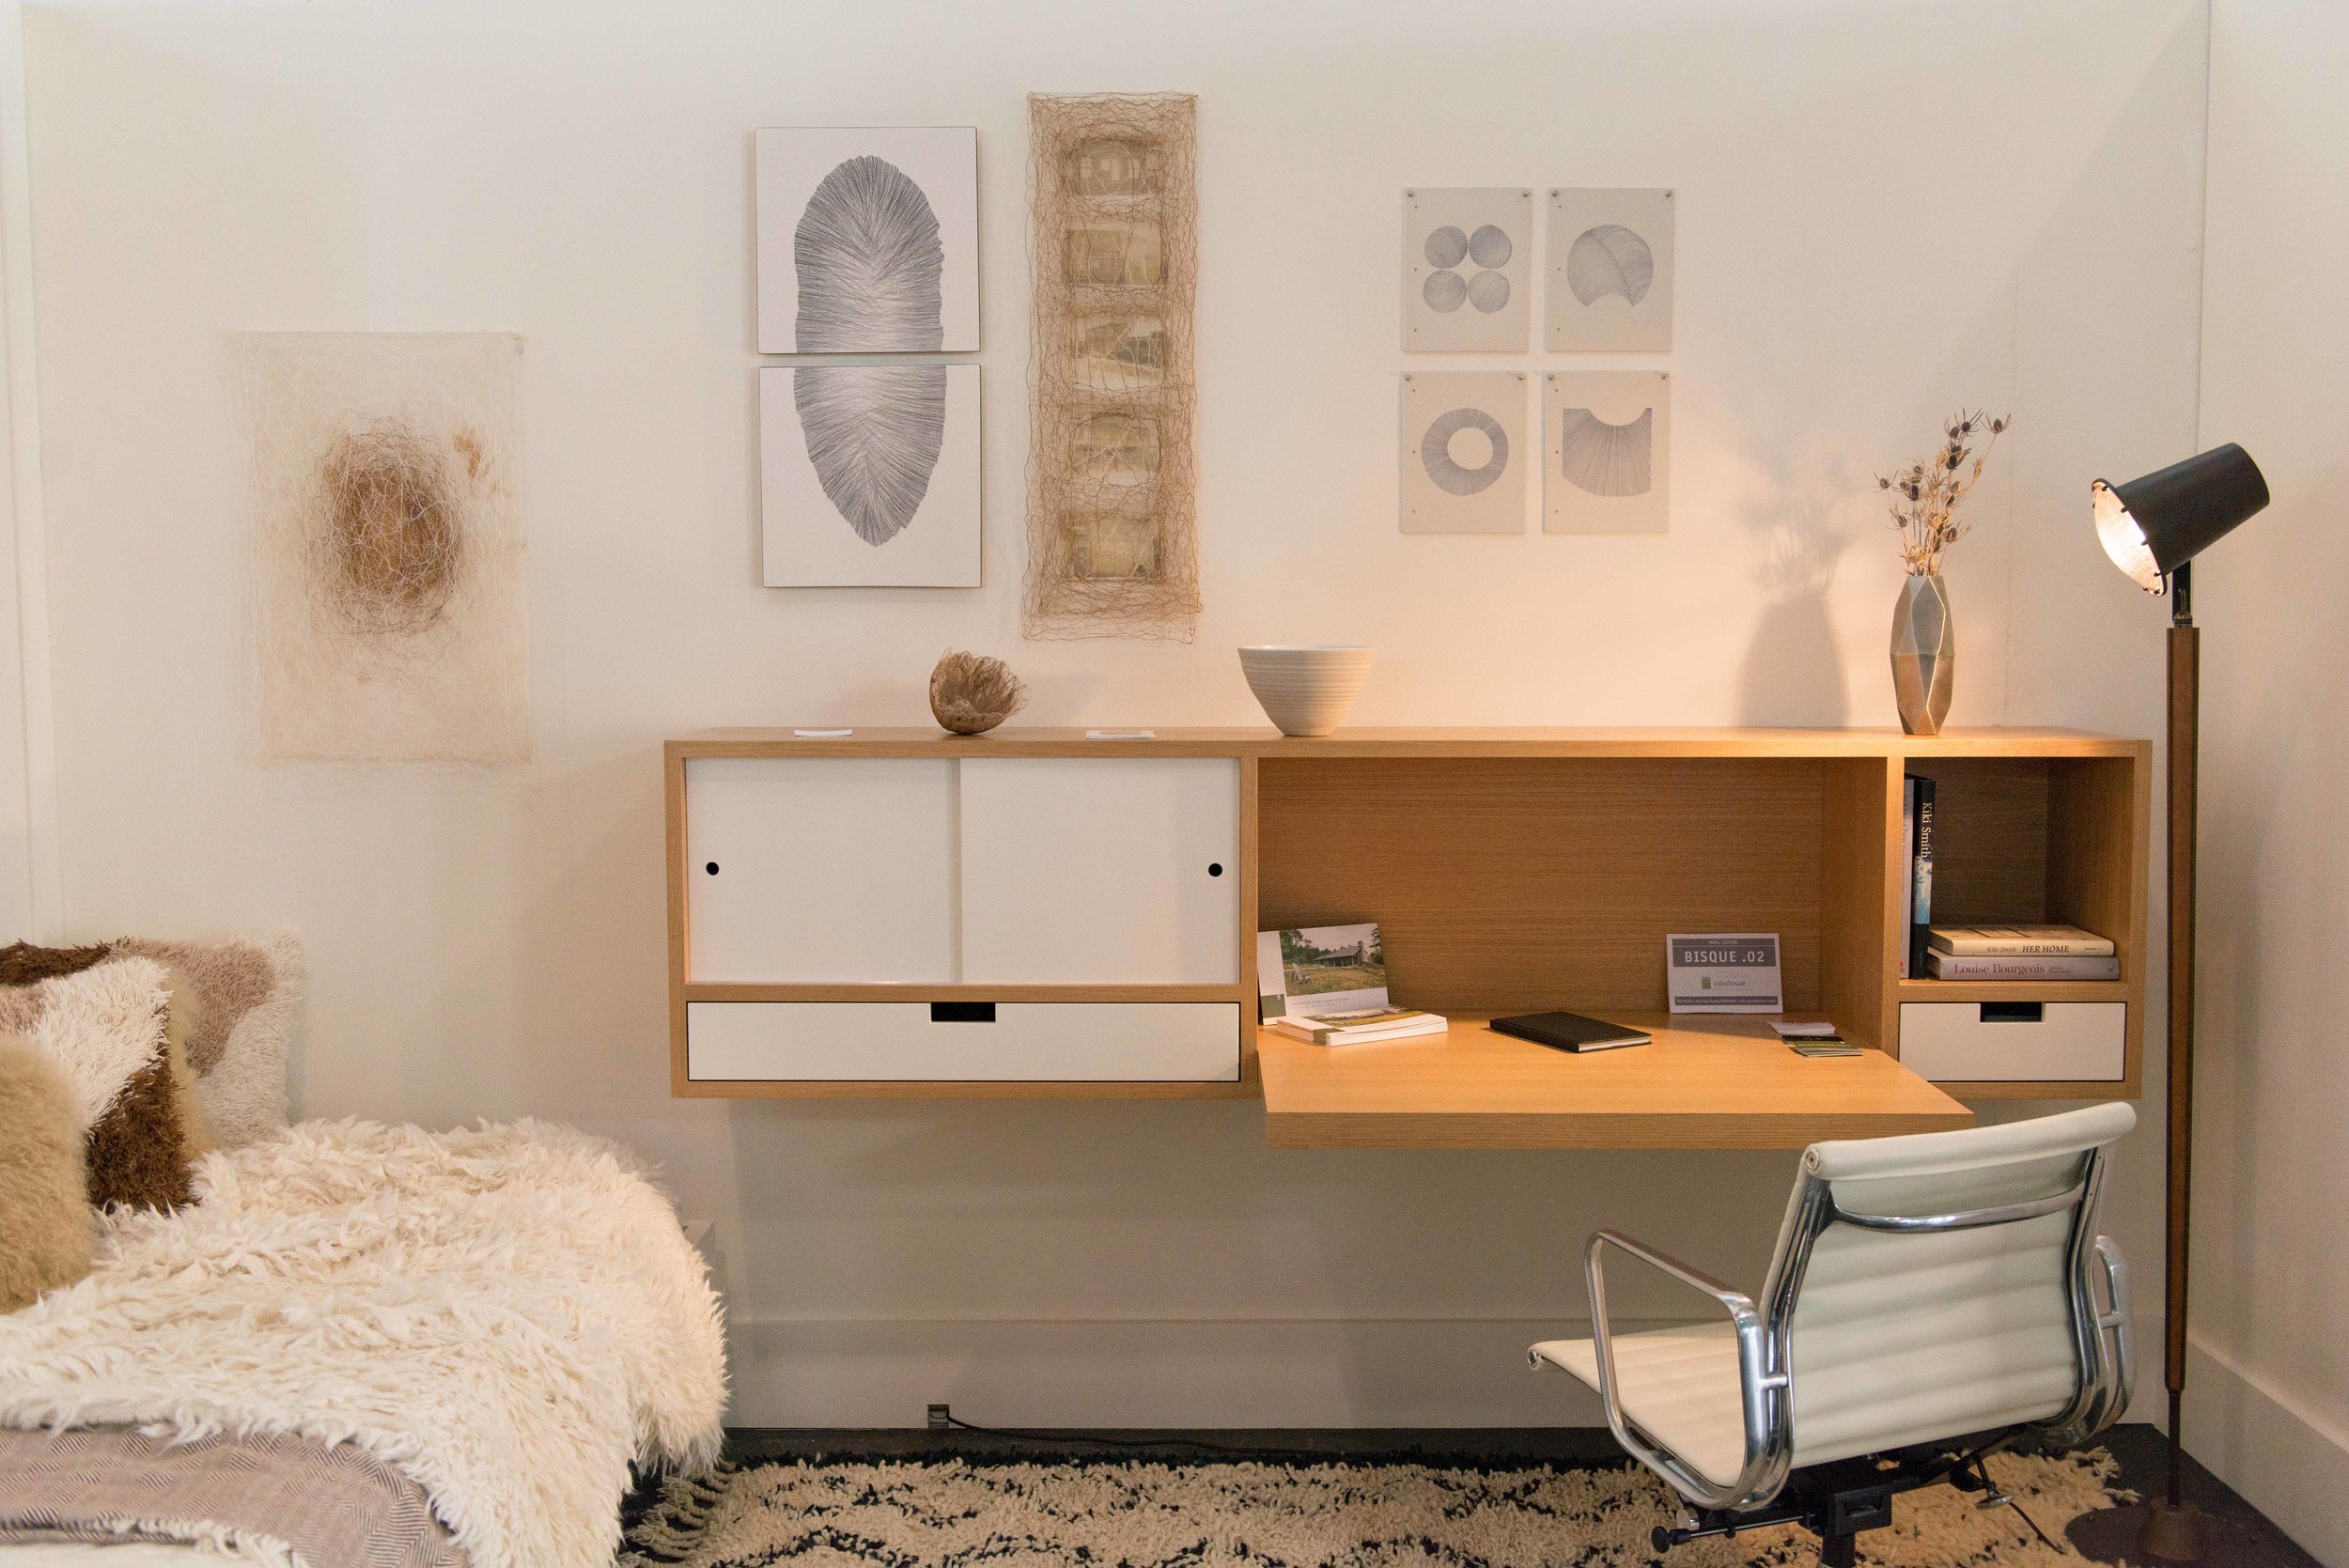
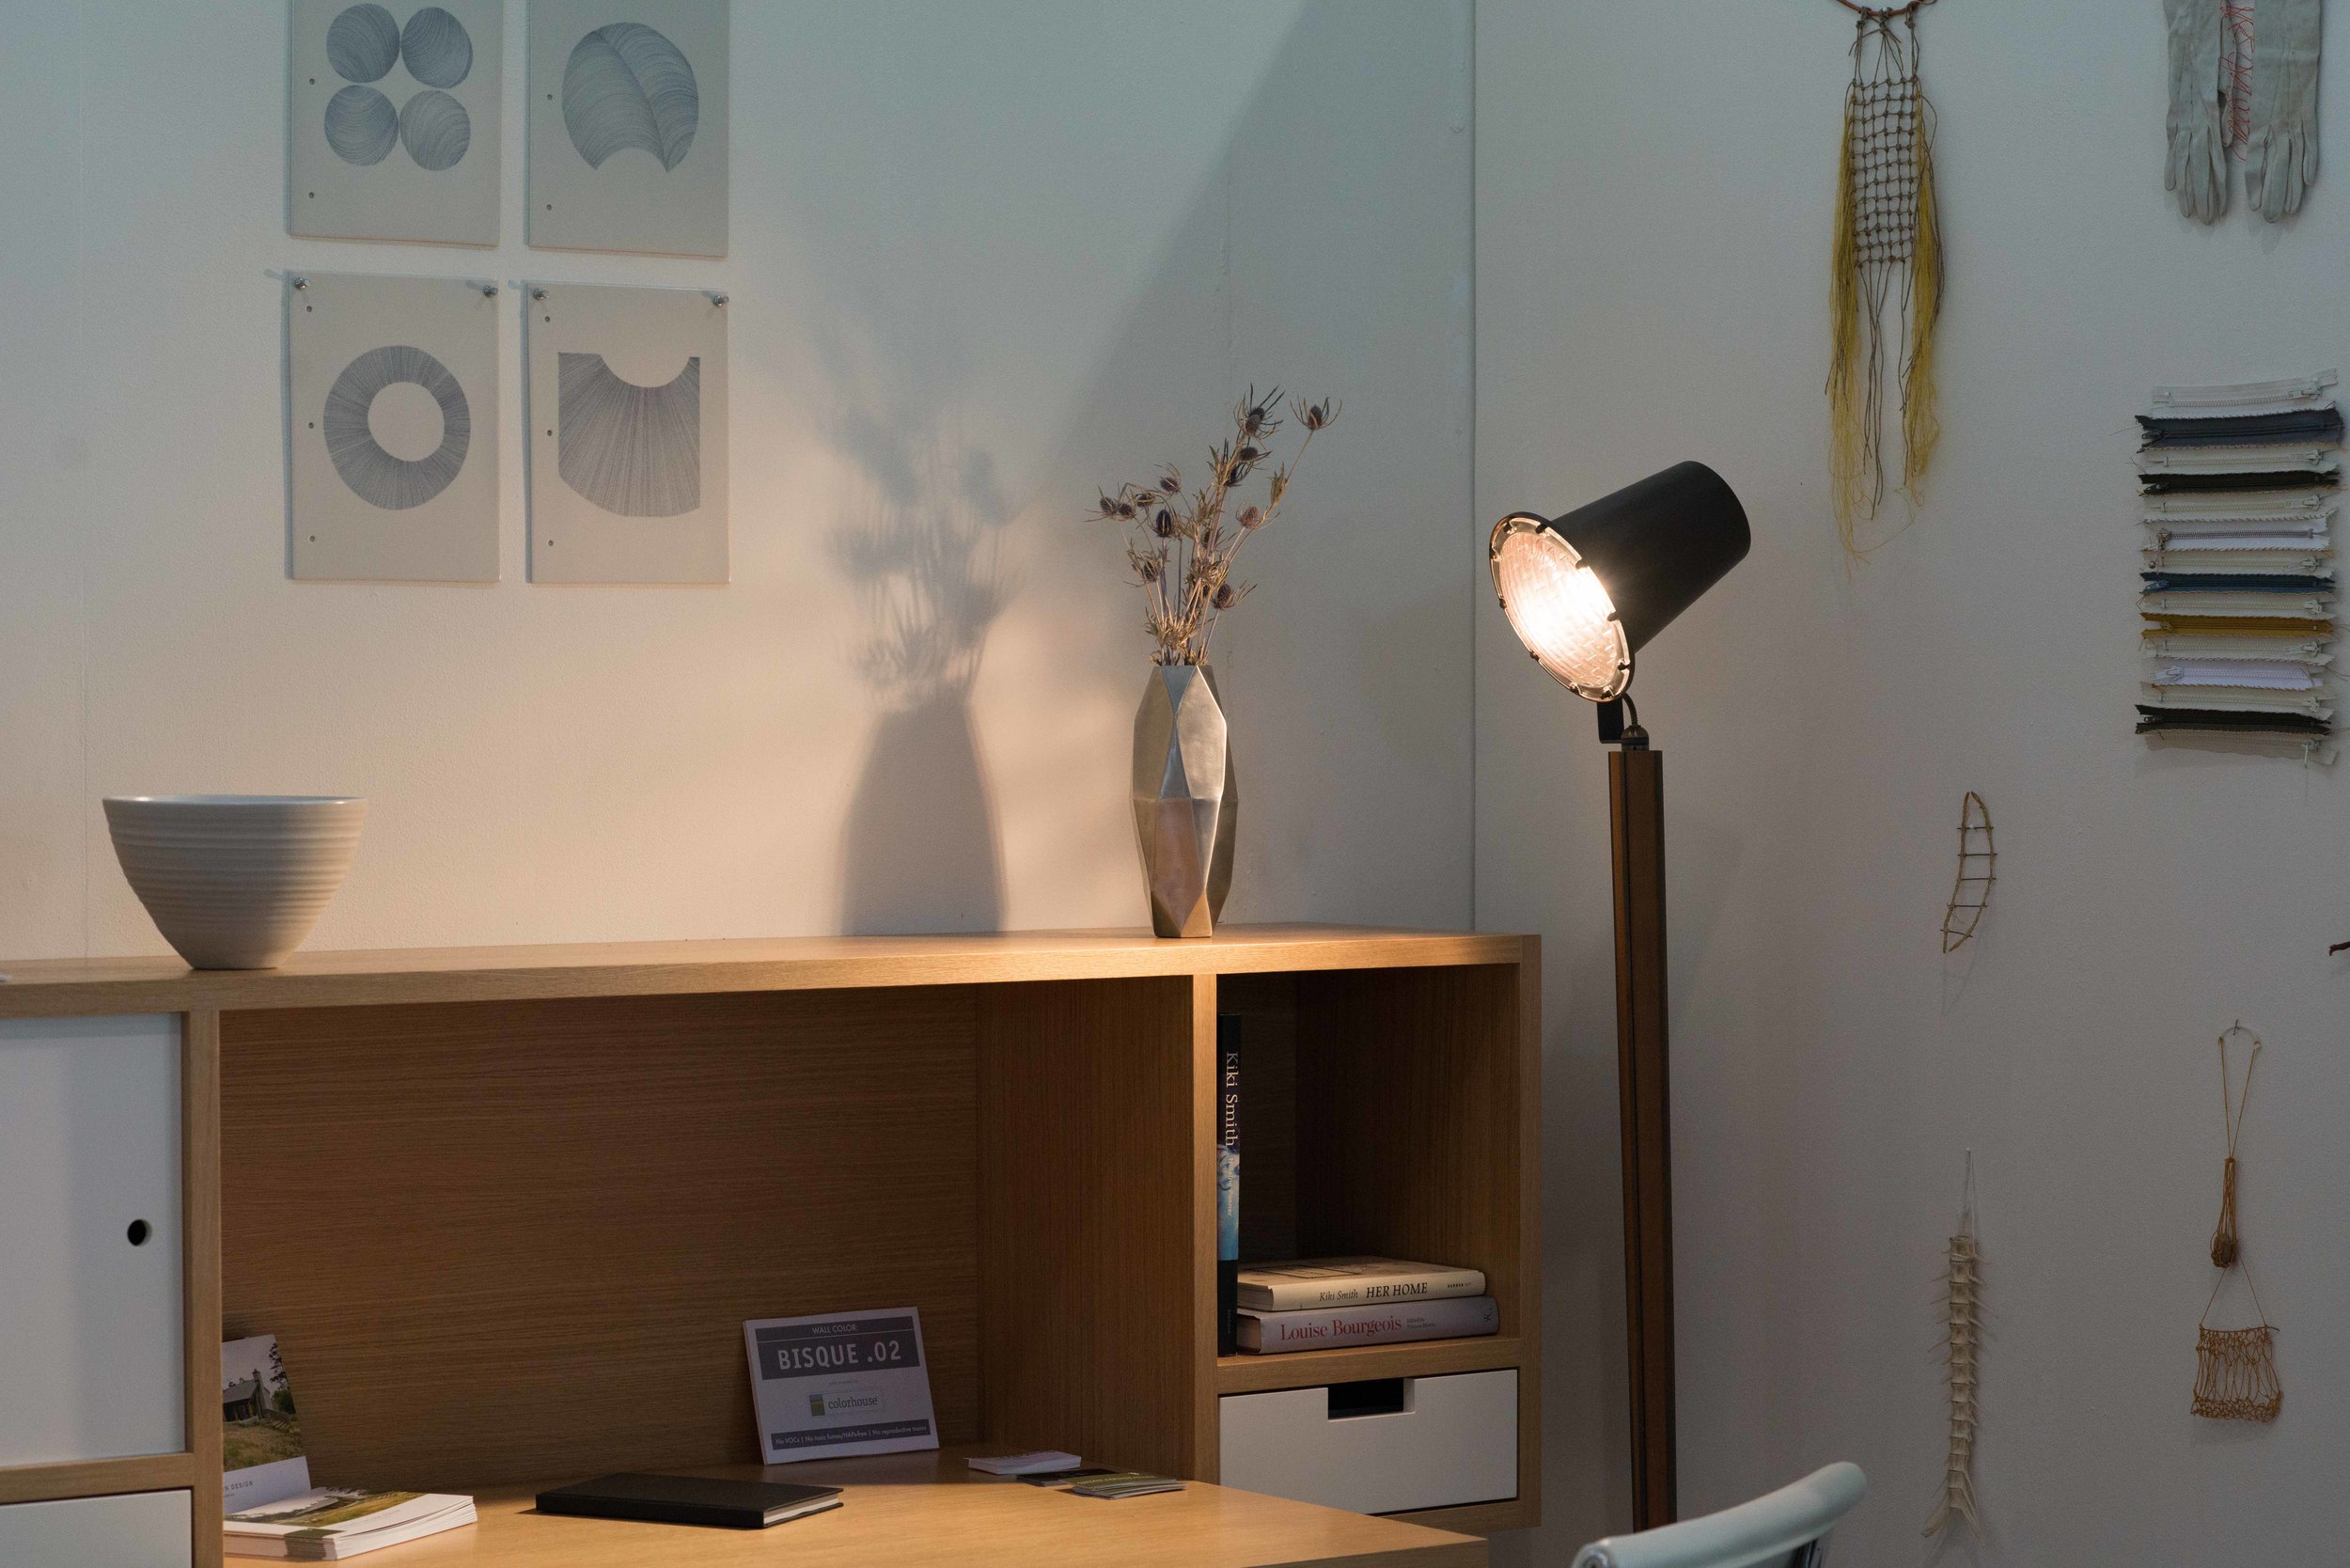
Special thanks to Reed Zelezny for taking these killer photos since I wasn't able to attend in person!
Geo Vase Instructable
If you're curious about how I designed and fabricated this 31-sided stainless steel vase, check out the Instructables article I just published! In it, I share every step of the design and fabrication process with photos, time-lapse videos, and step-by-step instructions.
The article actually just got featured on the Instructables homepage, which is so rad! They have a metal-themed contest running right now, so if you think I should win, feel free to vote for my Instructable. :)
Here are some of my favorite behind-the-scenes photos and videos to pique your interest:


Teaching Teens How to TIG Weld
For the last few weeks, I've been teaching TIG welding at the Crucible's Youth Summer Camps! I learned how to weld when I was 14, and it's so cool that I'm now in a position to teach other young people how to weld.
Learning how to MIG, TIG, blacksmith, machine, and anodize when I was in high school had a profound impact on my teenage years. I was a quiet, studious high schooler who loved drawing and painting. But when I first stepped into the metal shop in ninth grade, I was intimidated -- I didn't see how I'd ever get comfortable with the scary-looking tools. But my shop teacher, David Clifford, taught me how to use every tool safely and confidently. And slowly, I began to see that I could use these powerful machines to create beautiful objects from my imagination. My confidence grew, and I fell in love with metalworking.
Working on my high school senior project.
Fast-forward thirteen years: David is still one of my dearest mentors (he actually served as a reference for me when I applied for the teaching job at the Crucible), and over the last couple weeks, I've taught nearly 30 young people aged 13-18 how to TIG weld. It's been an amazing experience! I'm starting to figure out what kinds of explanations and demos are most helpful, and I'm developing my own teaching style.
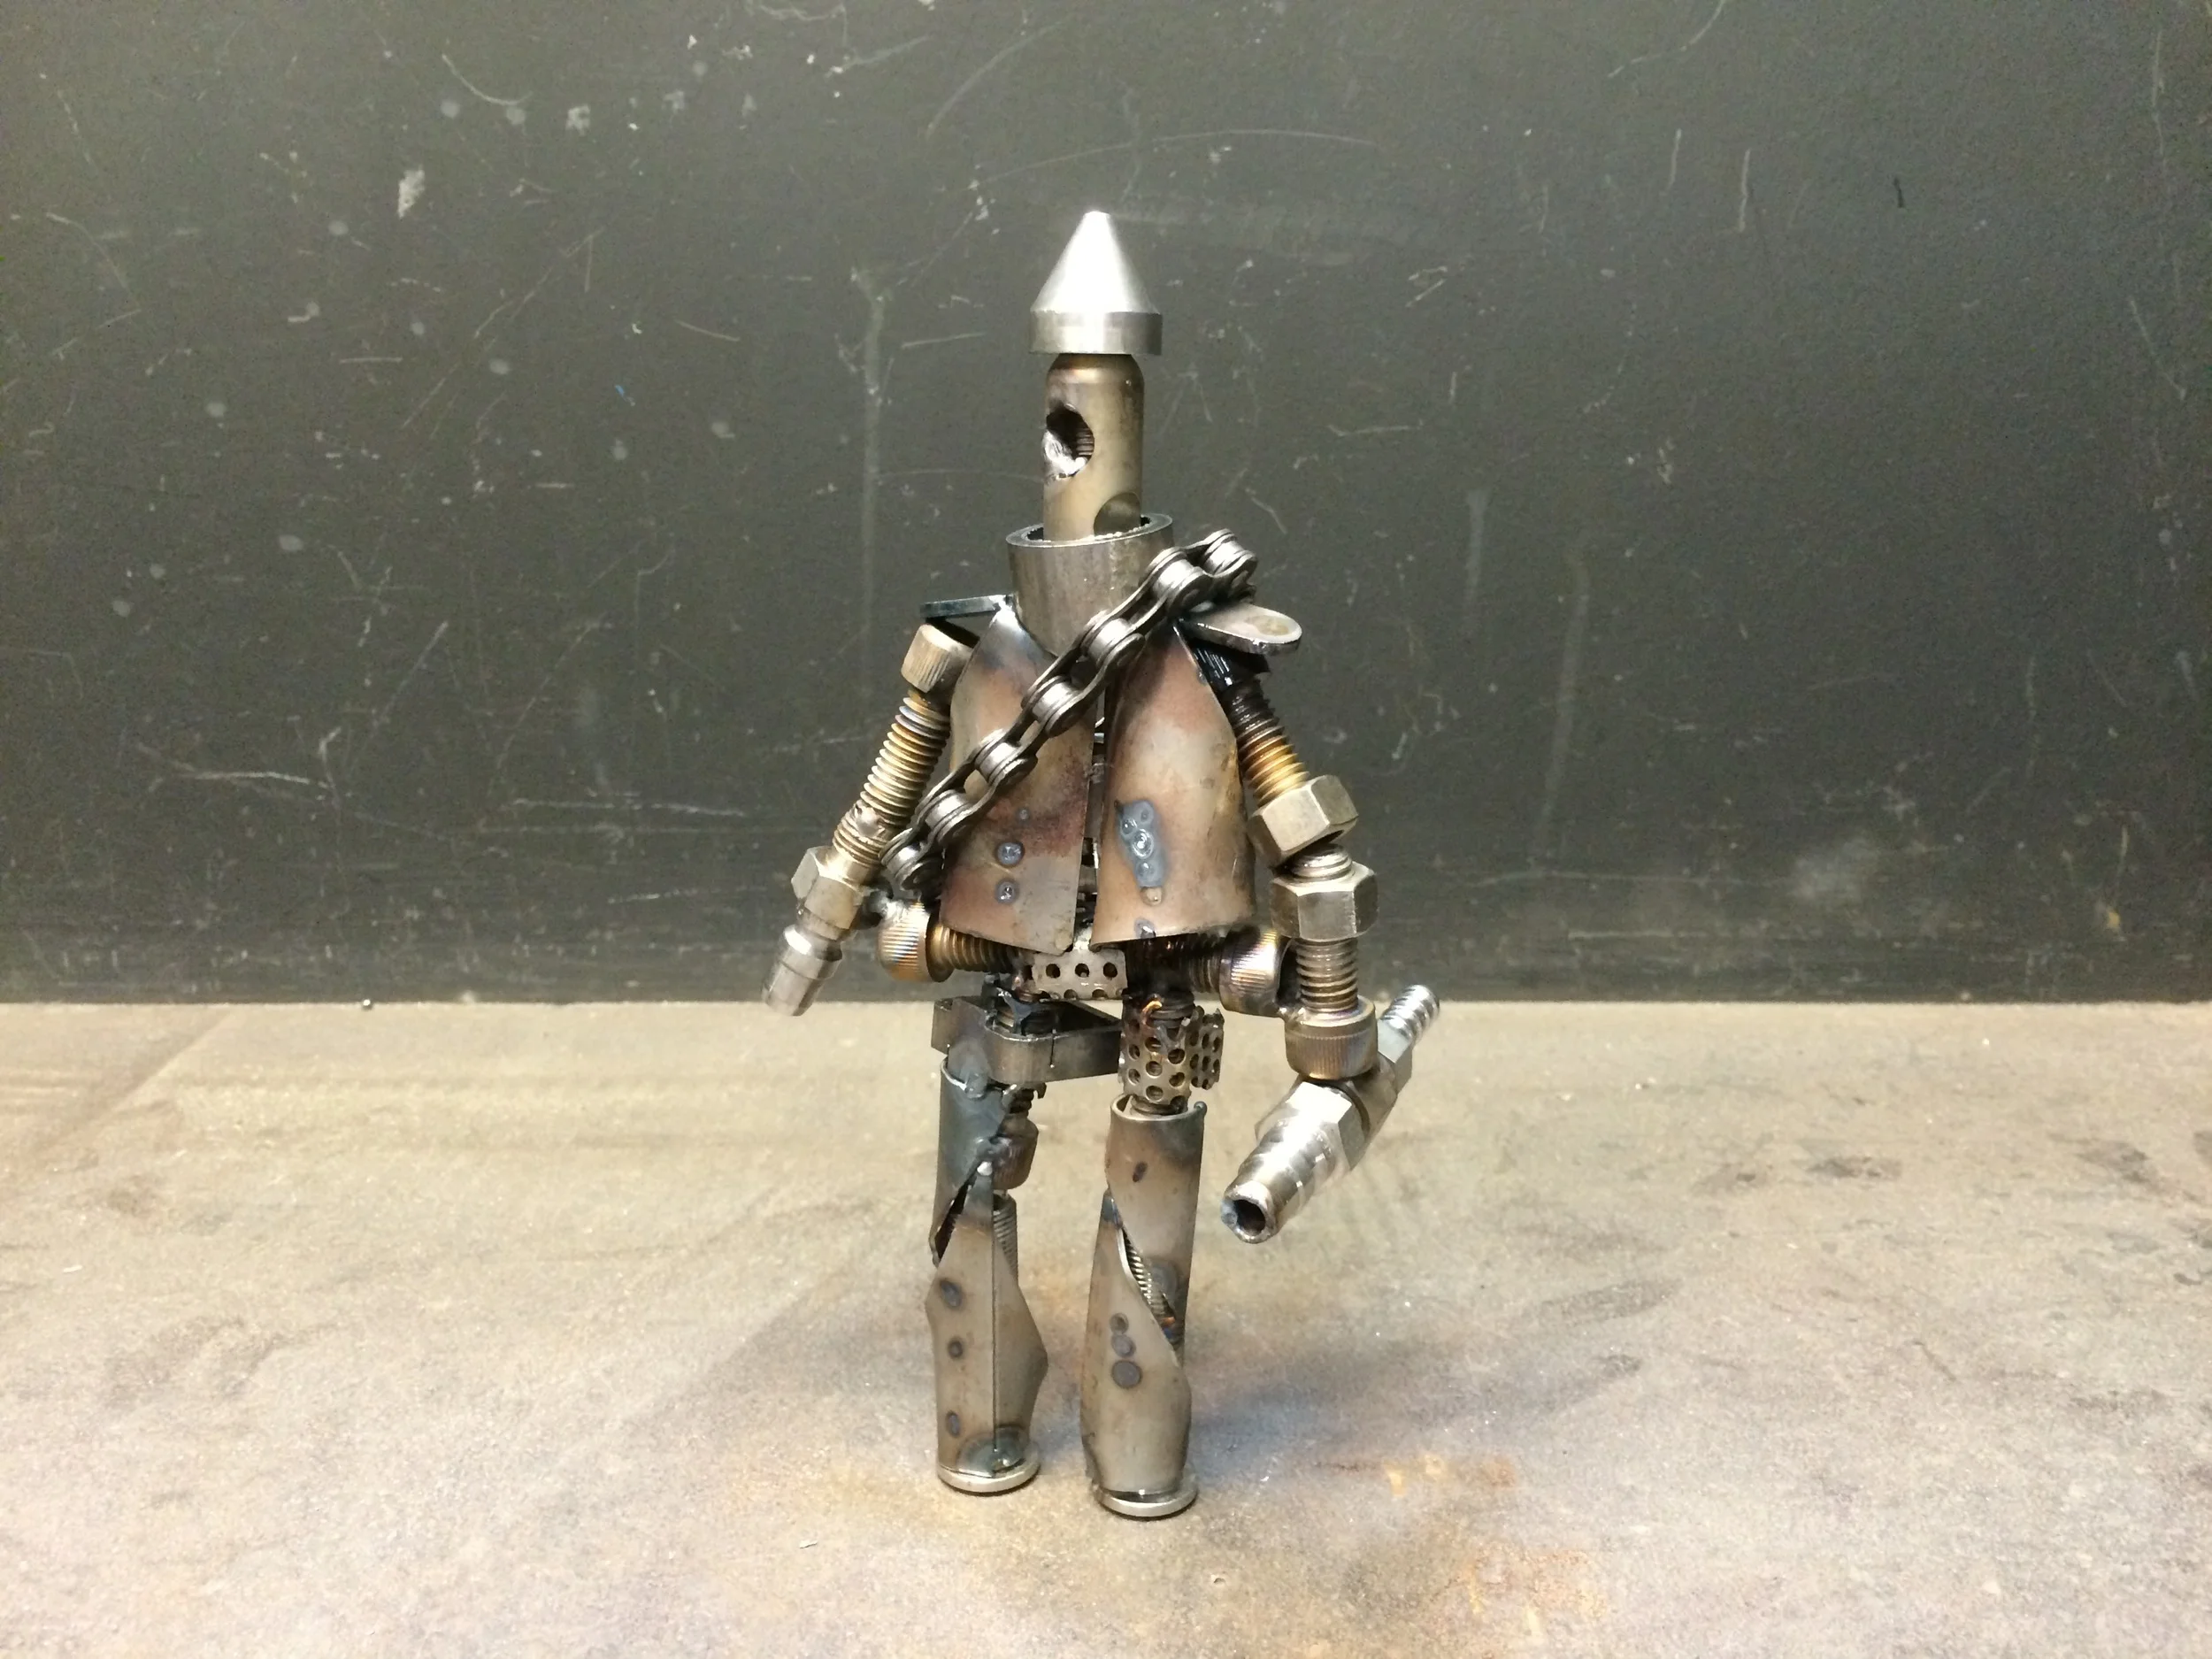
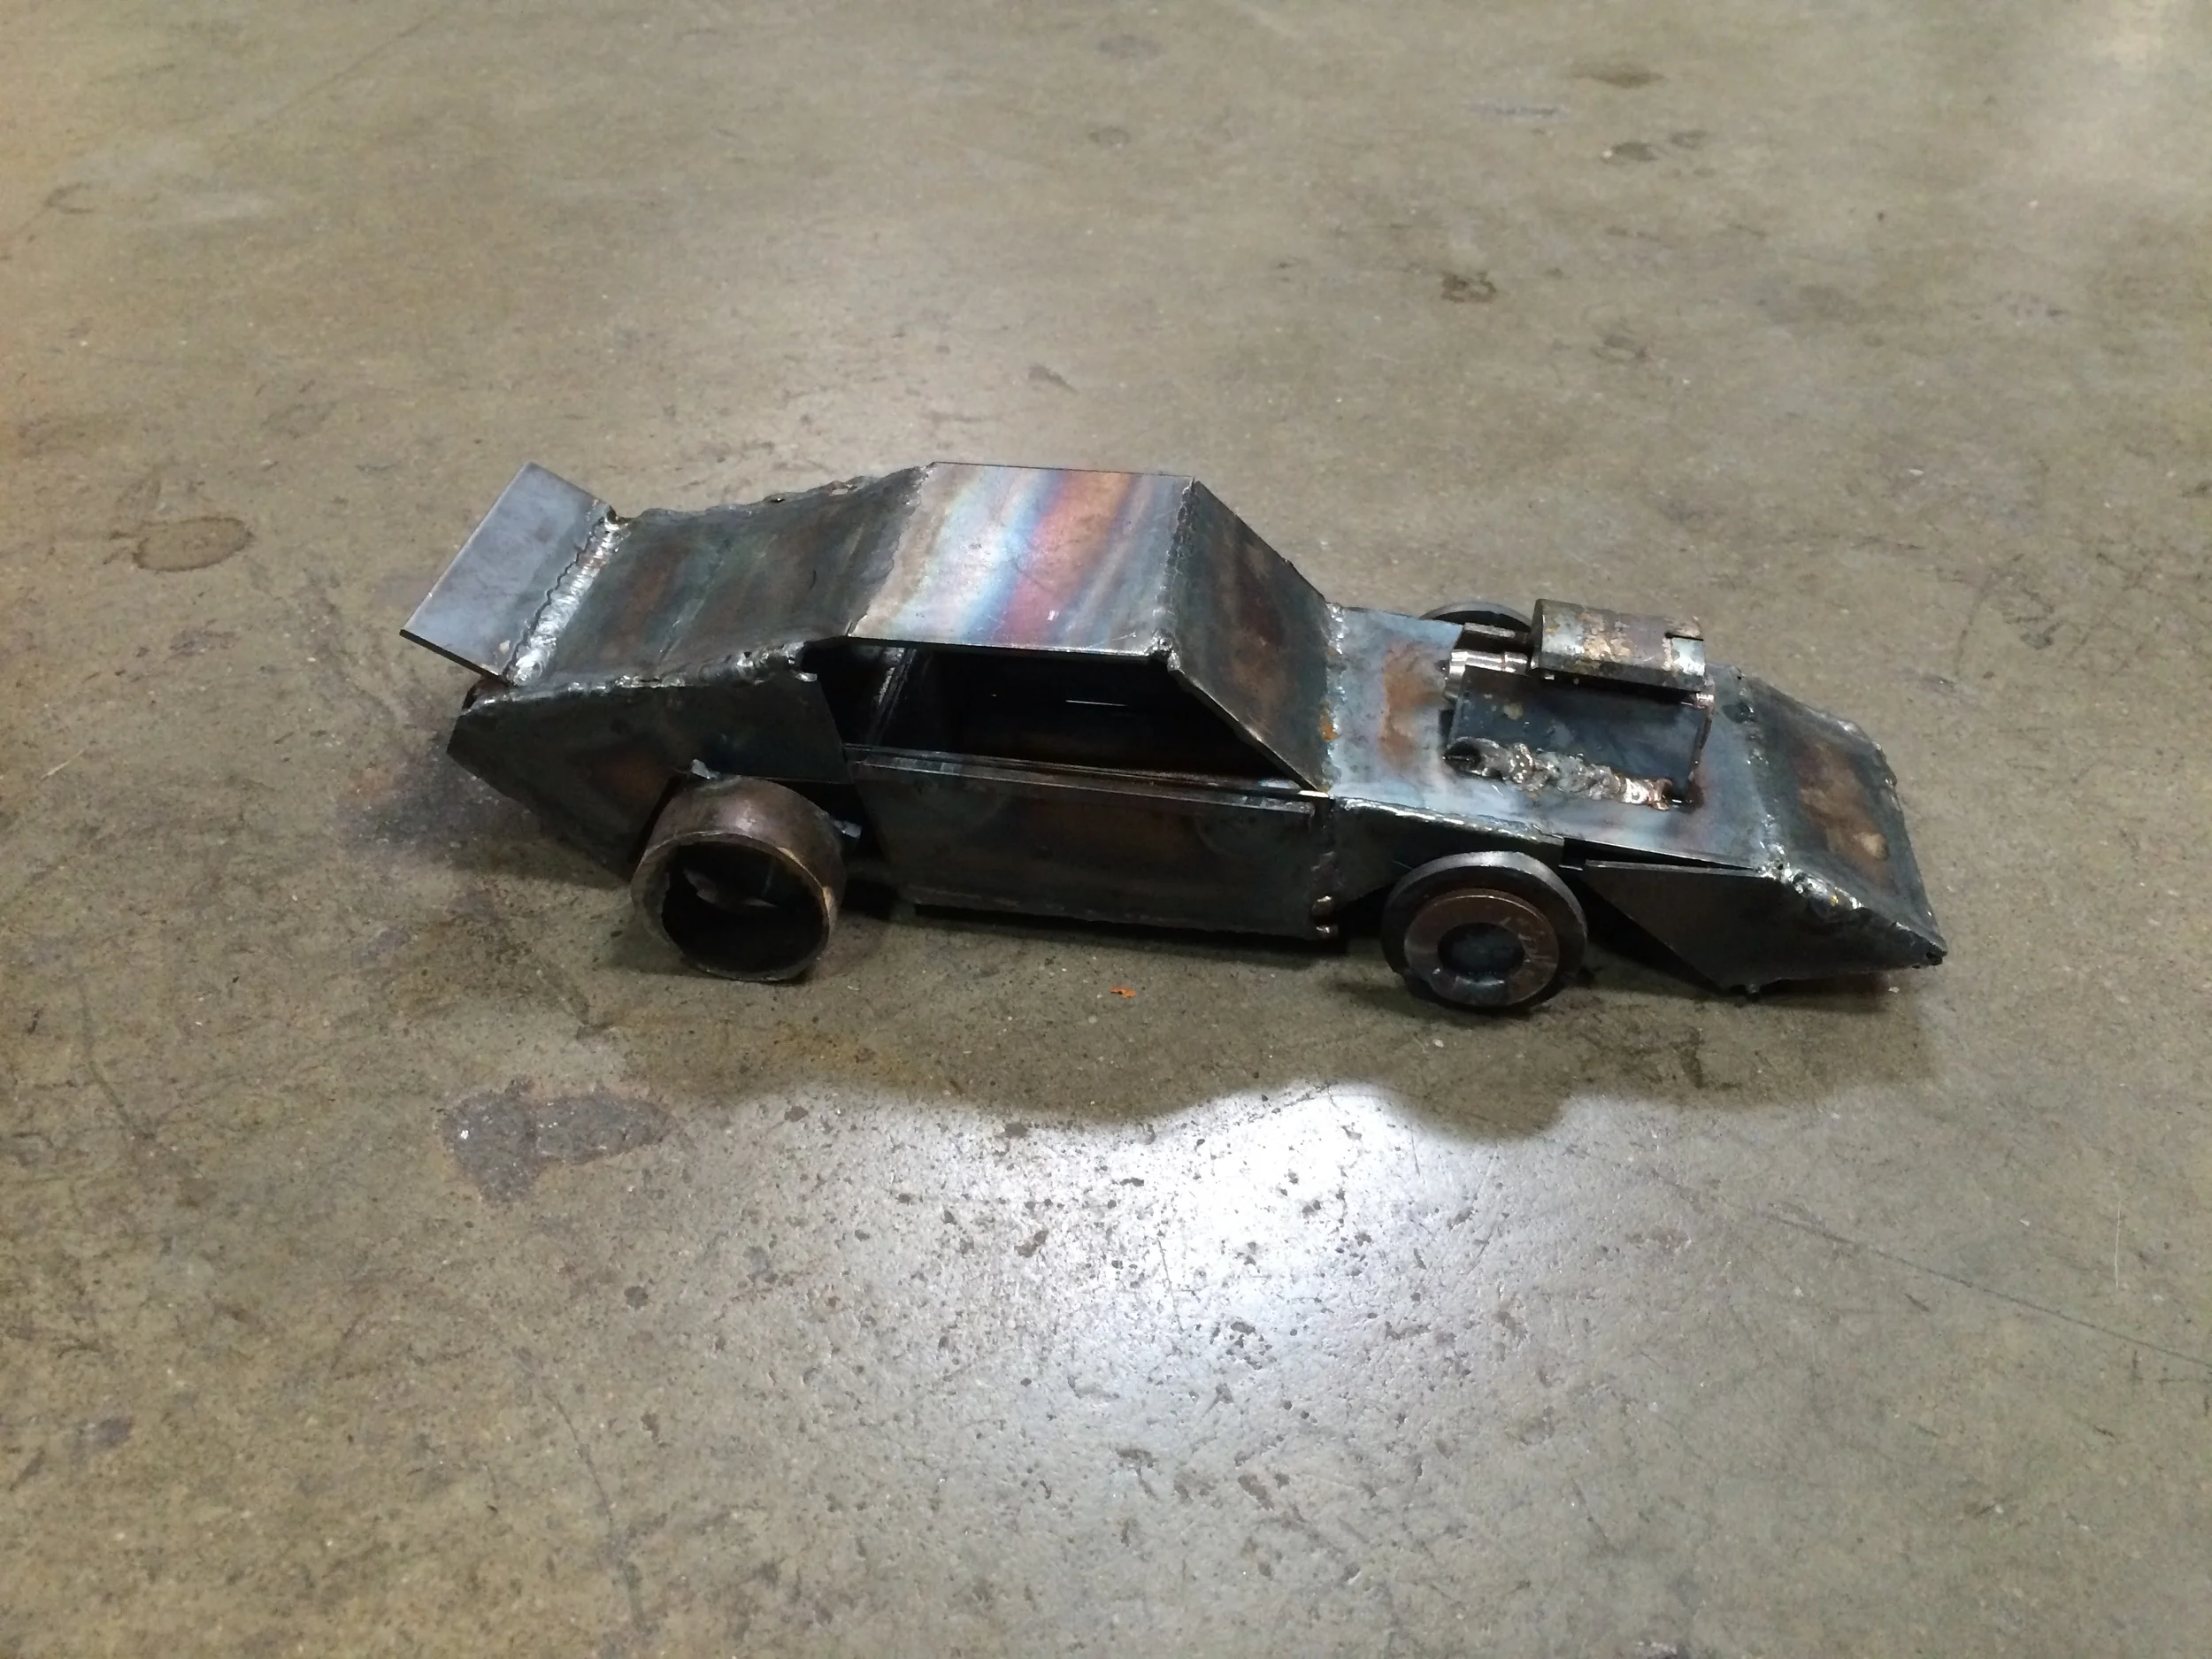
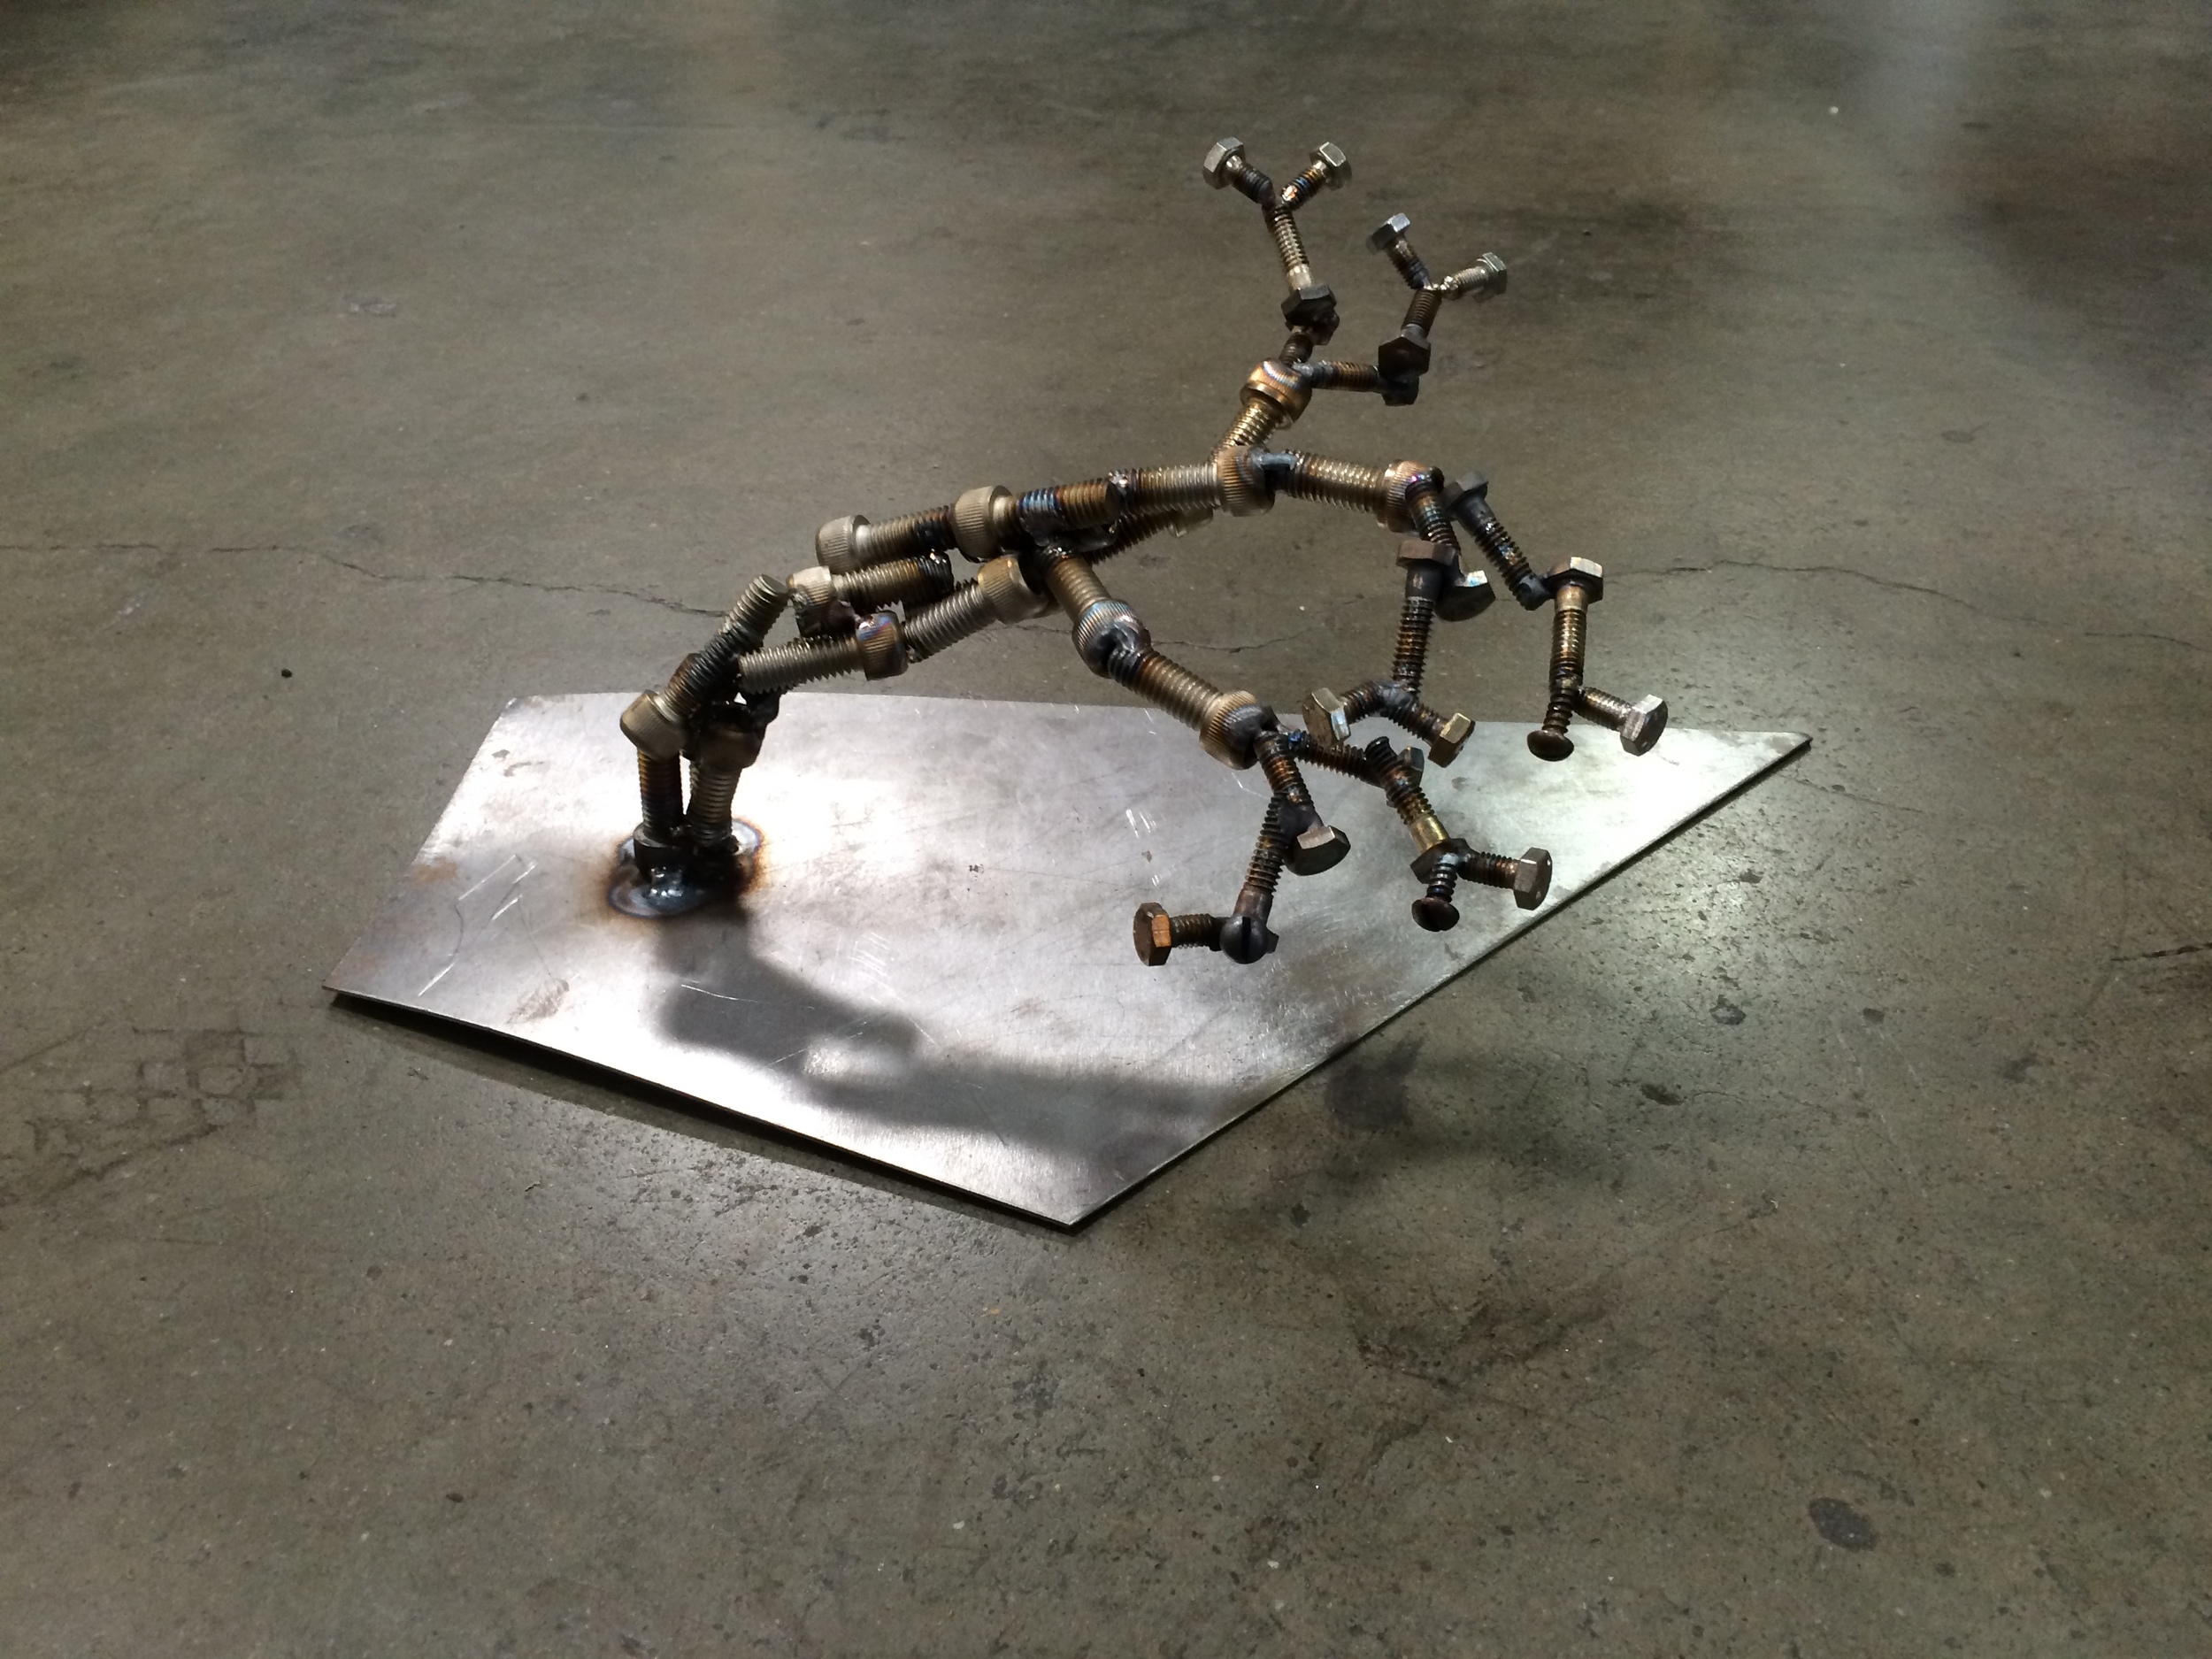
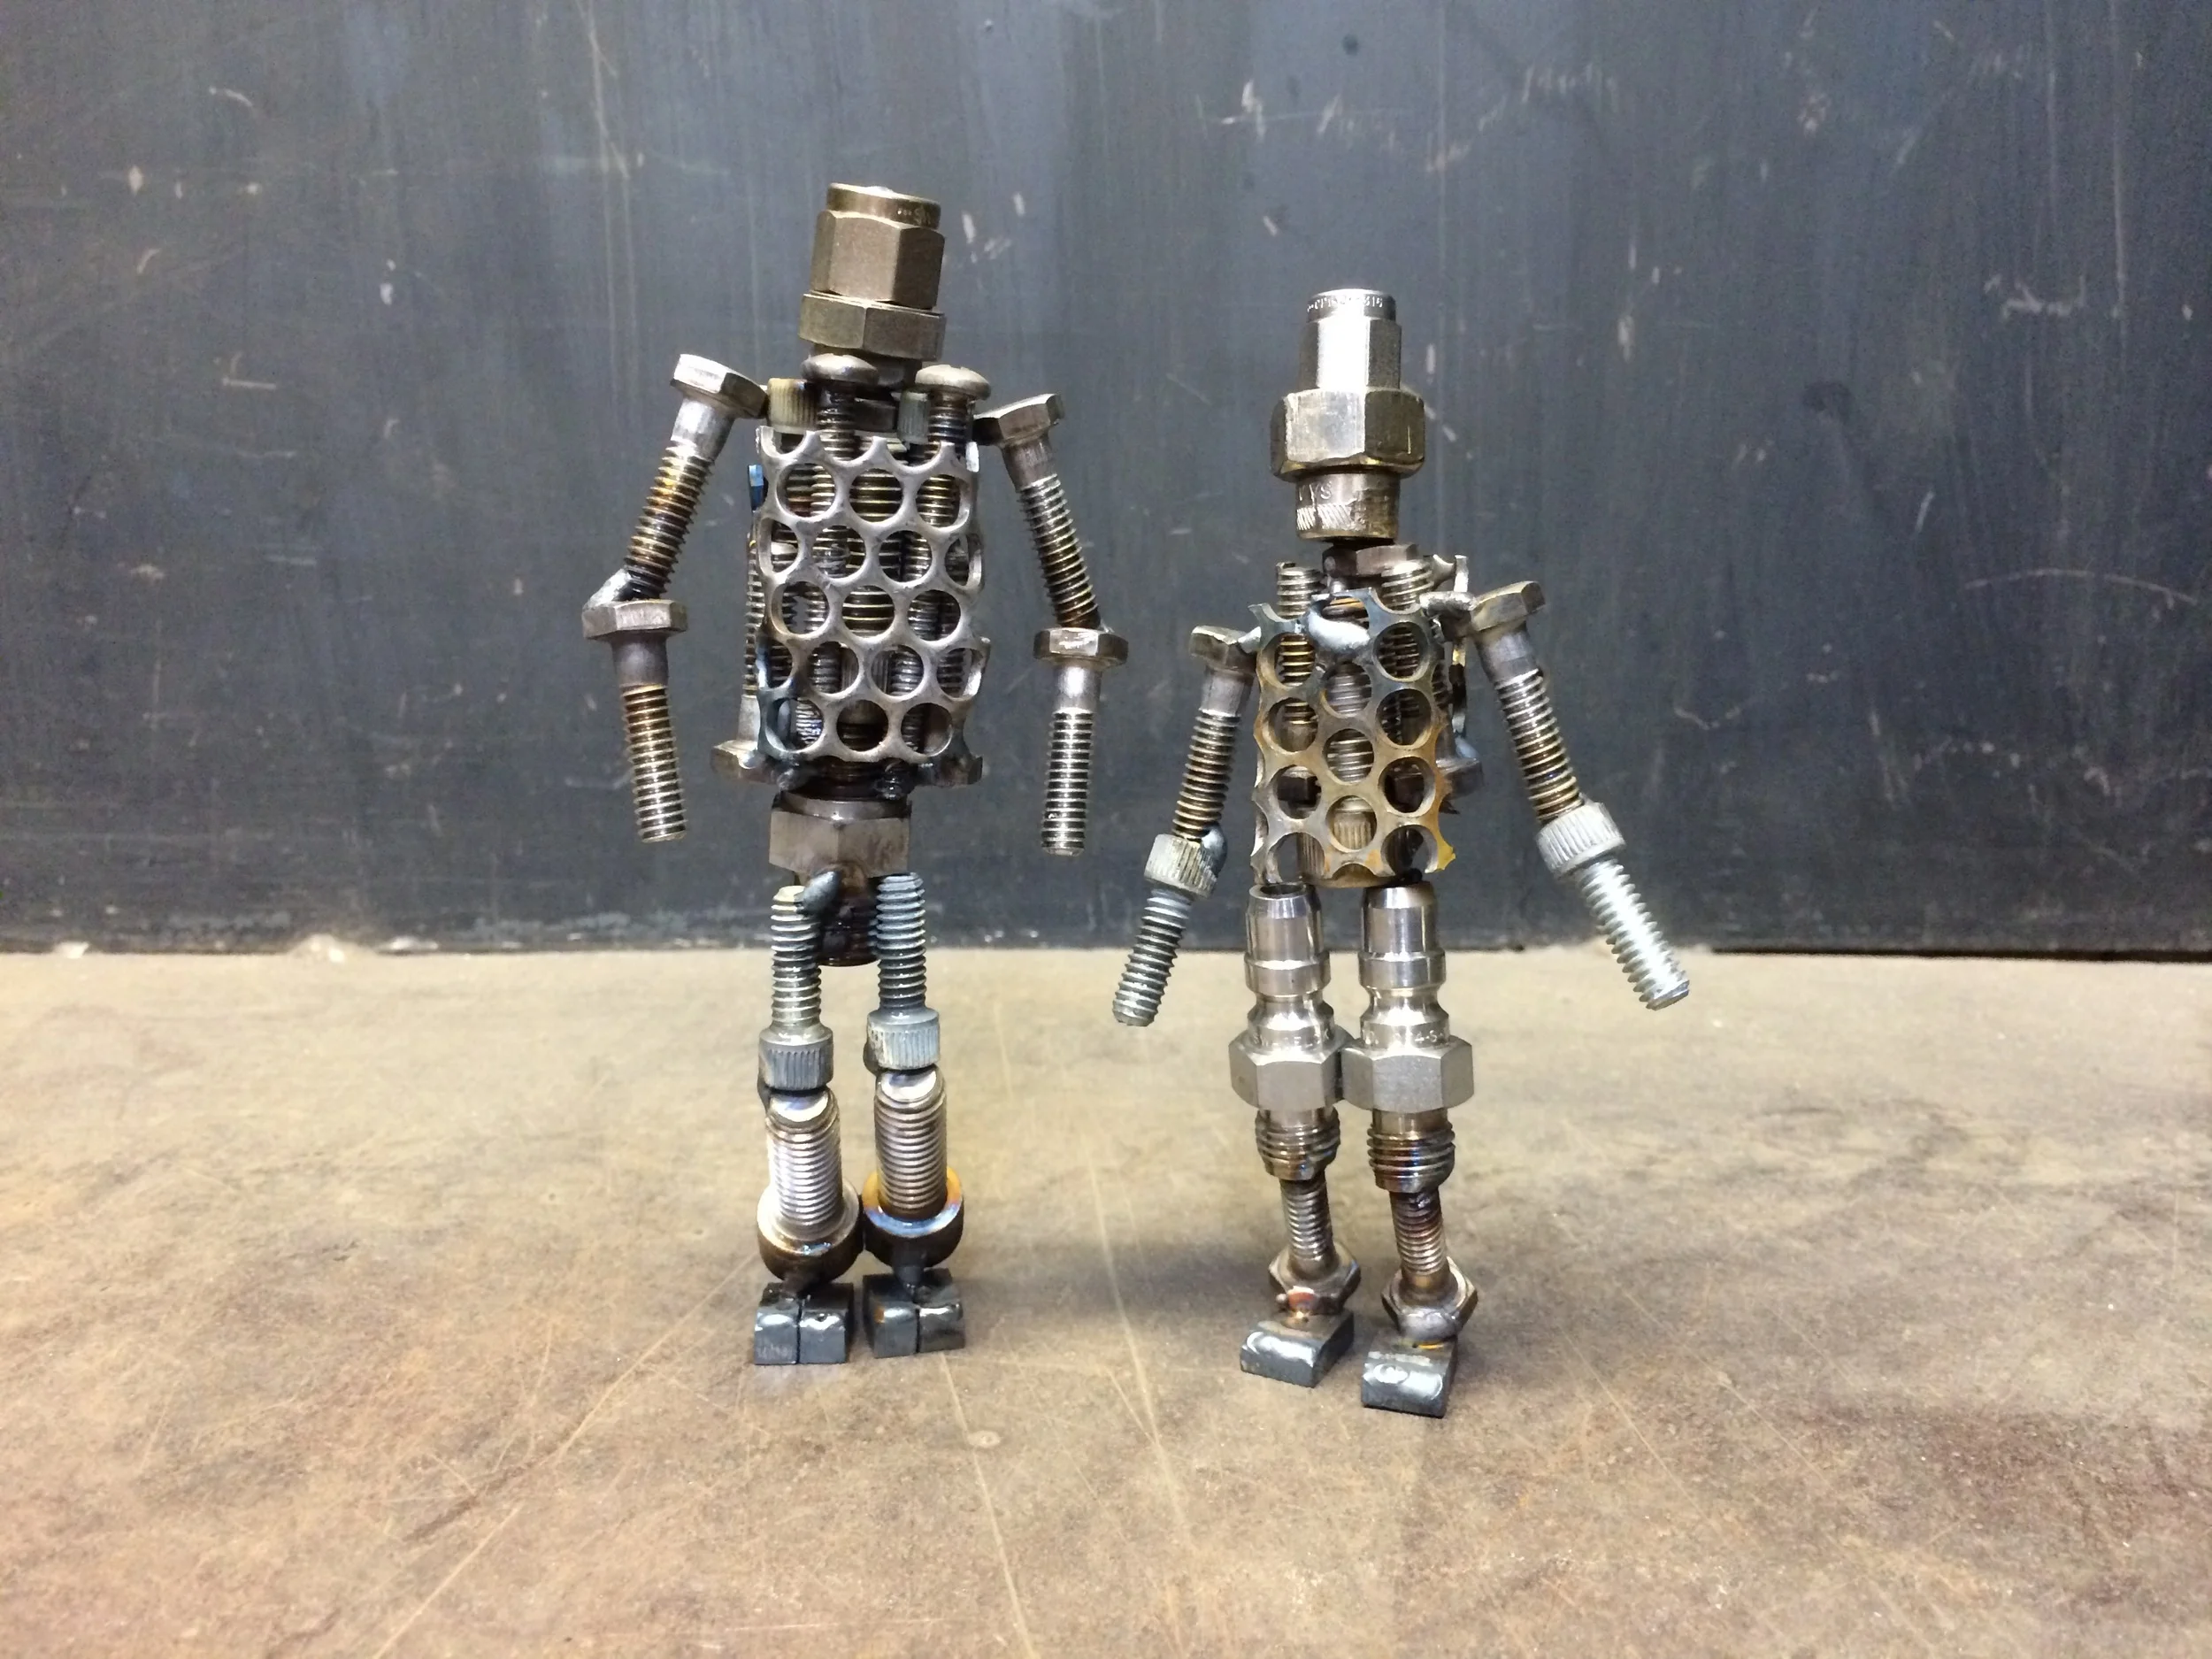
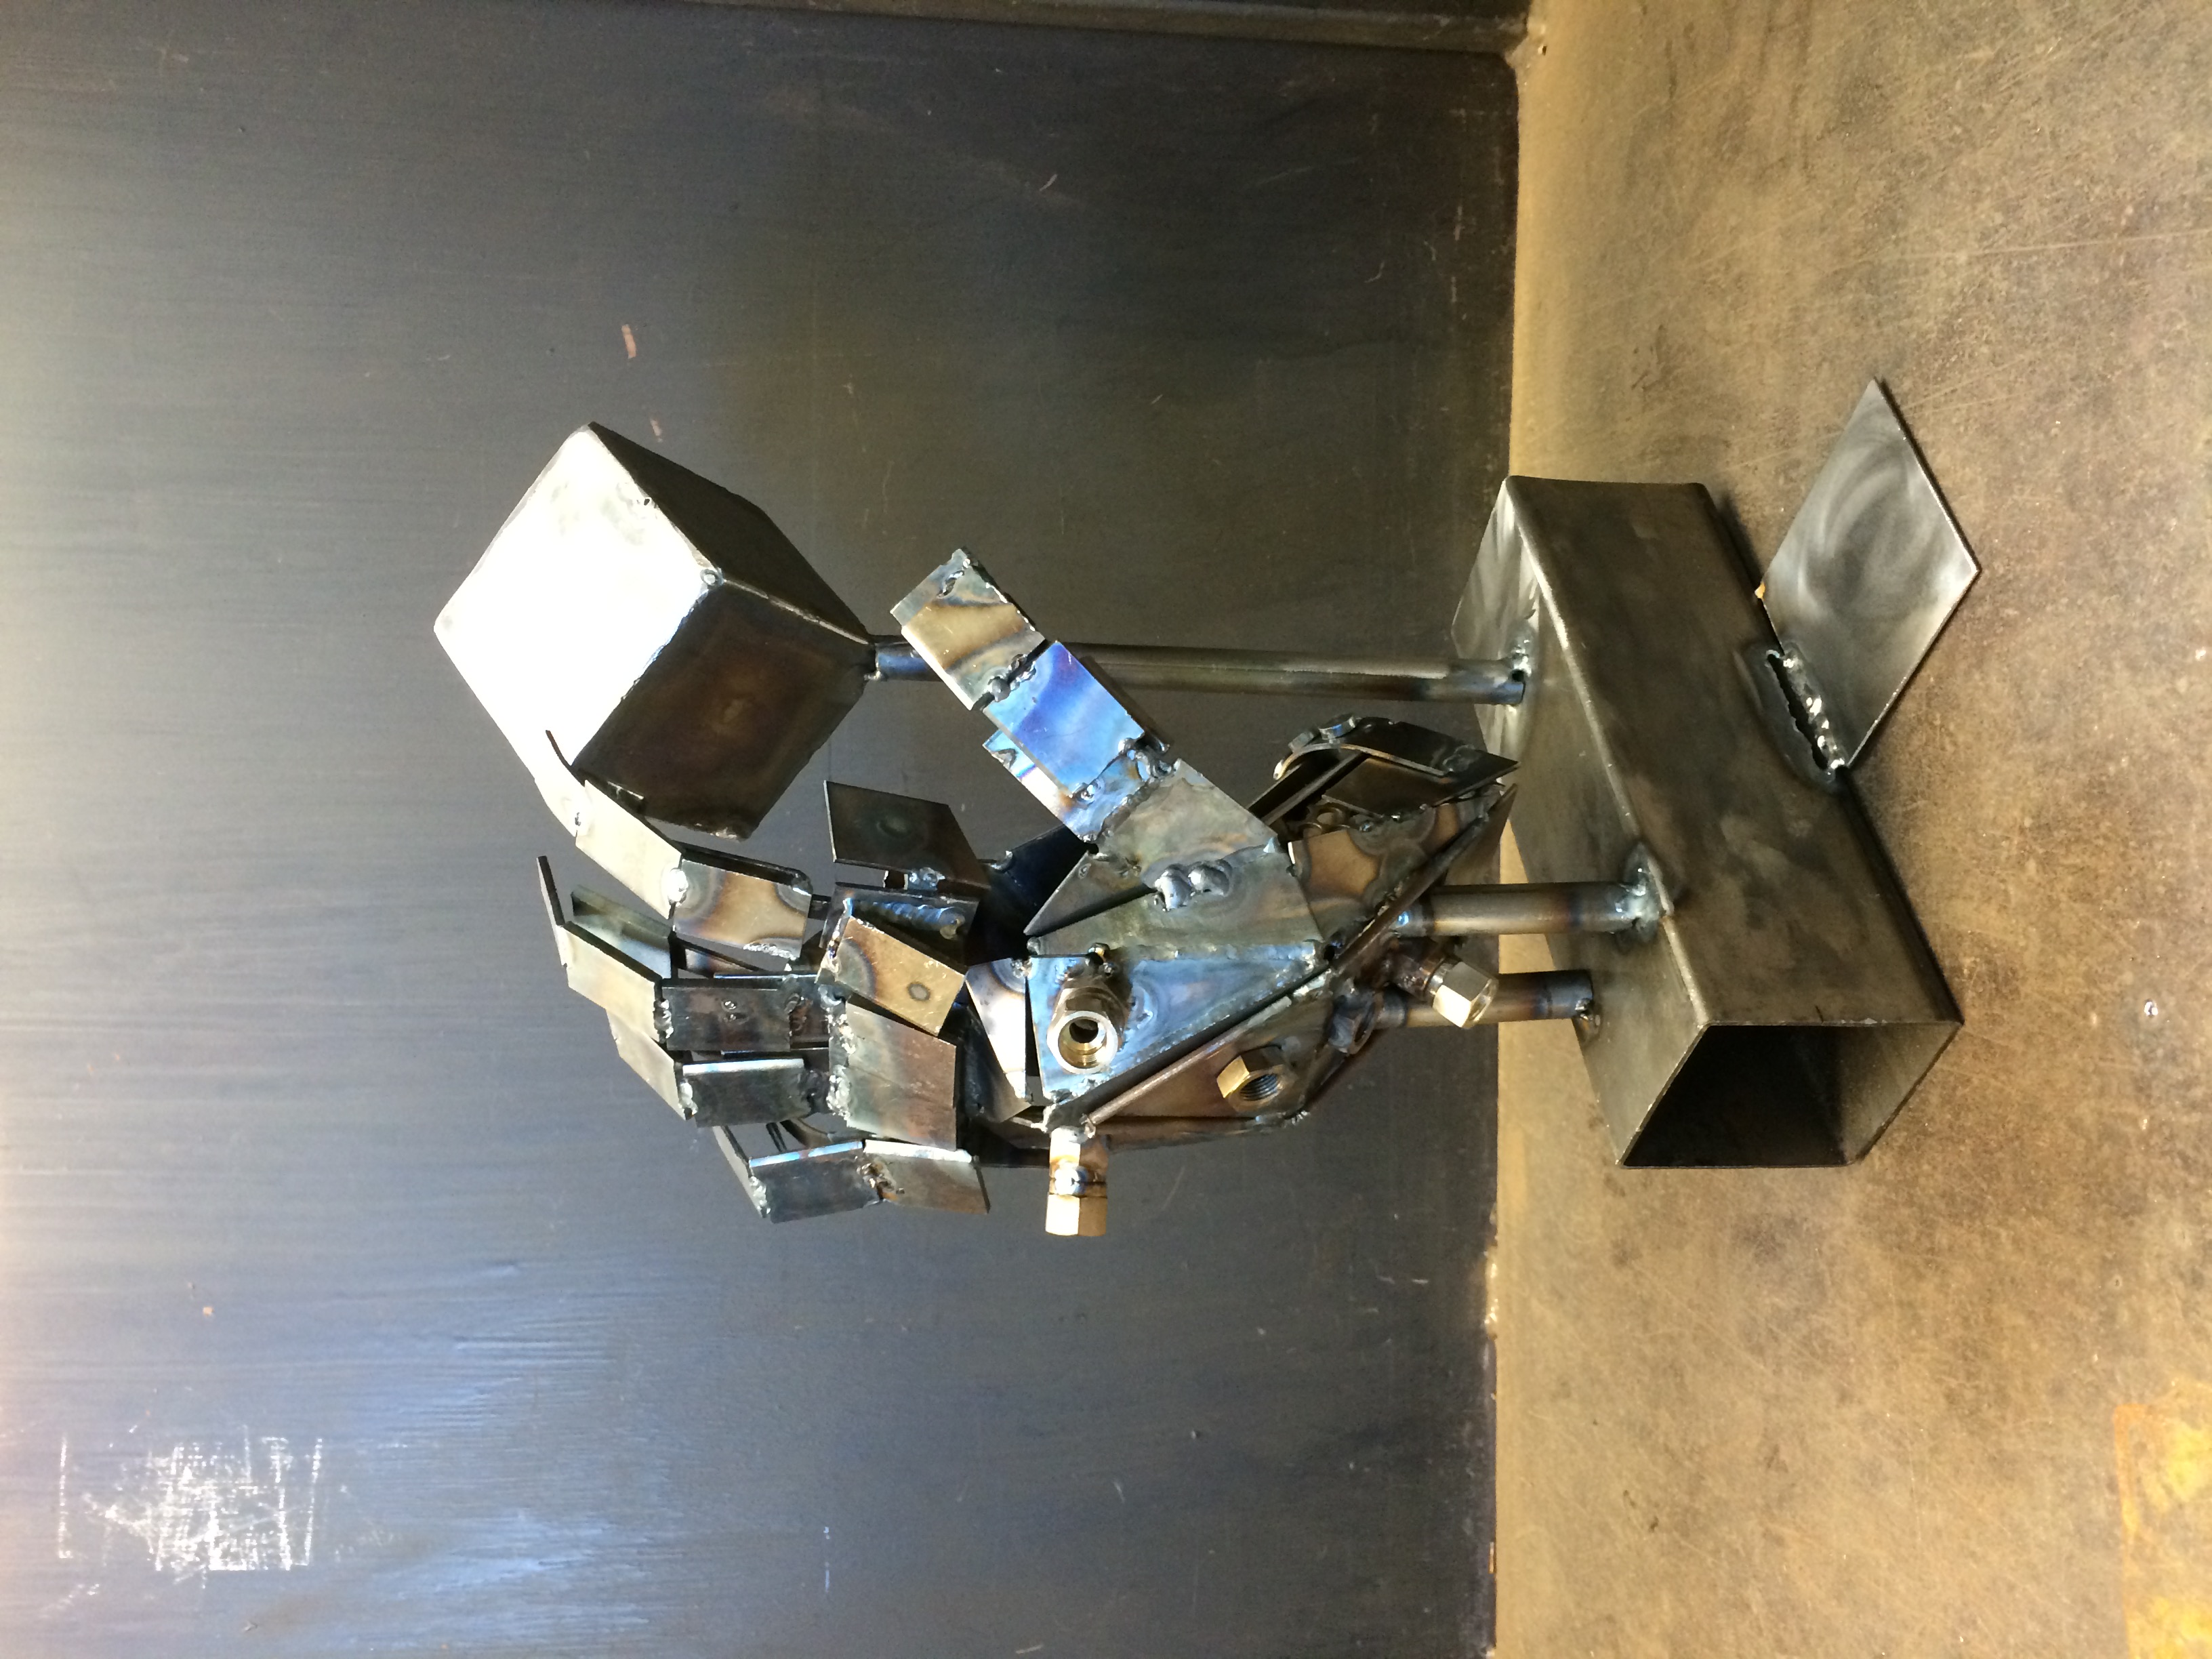
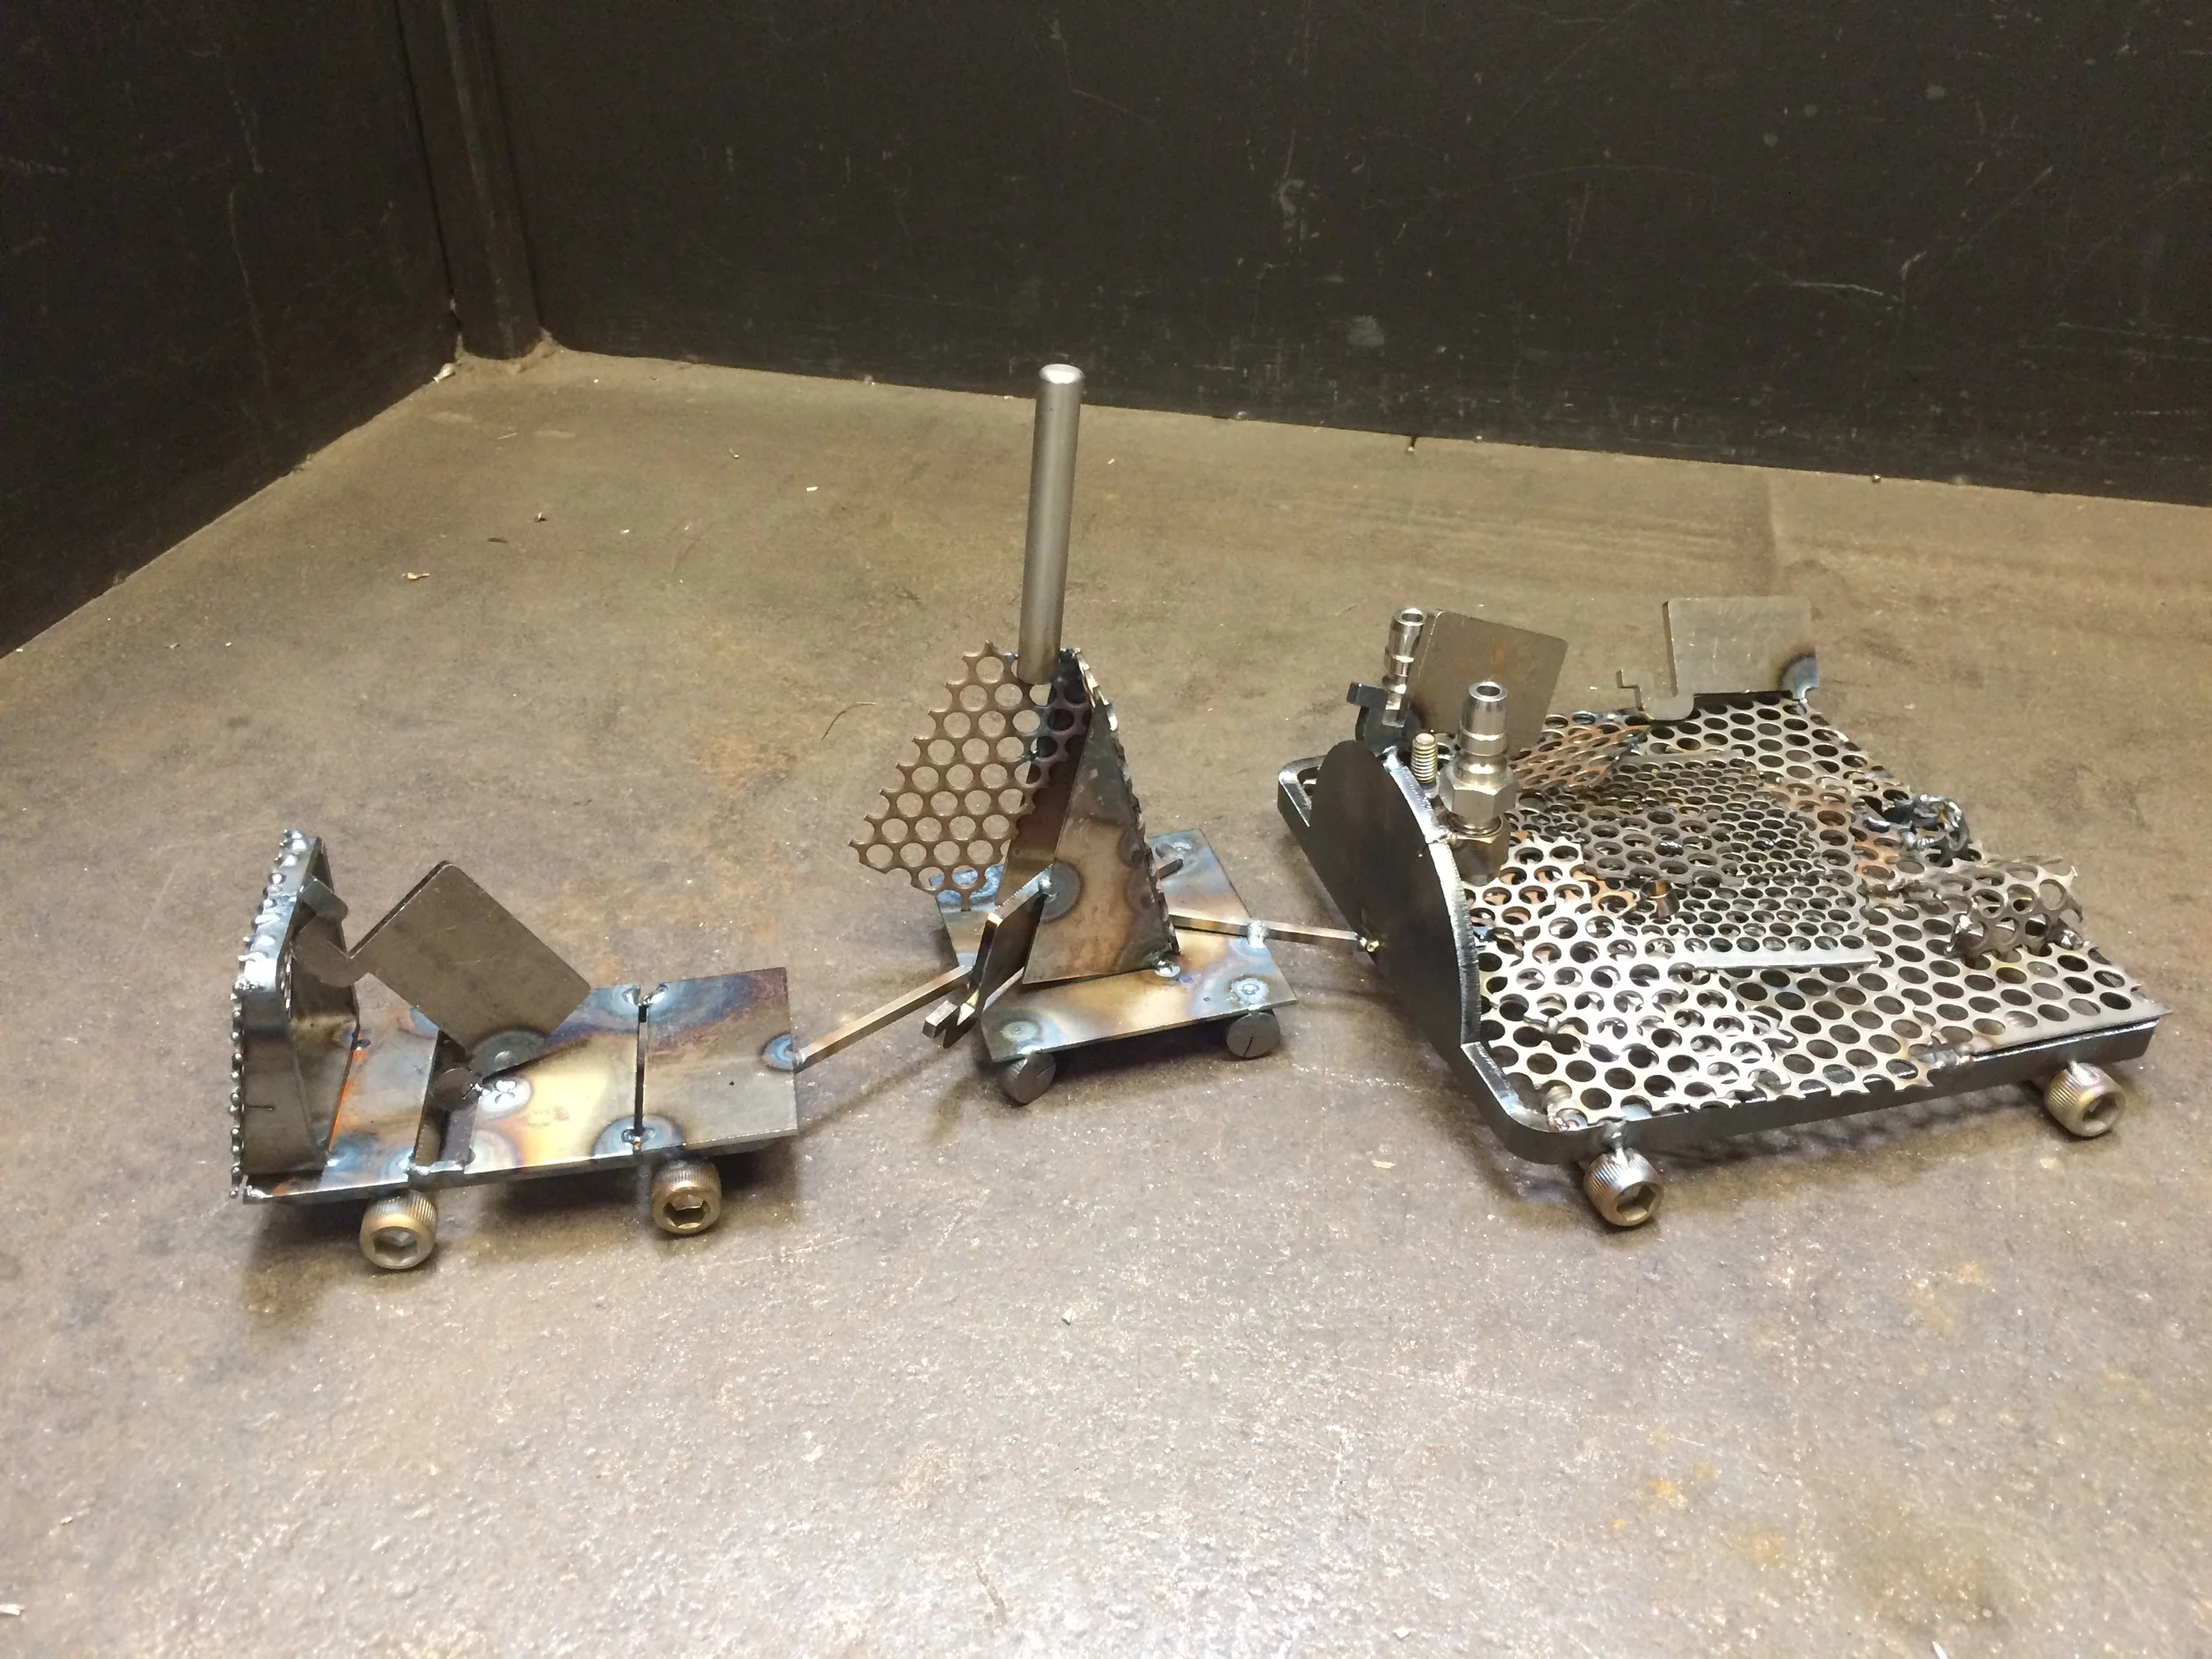
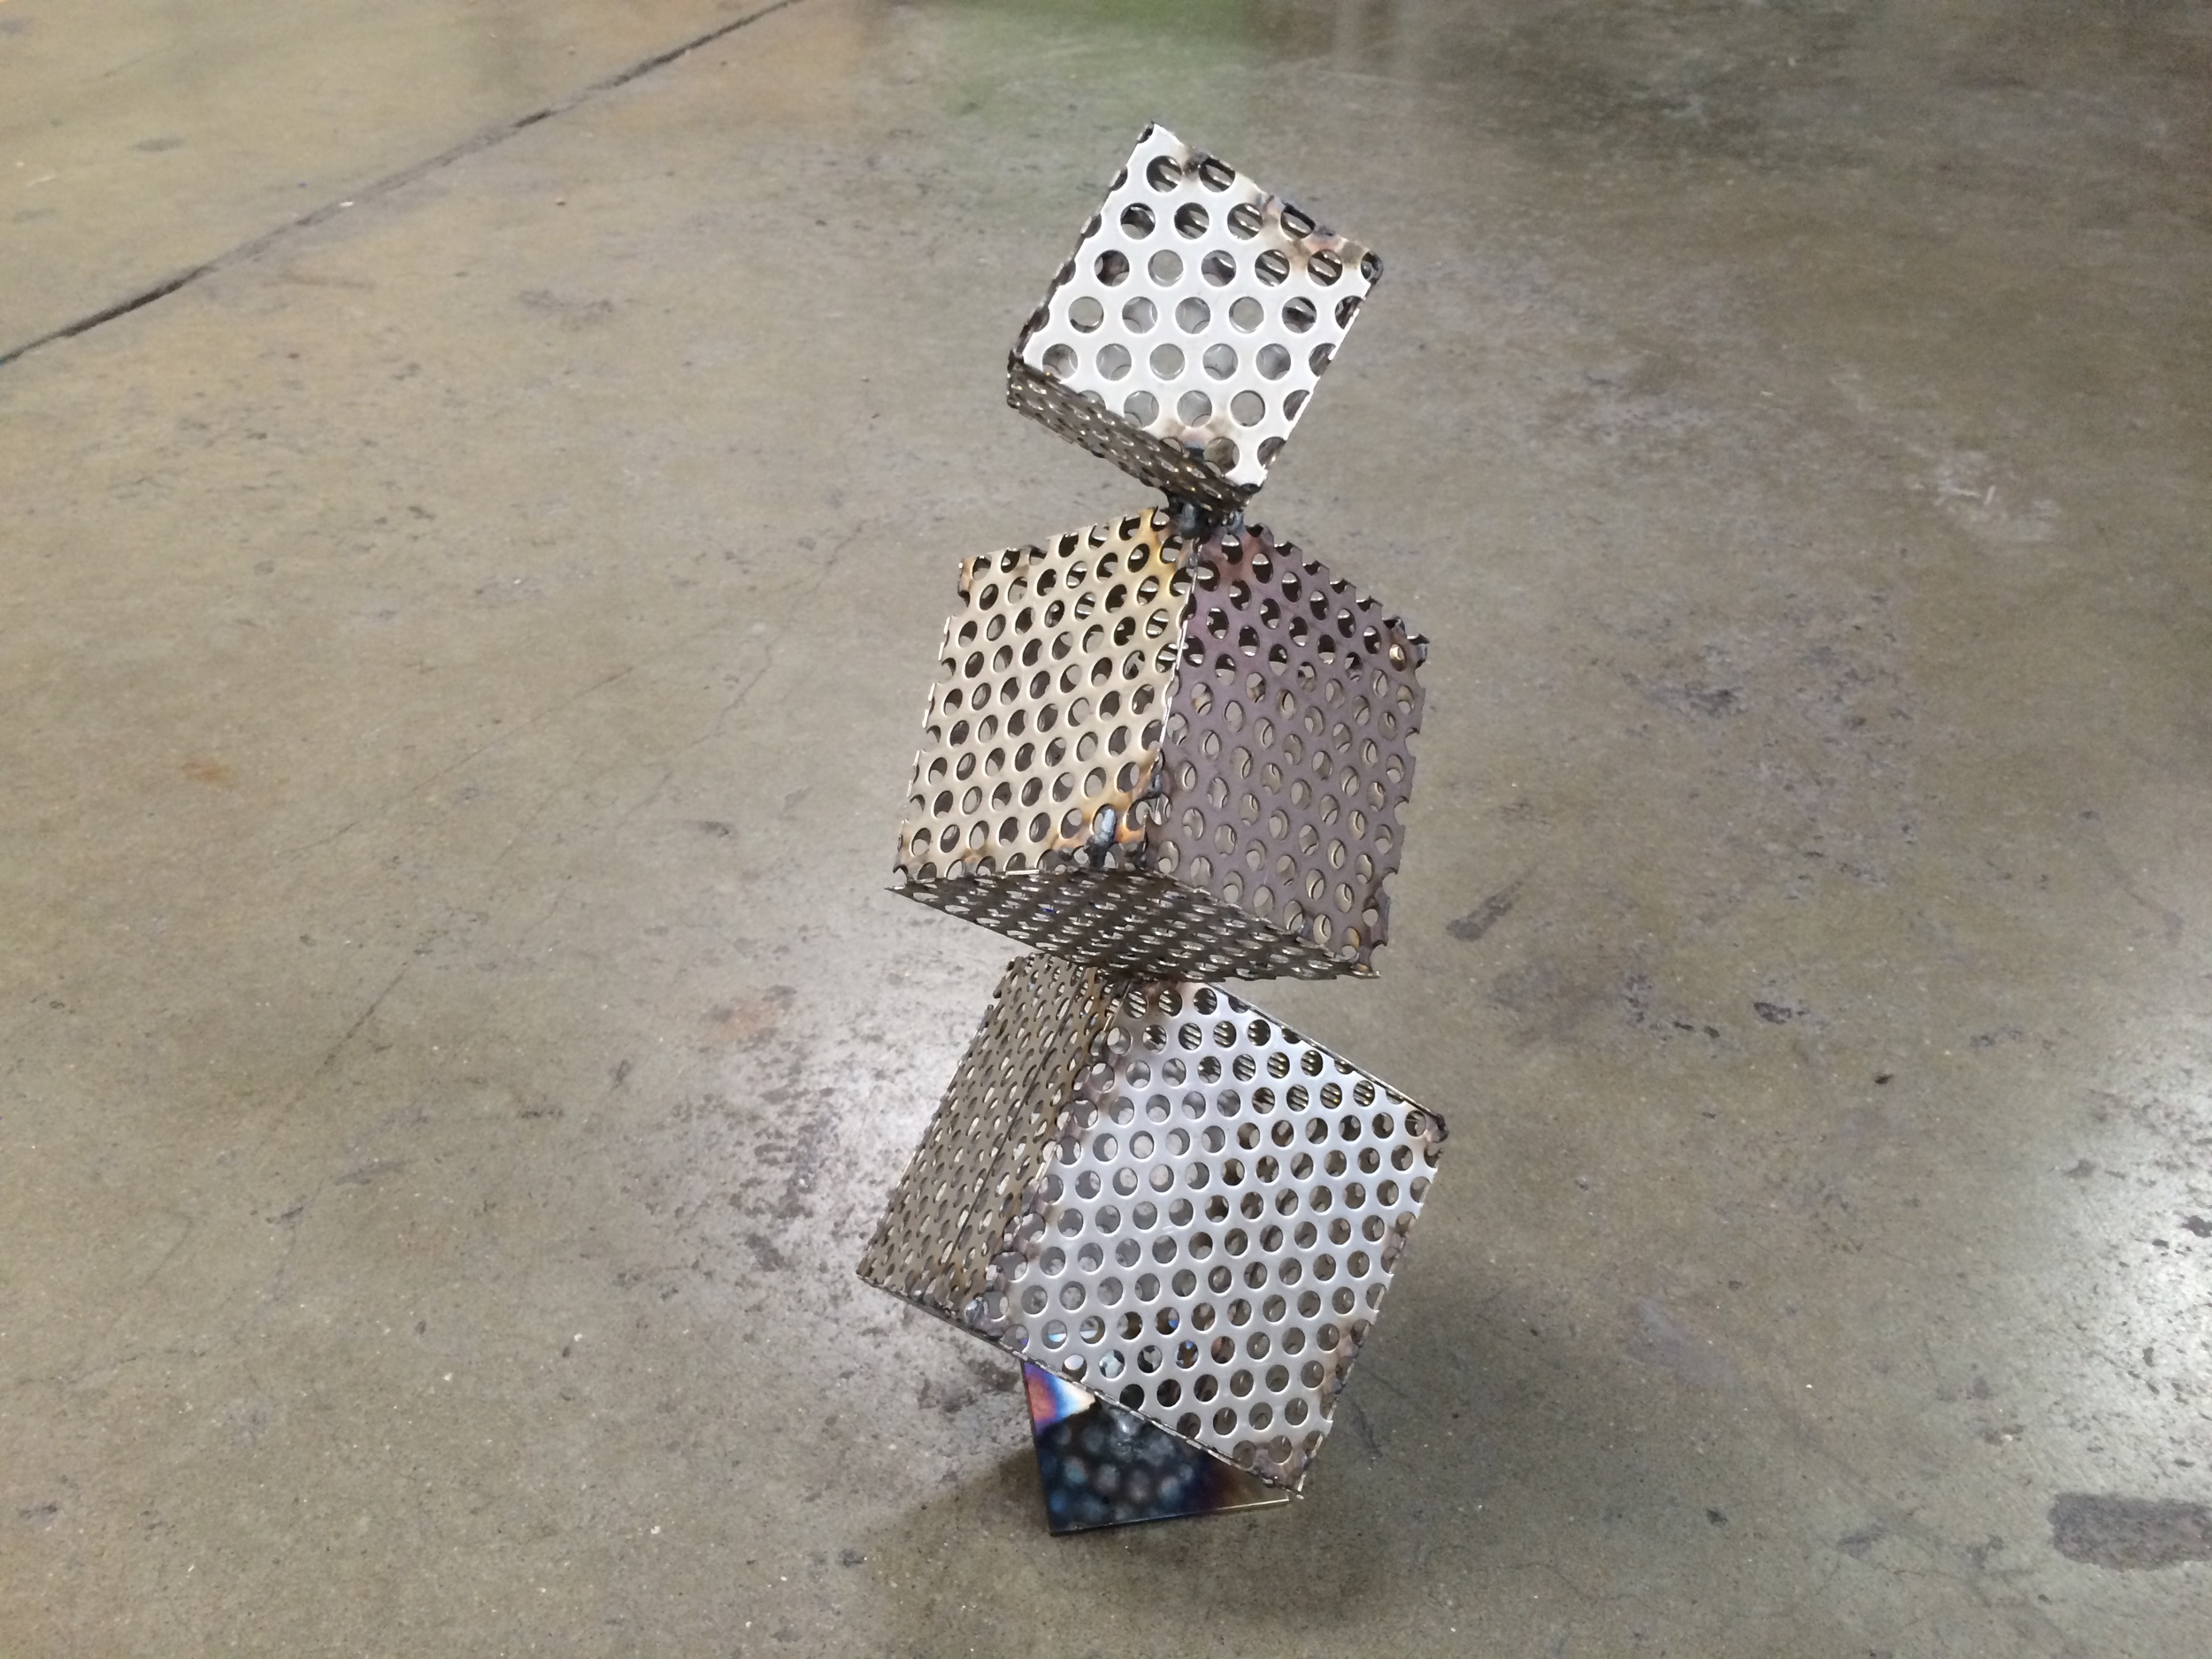
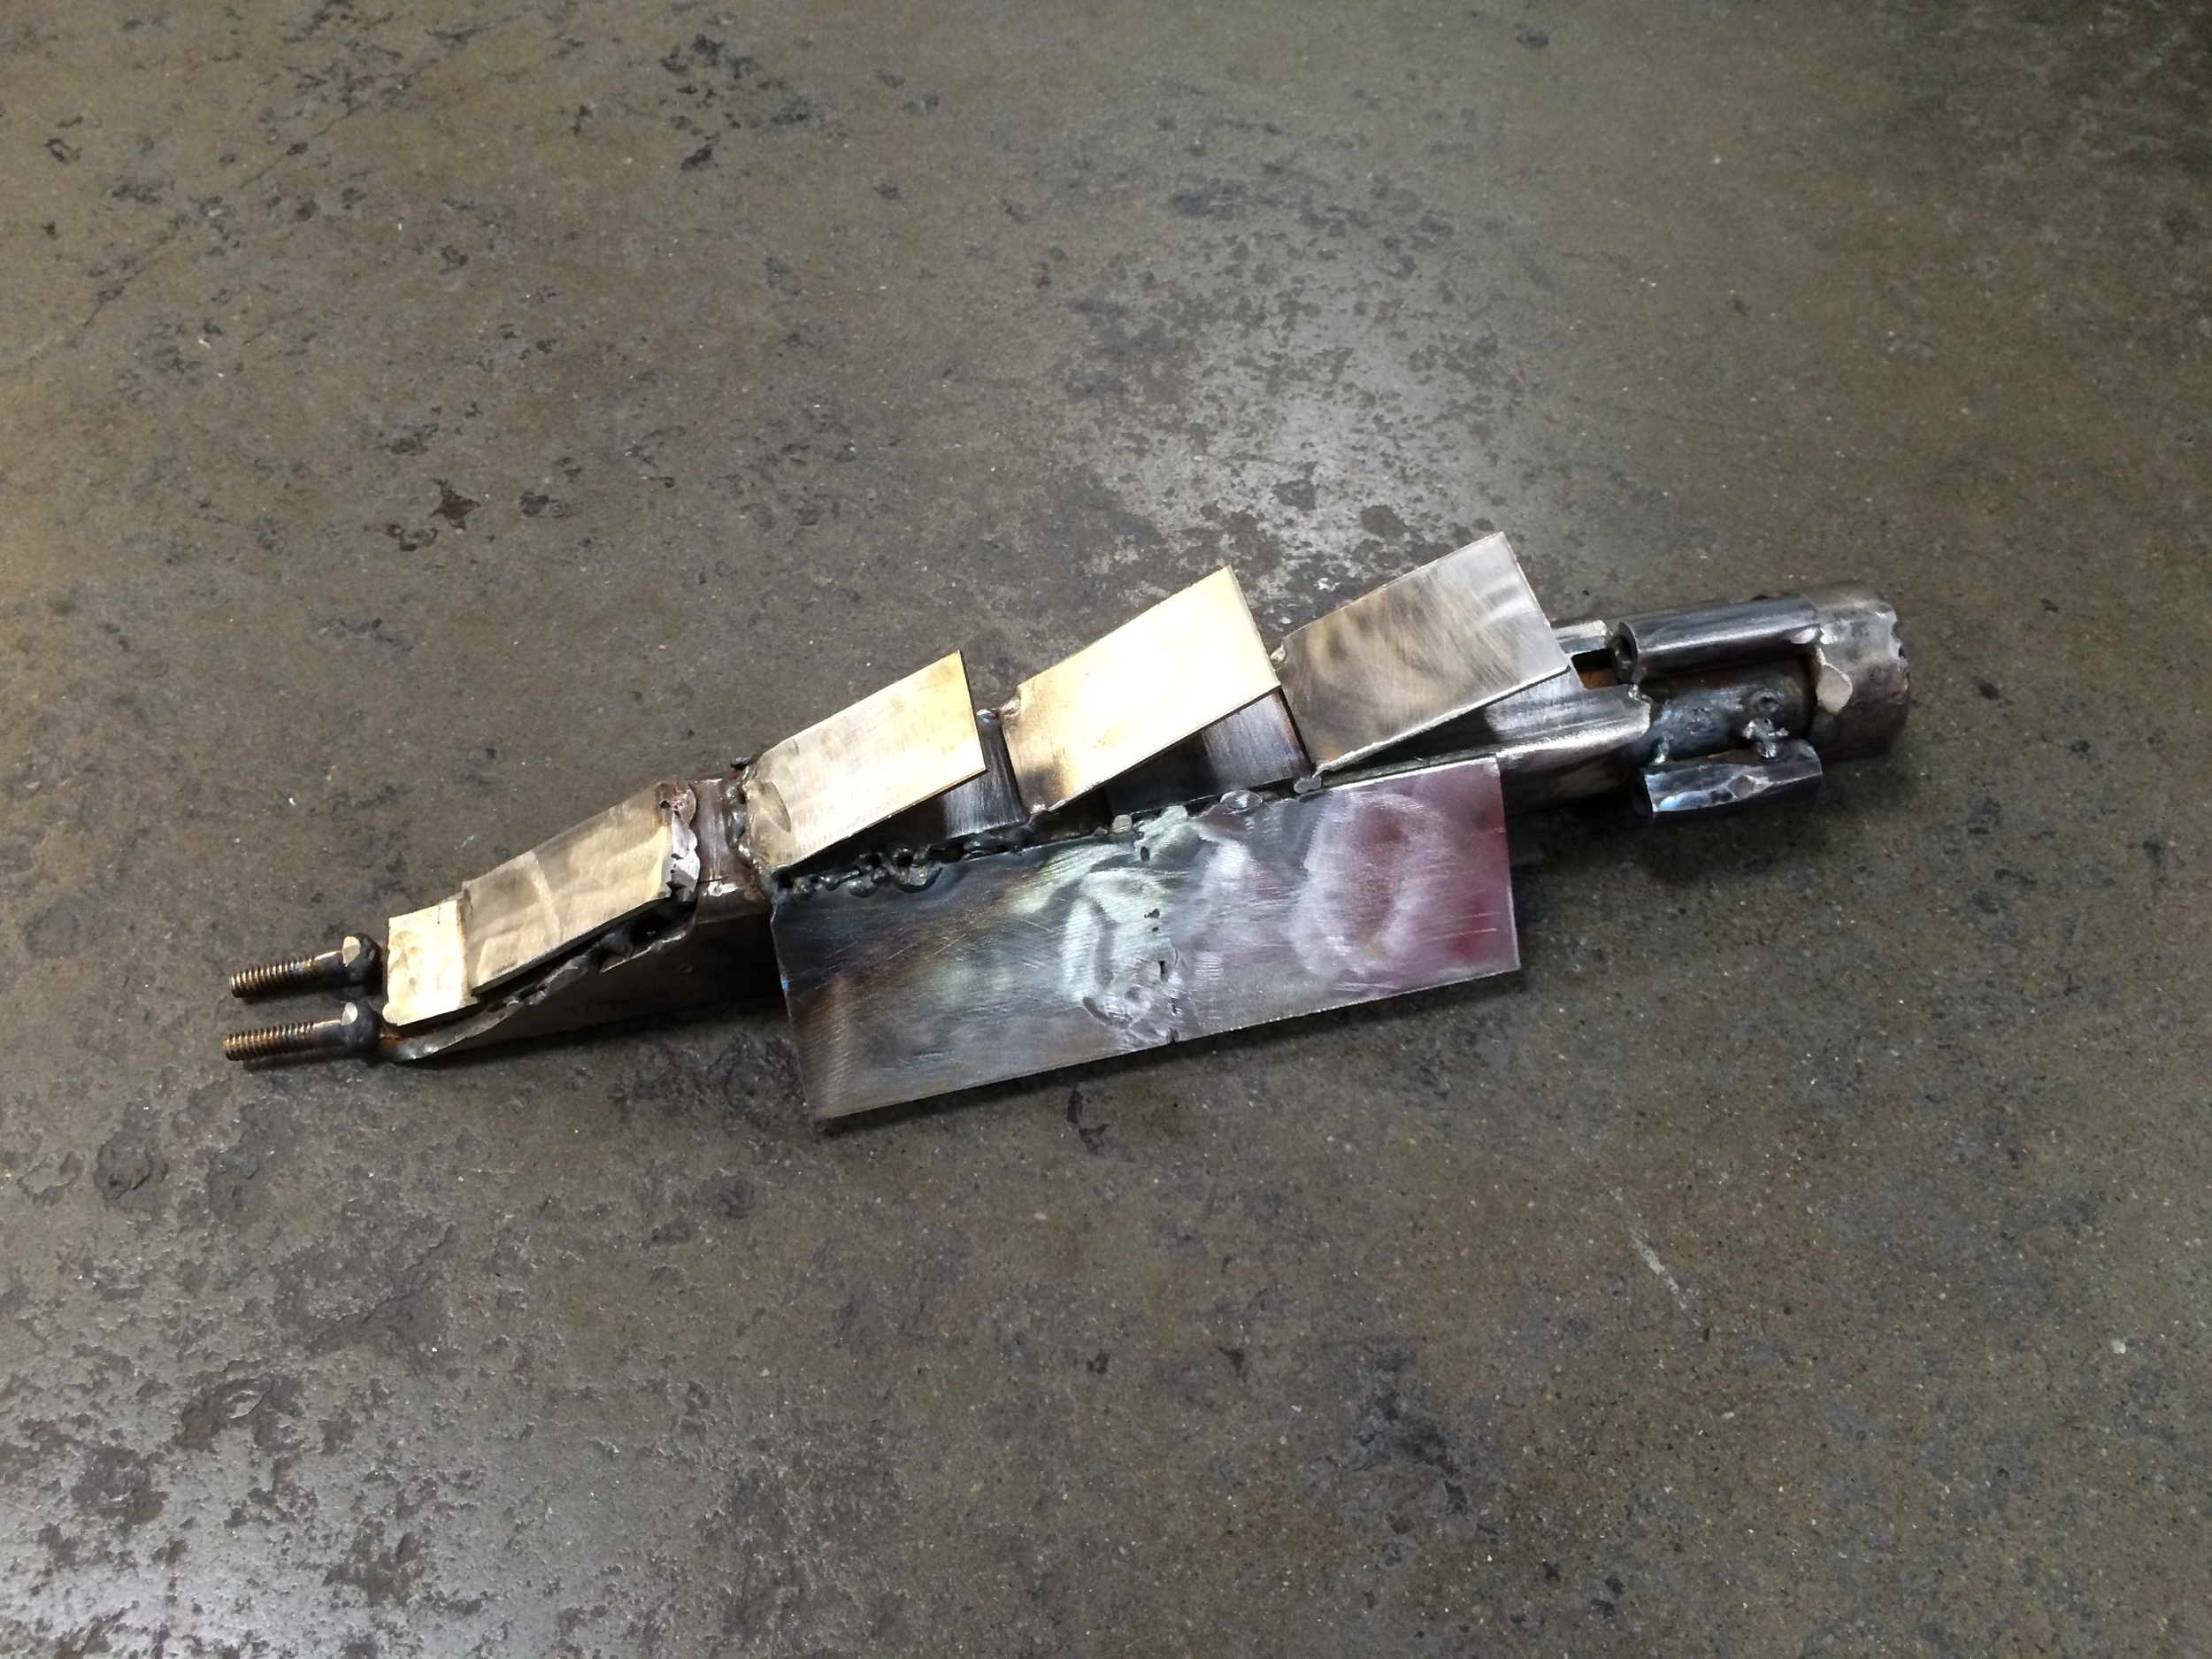
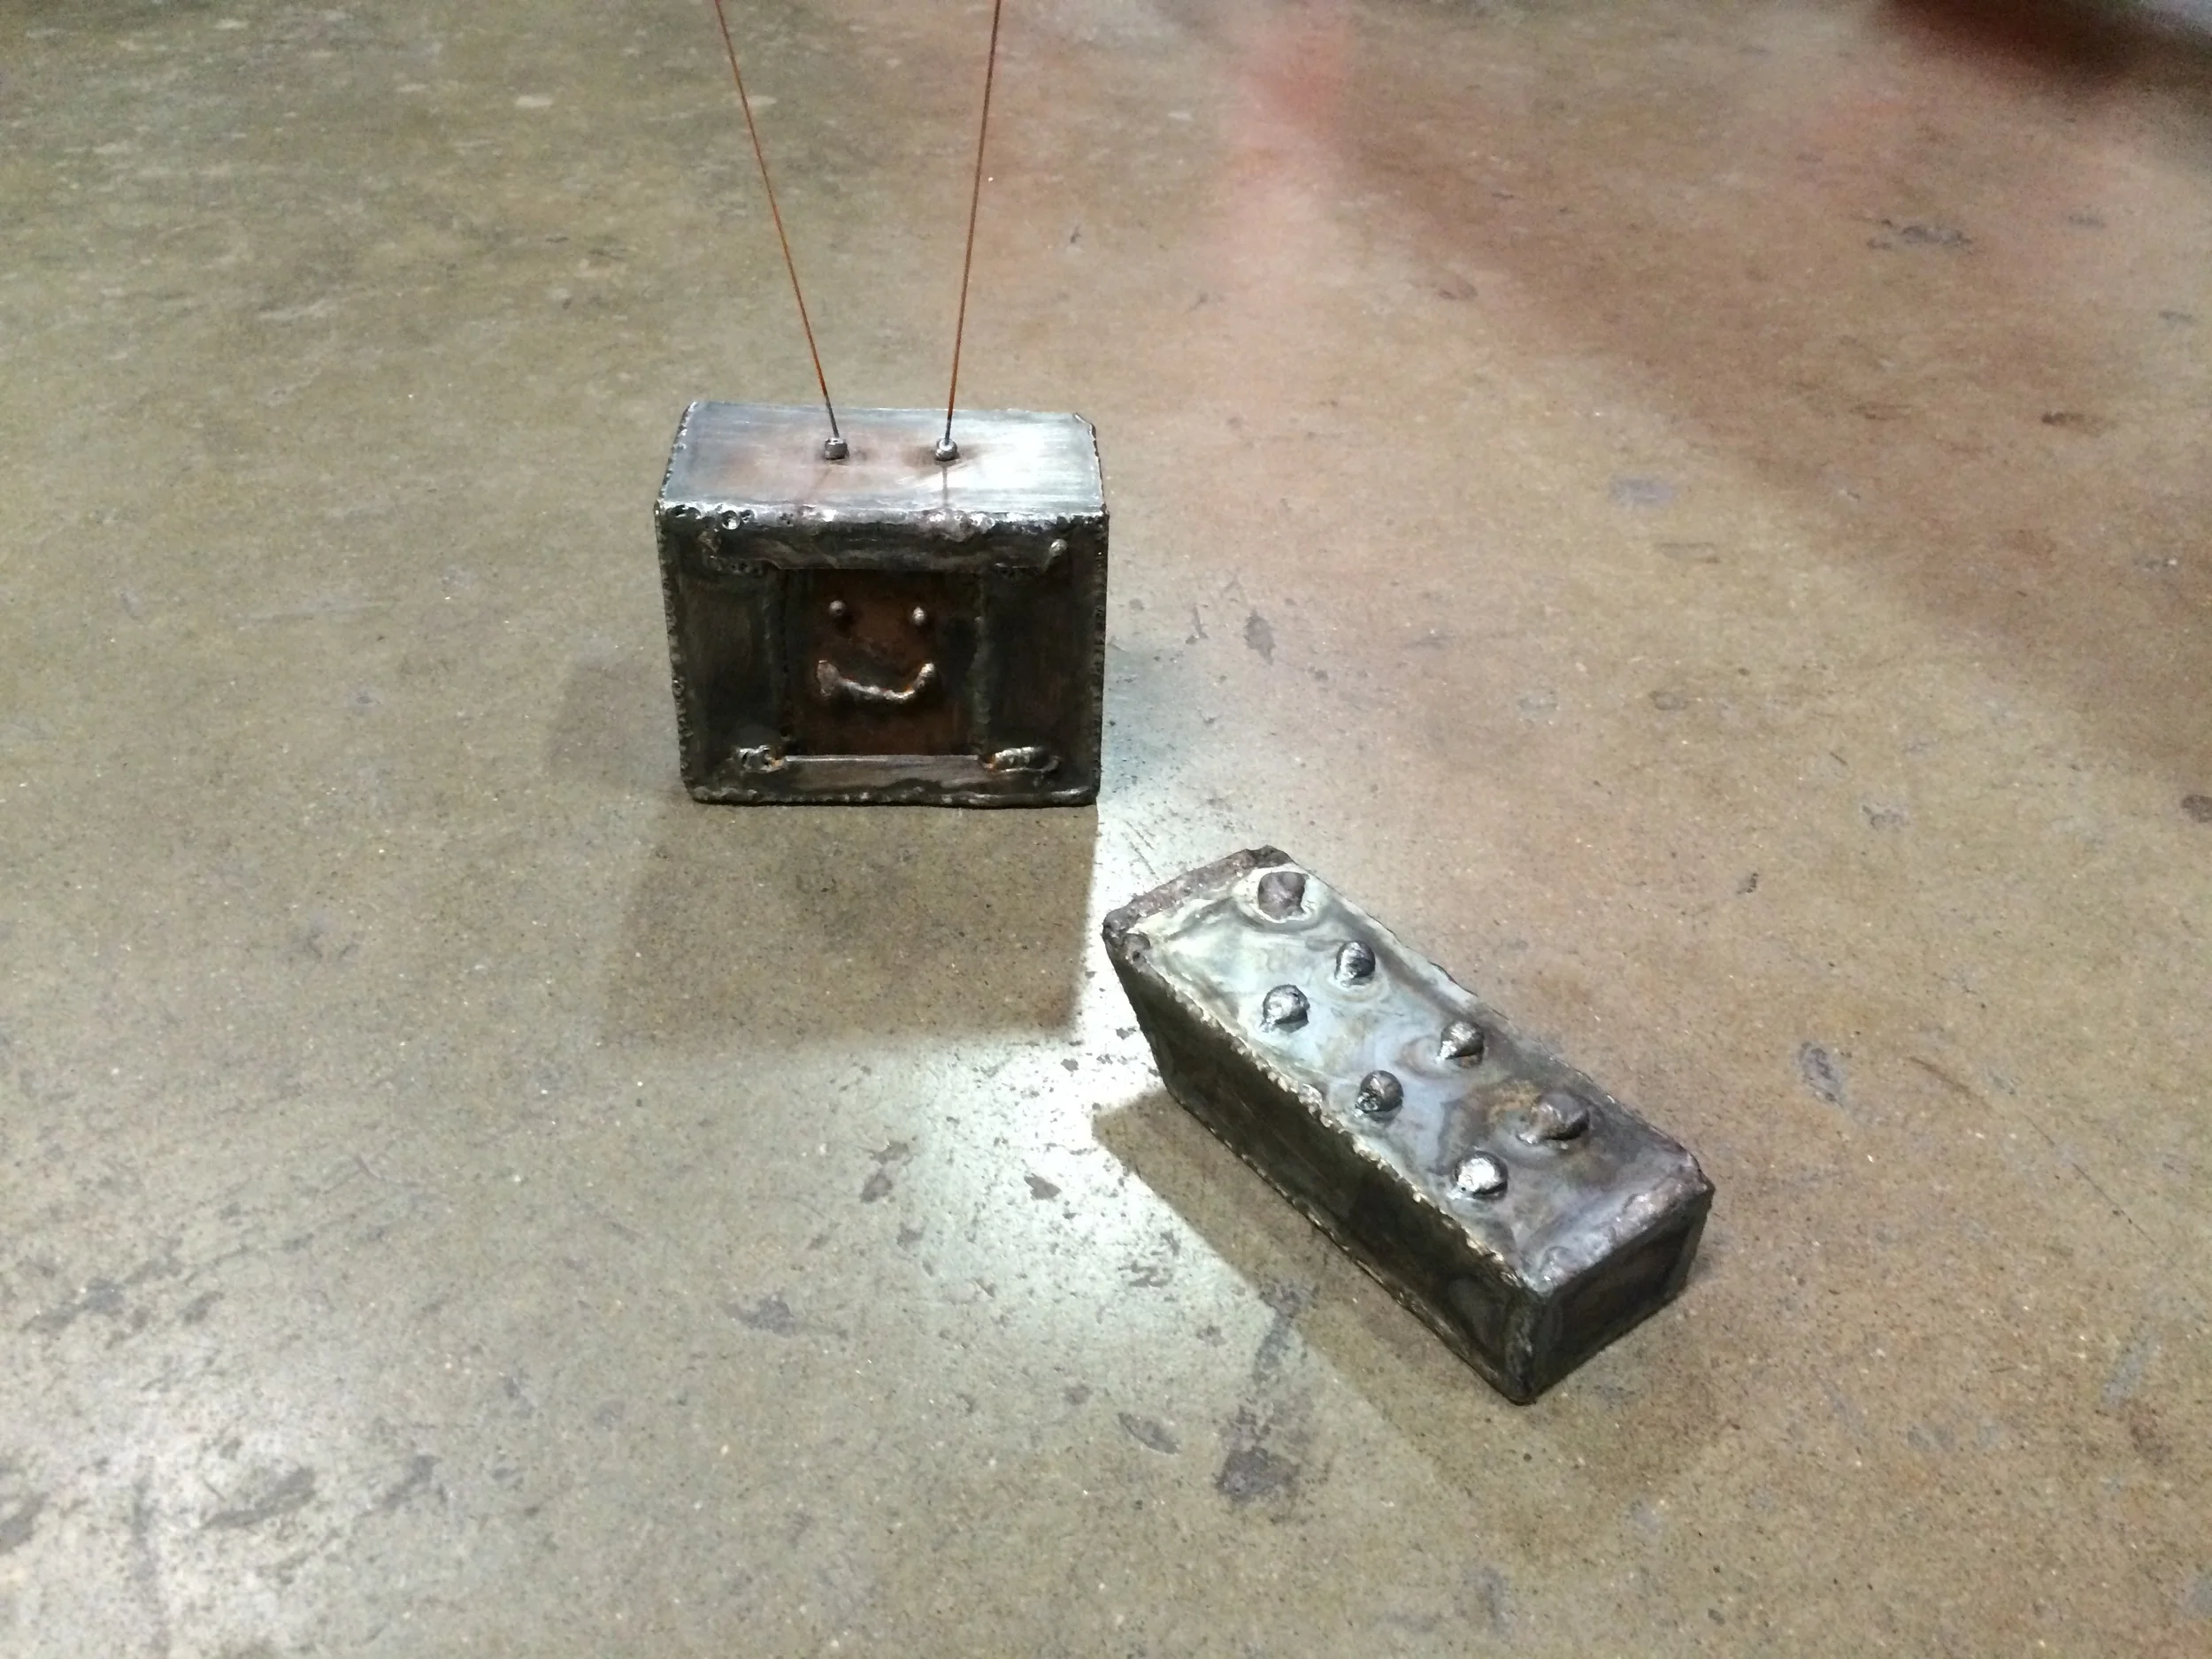
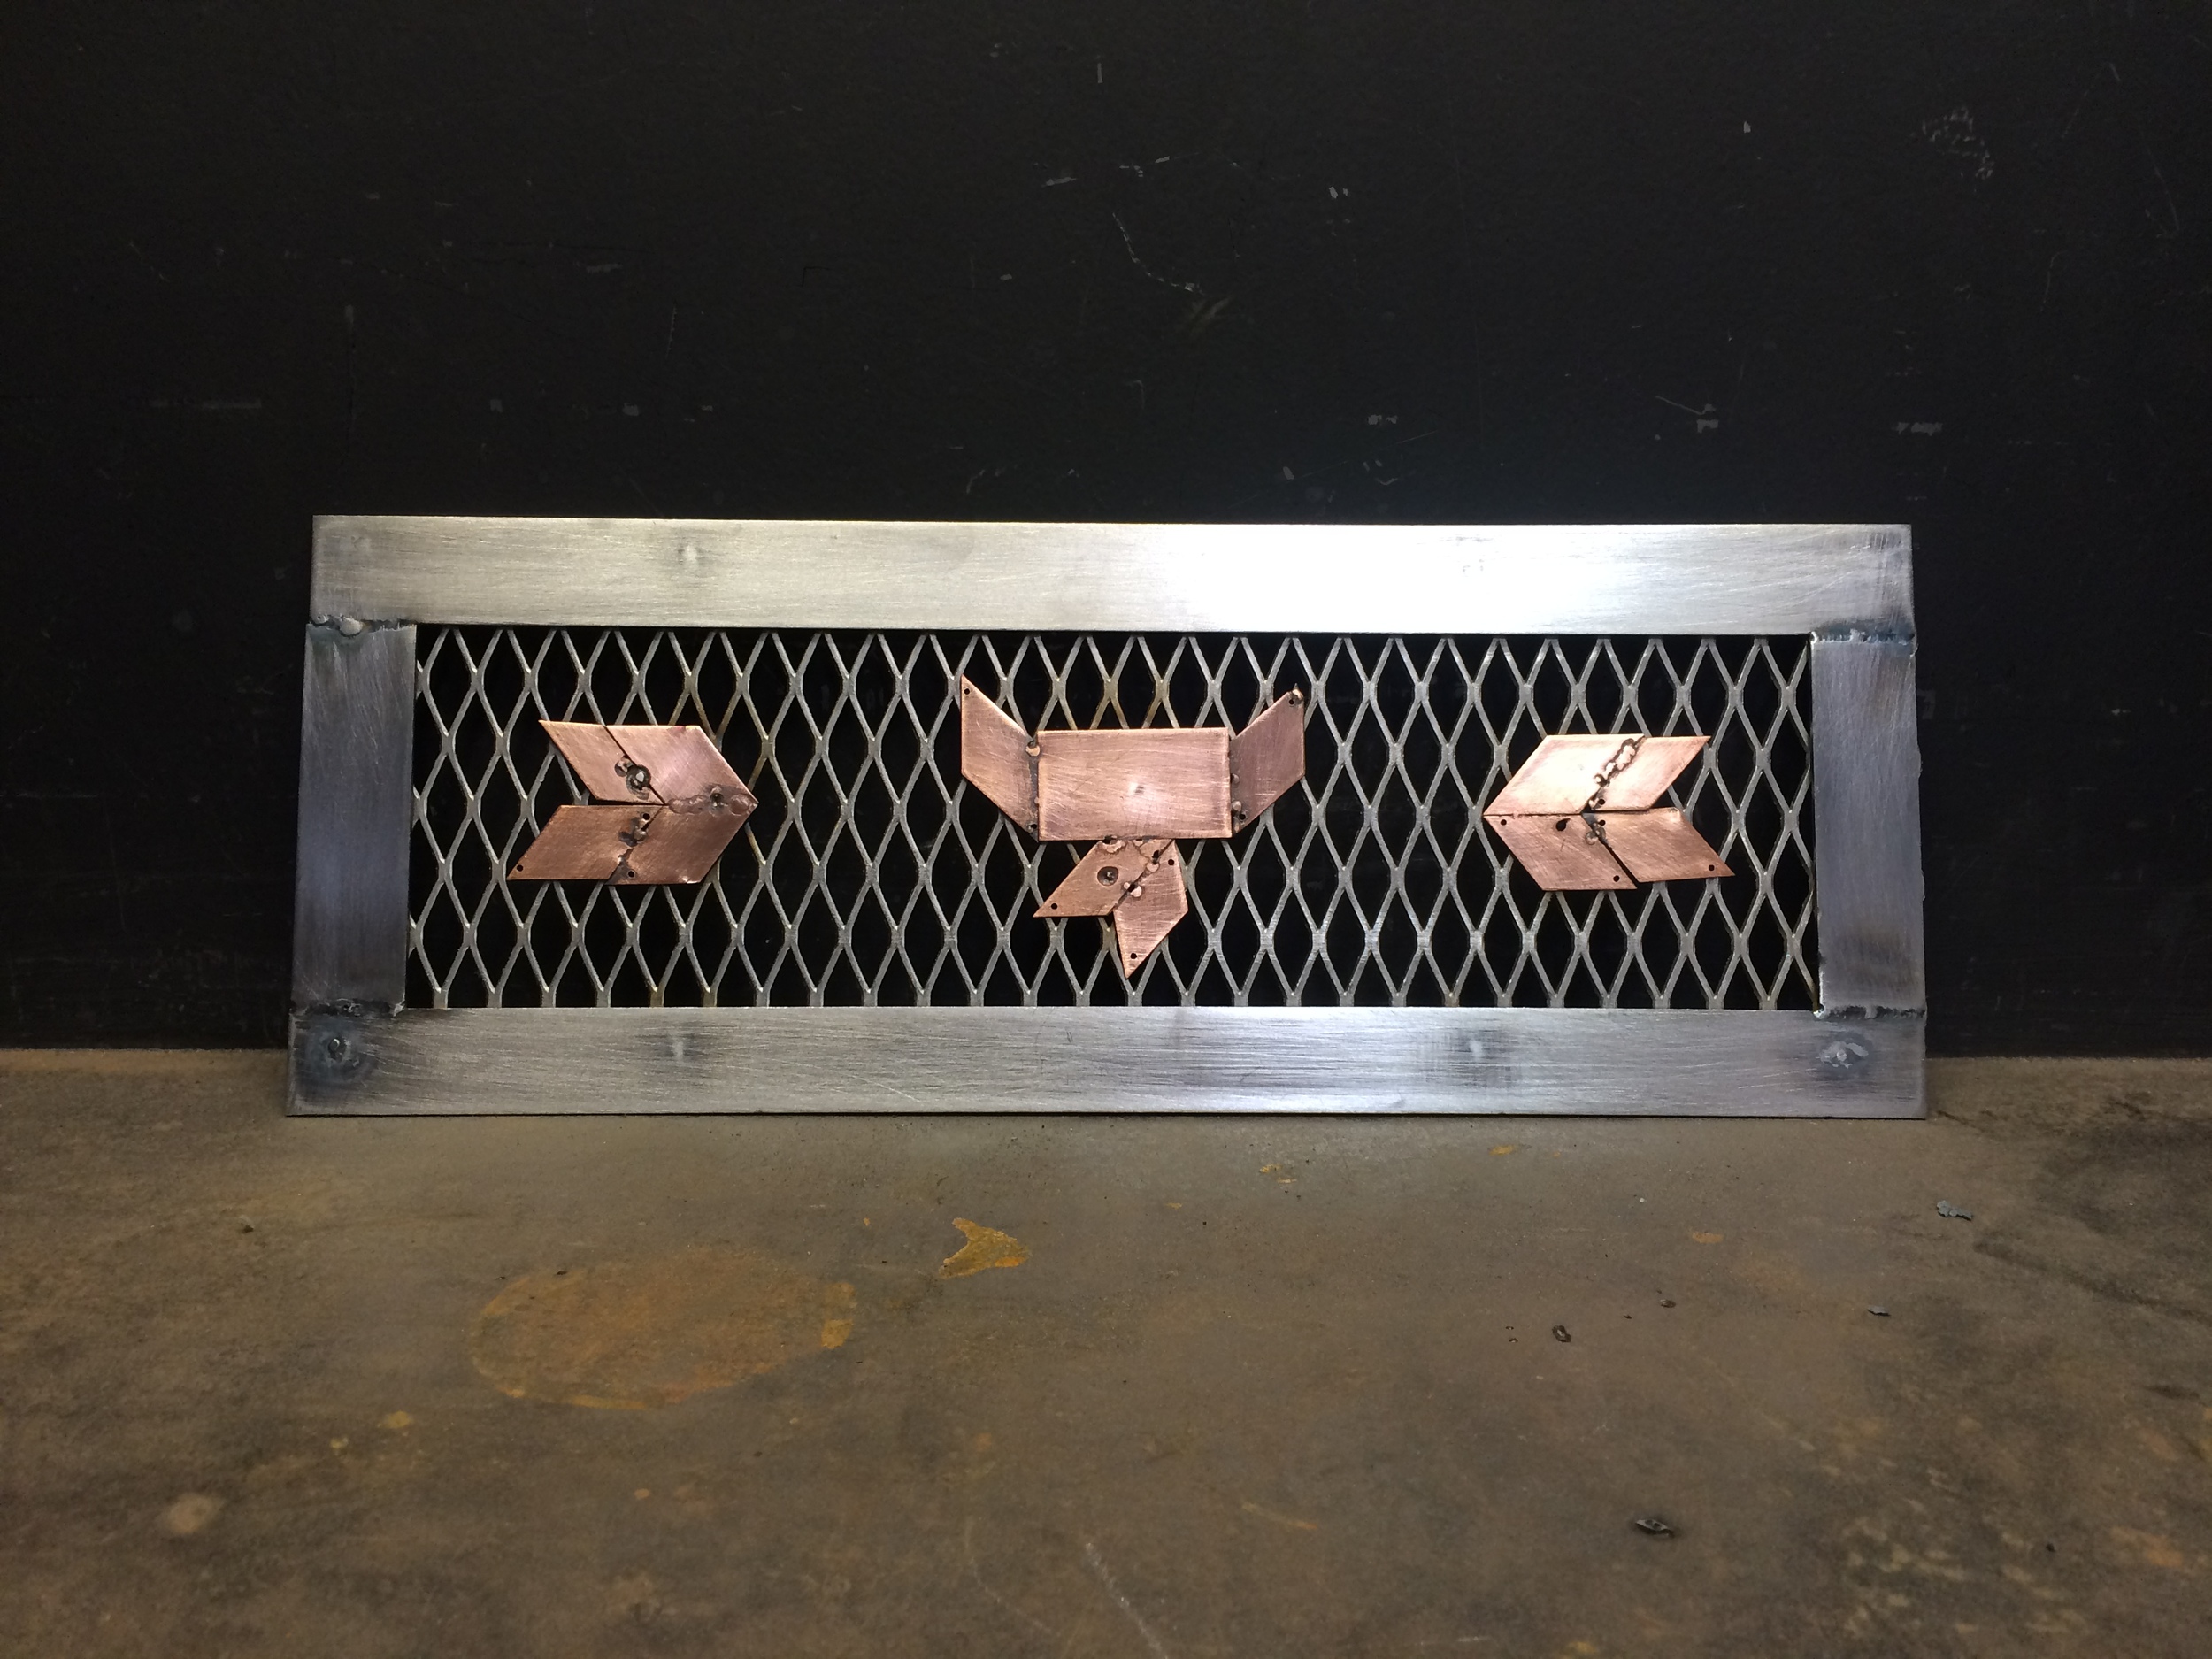
I've been totally blown away by my students' creativity. So far, they've made miniature art cars, spaceships, elephants, coasters, robots, cars, bridges, pencil holders, stars, factories, hands, signs, and abstract cube structures. We don't give them that much to work with -- just some sheet metal, nuts and bolts, maybe a little leftover perforated sheet -- but they make magic out of it.

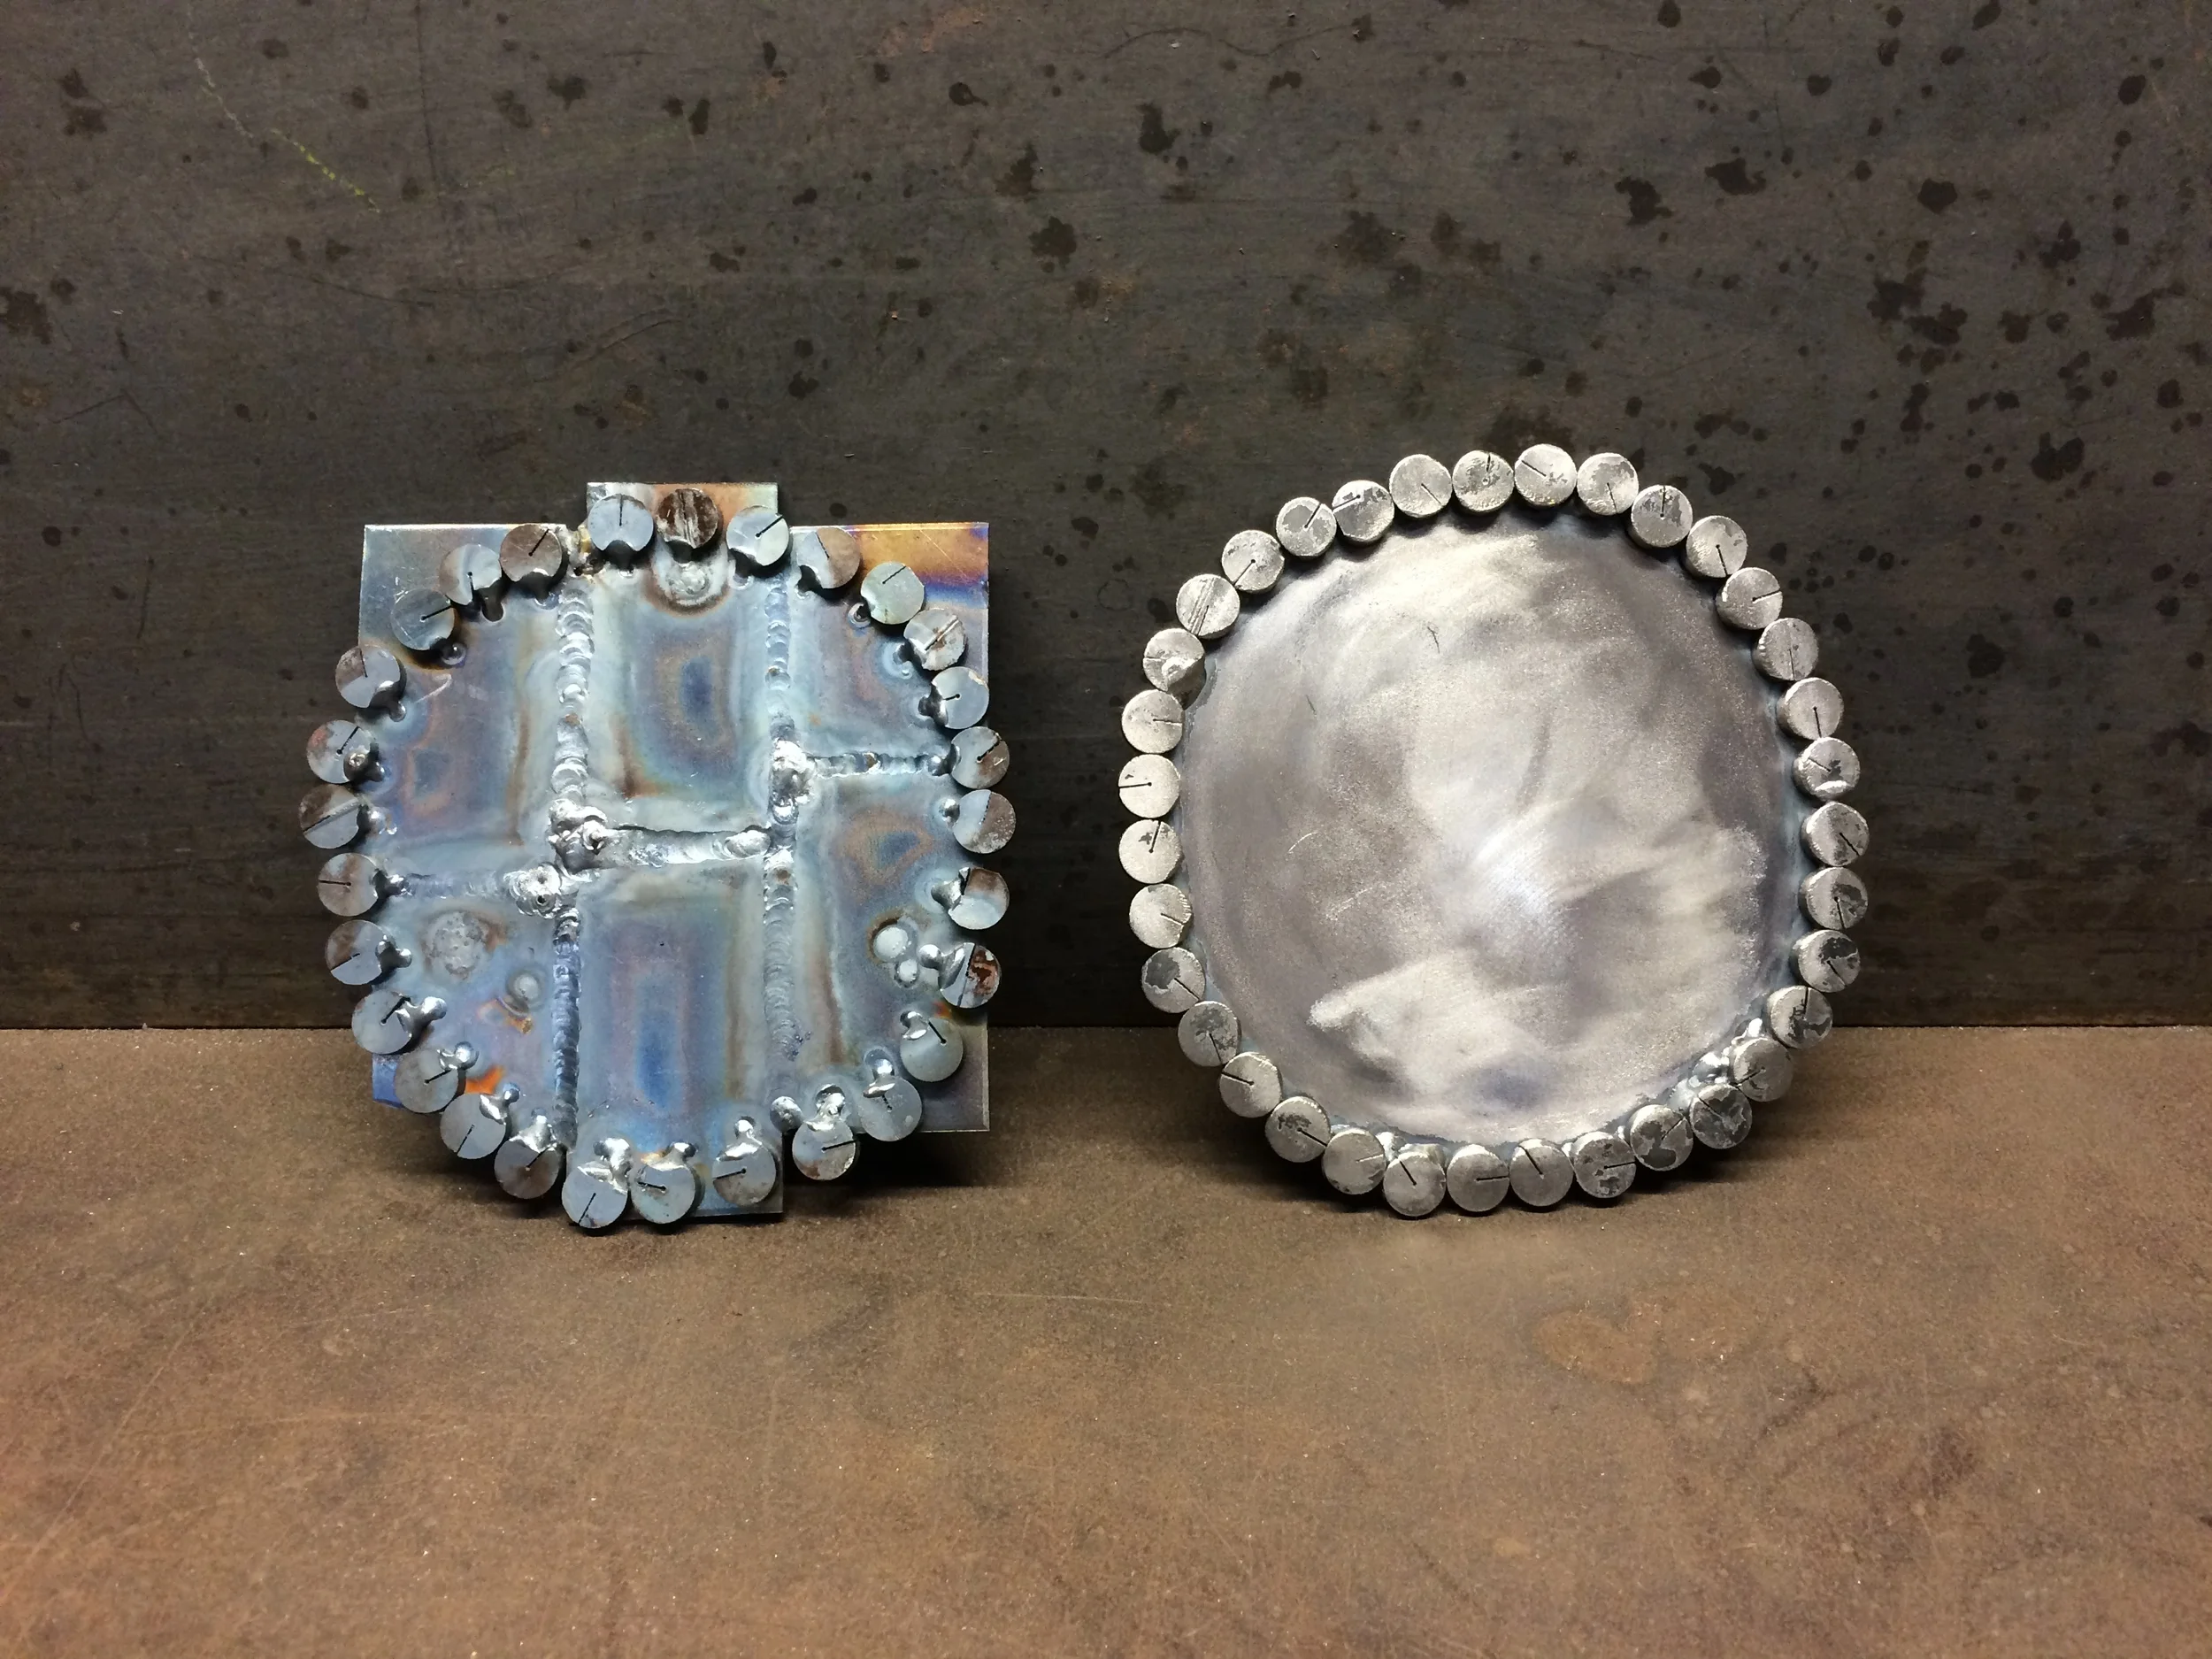
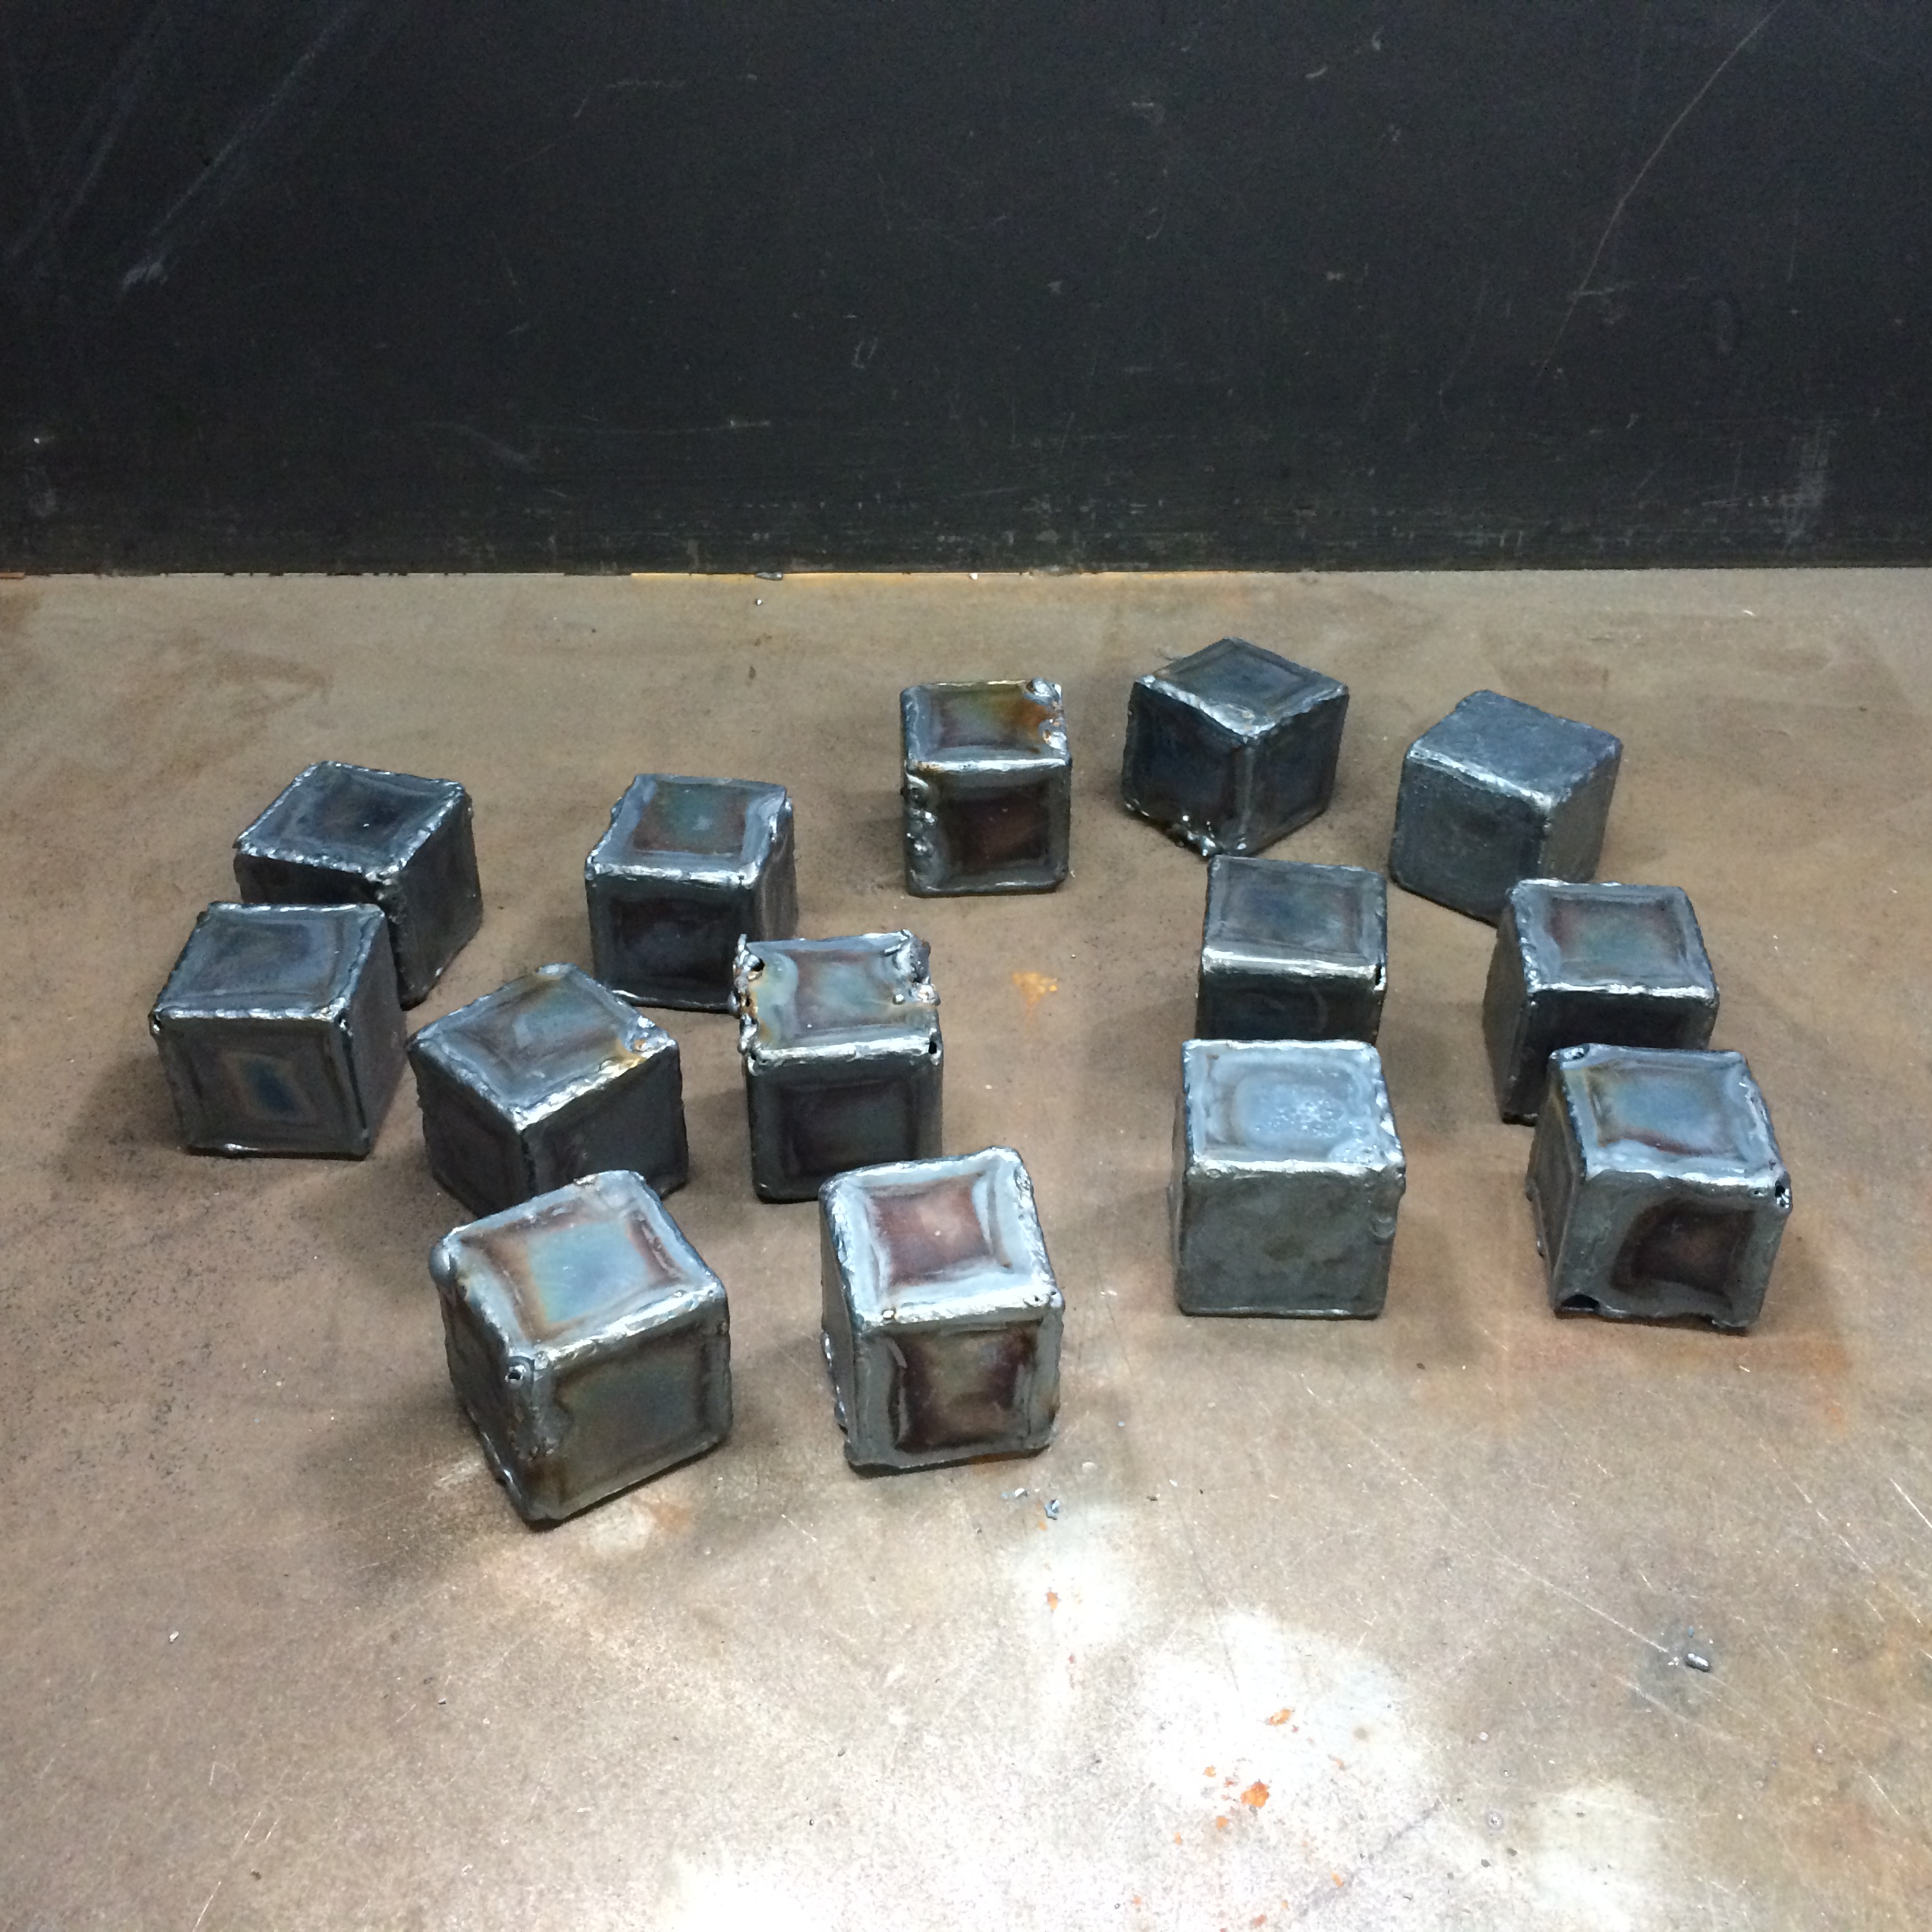
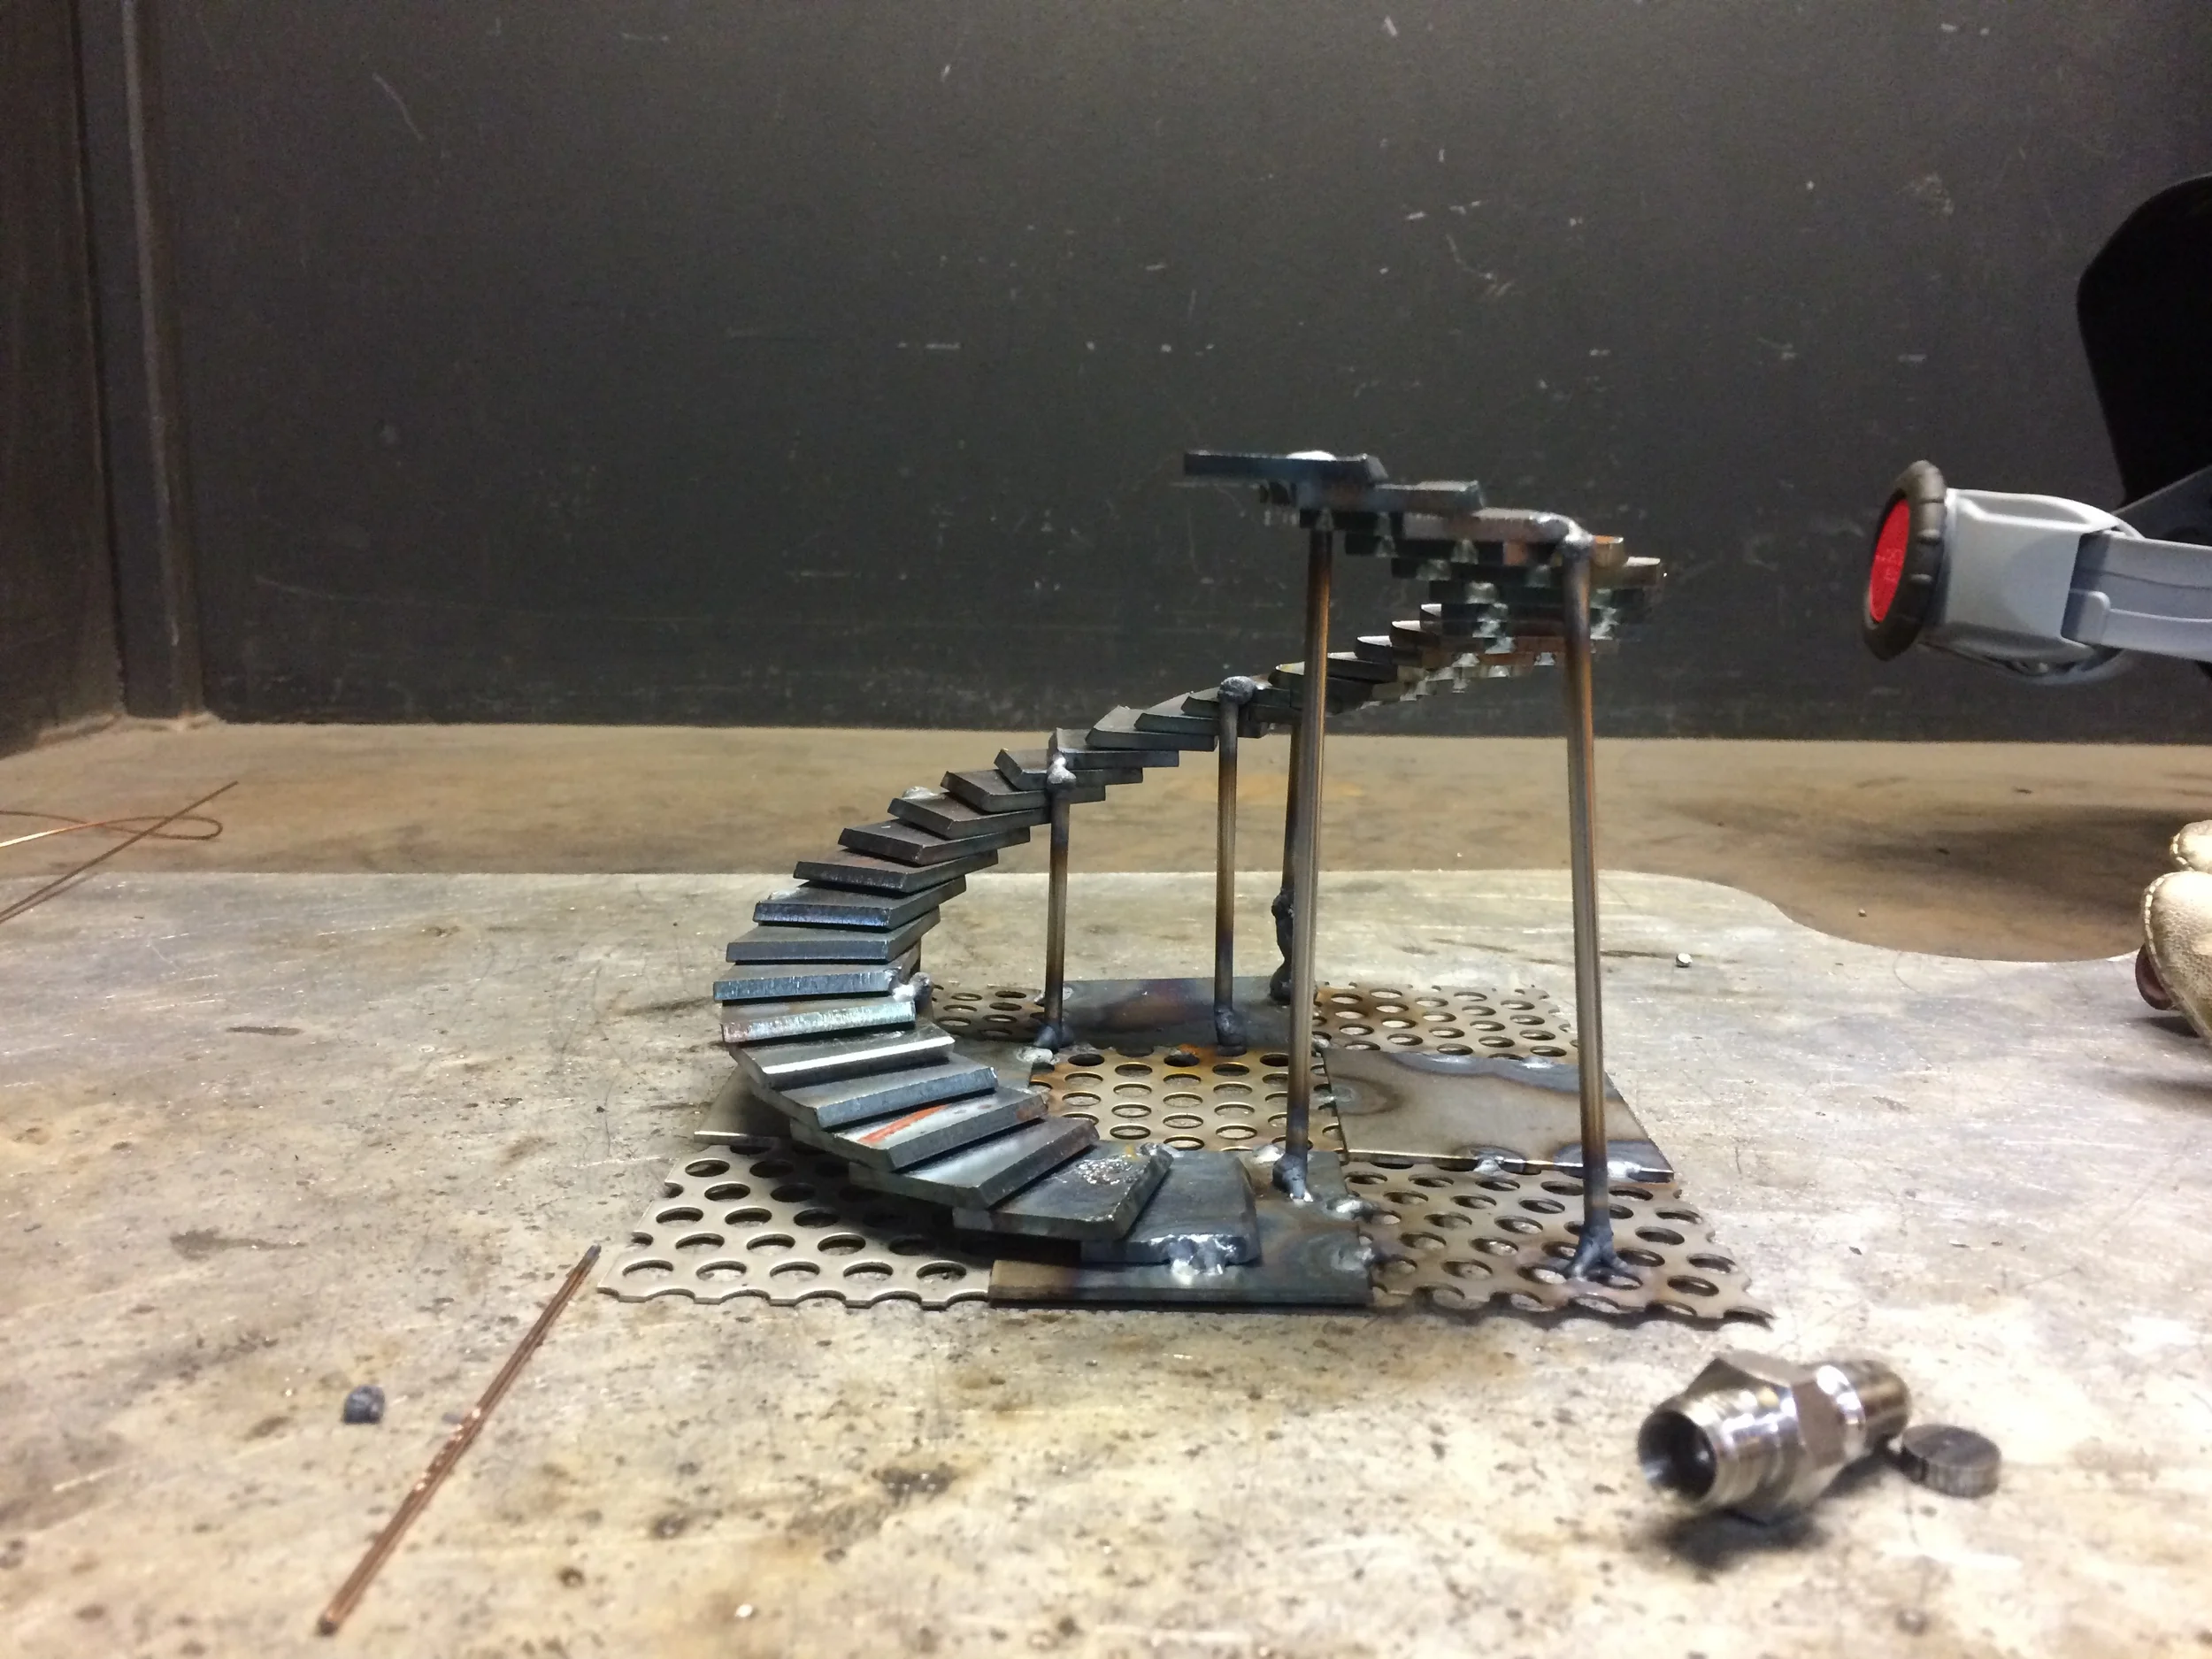


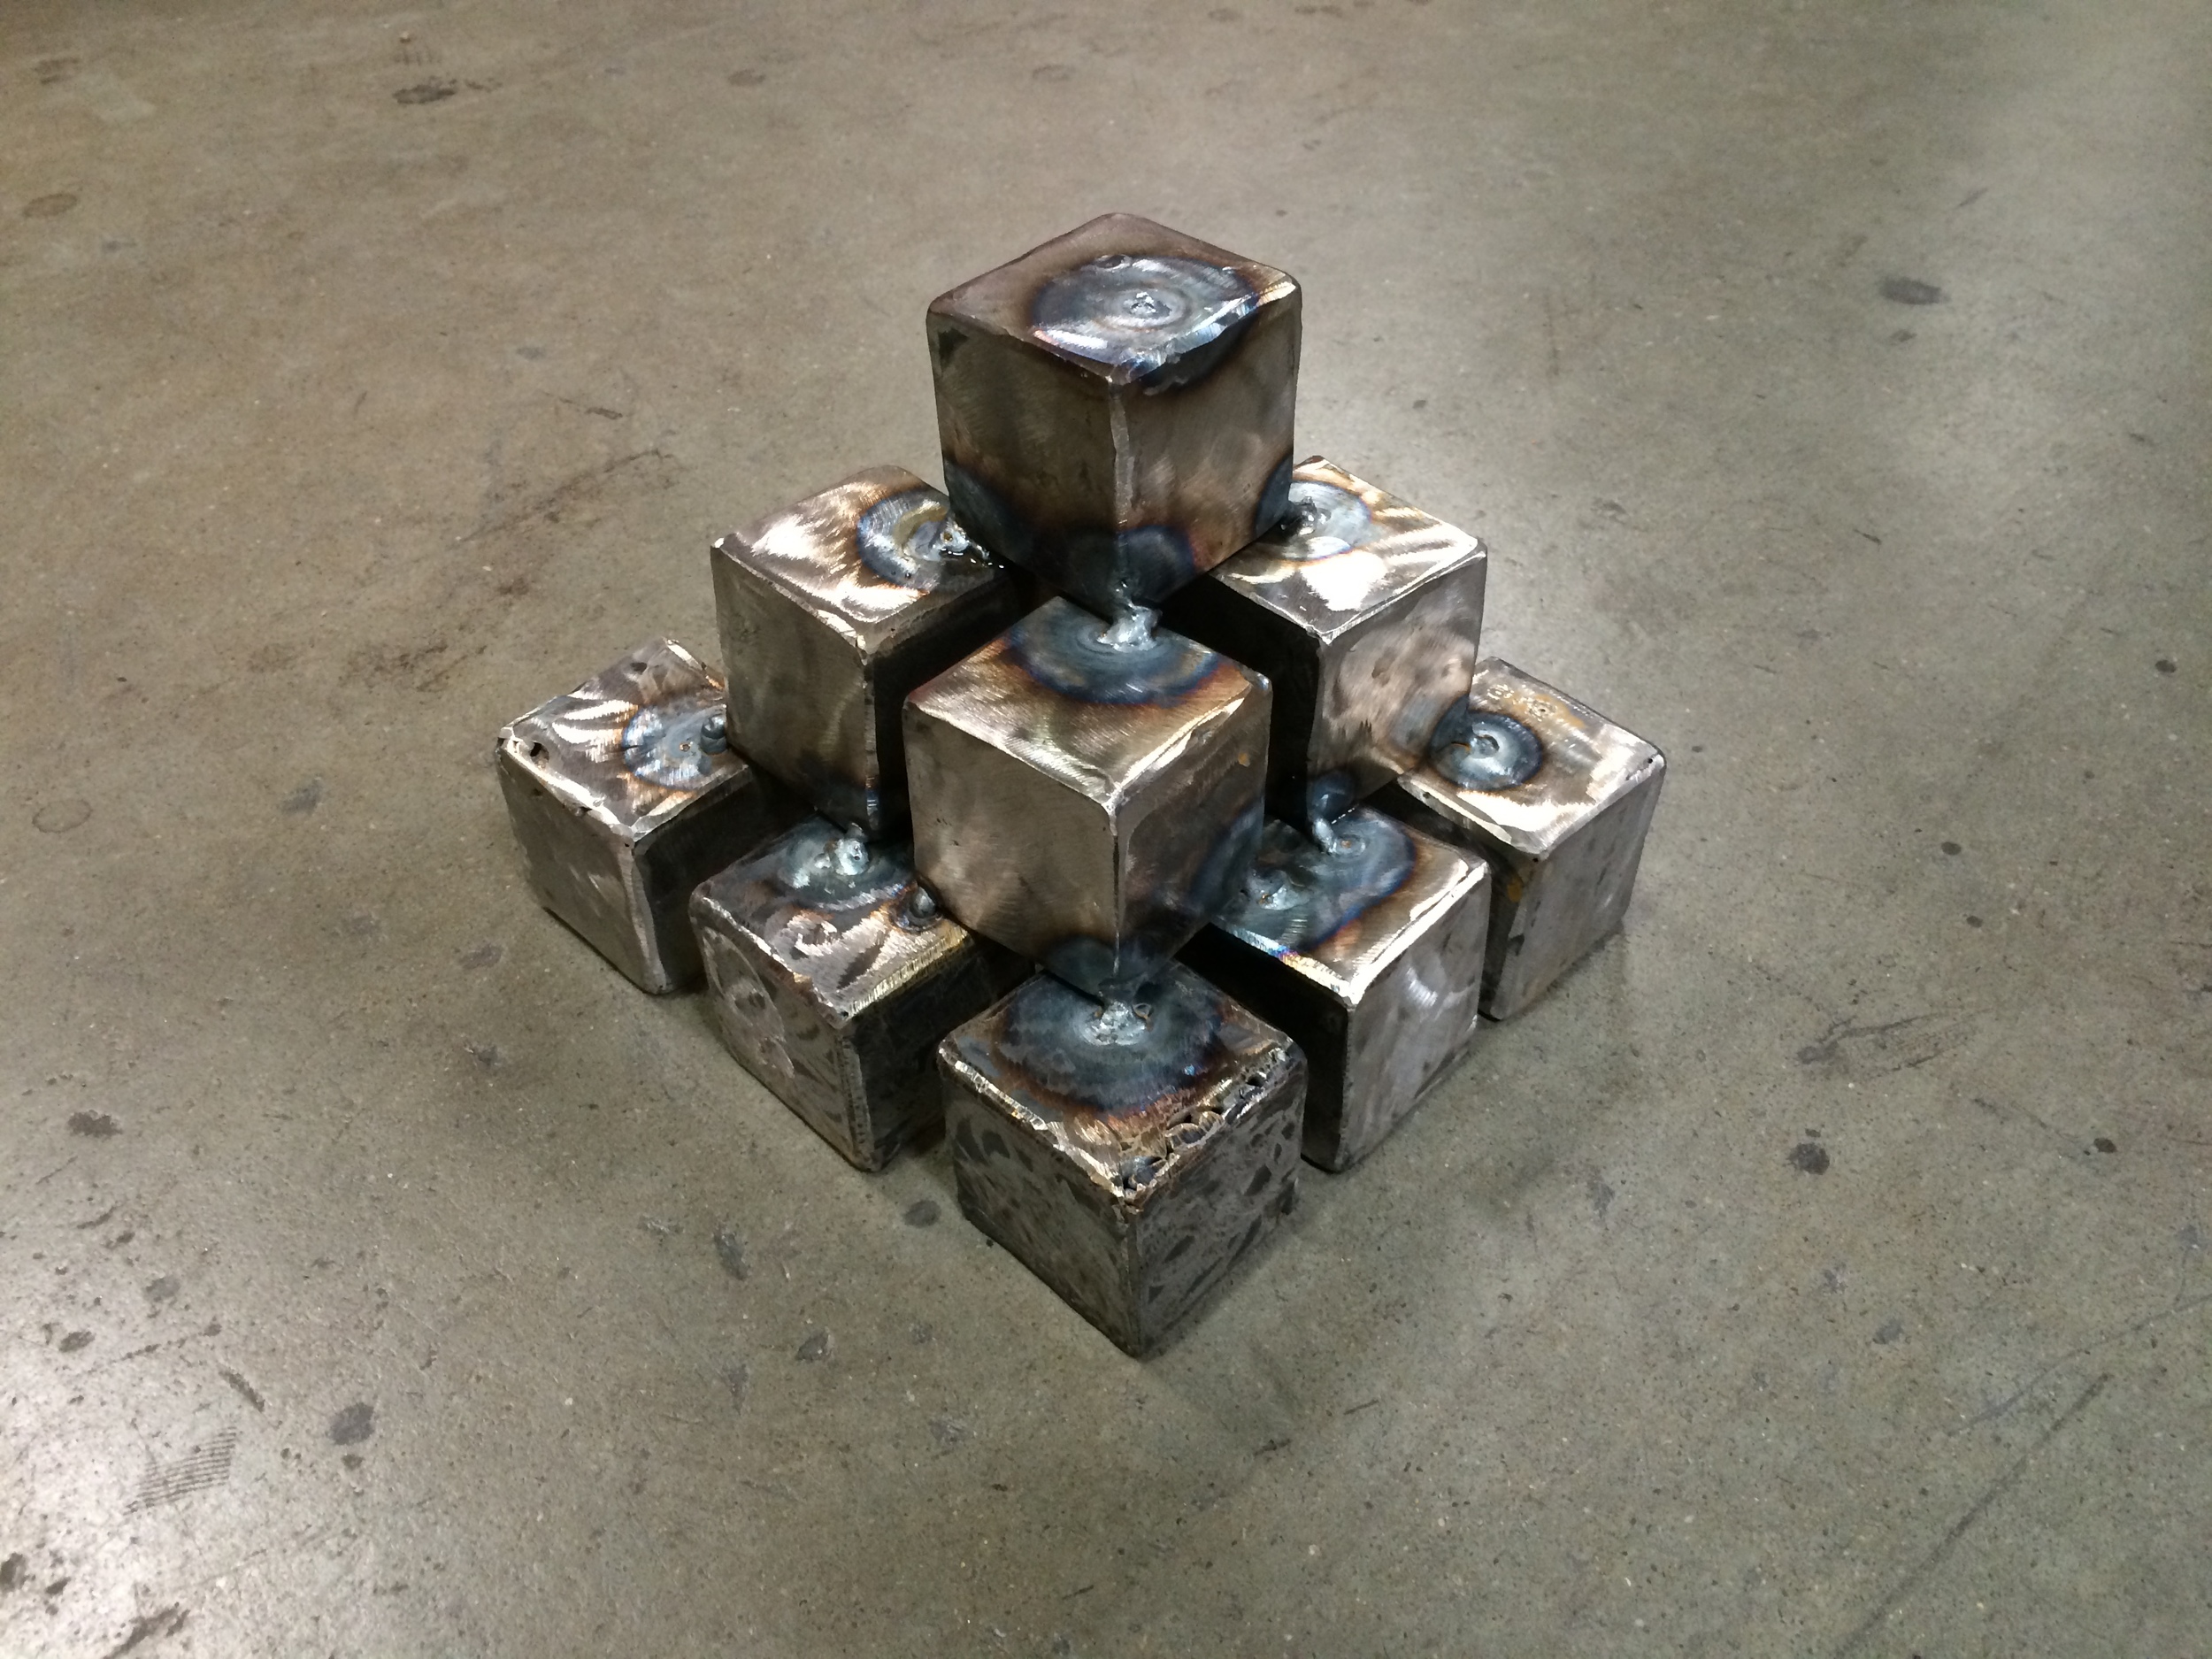
It's also amazing to see their progression over the course of a week. On Monday, they're figuring out how to wield the TIG torch, which requires a lot of coordination and finesse. That's when they need the most instruction and feedback. By Tuesday, they're successfully doing fusion welds, using filler rod, and assembling little cubes. By Wednesday, nearly every student has a project in mind, and they're figuring out how to begin fabrication. On Thursday and Friday, I'm just a consultant, doing custom cuts here and there and helping problem-solve when needed. At the end of week, the Crucible hosts a gallery walk in which youth camp students across all departments (TIG, arc, blacksmithing, foundry, jewelry, glassblowing, kinetics, leather, etc.) showcase their work for each other and for parents. The students are always beaming, and I feel like a proud parent!
Dream team Jazzy and Kobe
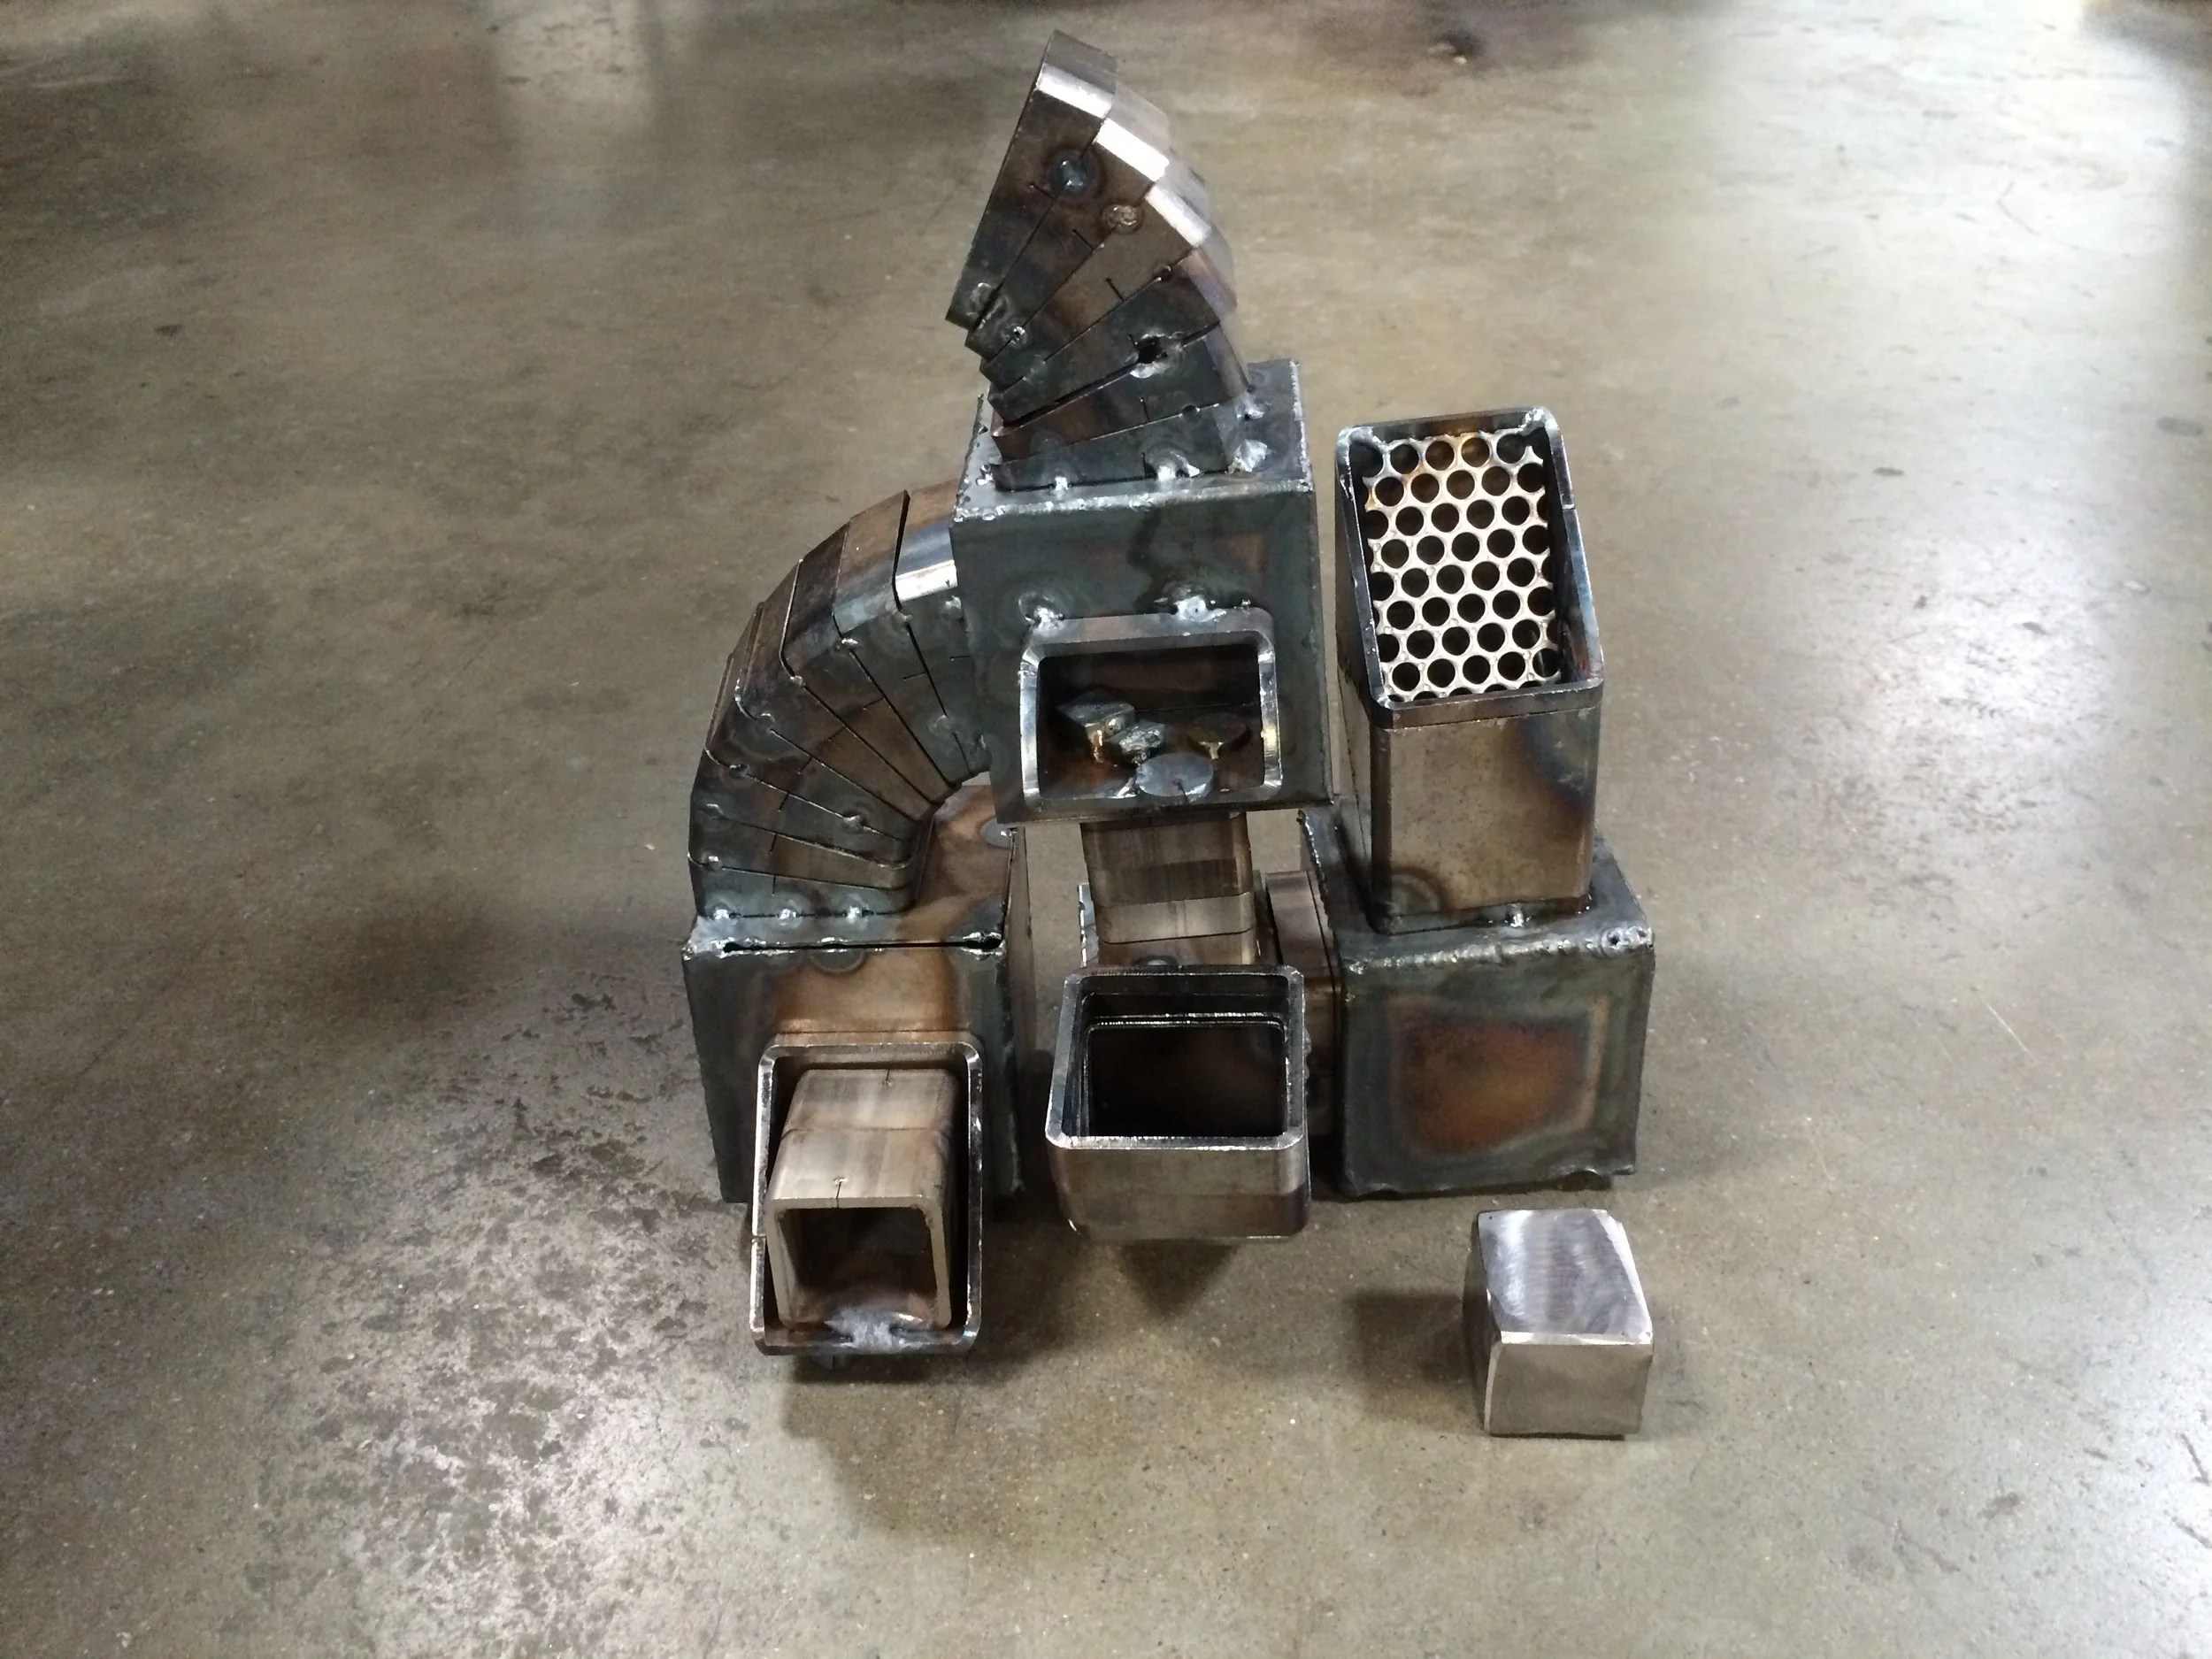
None of this would be possible without Jazzy, my 19-year-old TA, and Kobe, my 17-year-old youth intern. This brother-and-sister duo started taking classes at the Crucible when they were only 12! They help me set up for class each morning, lead demos, mentor students one-on-one, and -- now that they've mastered the horizontal band saw, power shear, and angle grinder -- they're also assisting students with cutting and grinding during class. In return, I'm doing my best to help them add new tools and skills to their own metalworking repertoires. As I'm drafting this, Kobe and I are both working late in the TIG room -- I'm writing, and he's finishing up a gorgeous steel Godzilla sculpture for the Crucible's Fuego Internship showcase. I'm lucky to be teaching (and learning myself!) alongside these two stellar young metalworkers.
Kobe working on Godzilla, his final project for The Crucible's Fuego Internship Showcase
If you live in the Bay Area, come check out the Crucible! They offer tons of amazing classes for both adults and young people. They also host team-building workshops for organizations, which are always a lot of fun (I've taught workshops for companies like Cisco and Zynga). Ask your boss if you can come to the Crucible for your next offsite!
The Claro Cart: A Collaboration with Caty Moniz
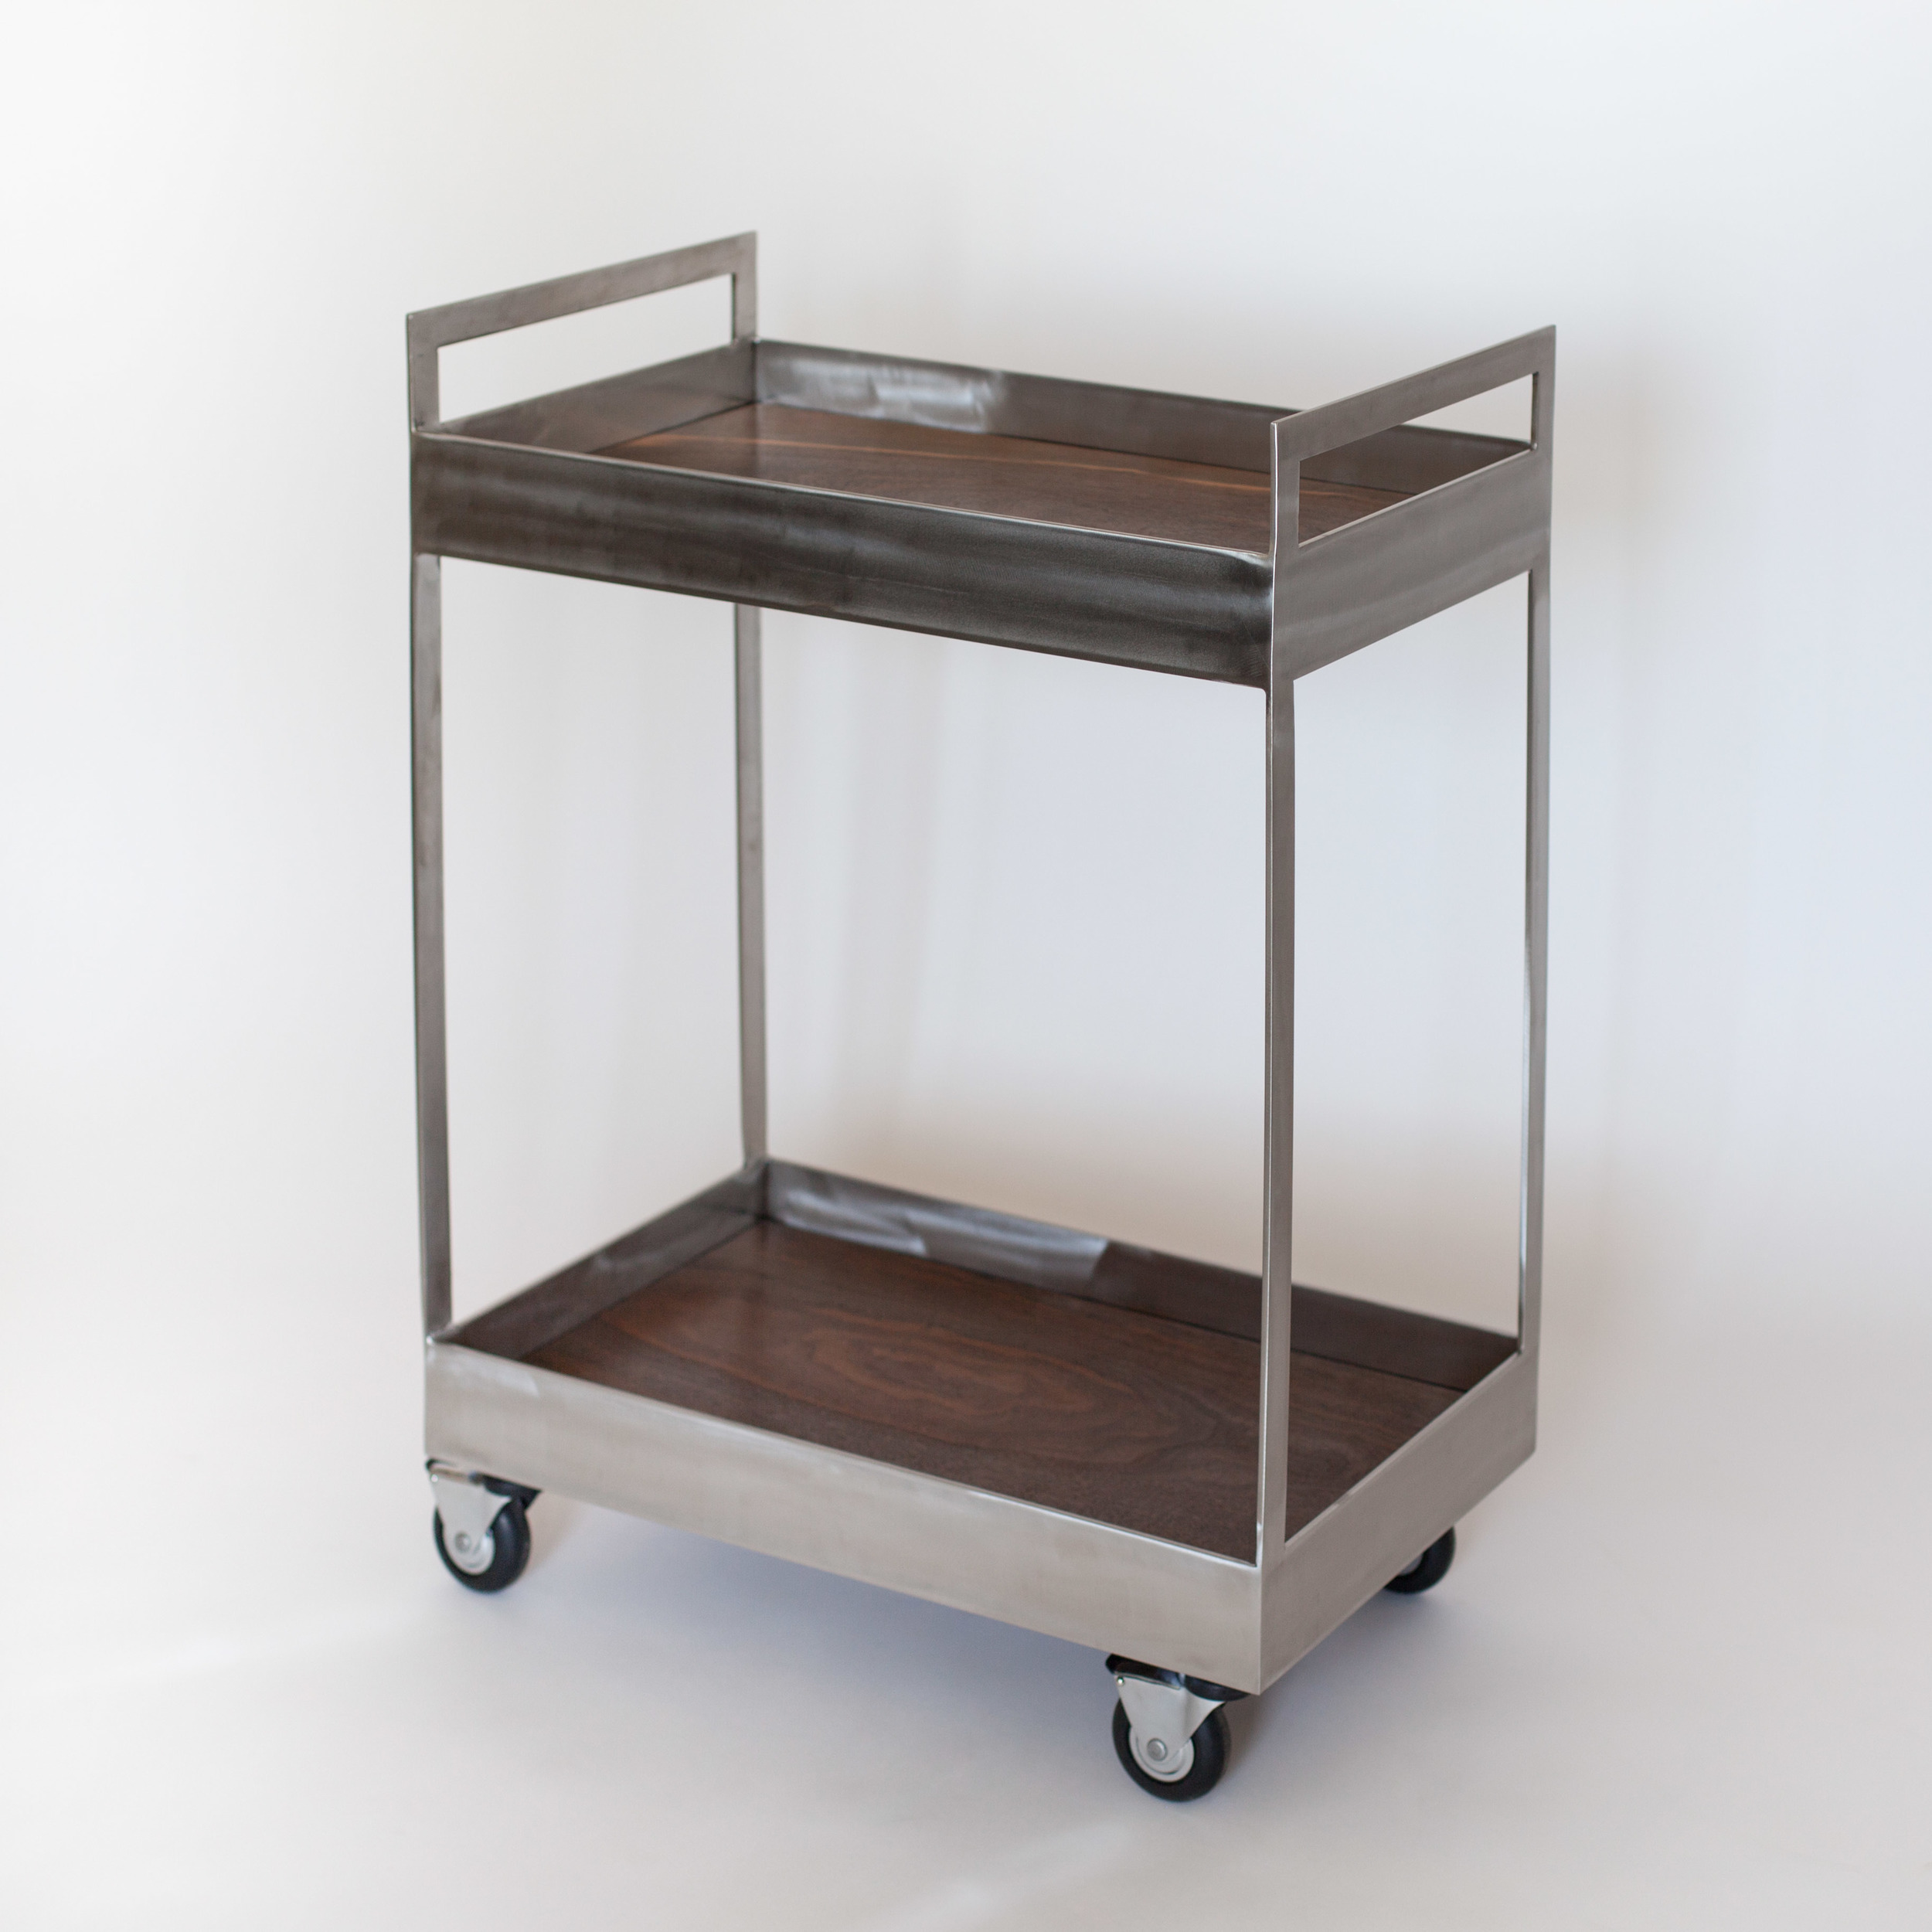
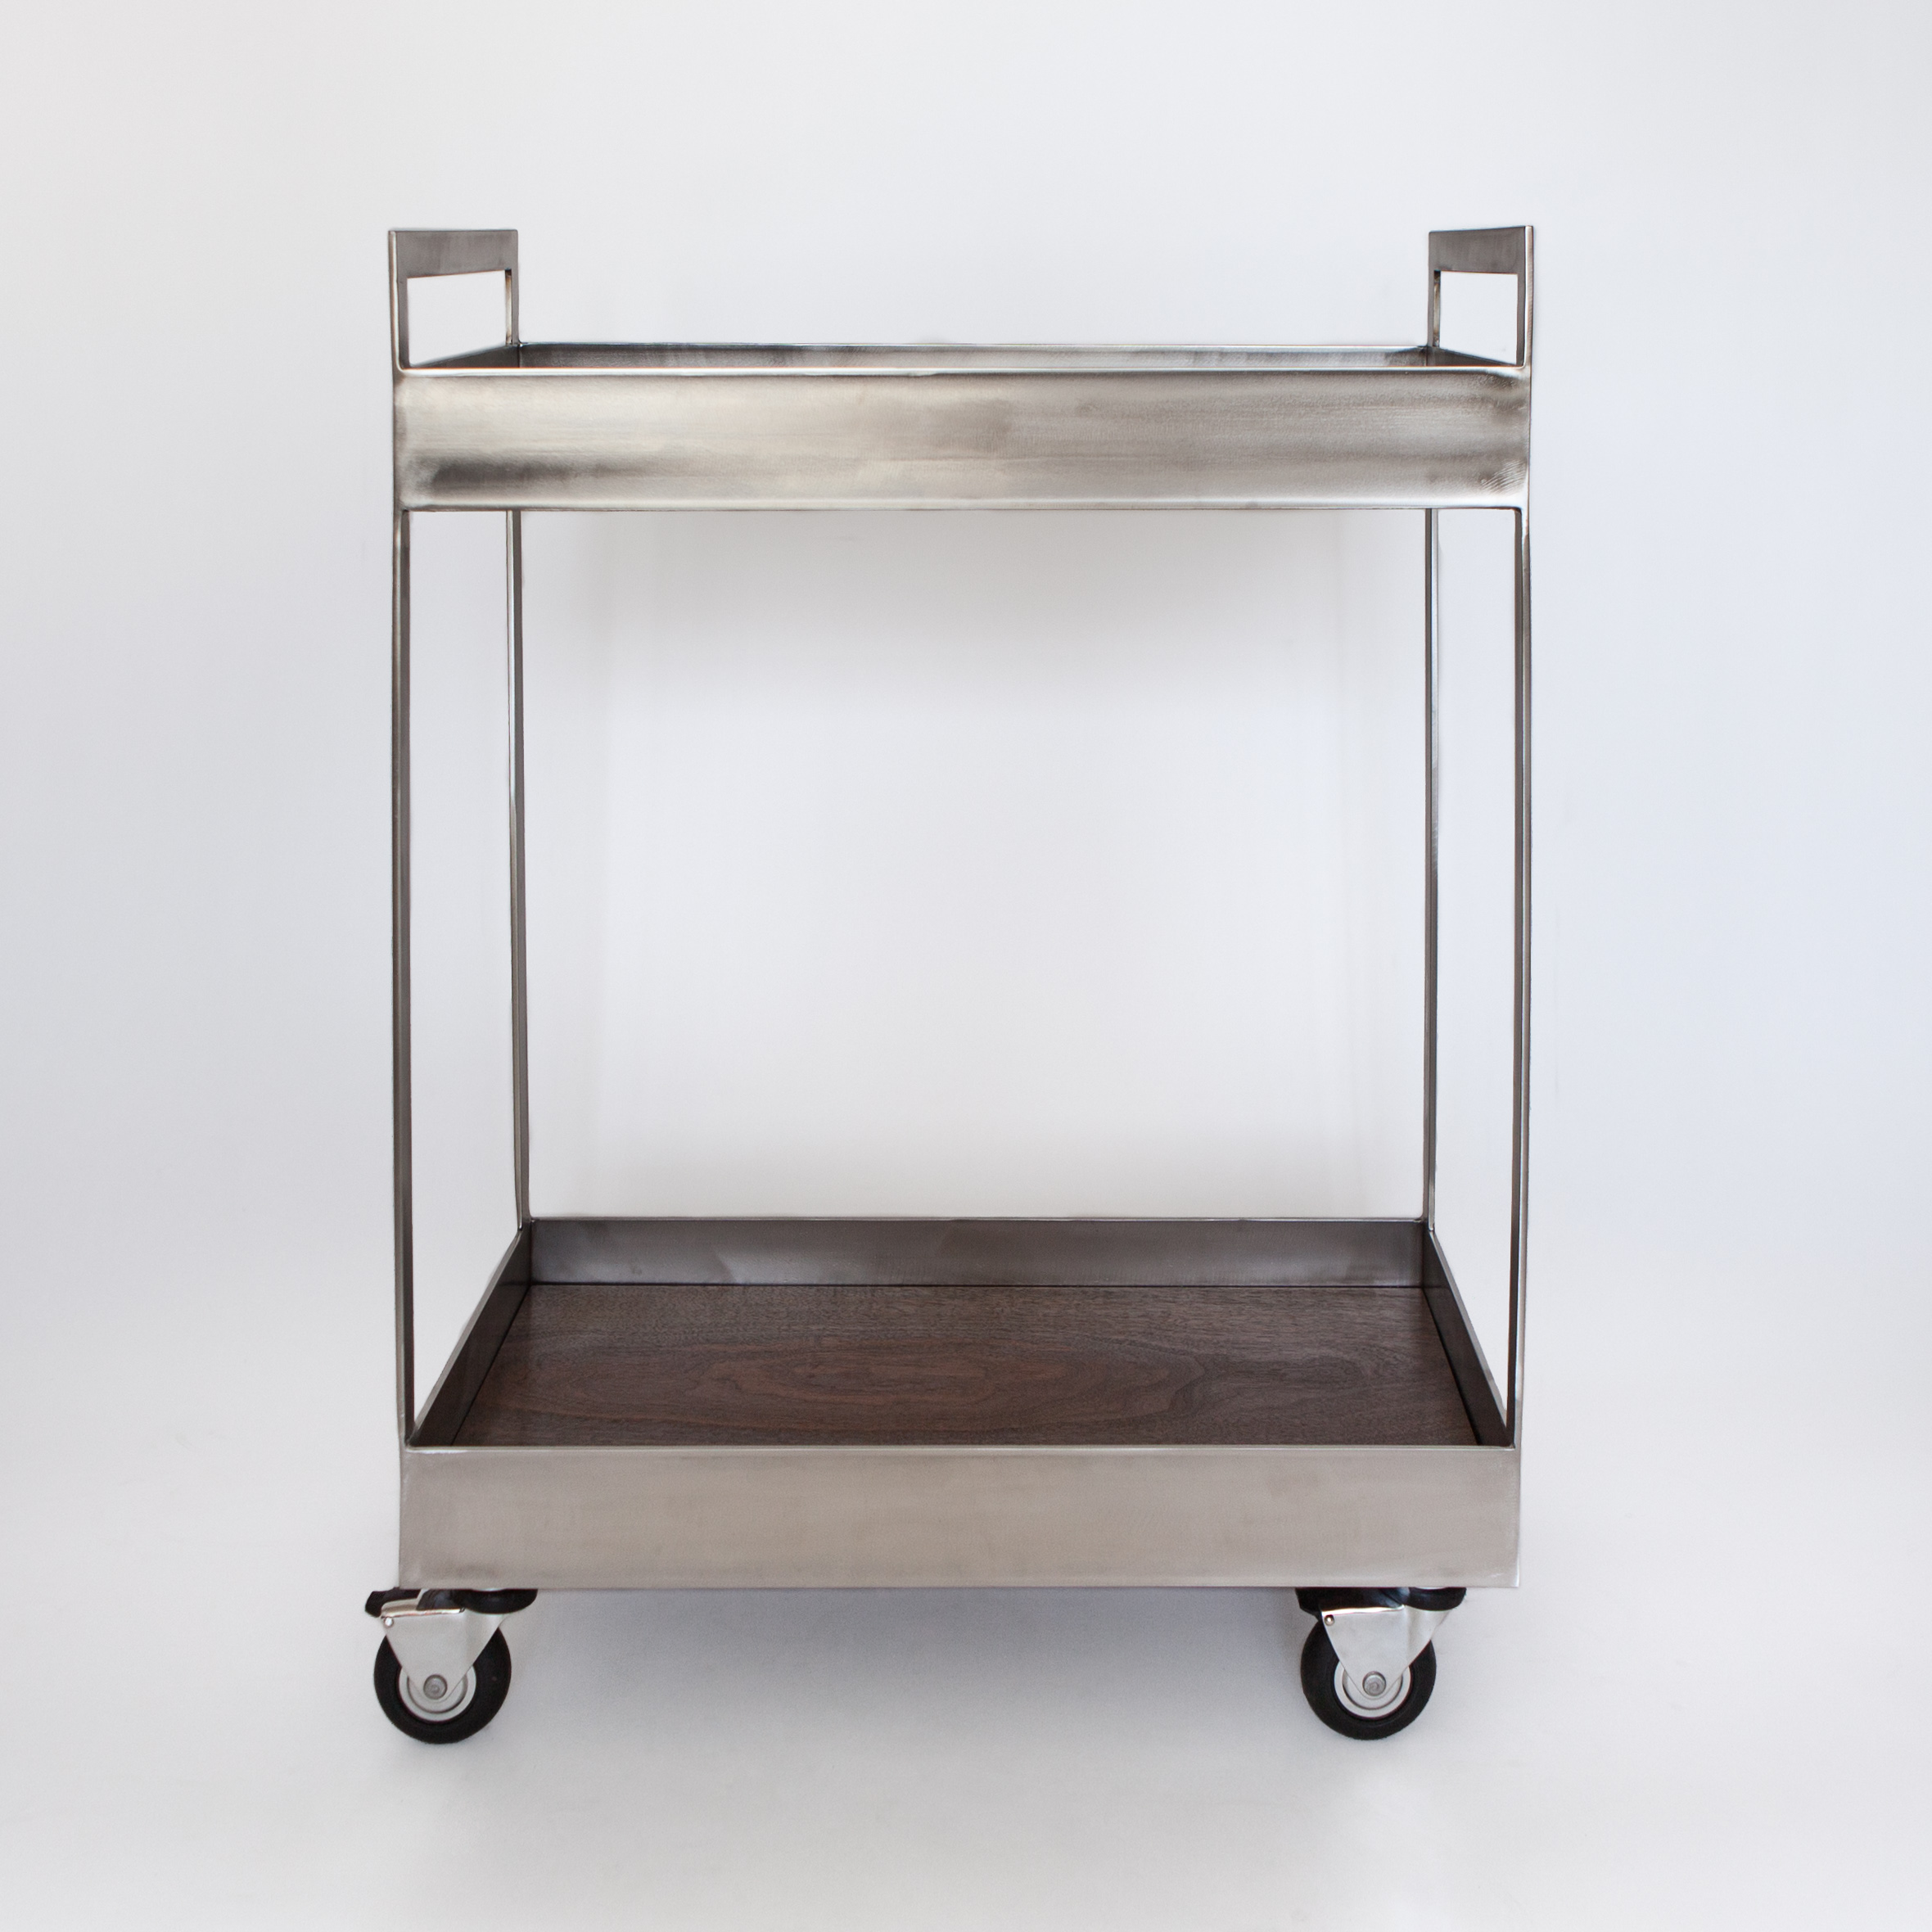
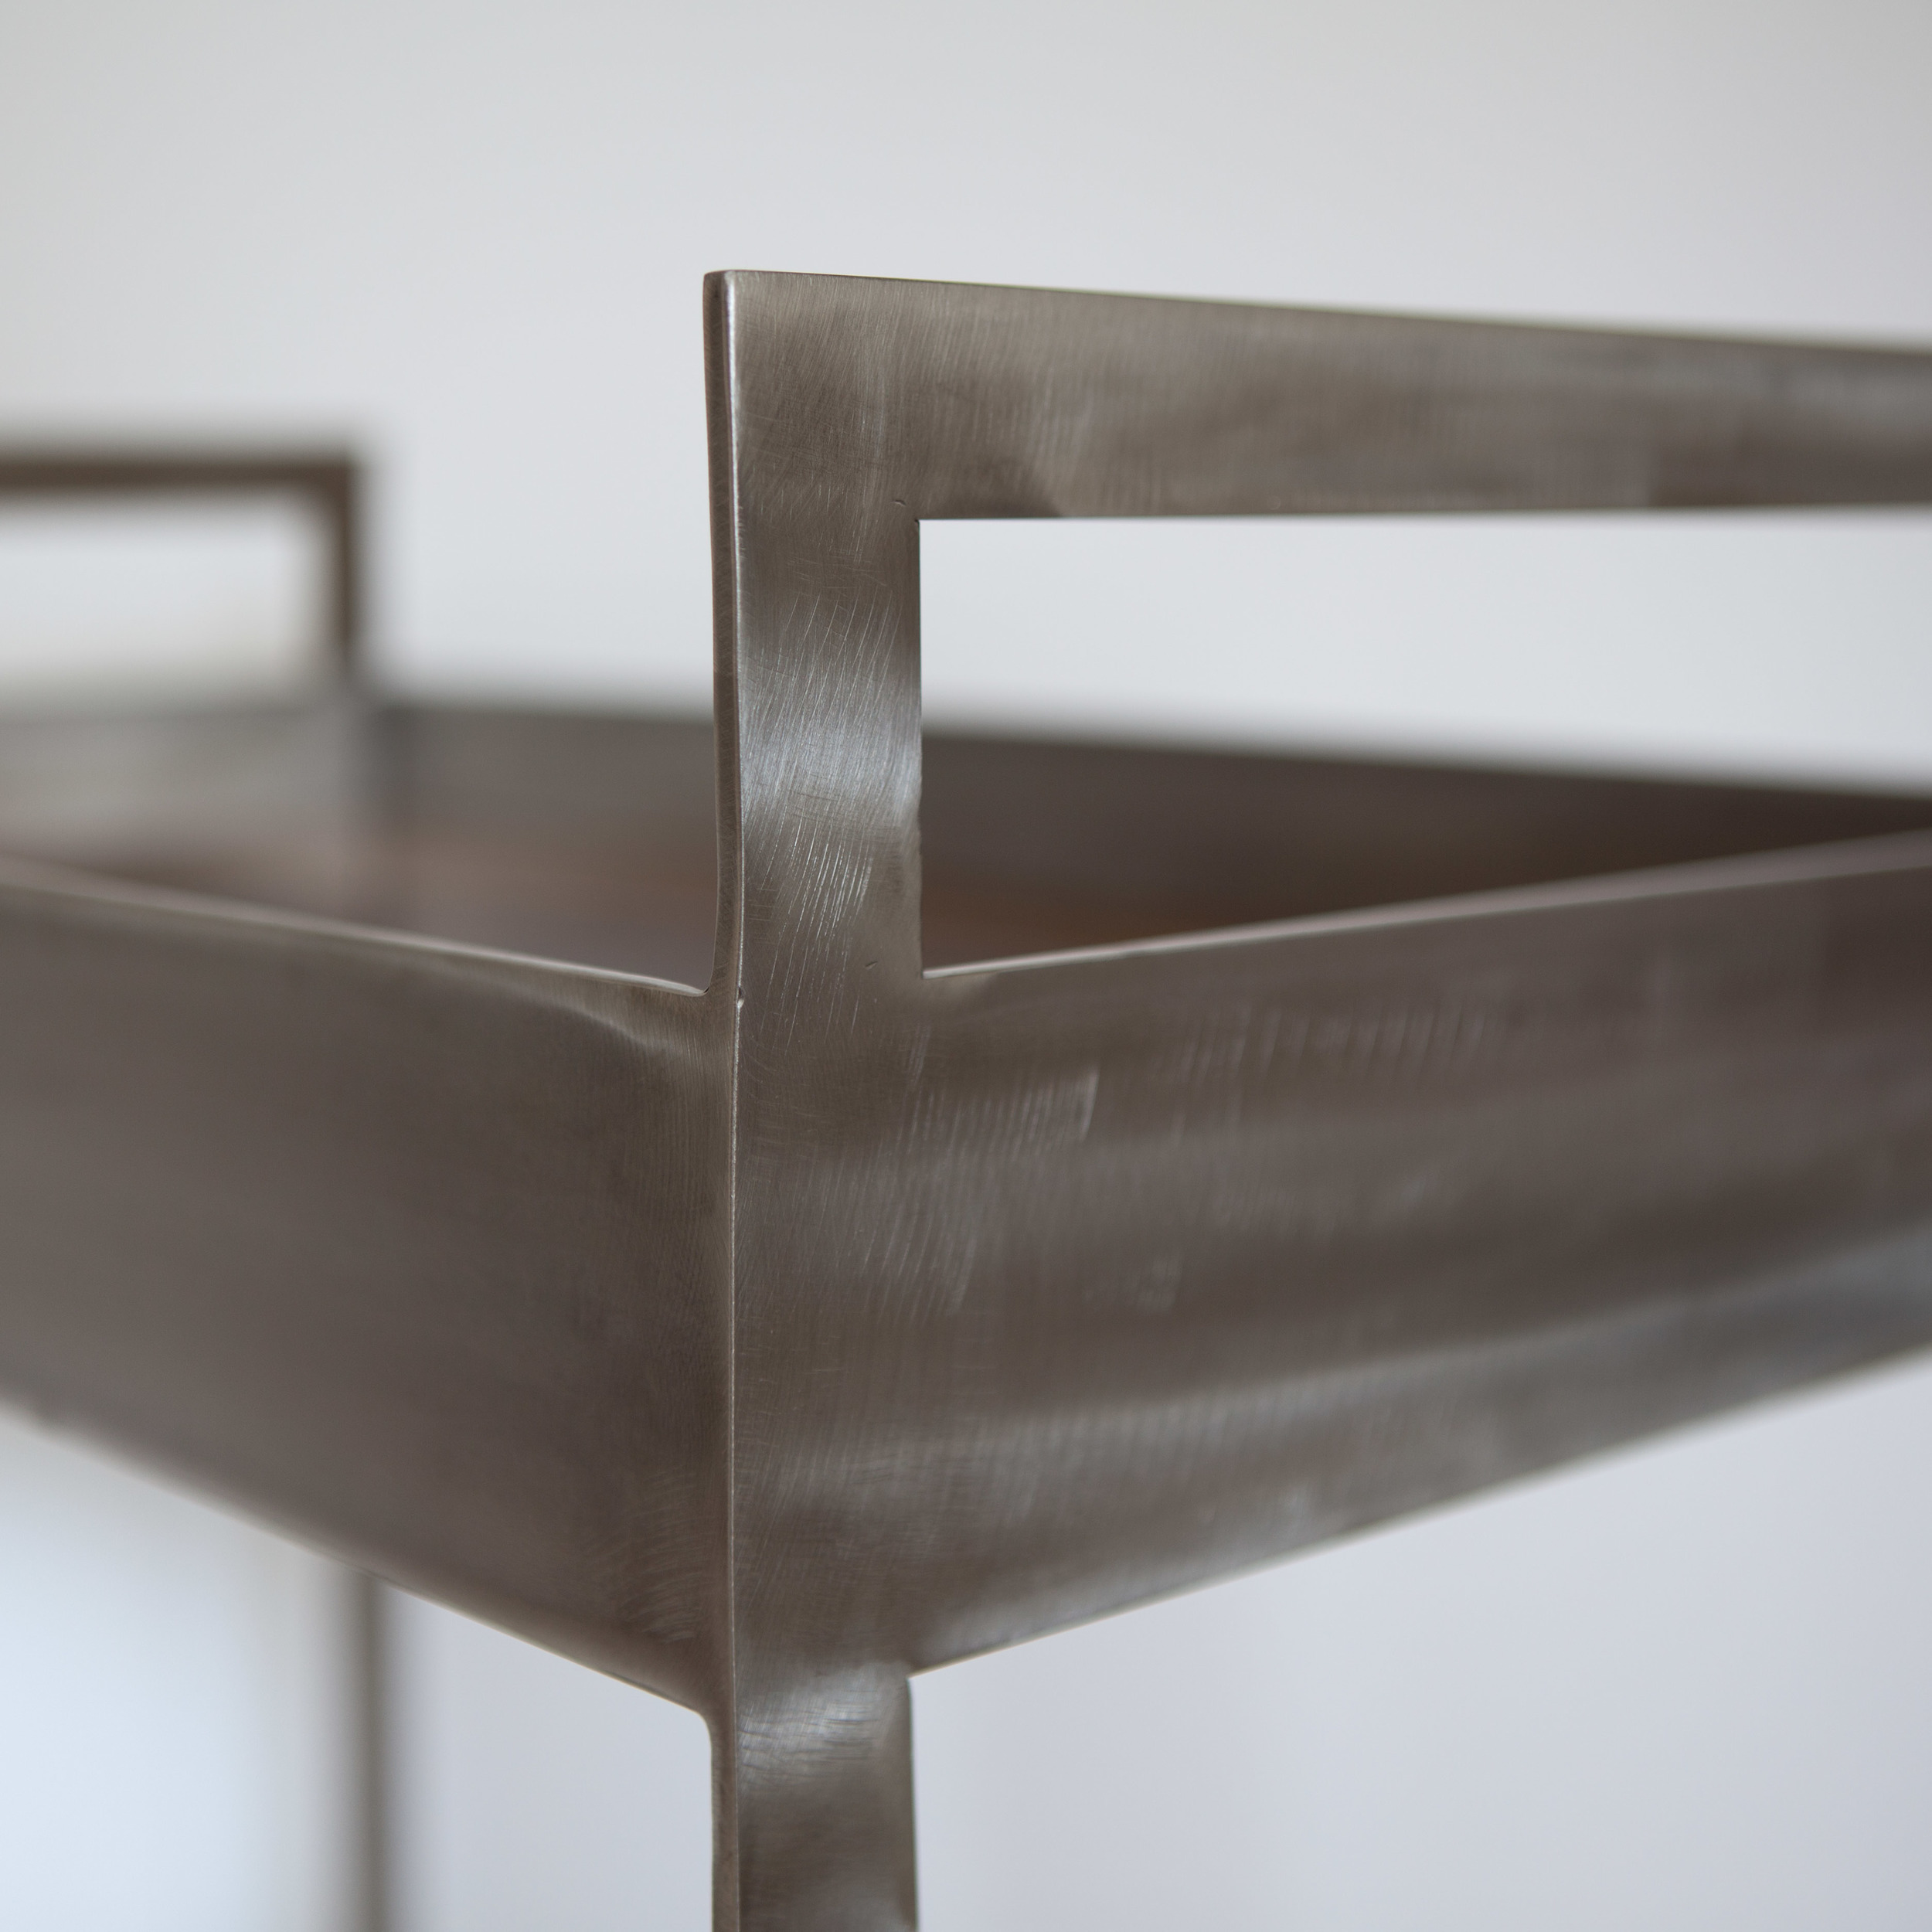
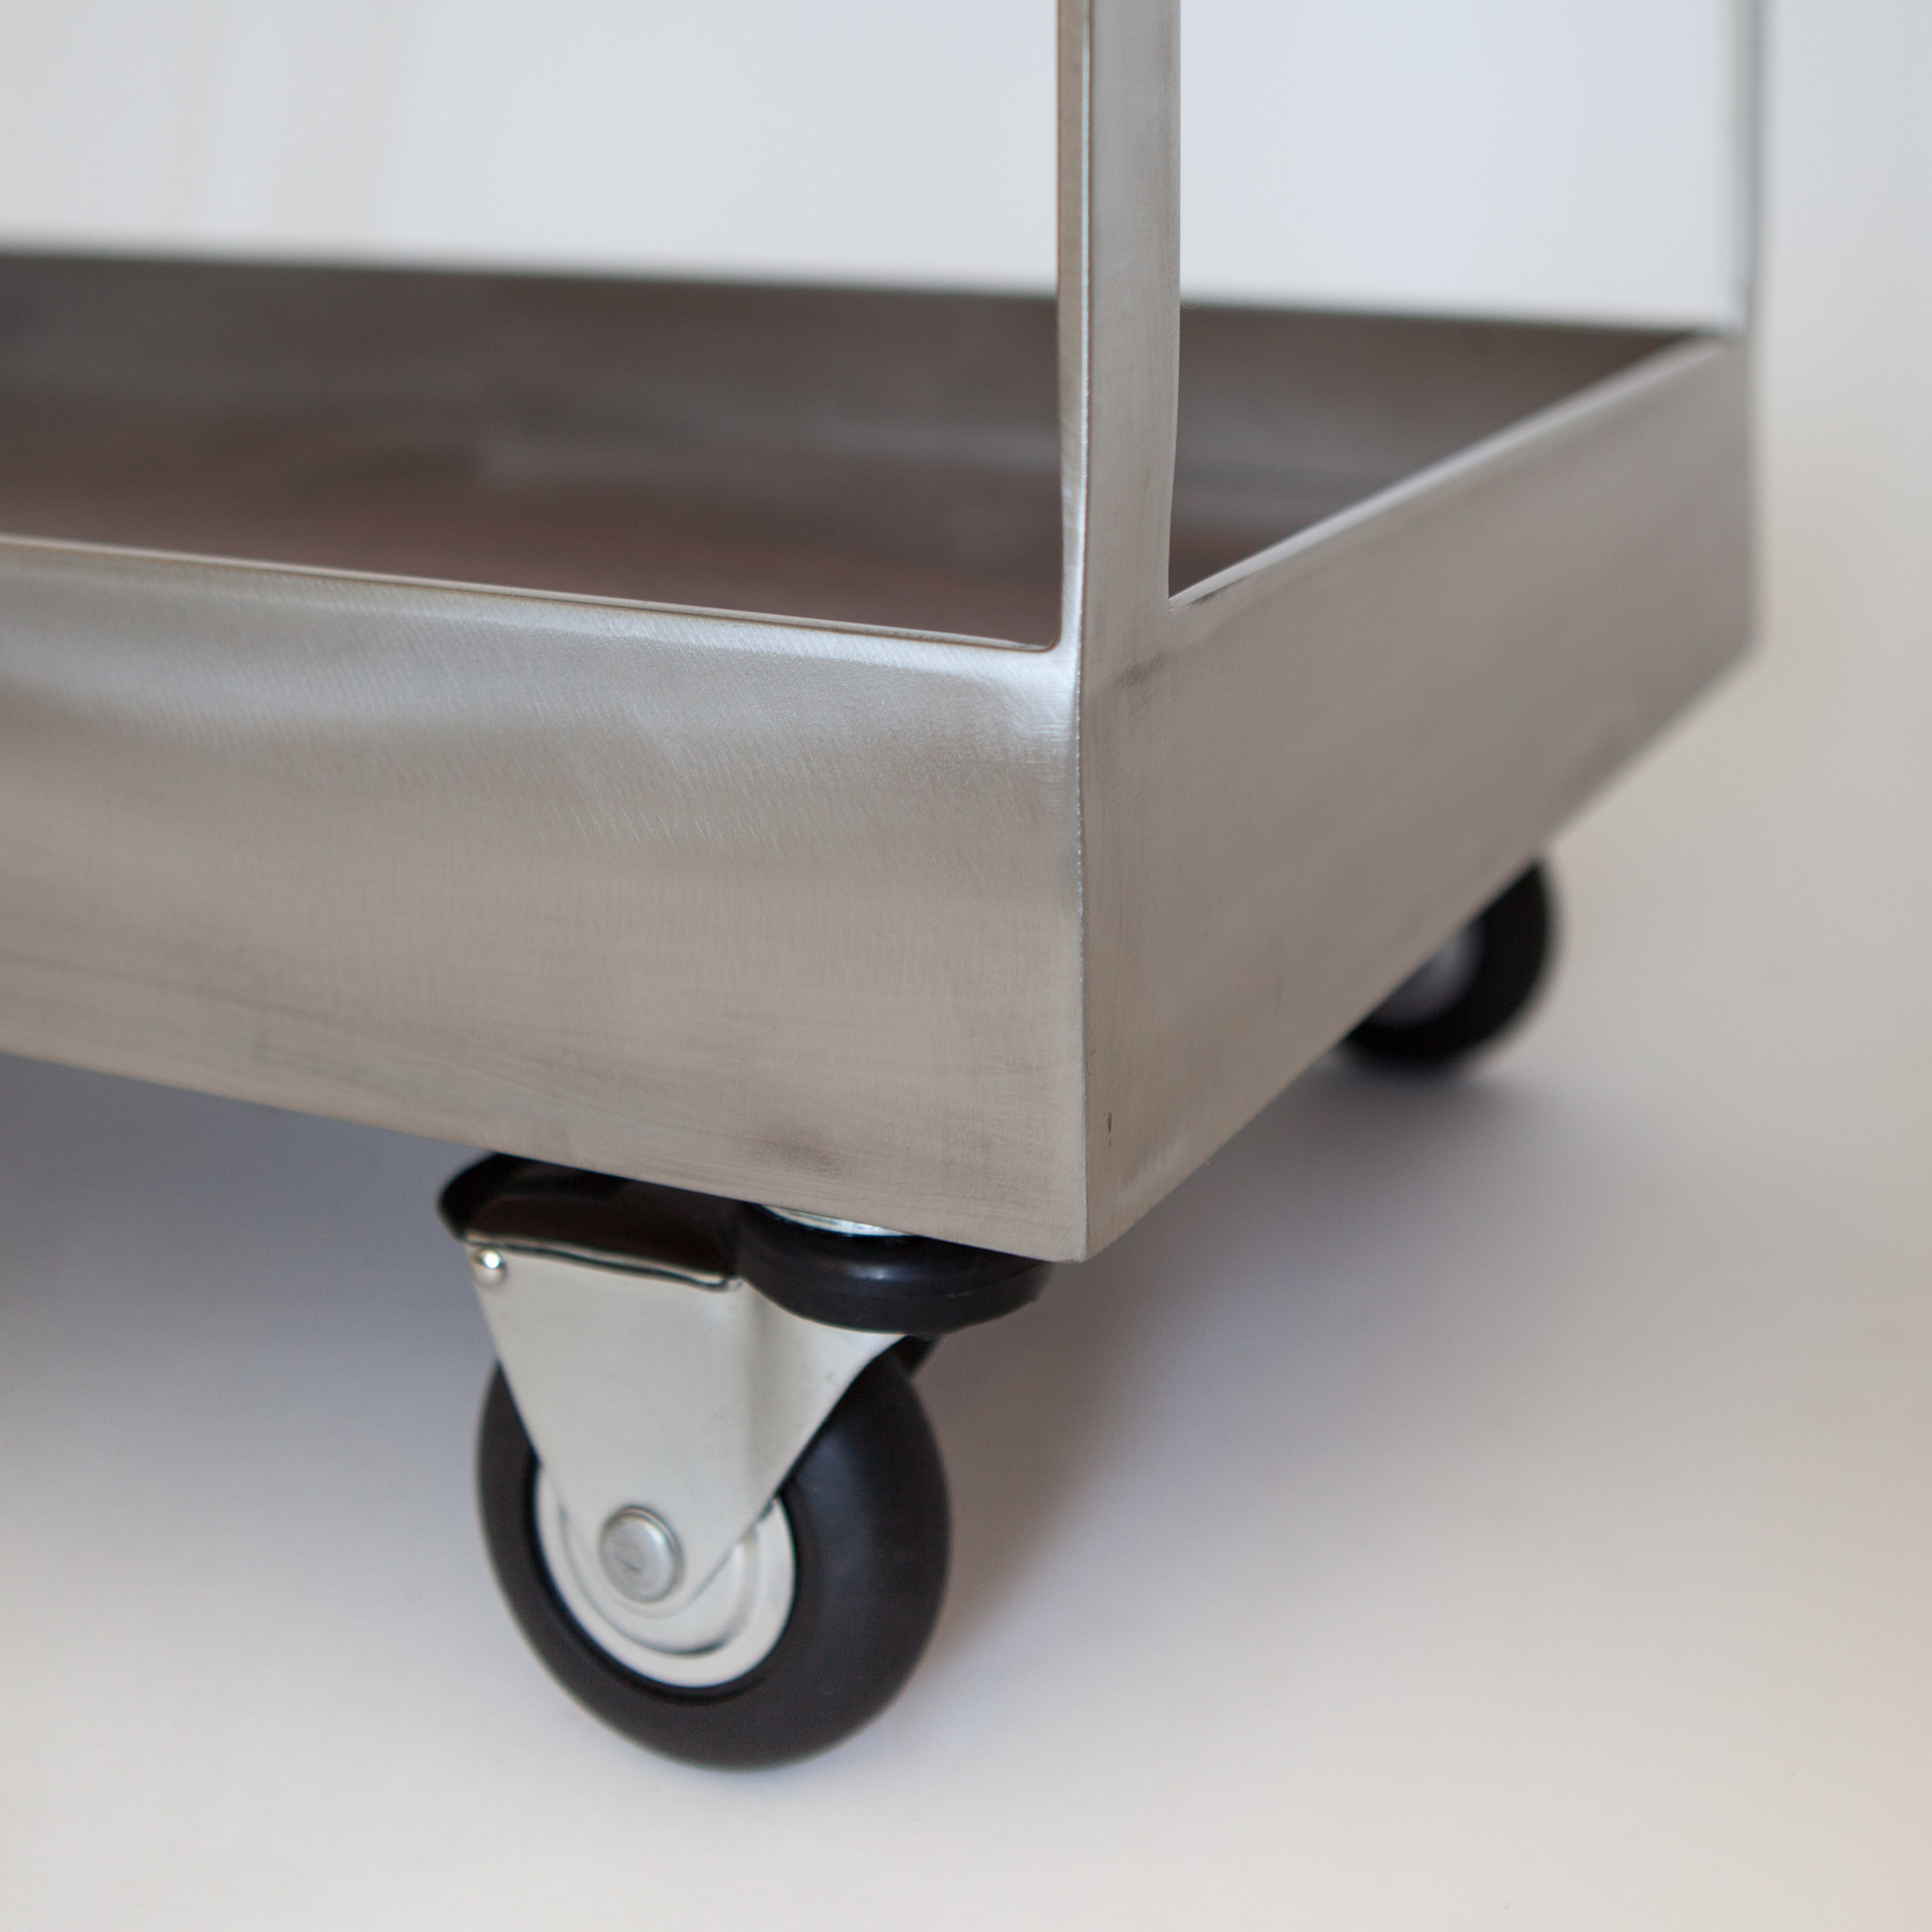
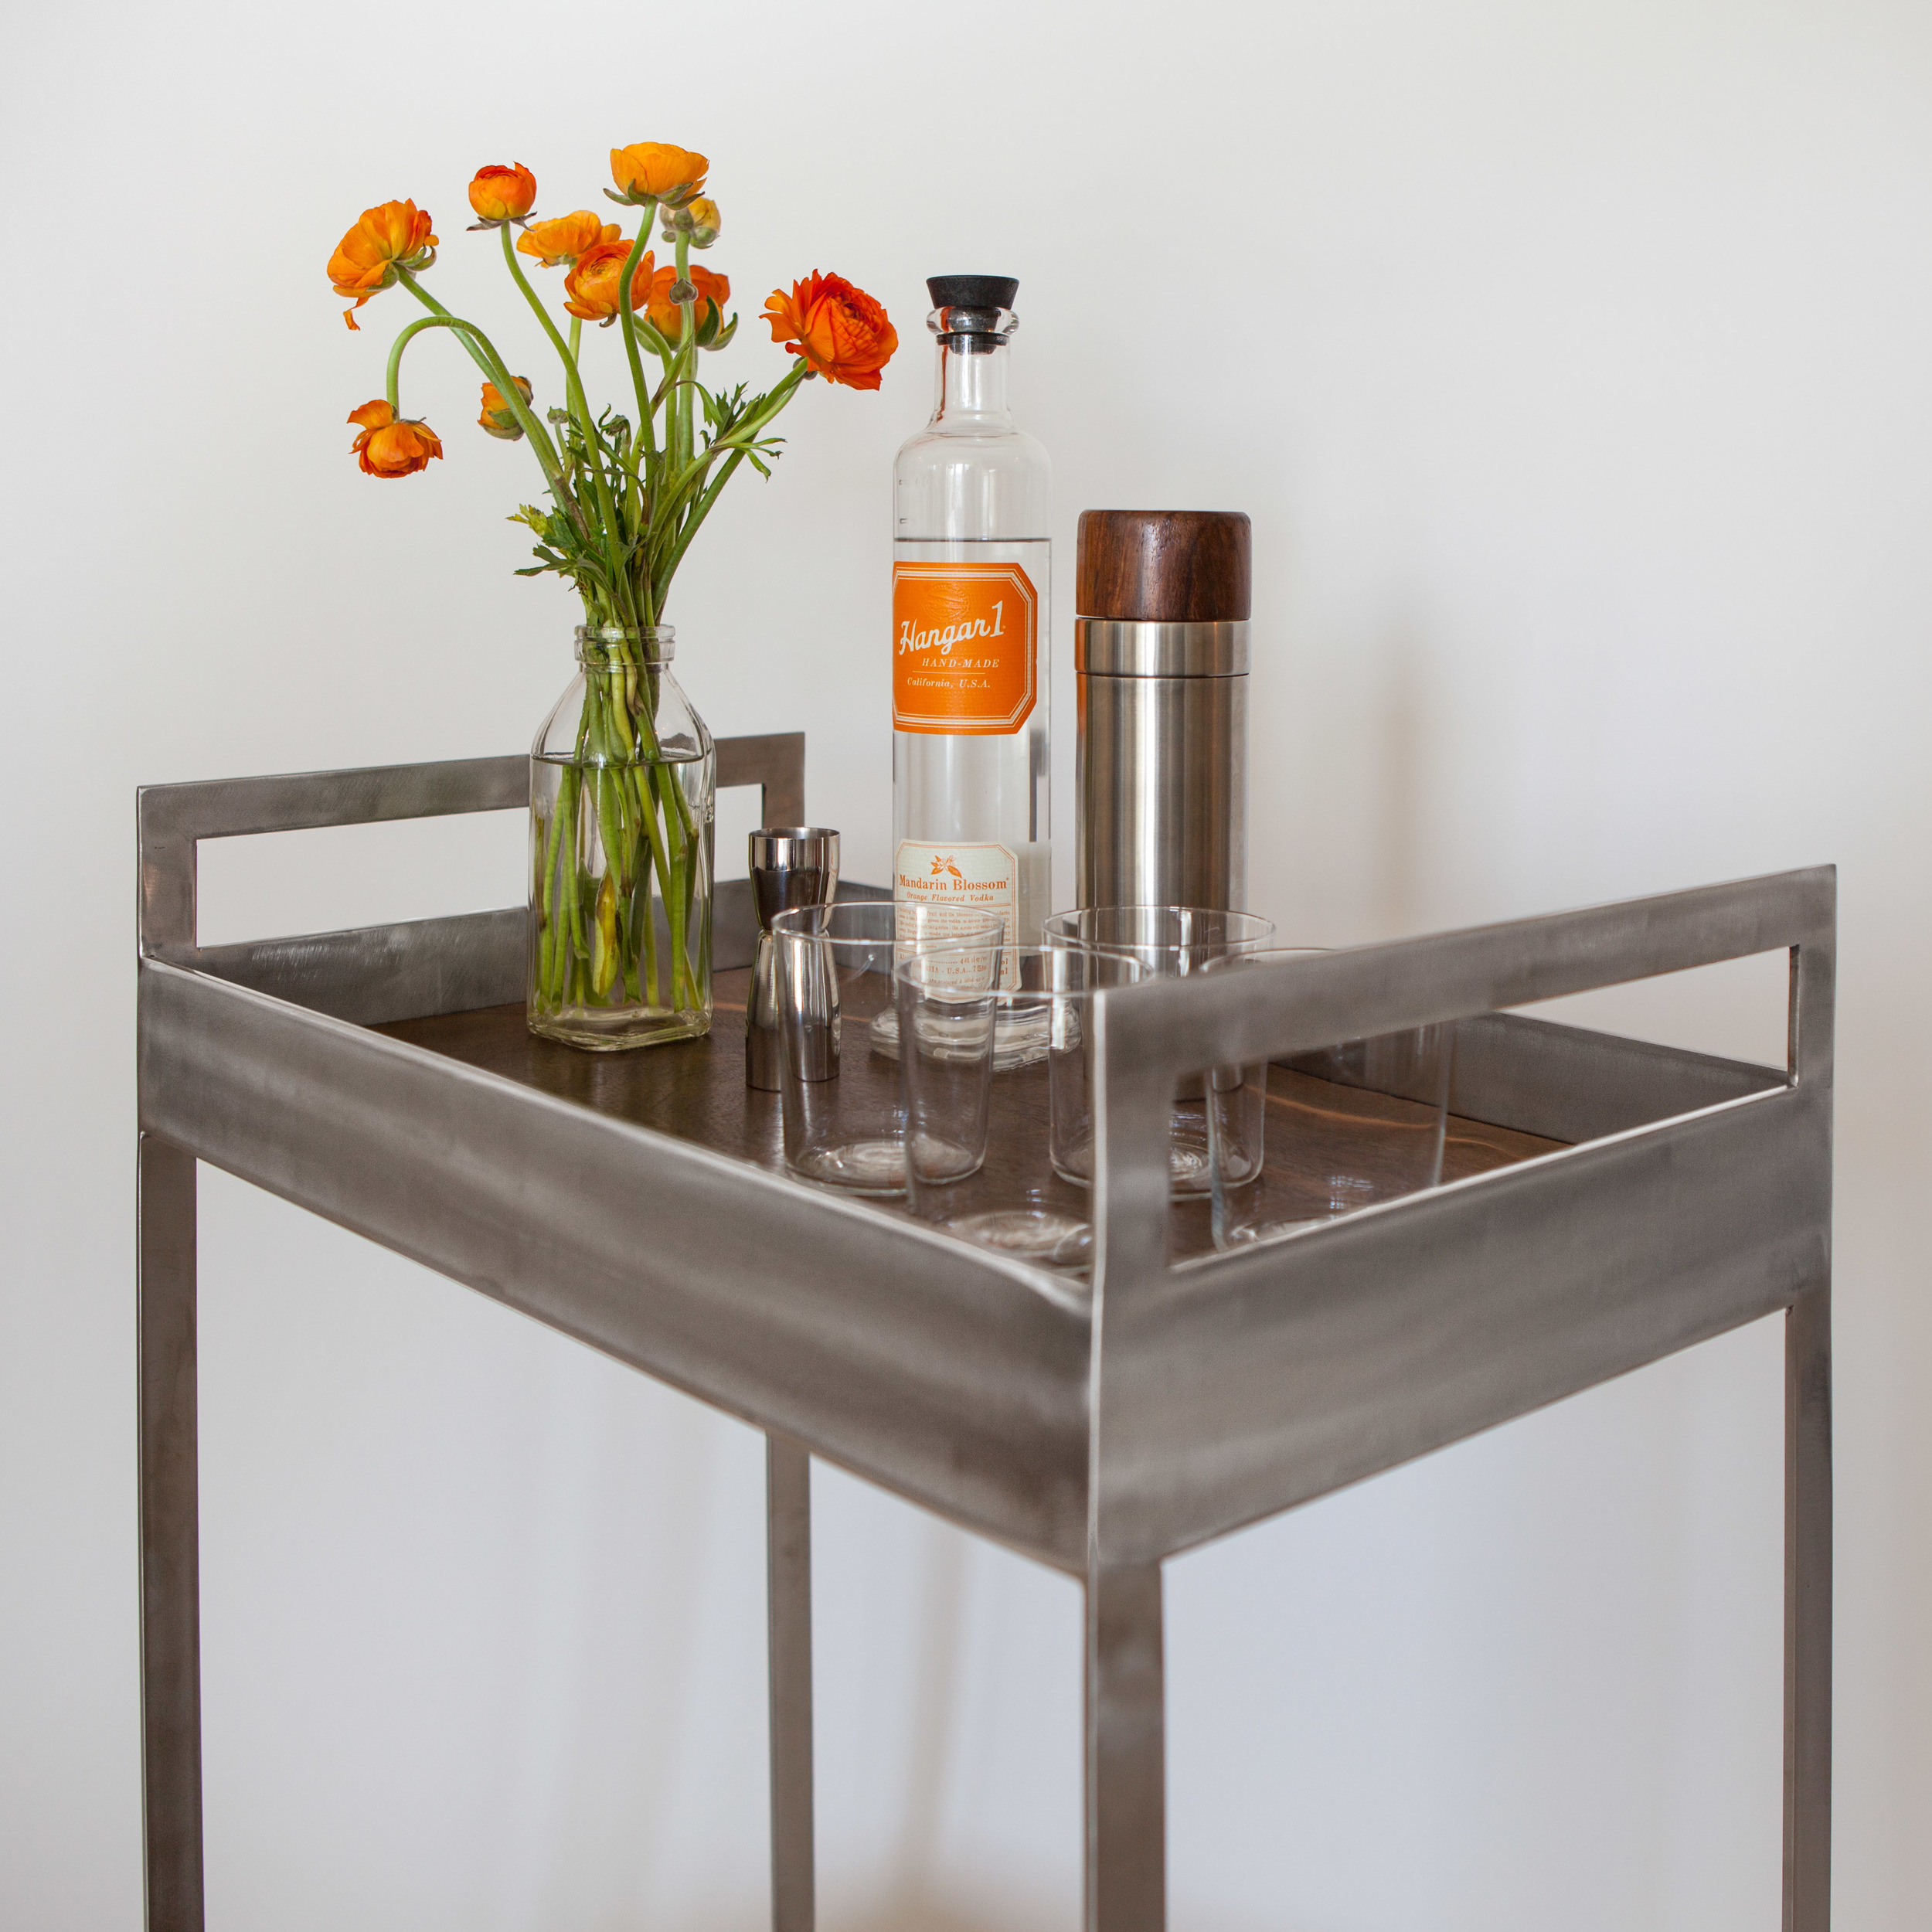
Ladies and gentlemen, I'd like to introduce to you the Claro Cart! This nifty rolling bar cart, made of stainless steel and shimmery Claro walnut, is a collaboration with my good friend and talented woodworker Caty Moniz!
I first became friends with Caty because we worked together at Box headquarters in Los Altos. On our commute home one day about a year ago, we realized that we both loved making furniture. We had a good laugh when we discovered that she had finished wood slabs lying around her garage that didn't have table bases; meanwhile, I had a steel table base in my studio without a top. We joked about collaborating on a piece of furniture one day -- I'd do the metal, and she'd do the wood.
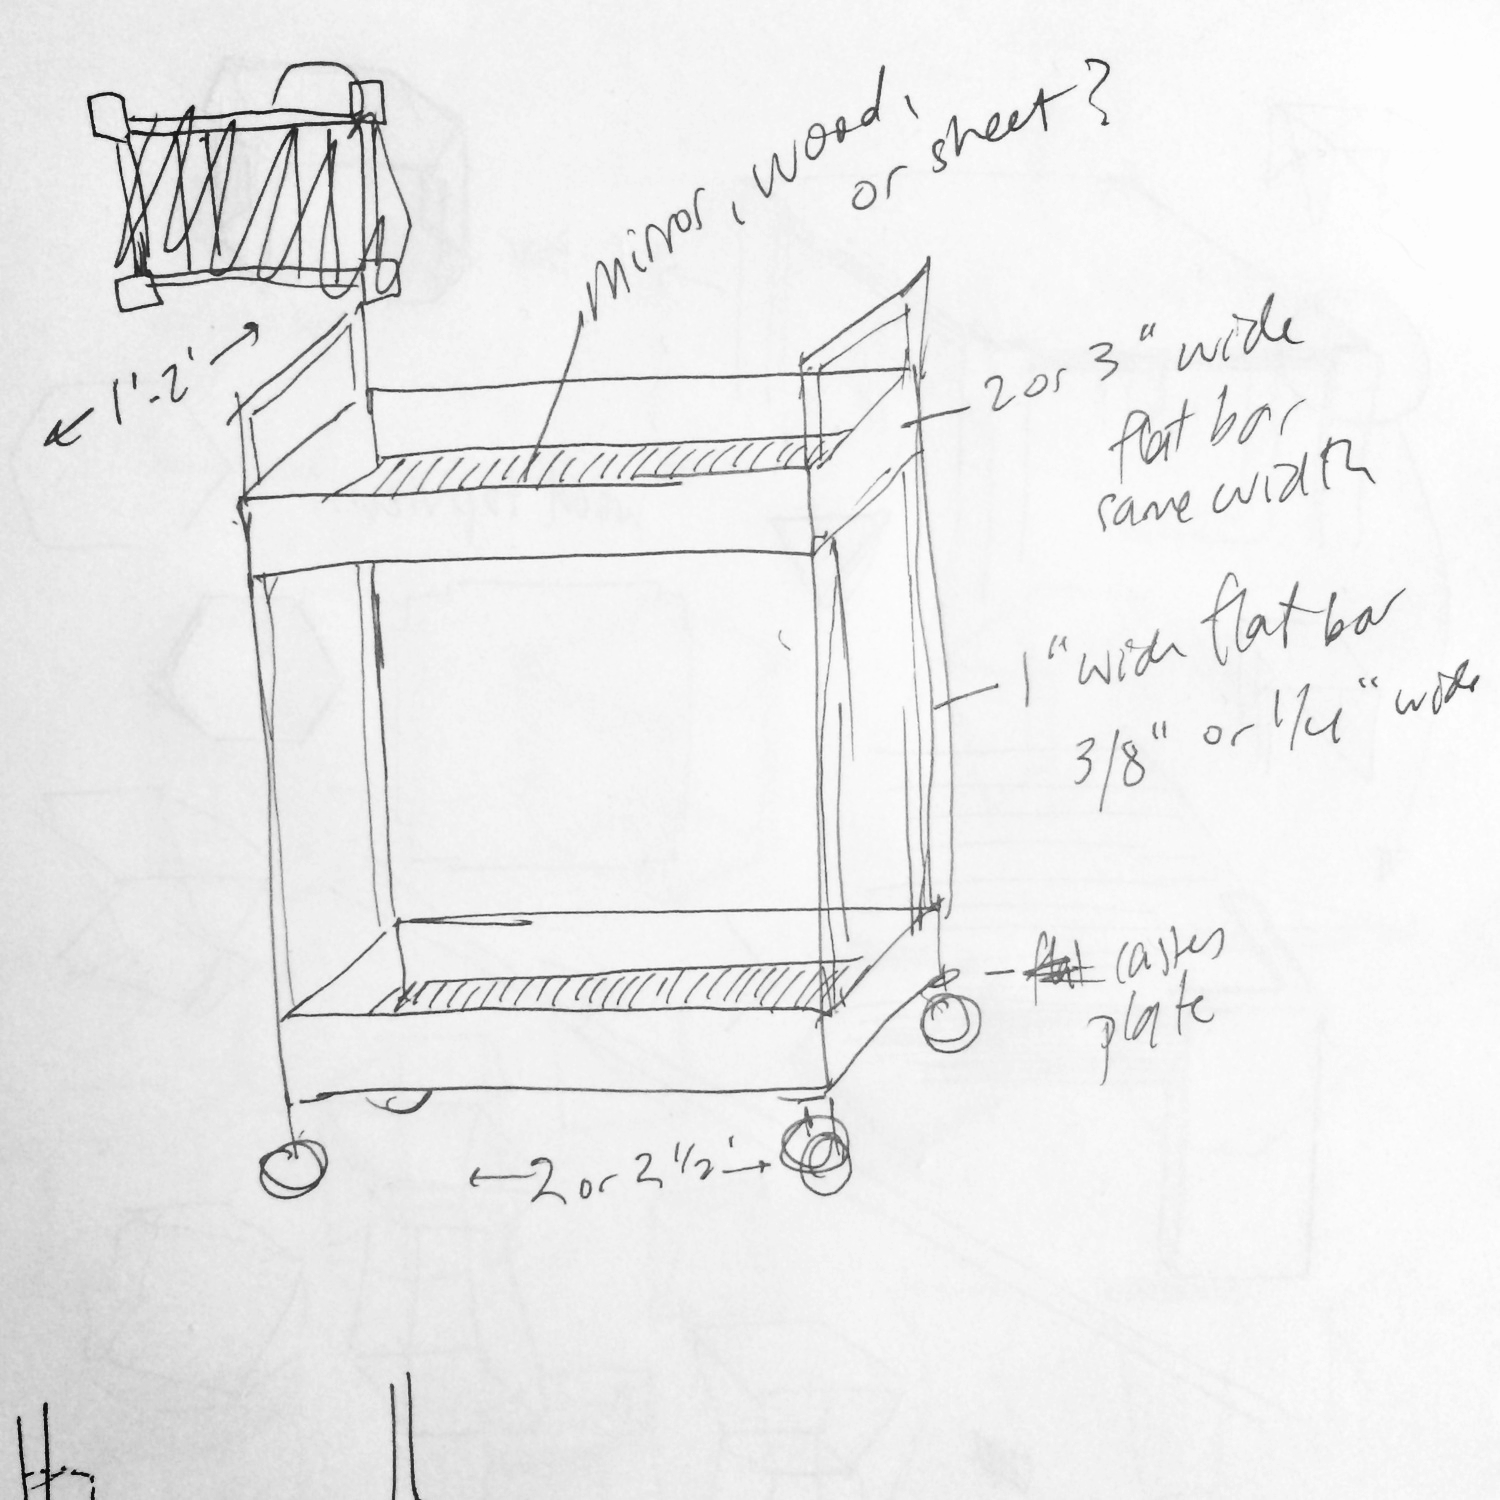
And then a few months ago, we decided to go for it! We came up with a simple, elegant design for a rolling bar cart that would show off the contrast of dark wood against bright stainless steel.
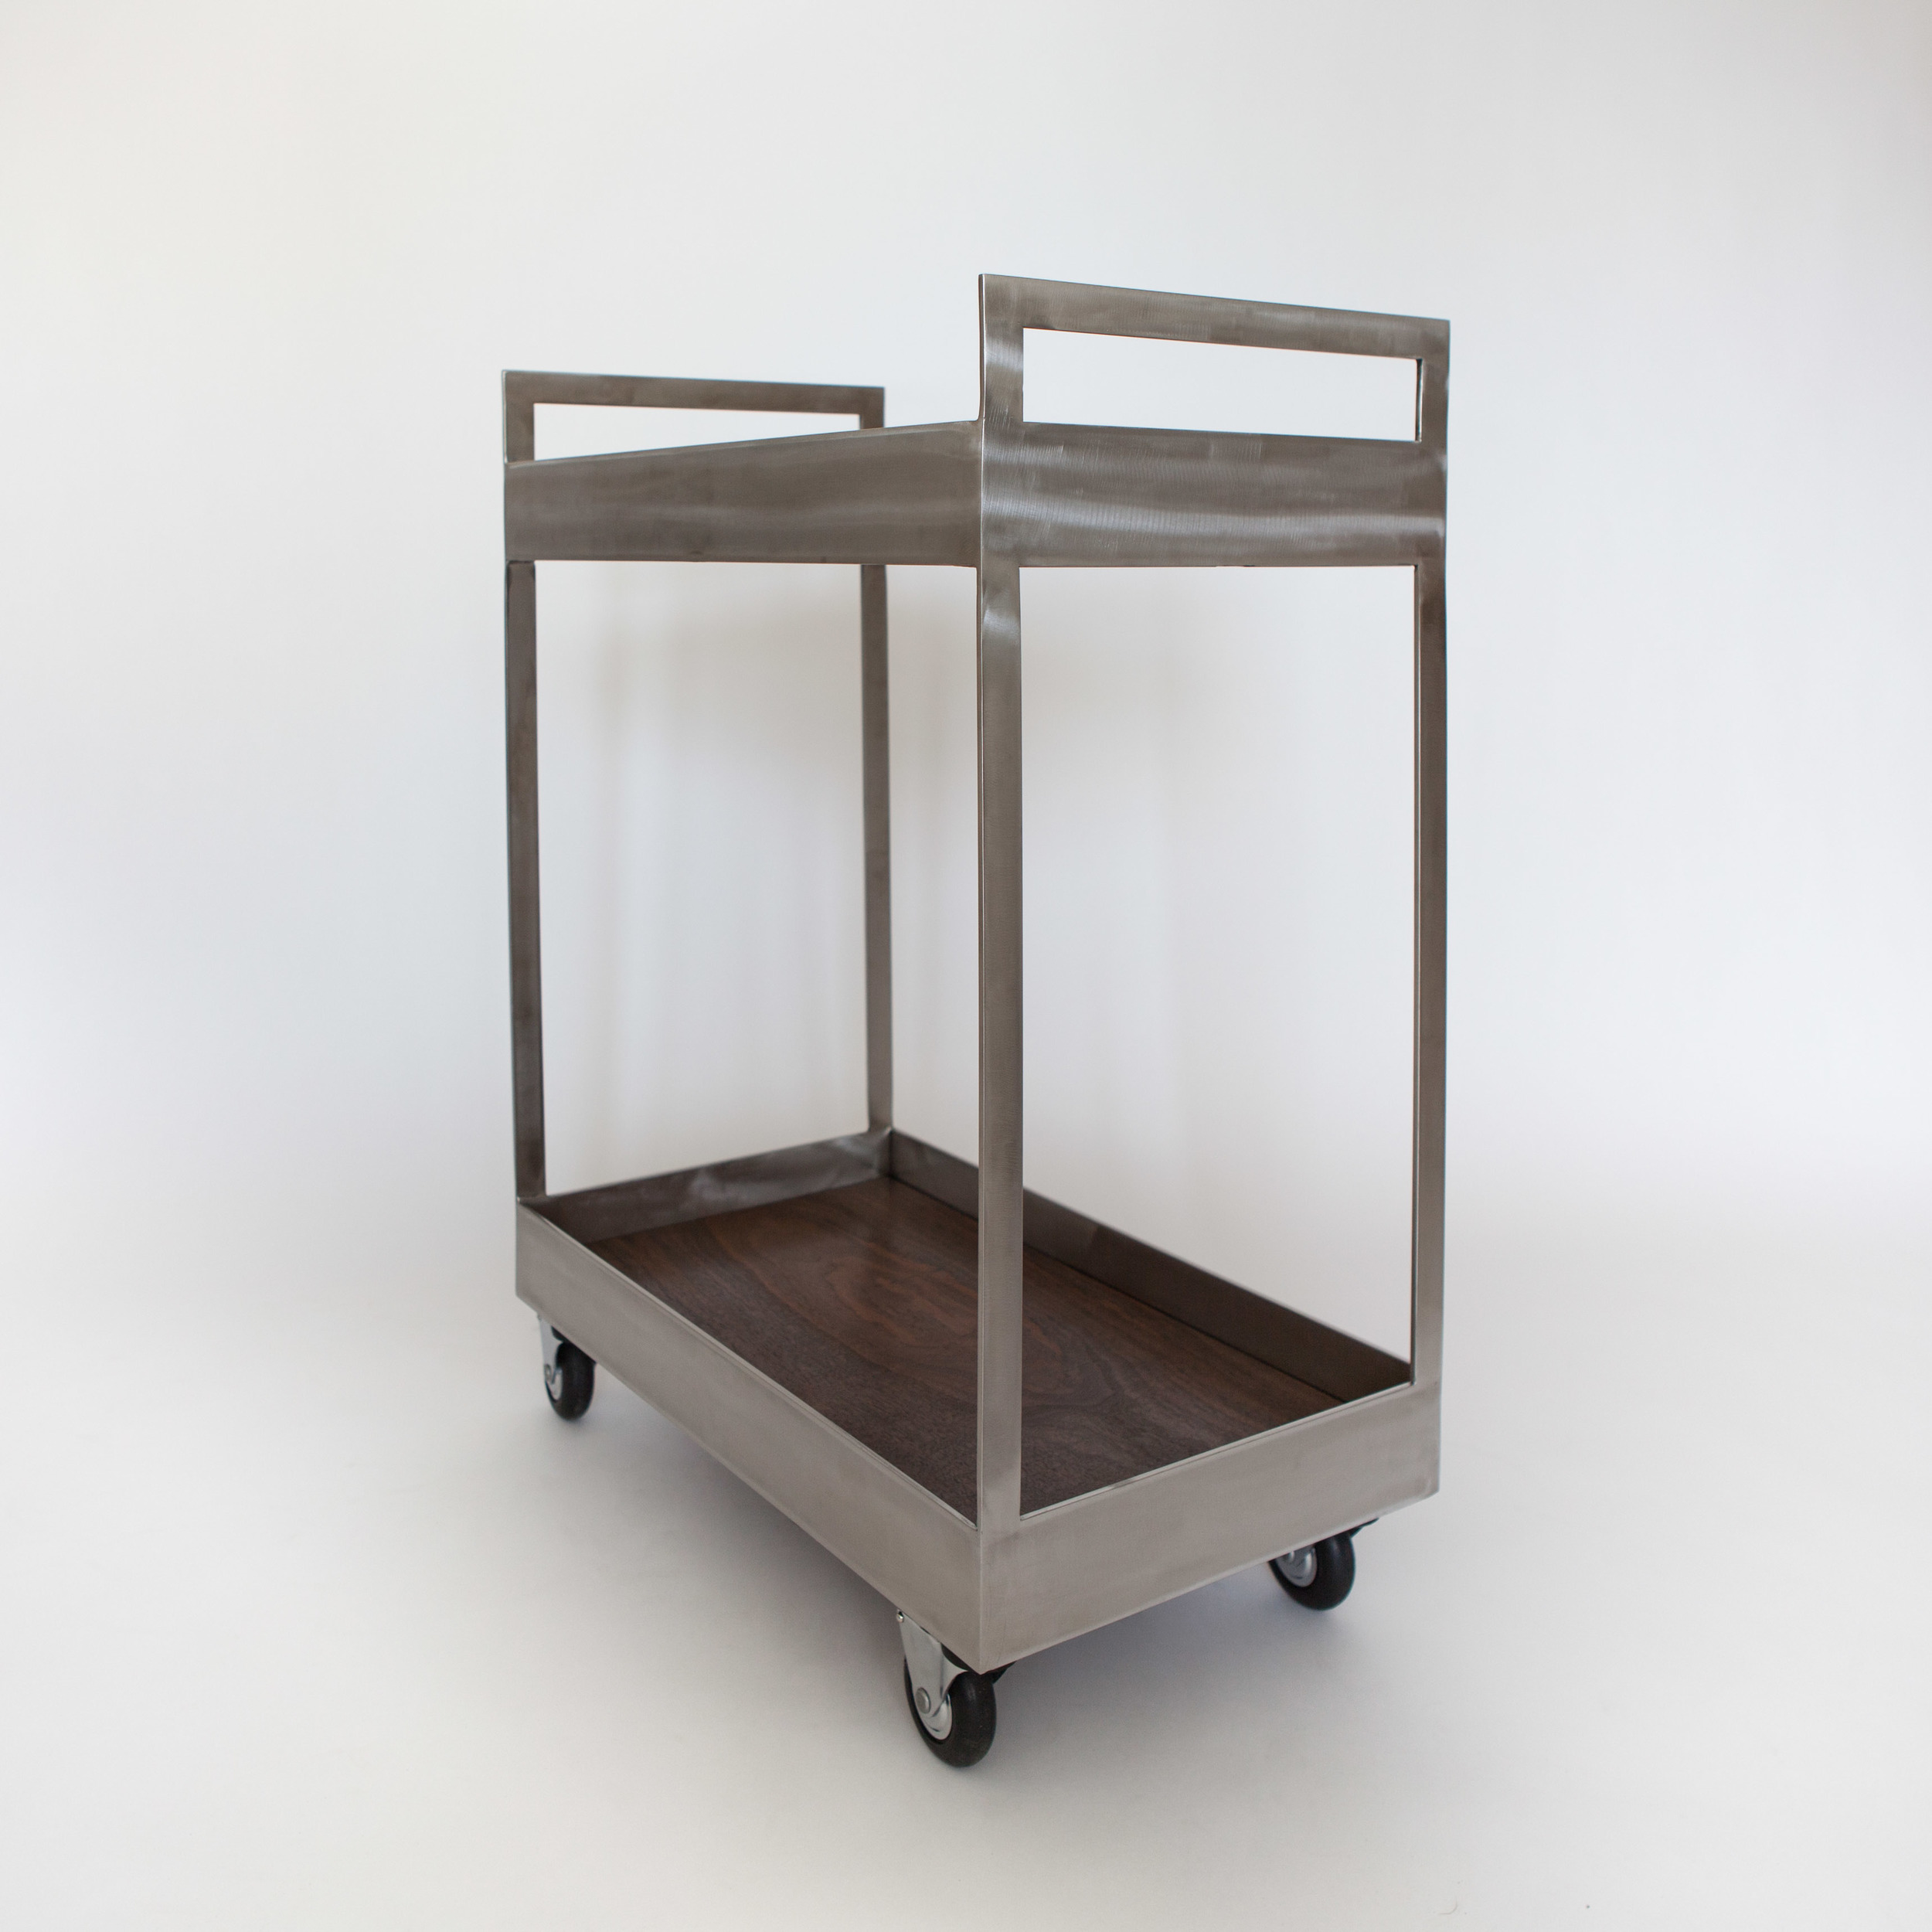
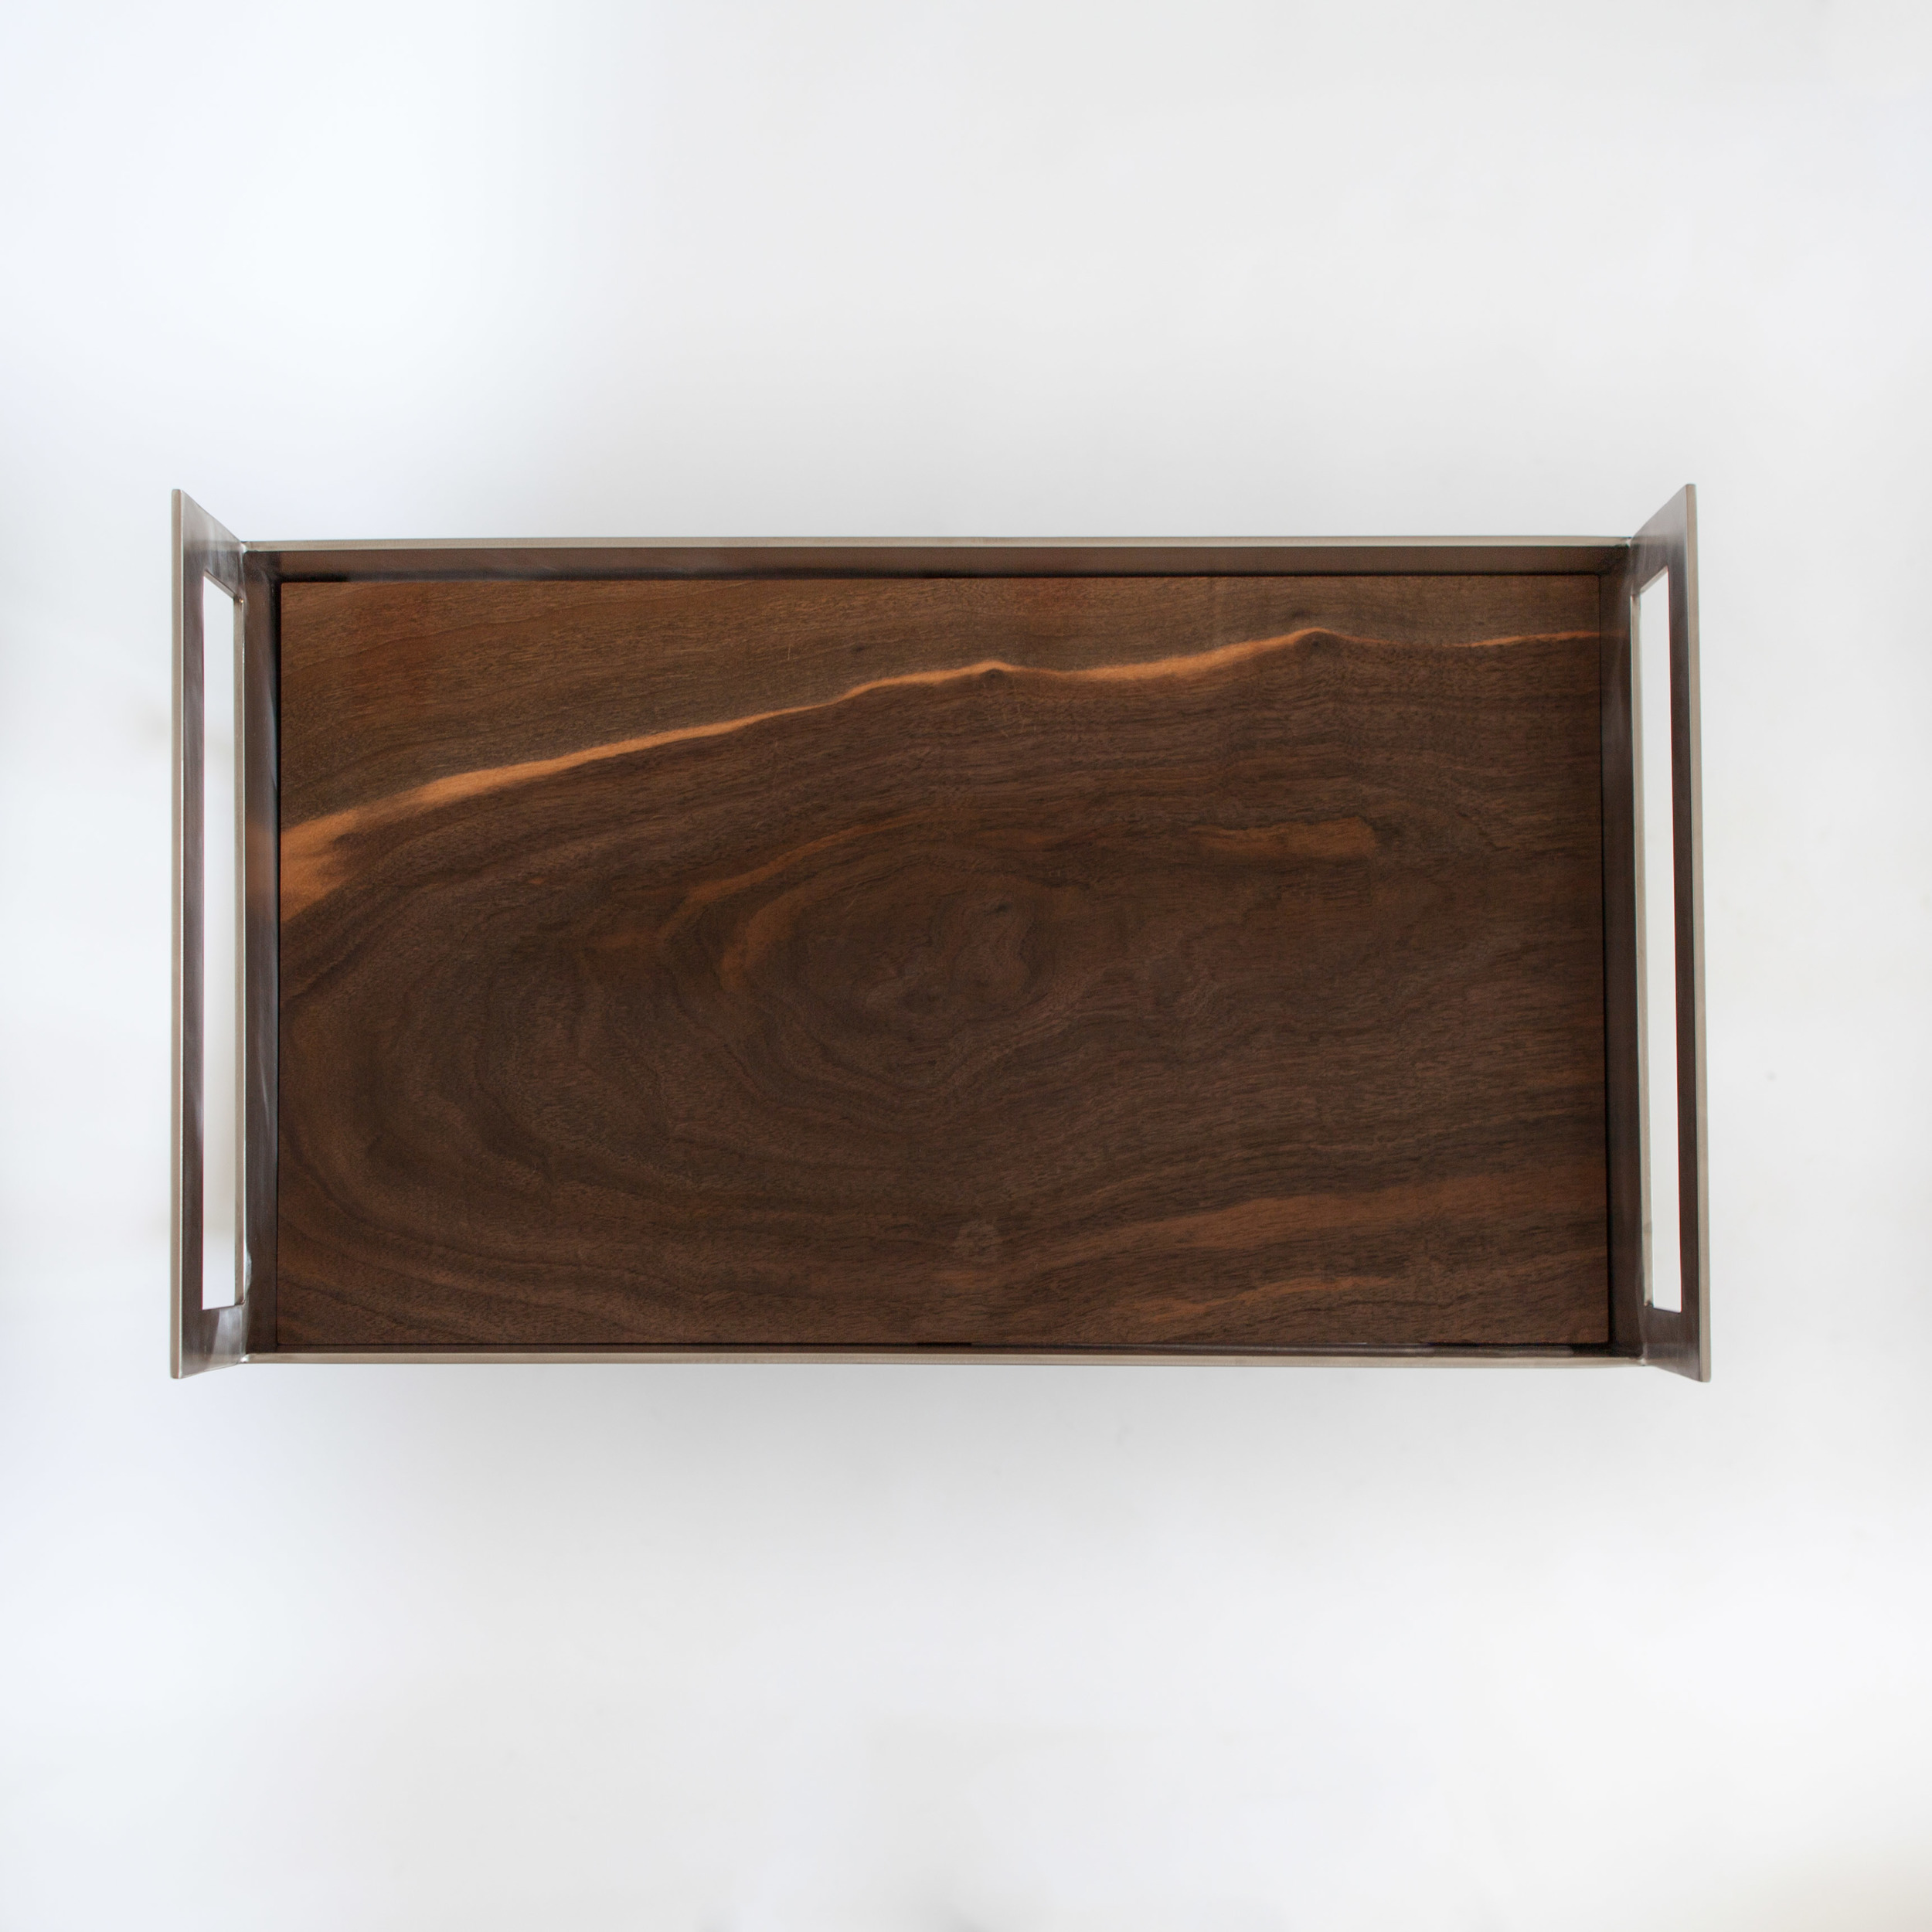
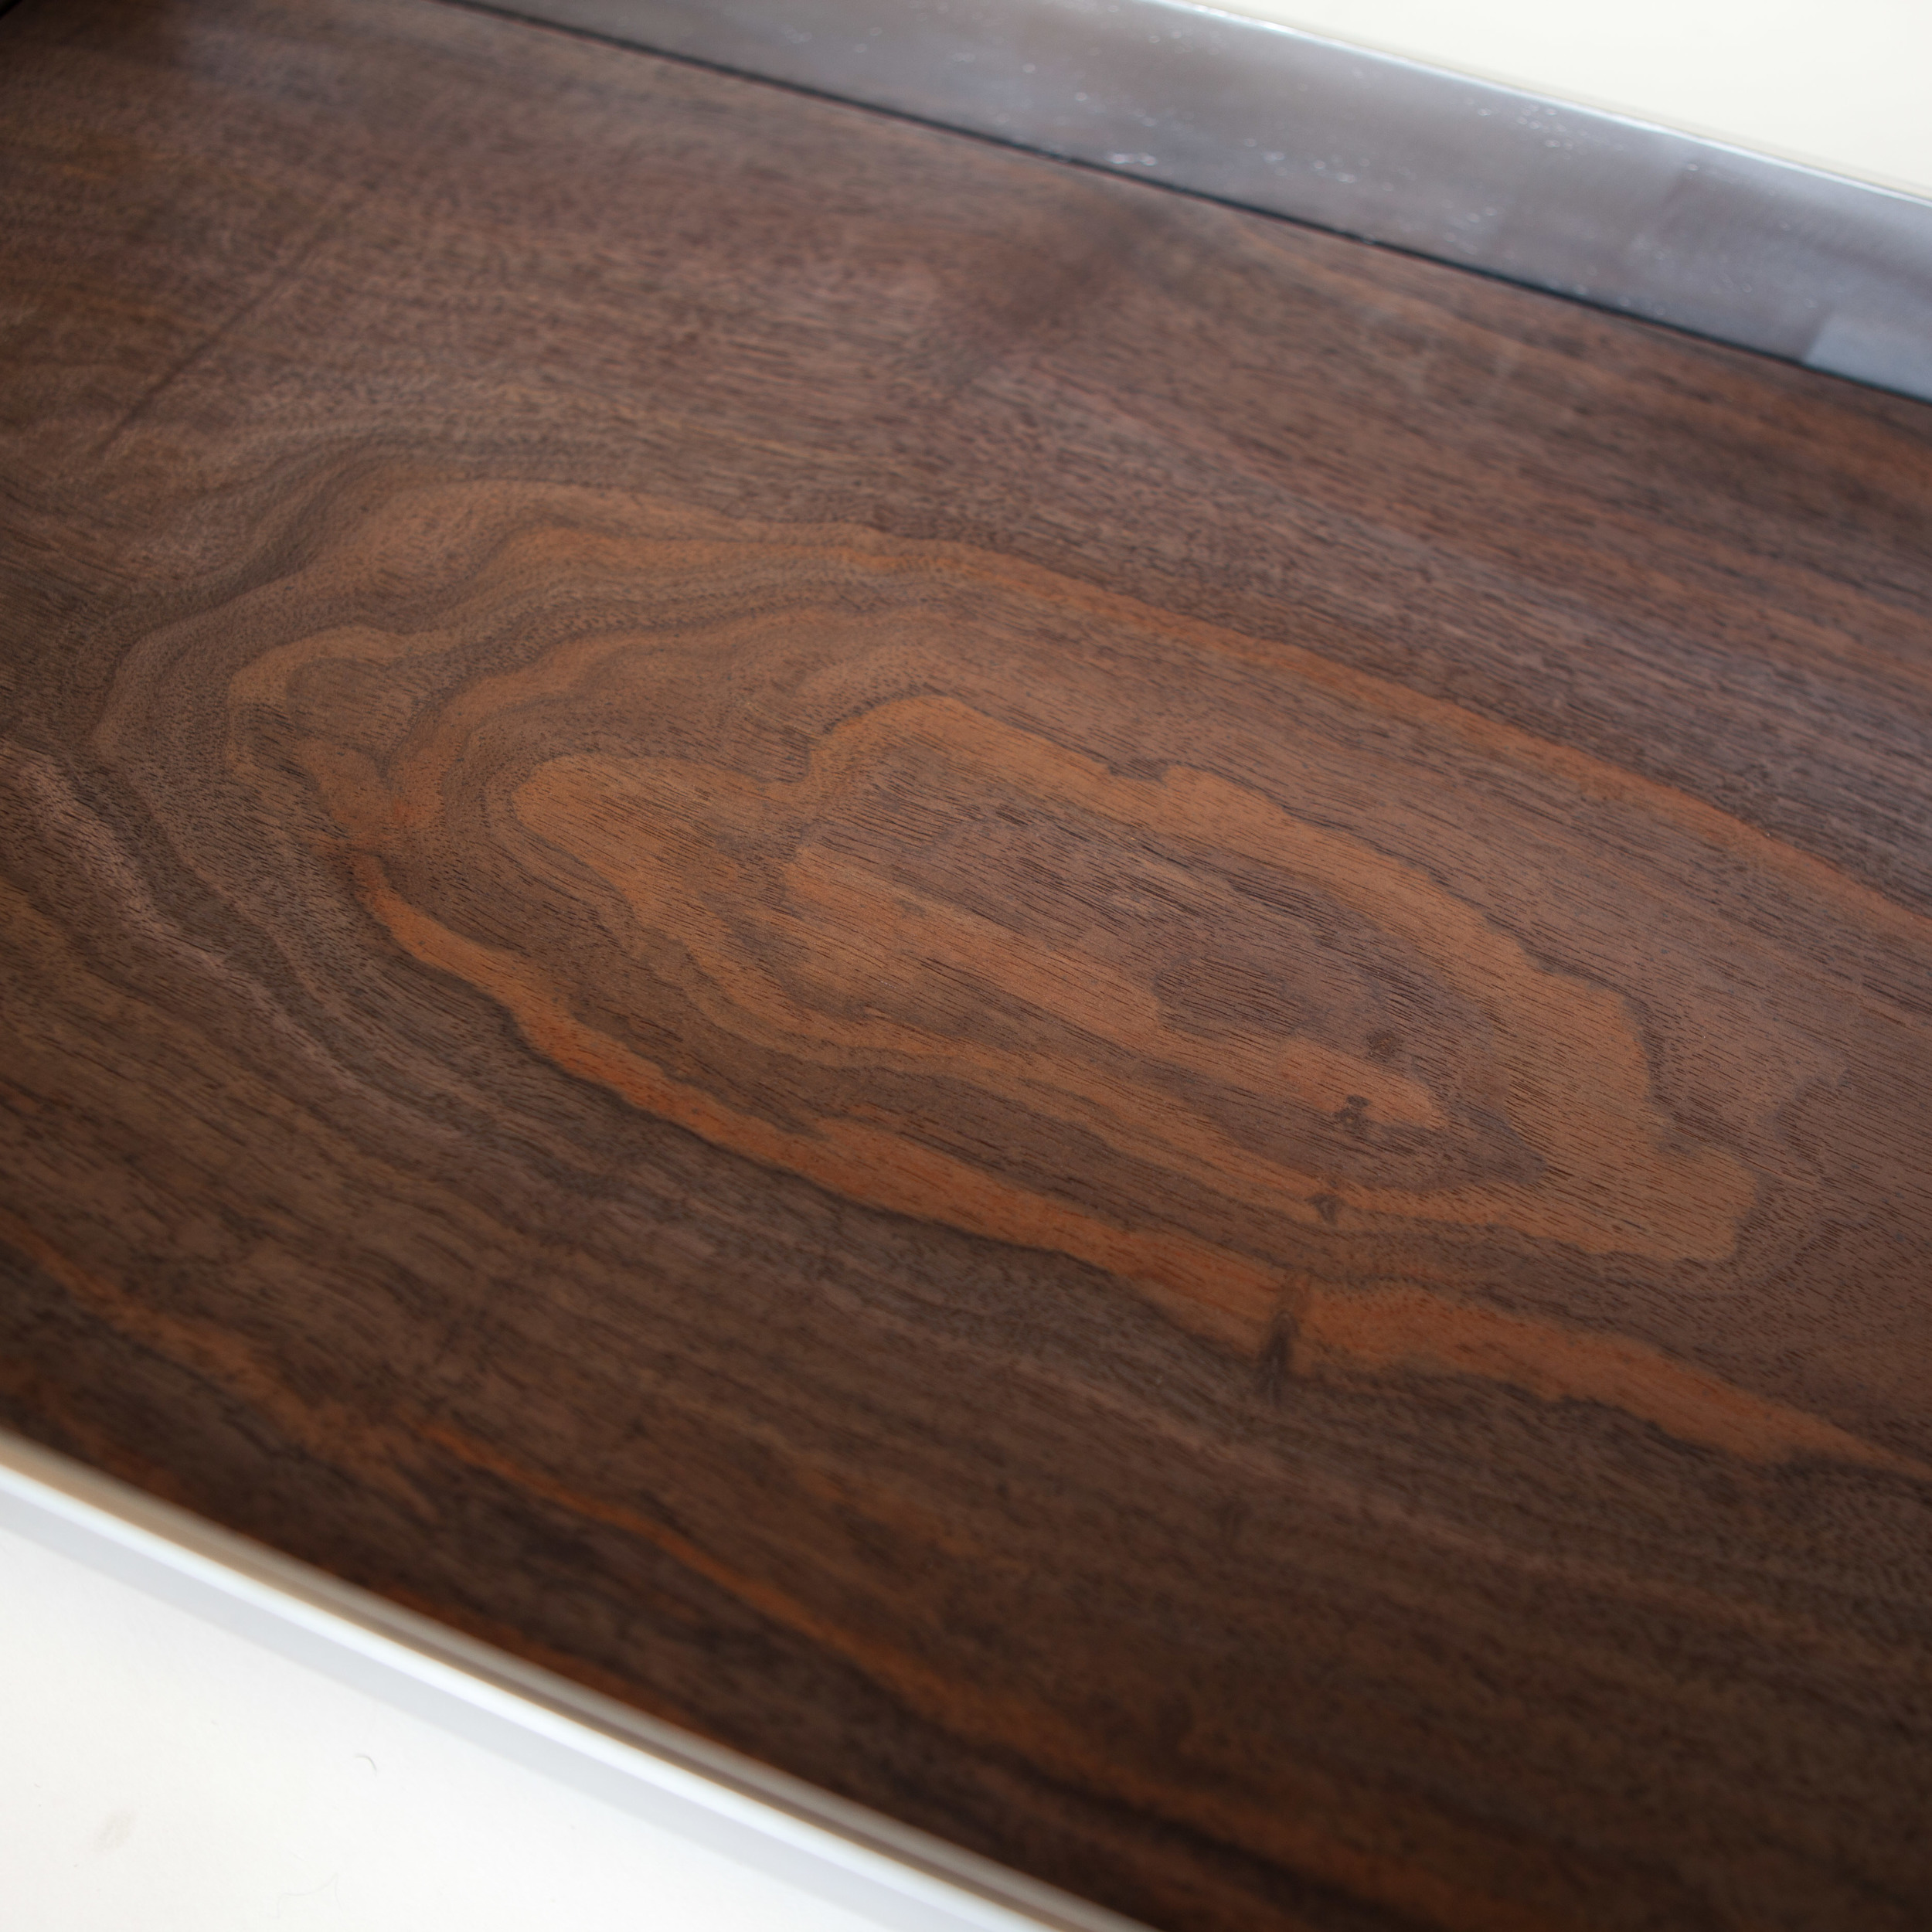
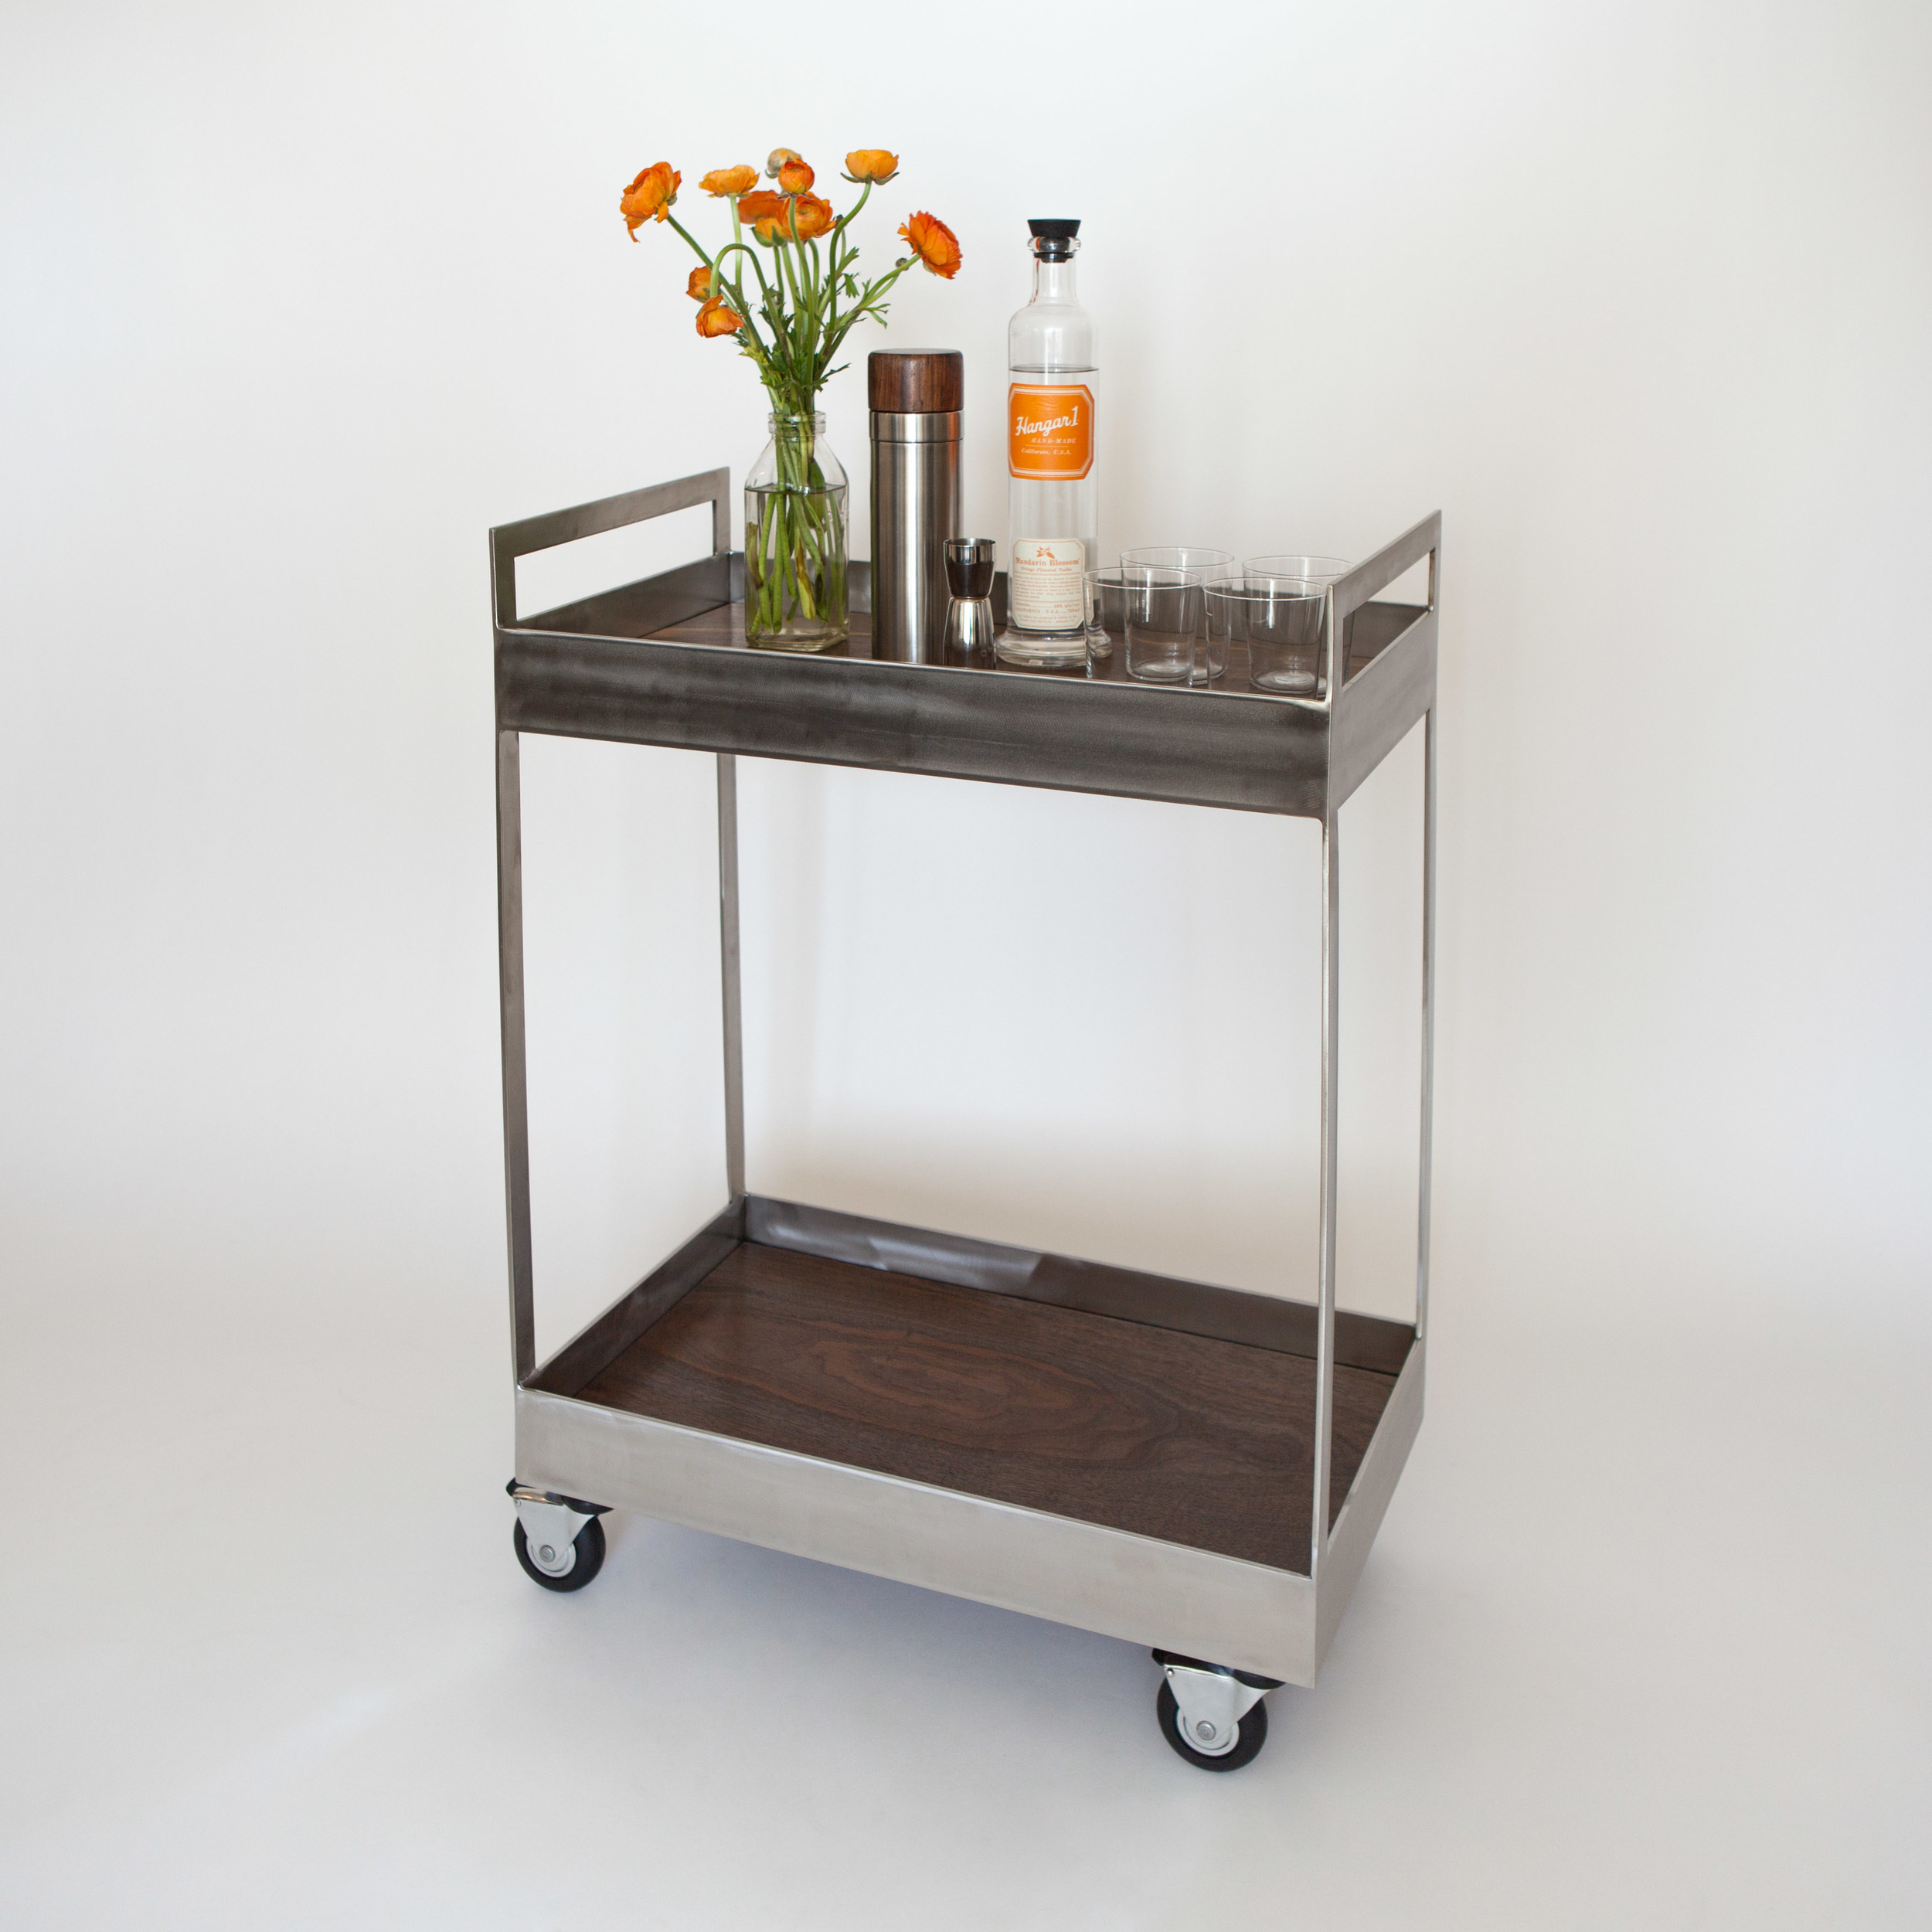
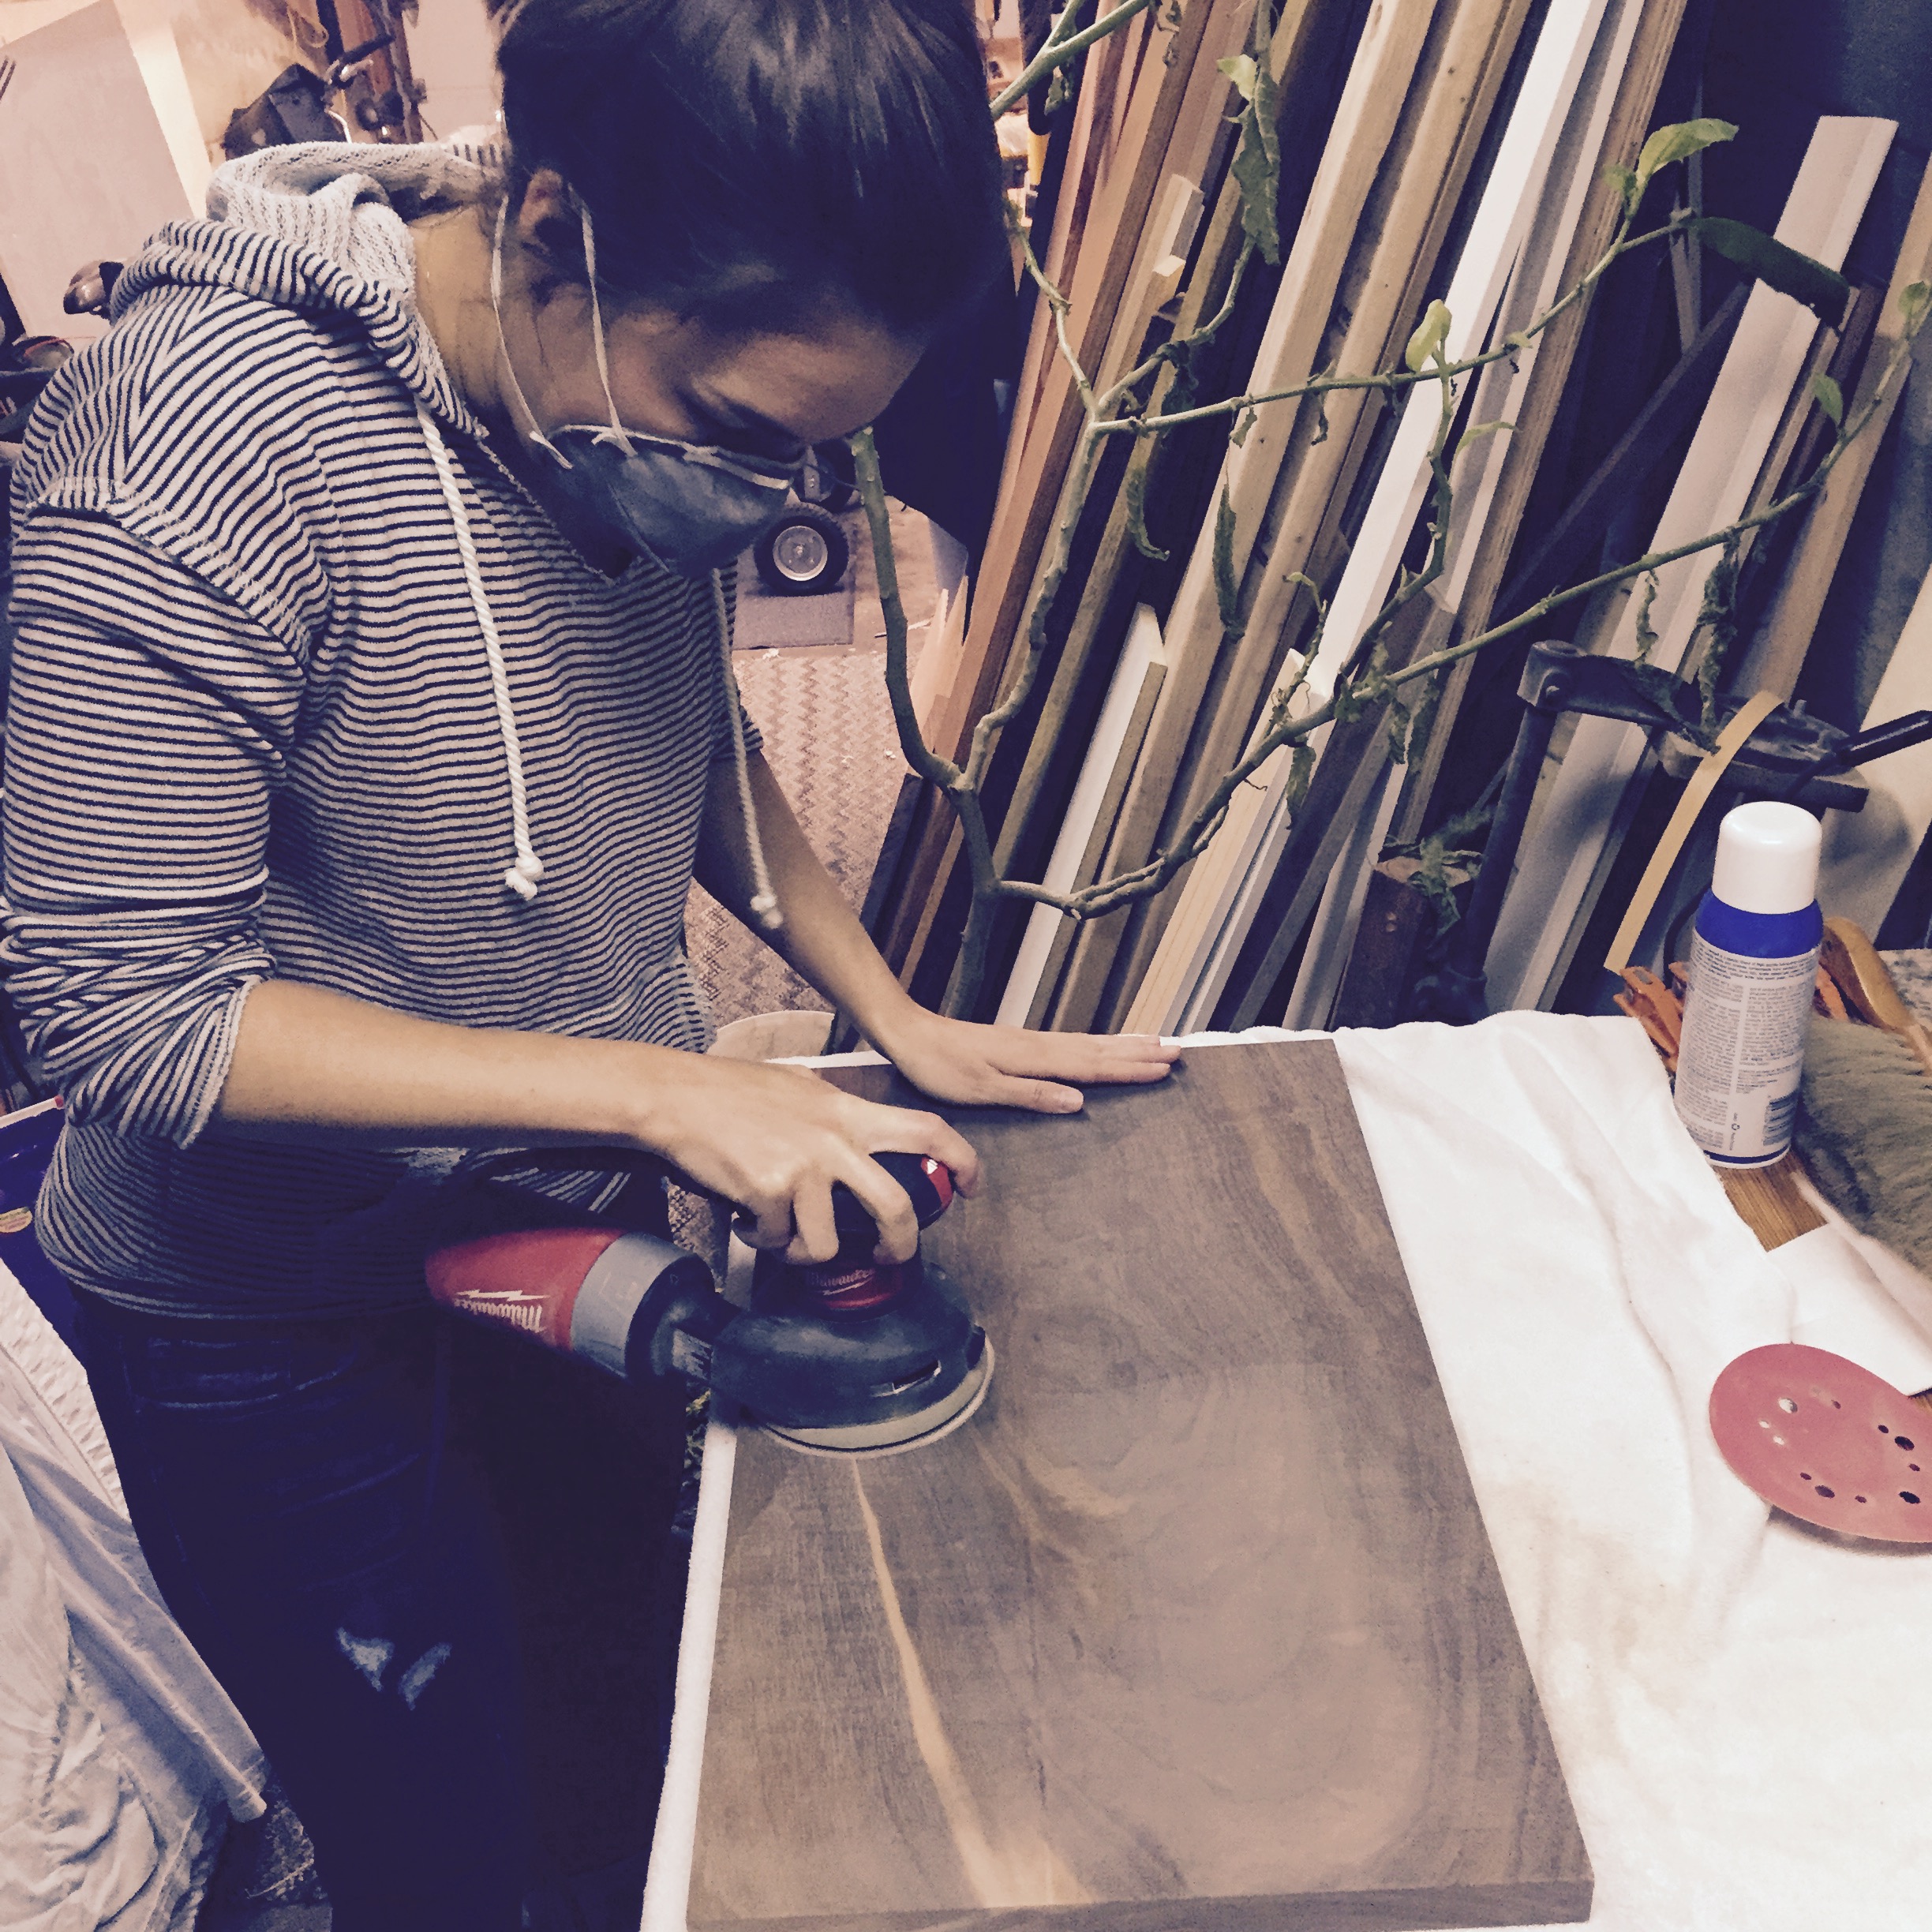
Caty hunted down a gorgeously marbled piece of solid Claro walnut while visiting family just outside of Jefferson, Oregon. Claro walnut is known for its striking figuring, often showing subtle intermixed colors of reds, browns, yellows, purples, and blacks in its grain. The piece chosen for the bar cart was no exception, with a lovely blond streak running through one of the pieces. Caty cut and sanded the walnut, increasing the grit until achieving a silky finish. In order to bring out the natural colors in the figuring of the wood, she finished the pieces with a few coats of ProFin, an oil-based finish -- no staining for this beauty!
Meanwhile, I picked up a some stainless steel flatbar from my favorite woman-owned steel supplier. I cut the bar down to smaller lengths, ground down the ends a bit to create channels for welding, and then TIG welded the frame together. I sanded the entire surface with an angle grinder to create a lightly-textured satin finish. Finally, I welded the locking stainless steel casters to the frame, careful to not melt the rubber wheels.
After working on our respective pieces, Caty and I met up for dinner to join the metal and the wood. It was magical seeing it finally come together!
Here are some behind-the-scenes photos Caty and I took throughout the process of designing and building the cart:


Caty and I had so much fun making the Claro Cart together, and we hope you like it. It's available for purchase in the Elektra Steel shop for $1800. It will also be on display at The Crucible's Spring Open House this Saturday, April 11, 2015, from 12-5pm. Cheers!
Geo Bowl Instructable
I just published my very first Instructable! I did a super detailed instructional write-up of how I made those geo bowls, complete with dozens of process photos and videos. Unlike the blog post I wrote a few weeks ago about the bowls, the Instructable is geared at my fellow metalworkers -- I nerd out about TIG filler rod thickness, how to weld without clamps or vice grips, and the advantages to waxing stainless steel.
Are you a metalworker? Check out the Instructable -- I'm curious to hear your feedback, questions, and tips!

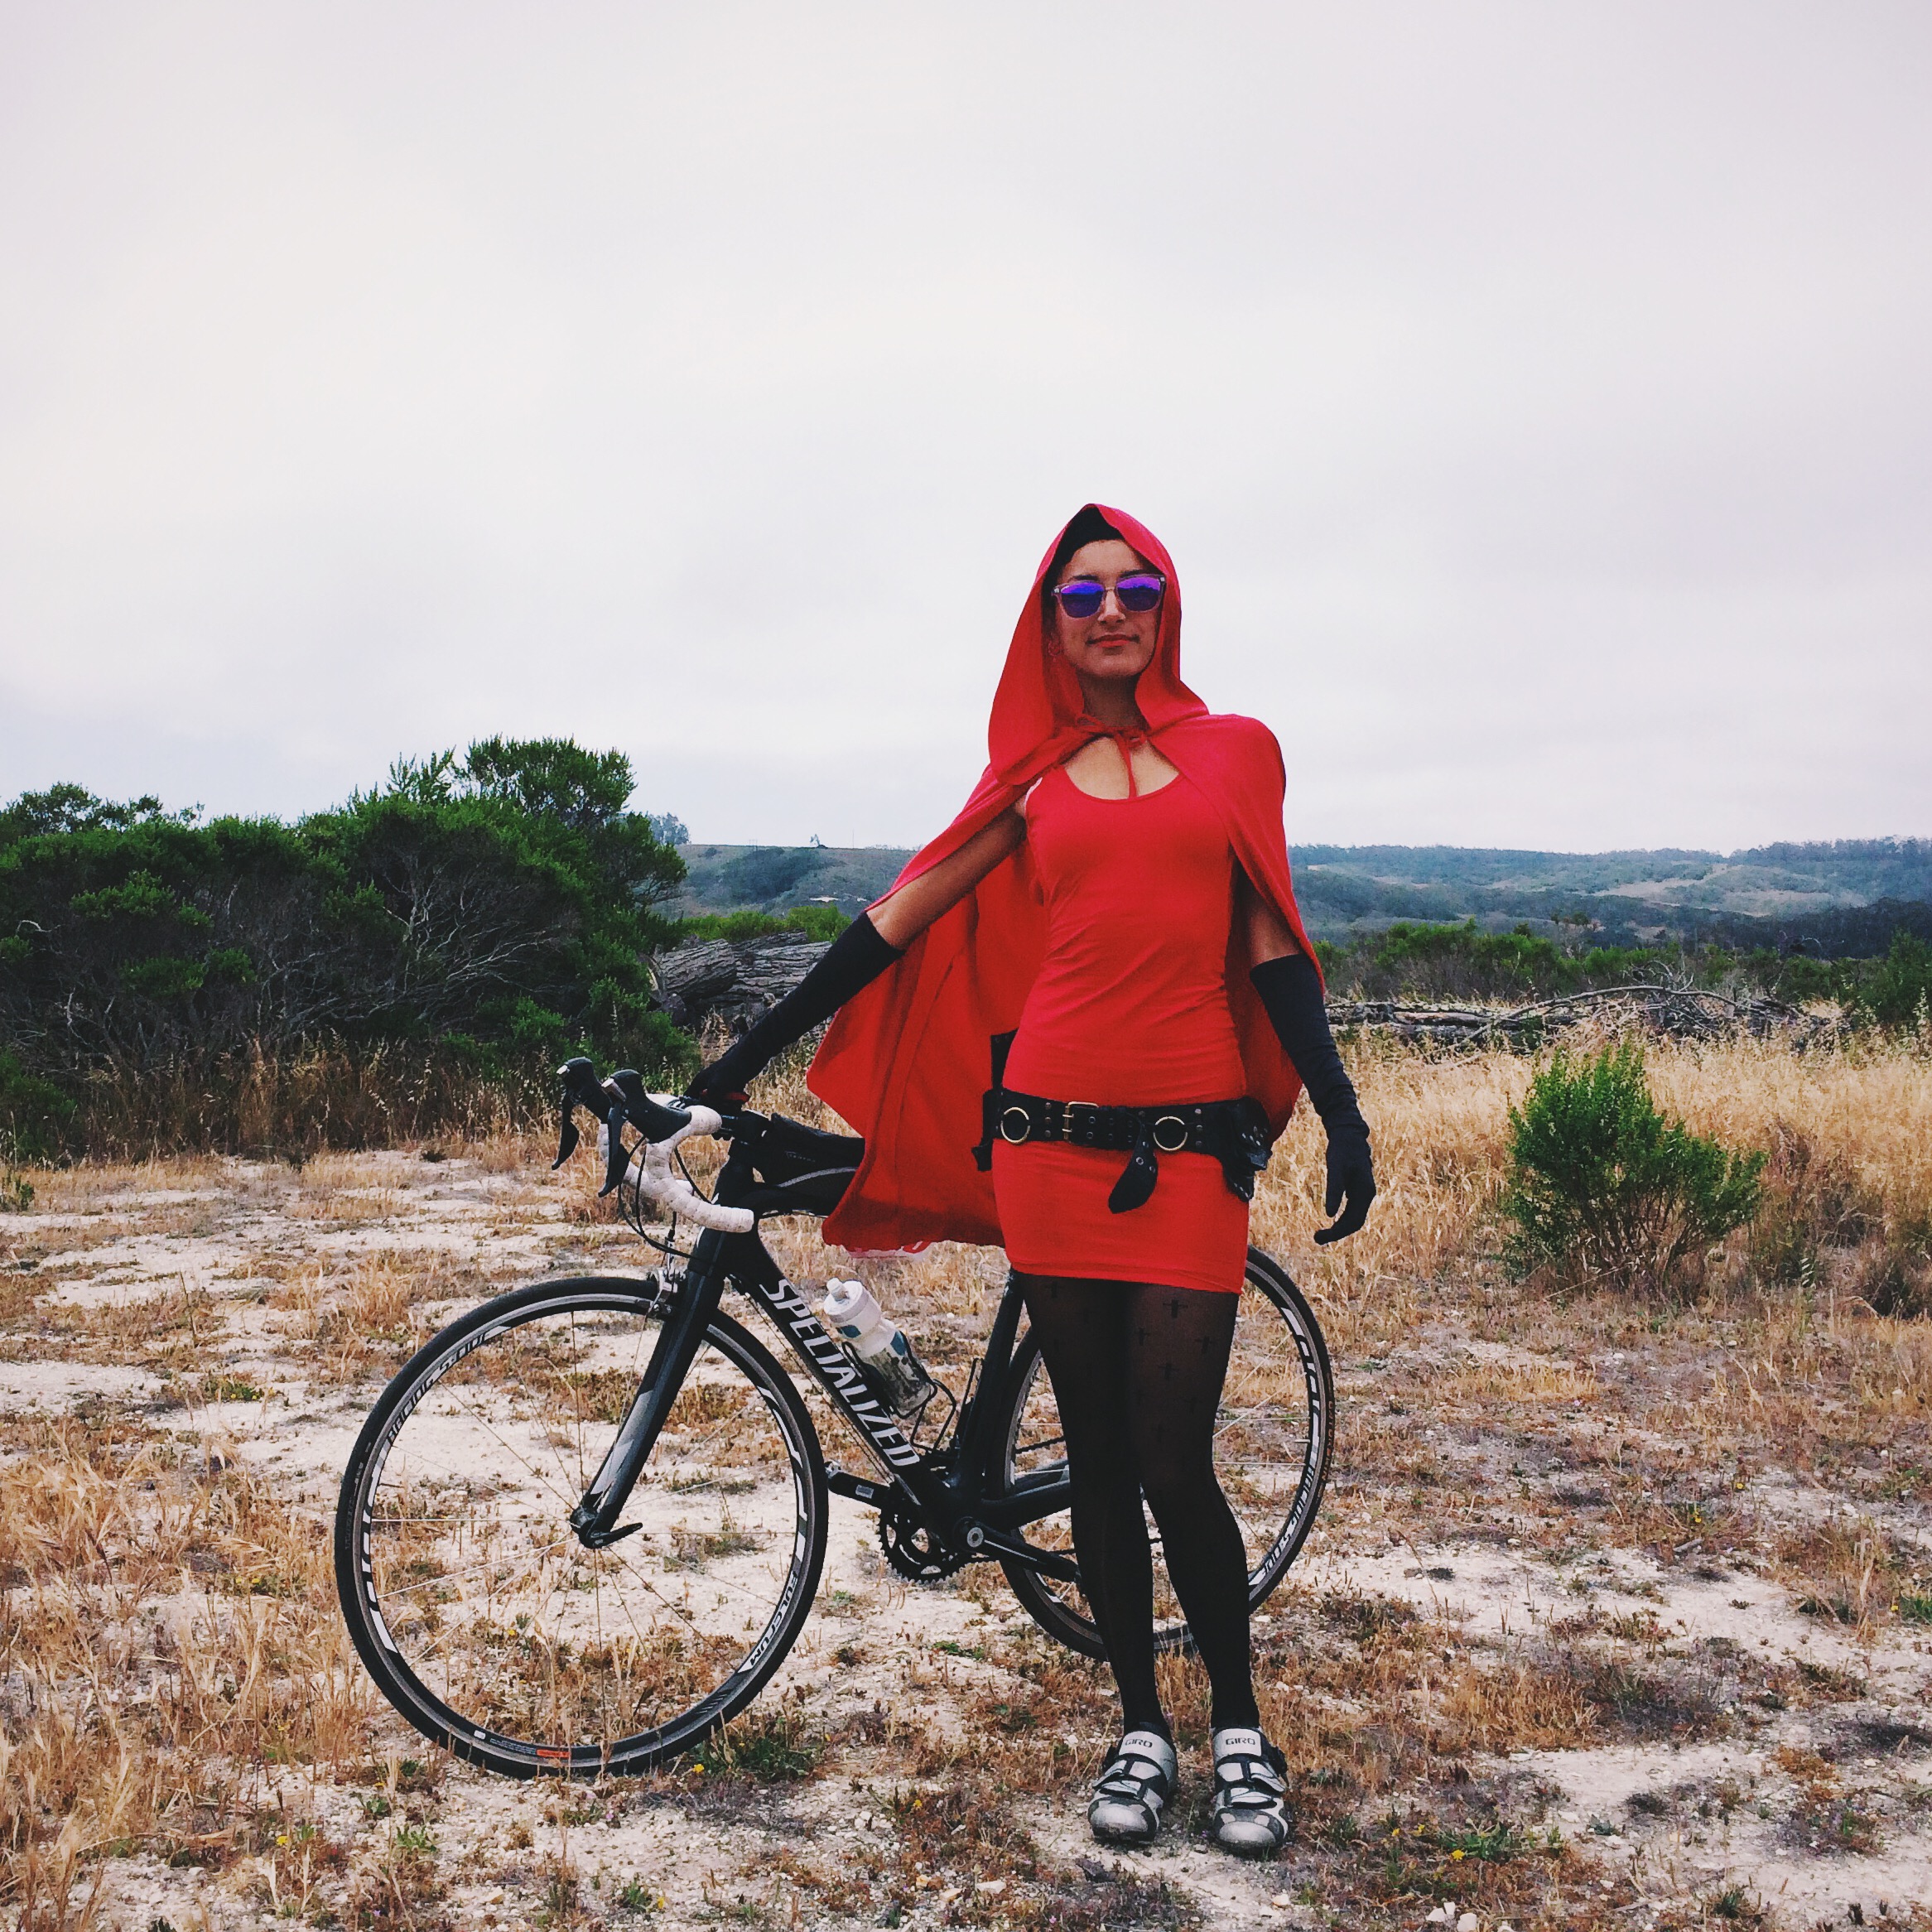
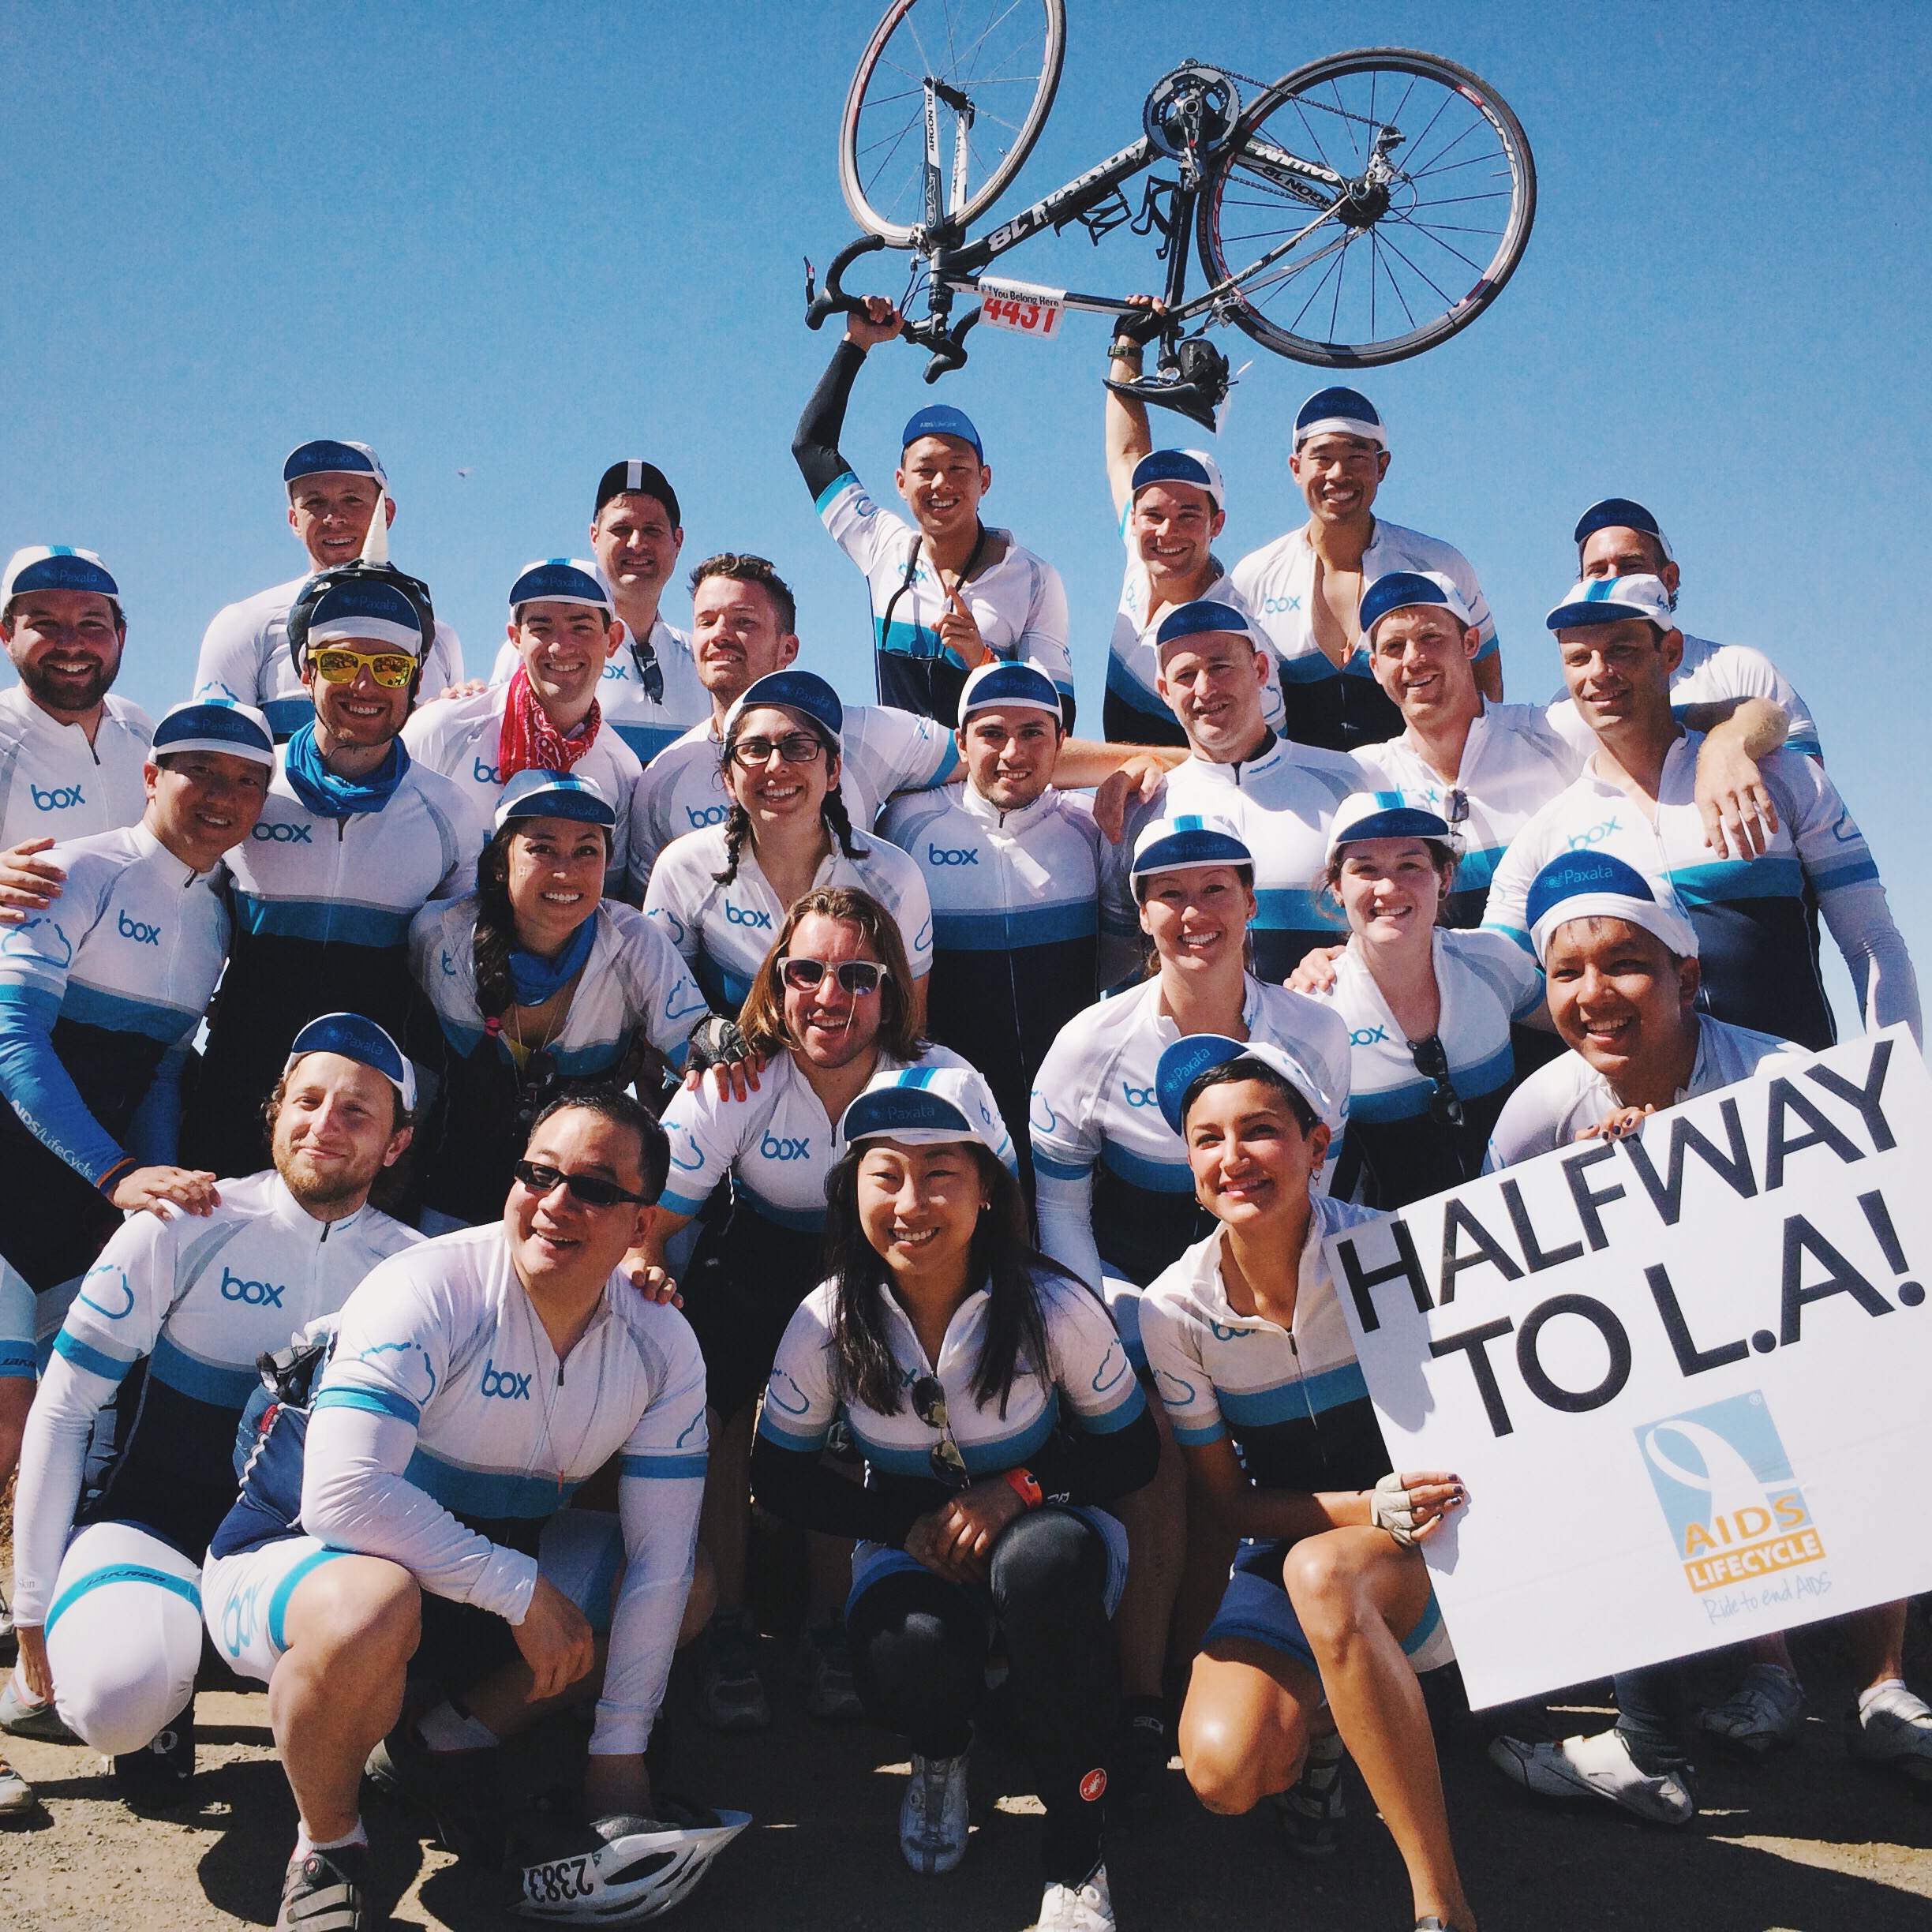
AIDS/LifeCycle Charity Raffle
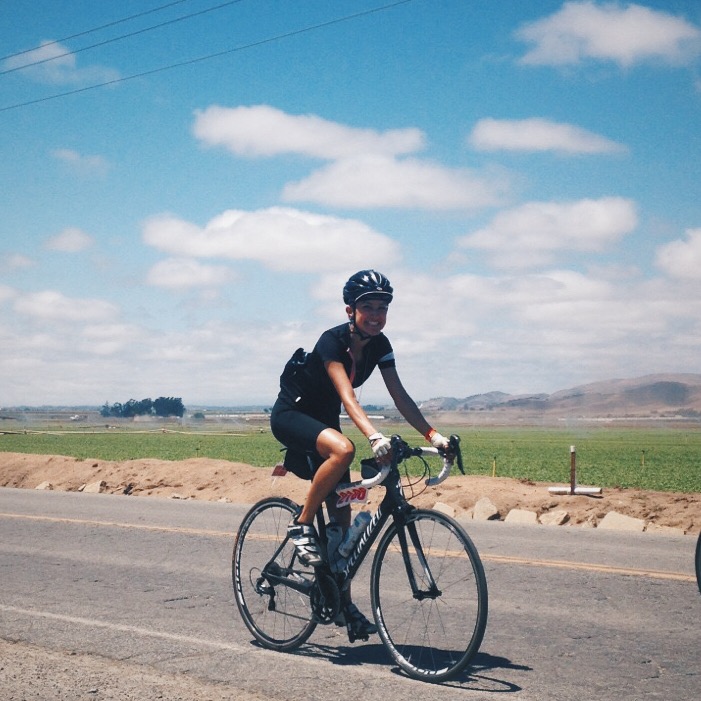
I'm excited to announce my AIDS/LifeCycle Charity Raffle! I'm going to raffle off four handmade Elektra Steel pieces in order to raise $3,000 for the San Francisco AIDS Foundation by May 30th. Here's how it works: for every $20 that you donate toward the cause, you will earn one ticket in the raffle. The raffle will be capped at exactly 150 tickets. As soon as I've sold the last ticket, I'll draw four winners and ship the prizes! (And then I'll bike 545 miles from SF to LA, but more on that later.) Ready to get started? Donate now!
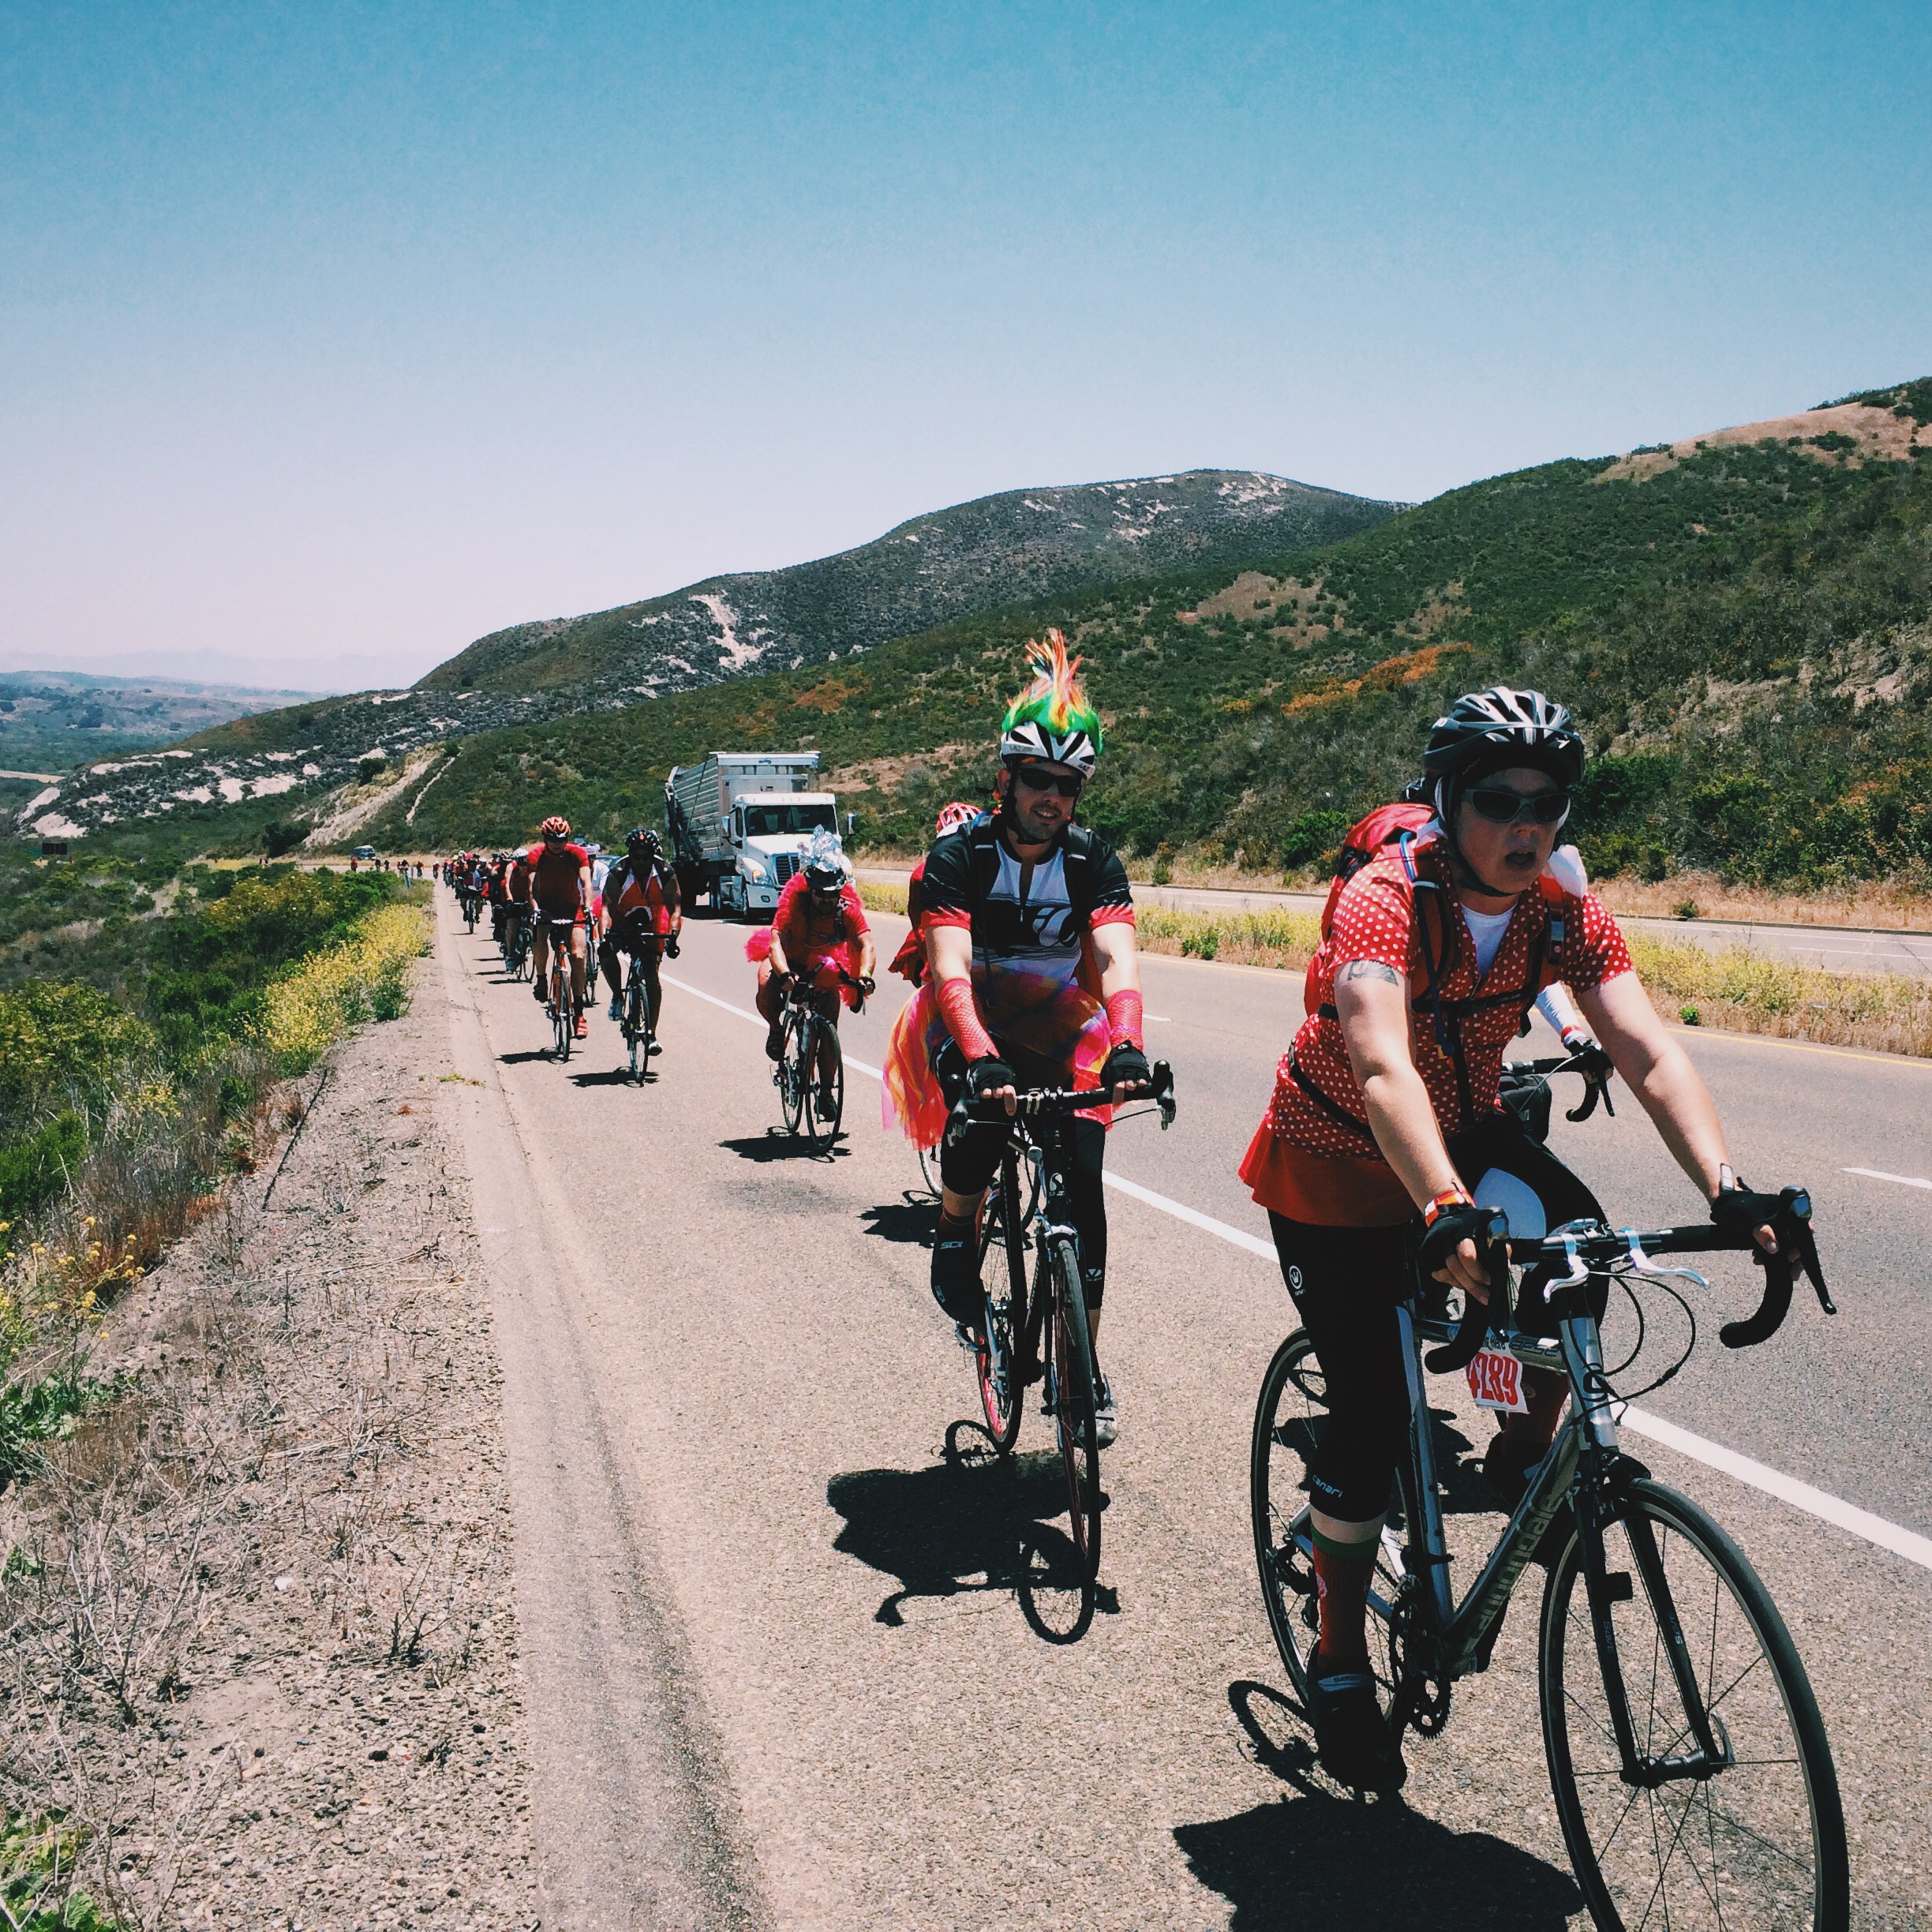
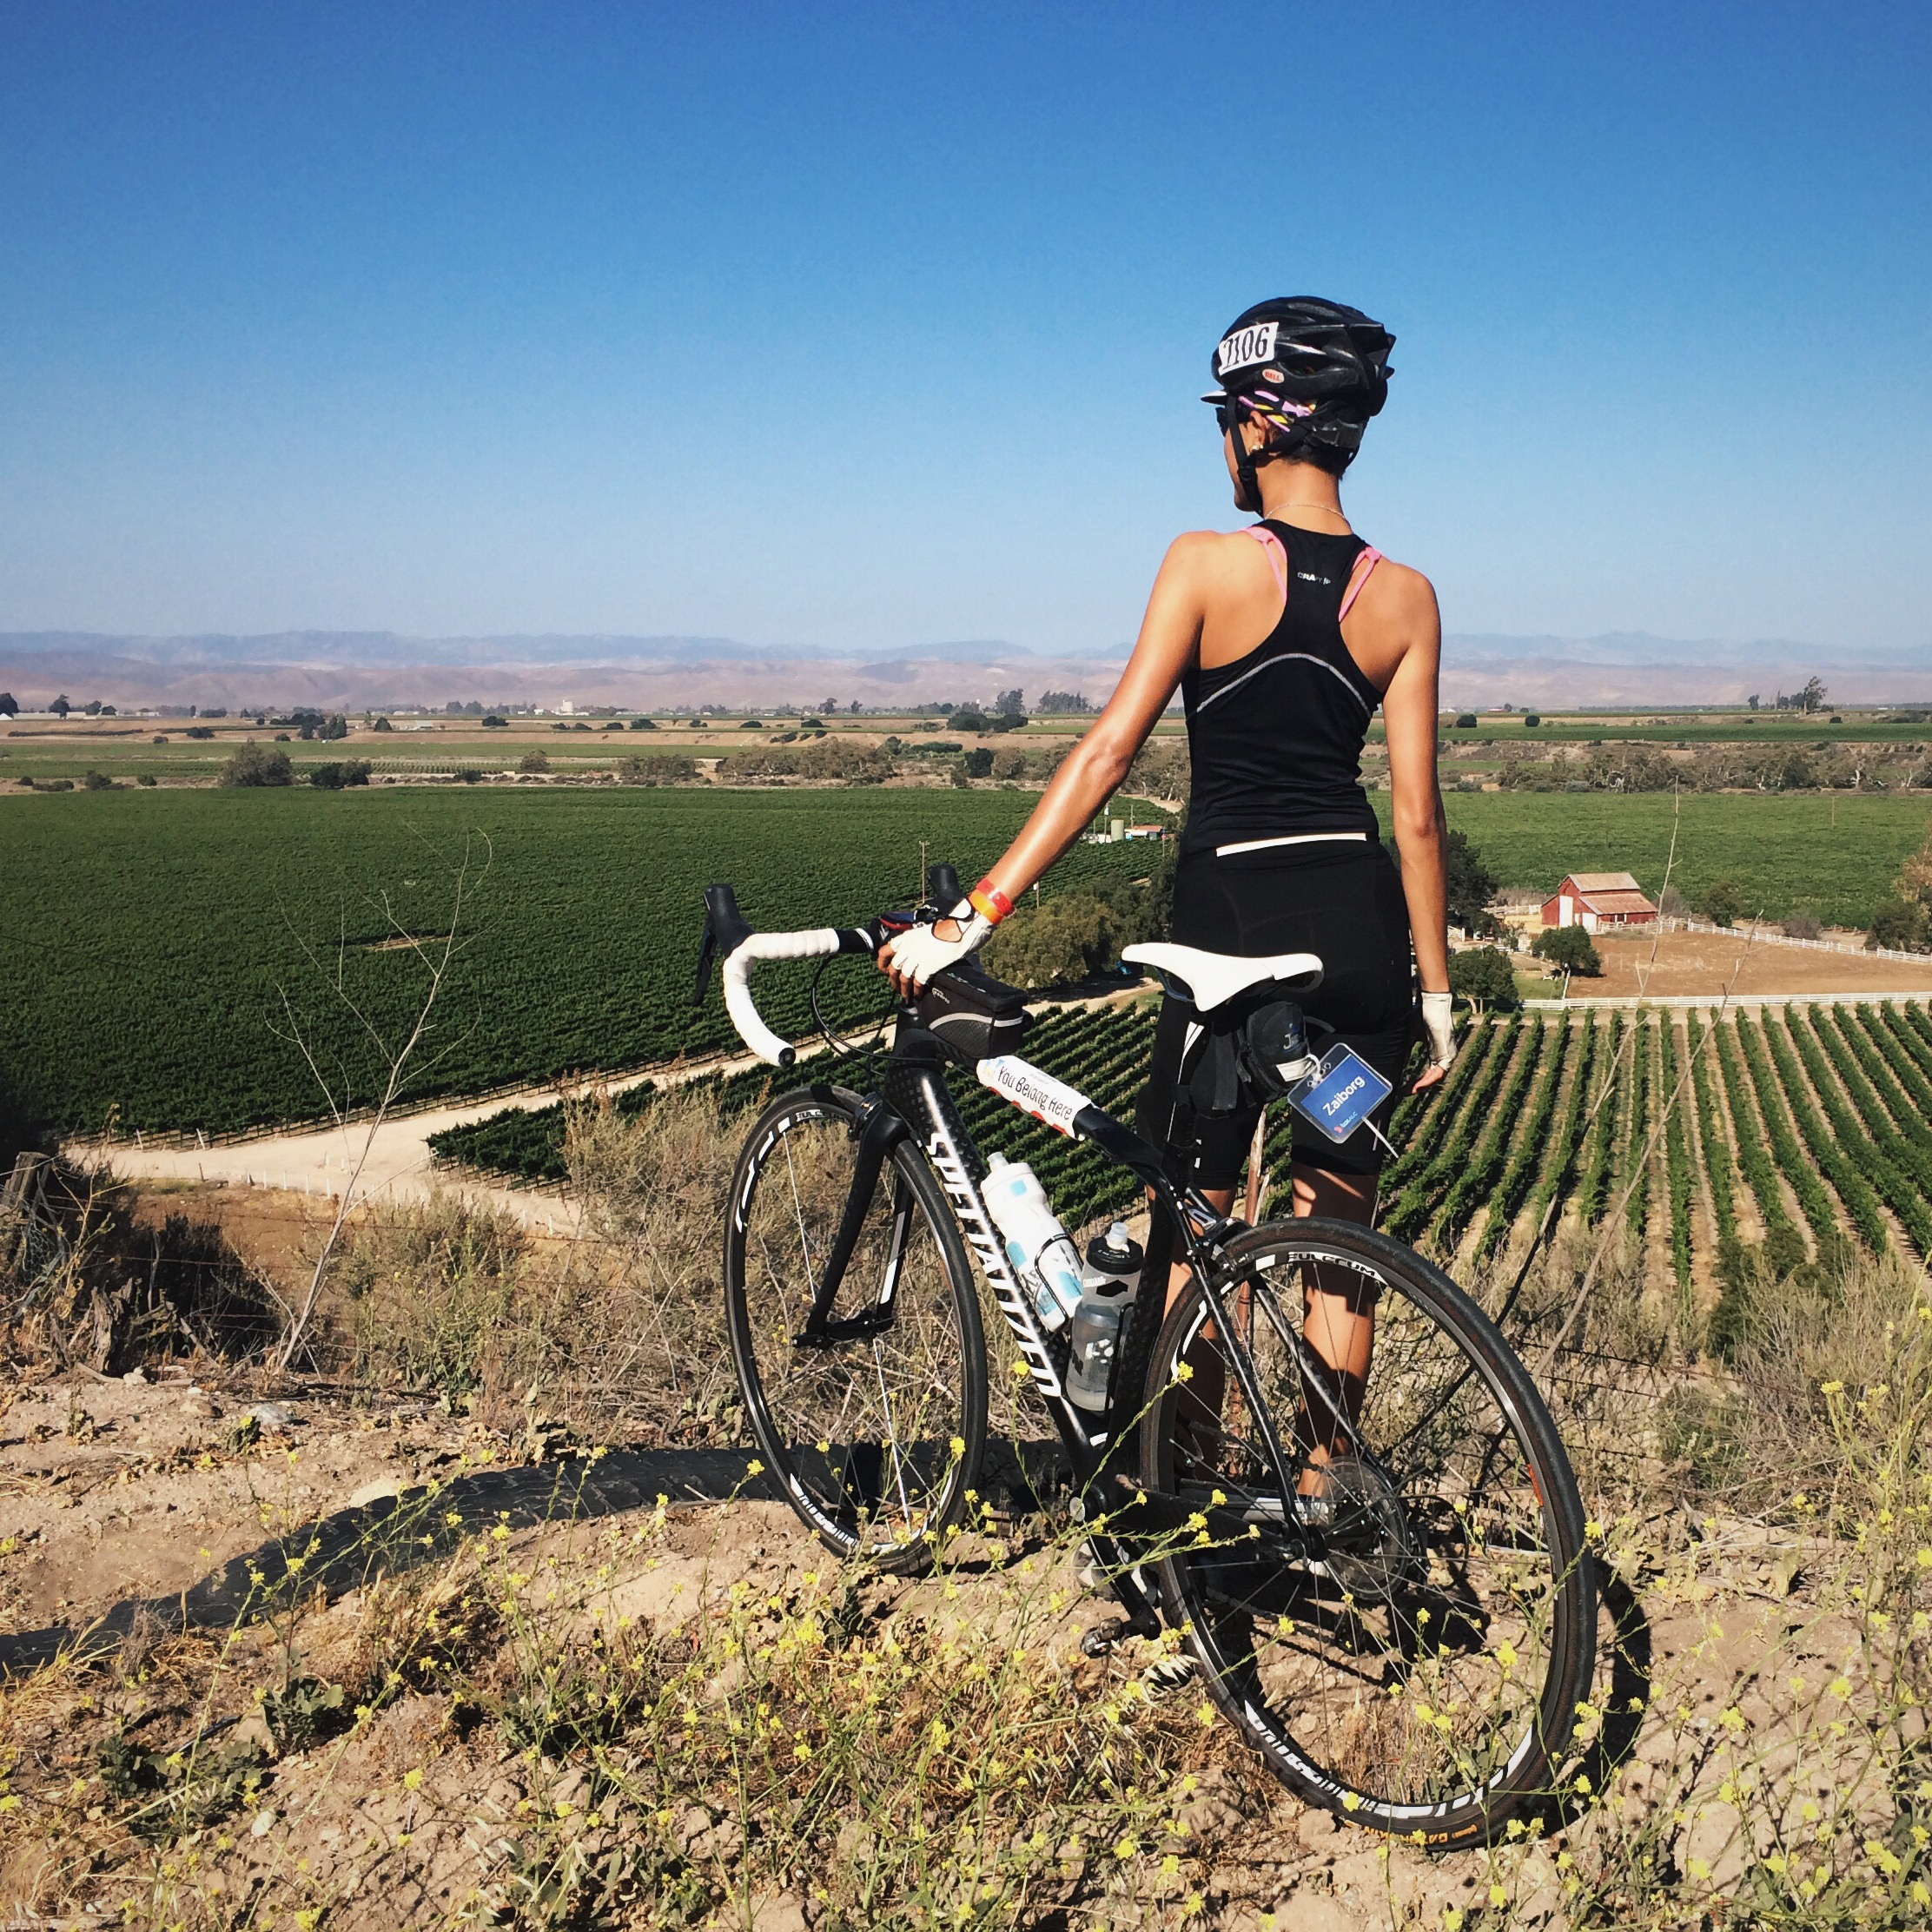
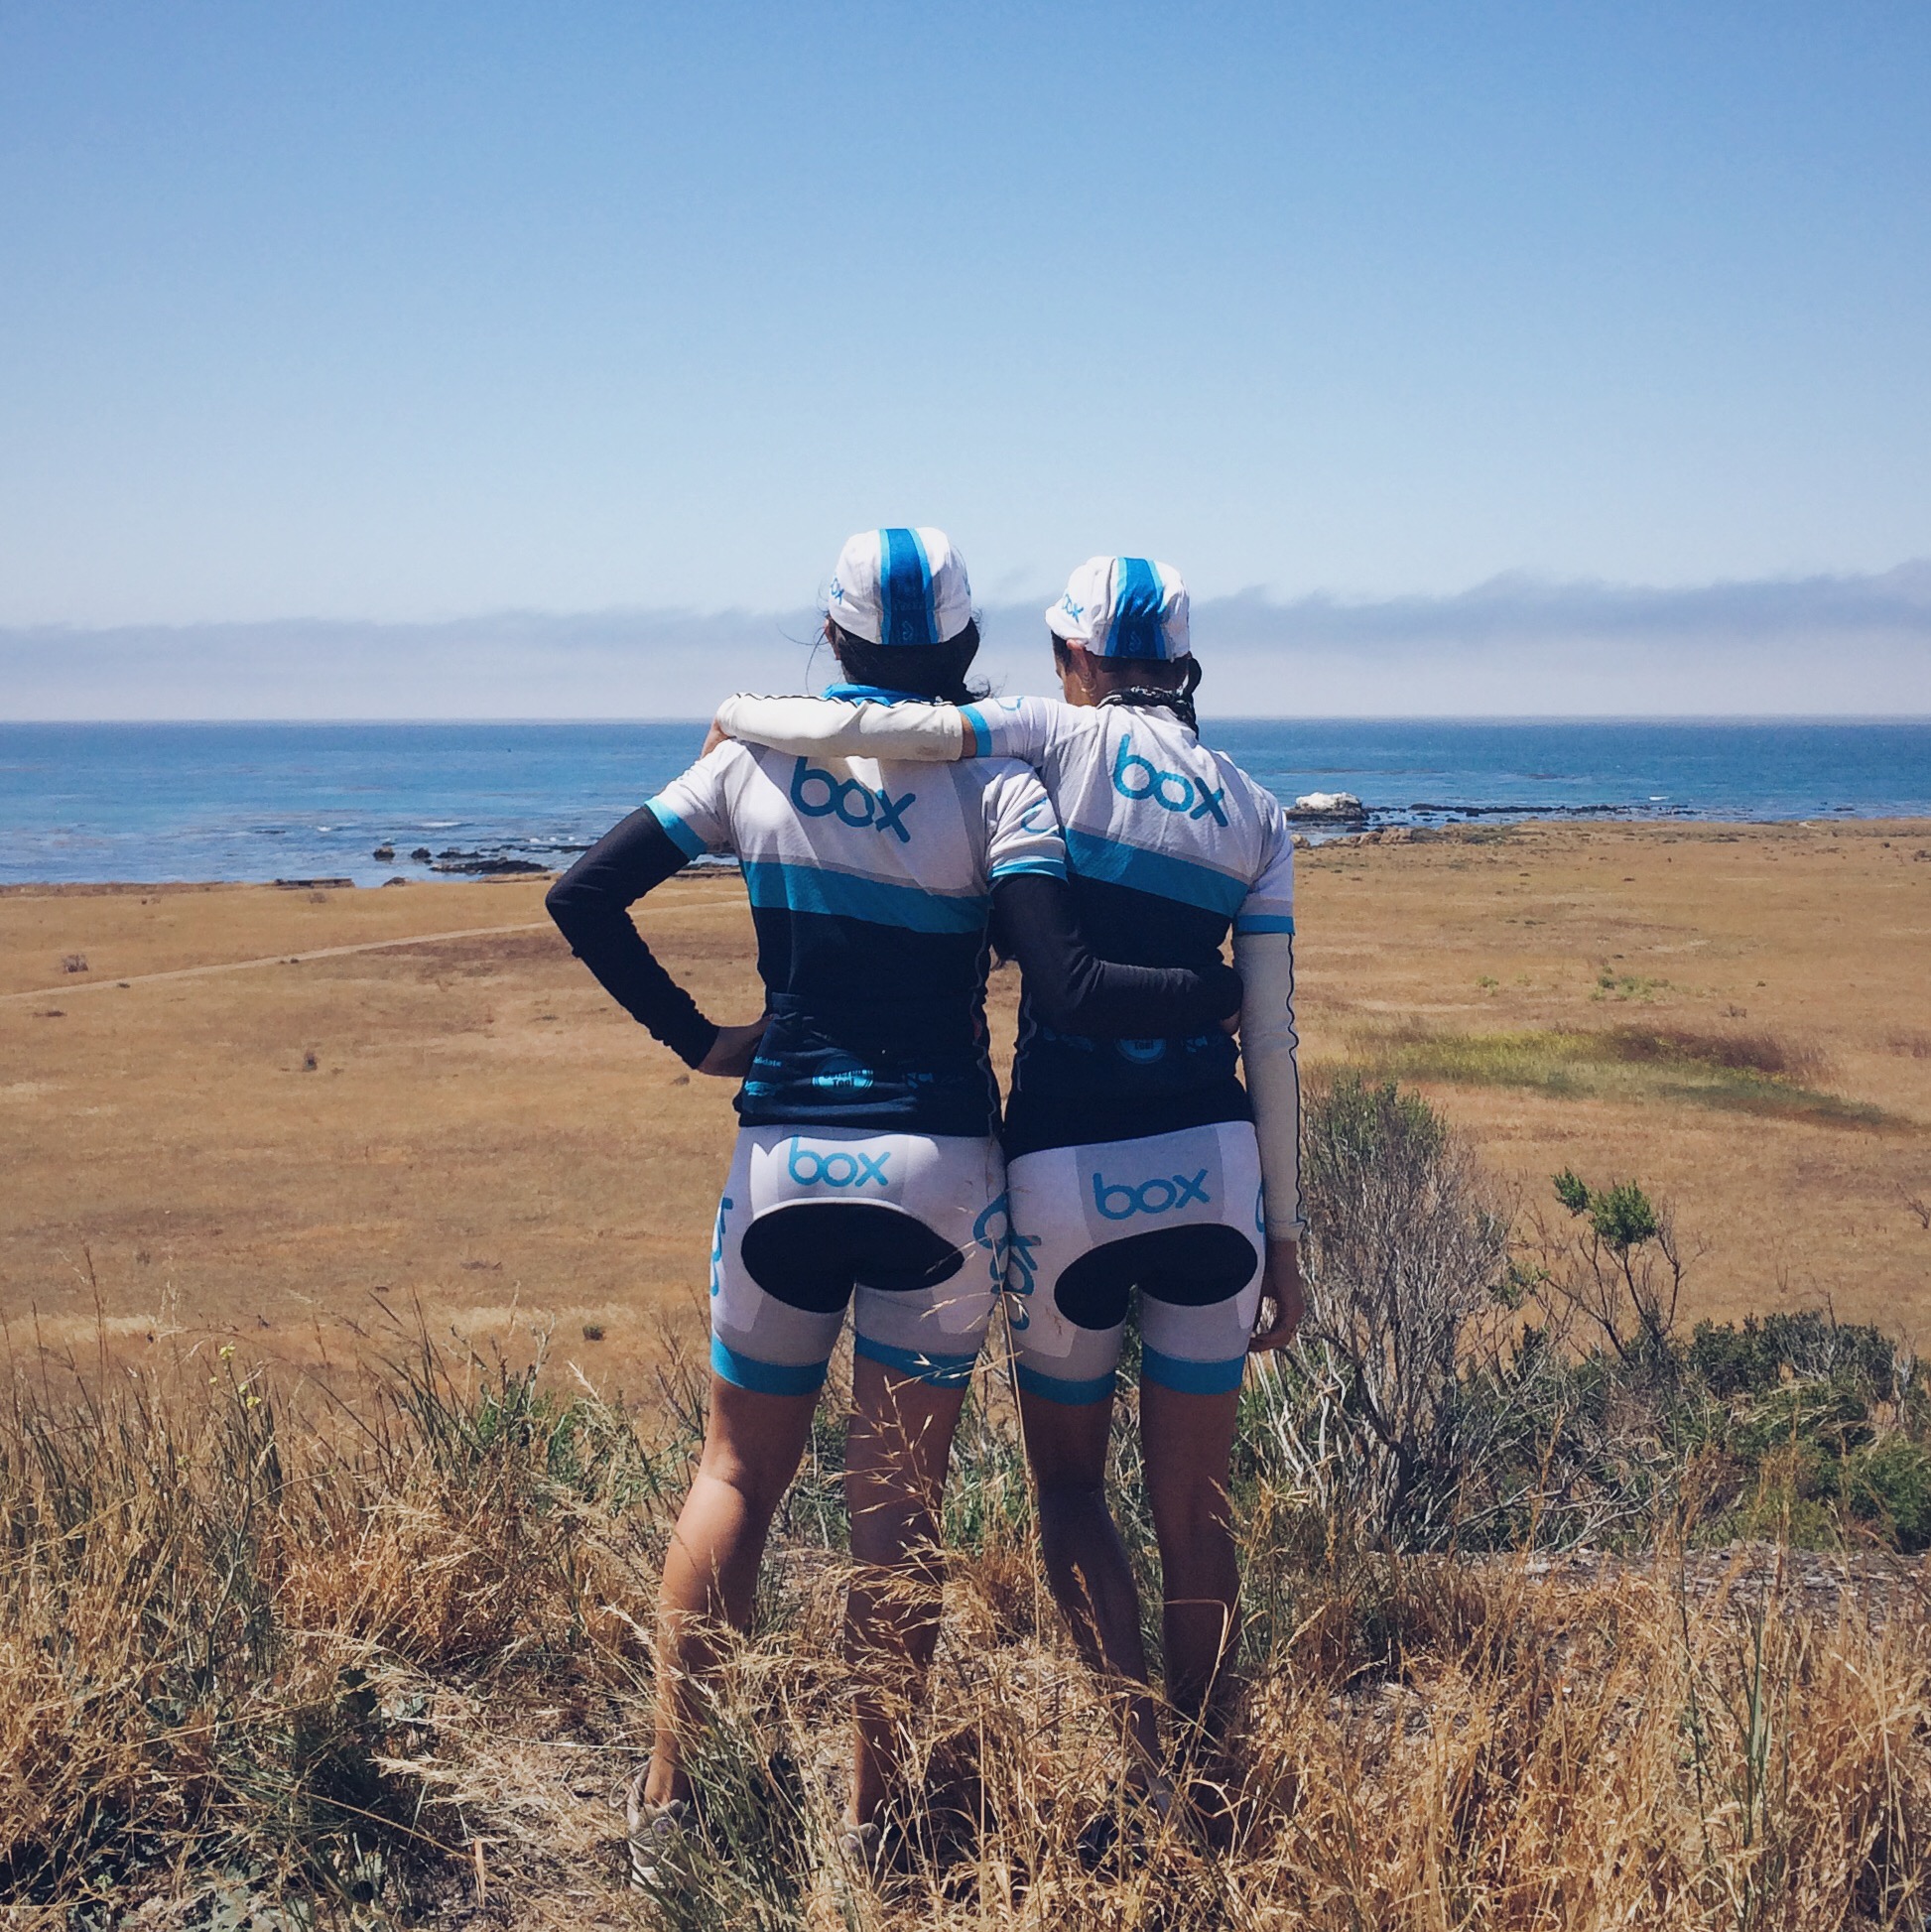
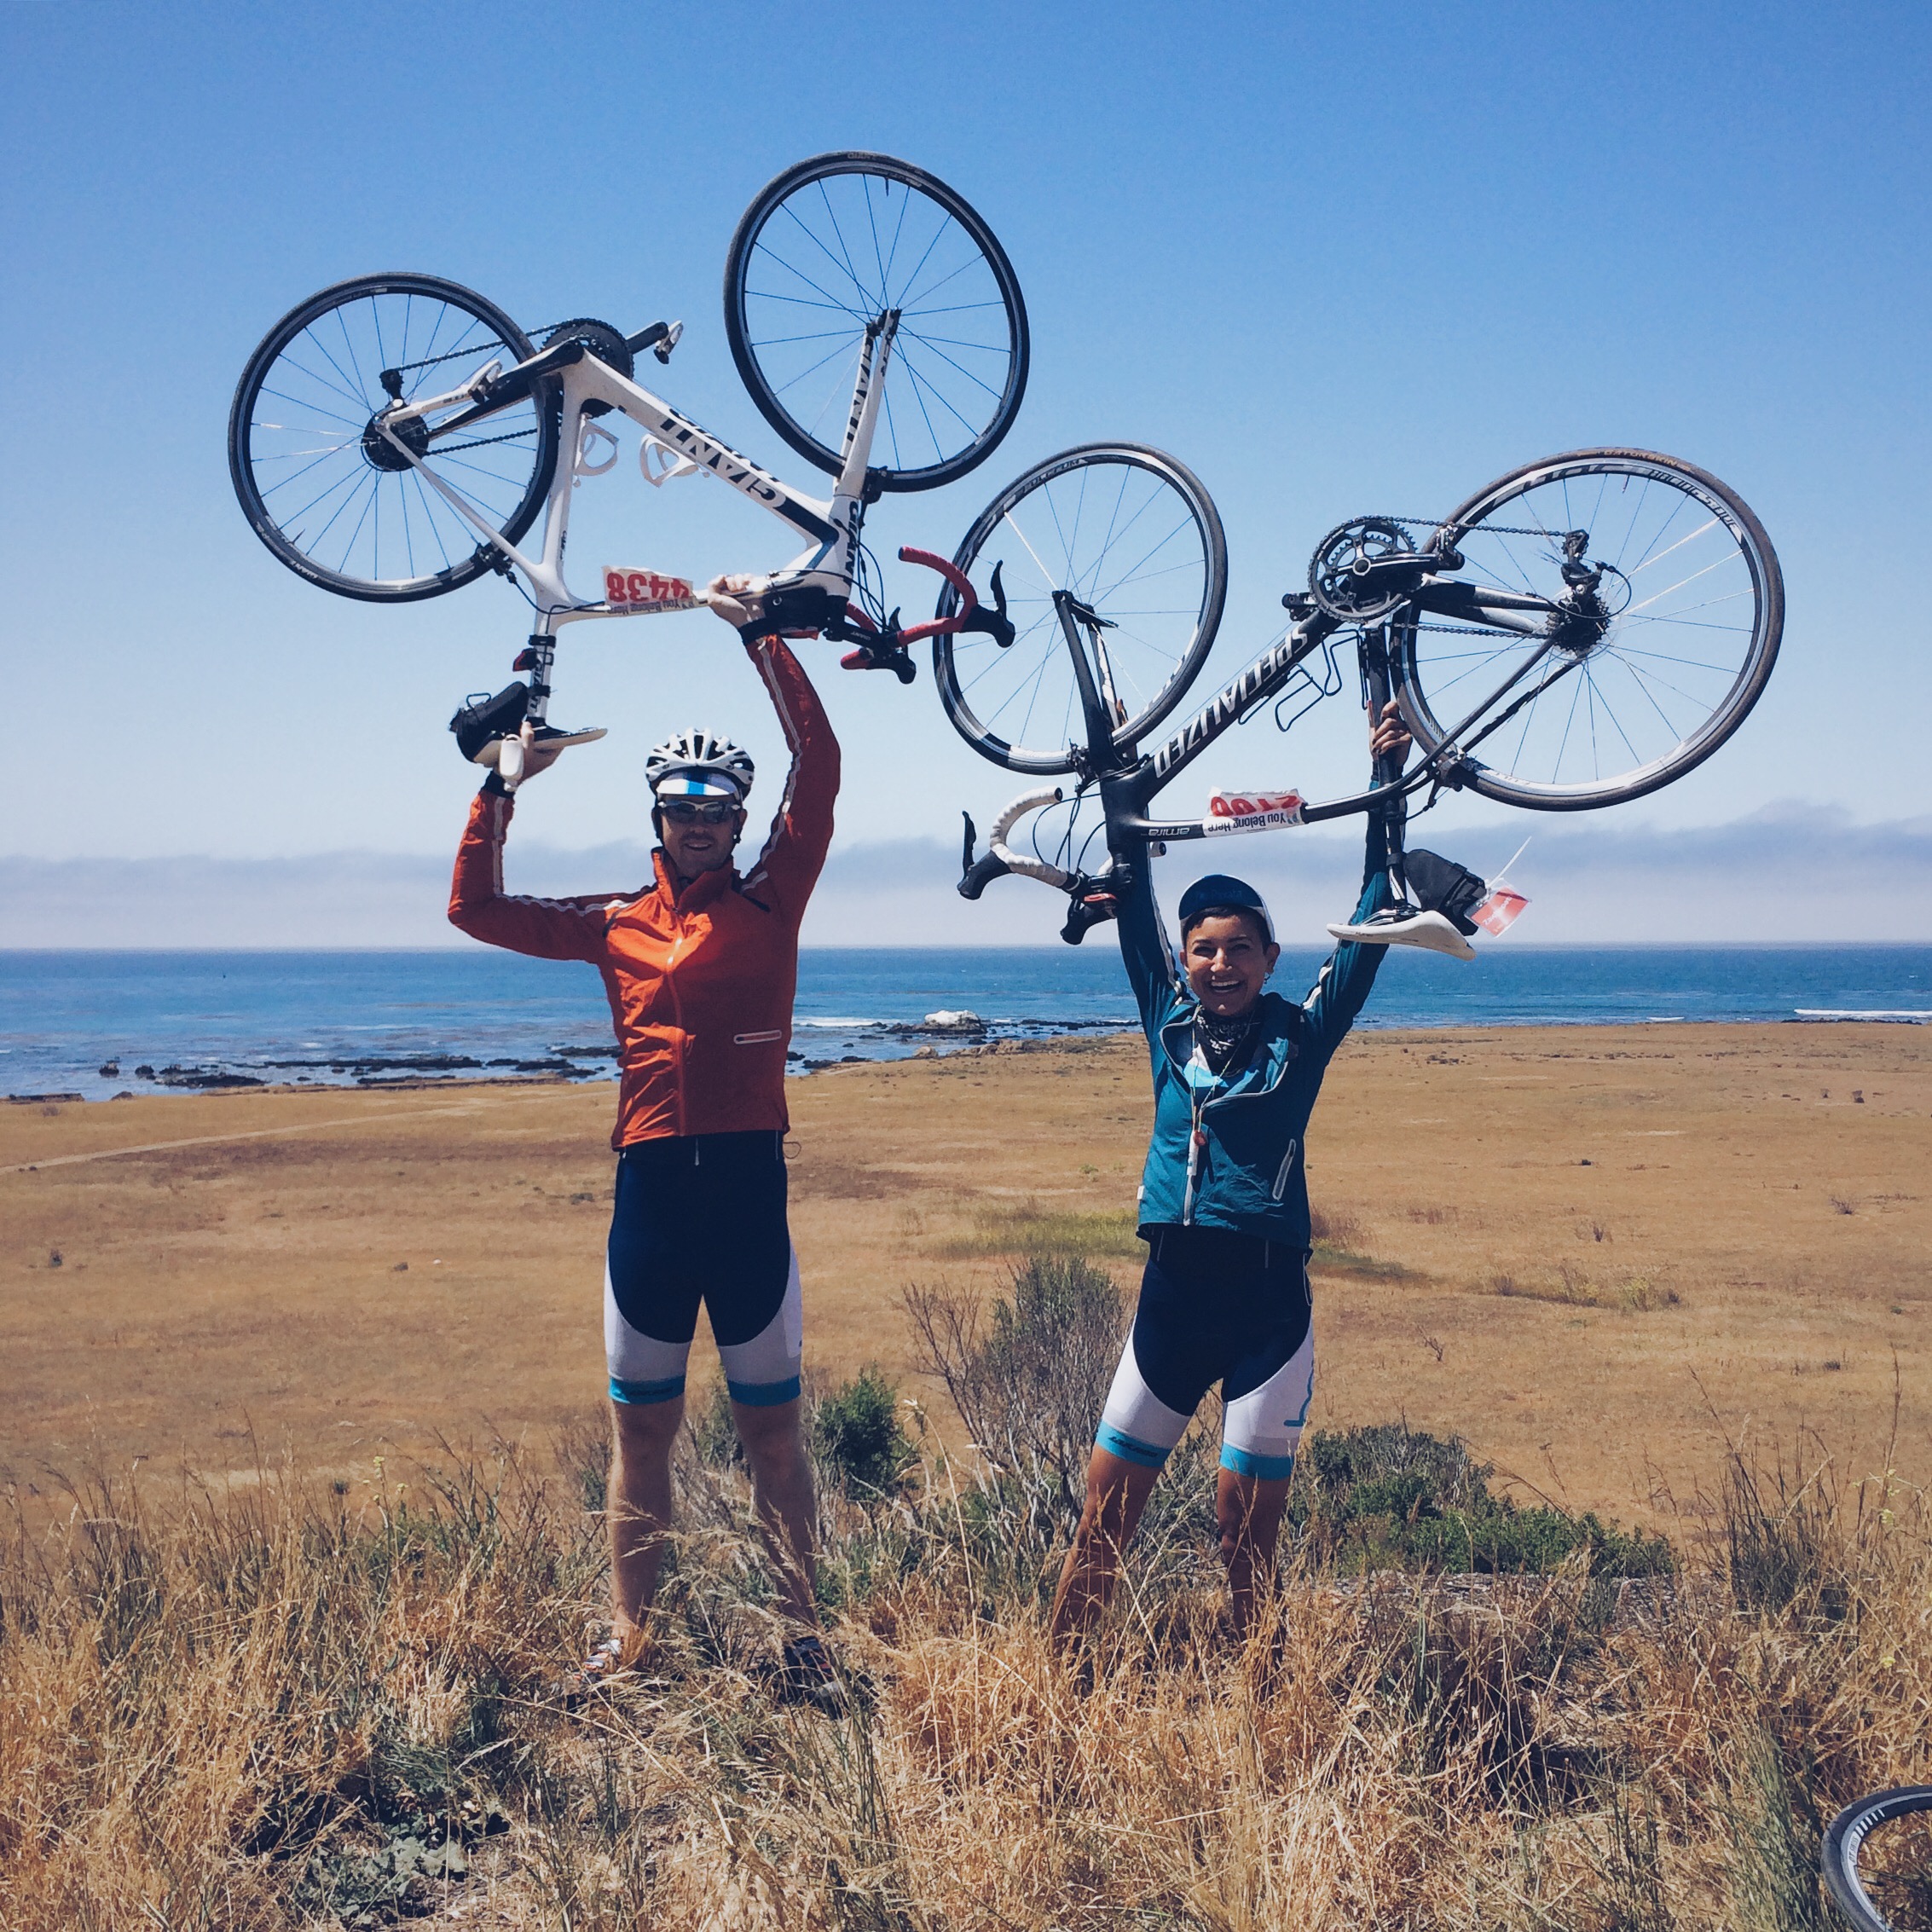
What is AIDS/LifeCycle? It's a seven-day, 545-mile bike ride from SF to LA that raises money for the San Francisco AIDS Foundation and the Los Angeles LGBT Center, two organizations that provide critical services to people living with (and at risk for) HIV and AIDS. Those of you who know me outside of Elektra Steel know that this isn't my first rodeo -- this will actually be the fourth year in a row that I've participated in AIDS/LifeCycle. But it is the first year that I'm offering up handmade goods as an incentive for donating!
Prizes
I will be raffling off one hex votive, one copper/steel cube, one bronze/steel cube, and one geo bowl. Prizes will be shipped anywhere in the world (my treat).


Instructions
- Go to my AIDS/LifeCycle fundraising page and make a donation! Every $20 = 1 raffle ticket, so I'd recommend rounding up to the nearest $20.
- Check out the scoreboard to see your odds of winning, and how you stack up against others. (Spreadsheet will be updated daily.)
- Winners will be selected and notified as soon as all 150 tickets have been sold (May 30th at the latest).
Tips
Since there will only be 150 raffle tickets sold, you can calculate your approximate* odds of winning one of the four prizes! For example:
- If you donate $20, you have a 4-in-150 shot at winning a prize
- If you donate $100, you have a 2-in-15 shot at winning a prize
- If you donate $300, you have a 6-in-15 shot at winning a prize
- If you donate $500, you have a 2-in-3 shot at winning a prize
My Story
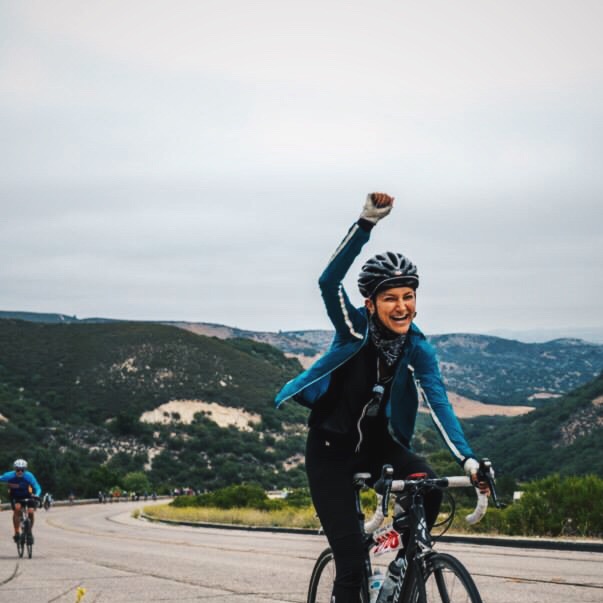


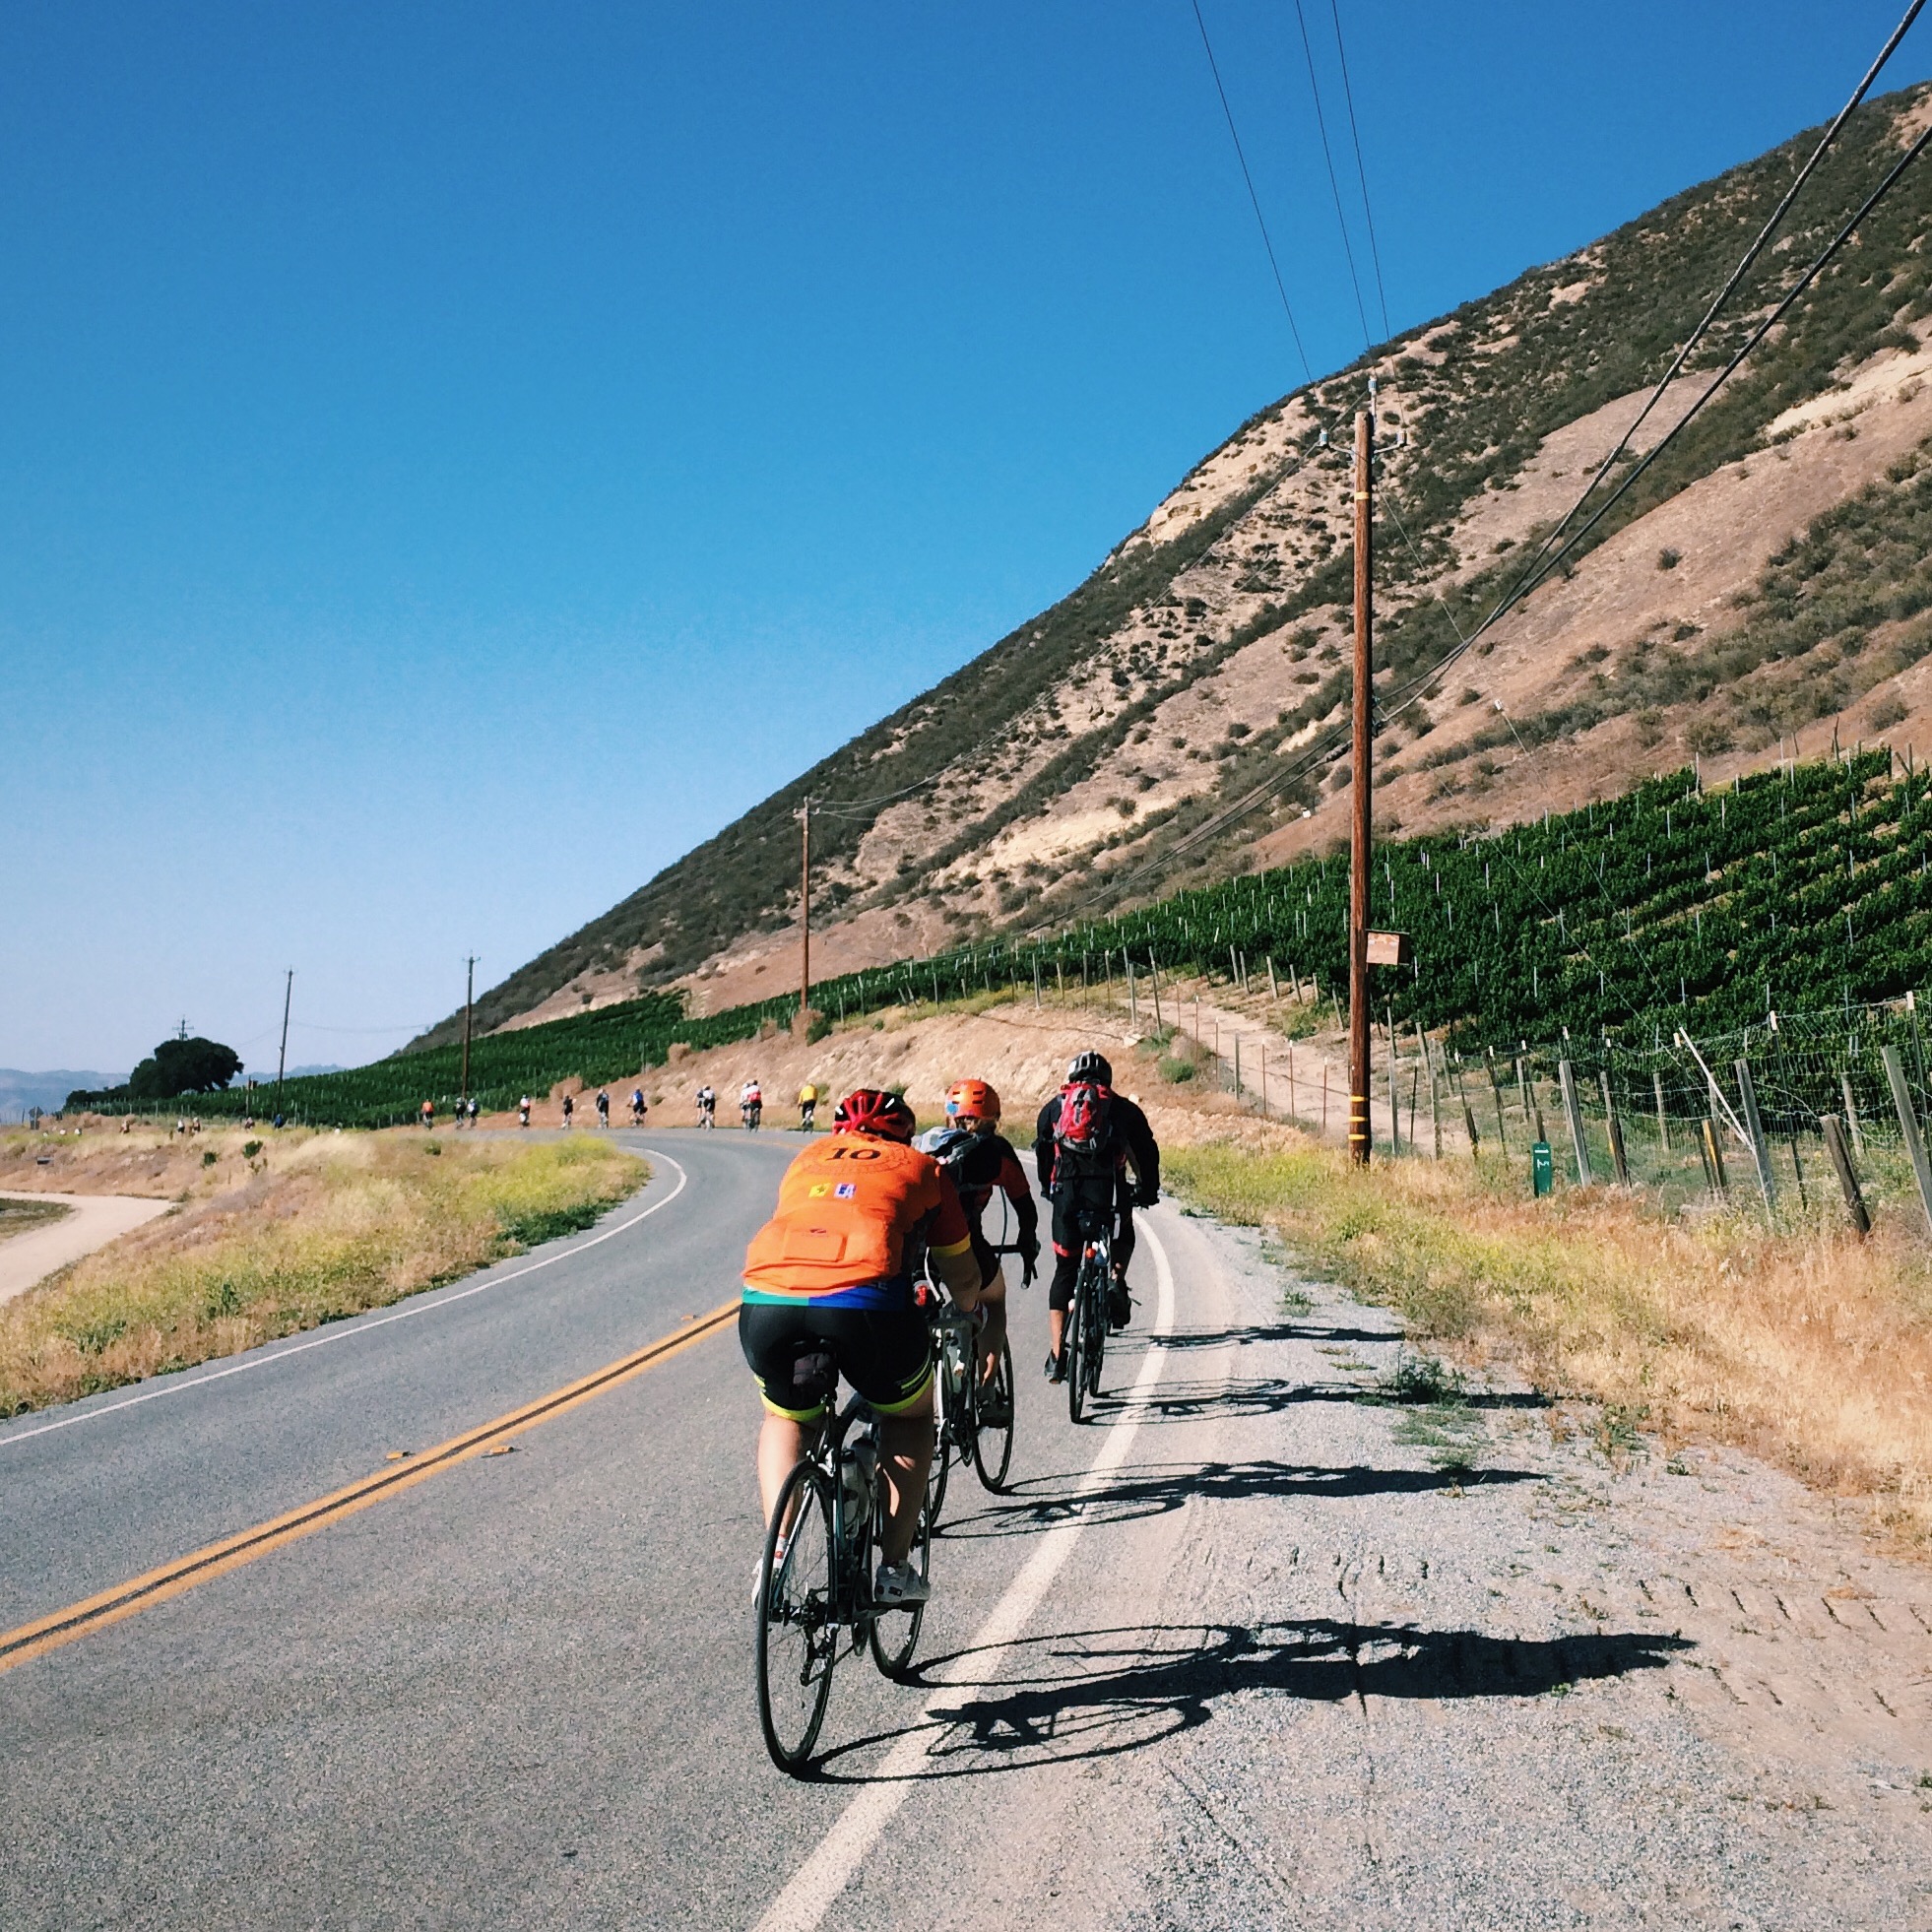
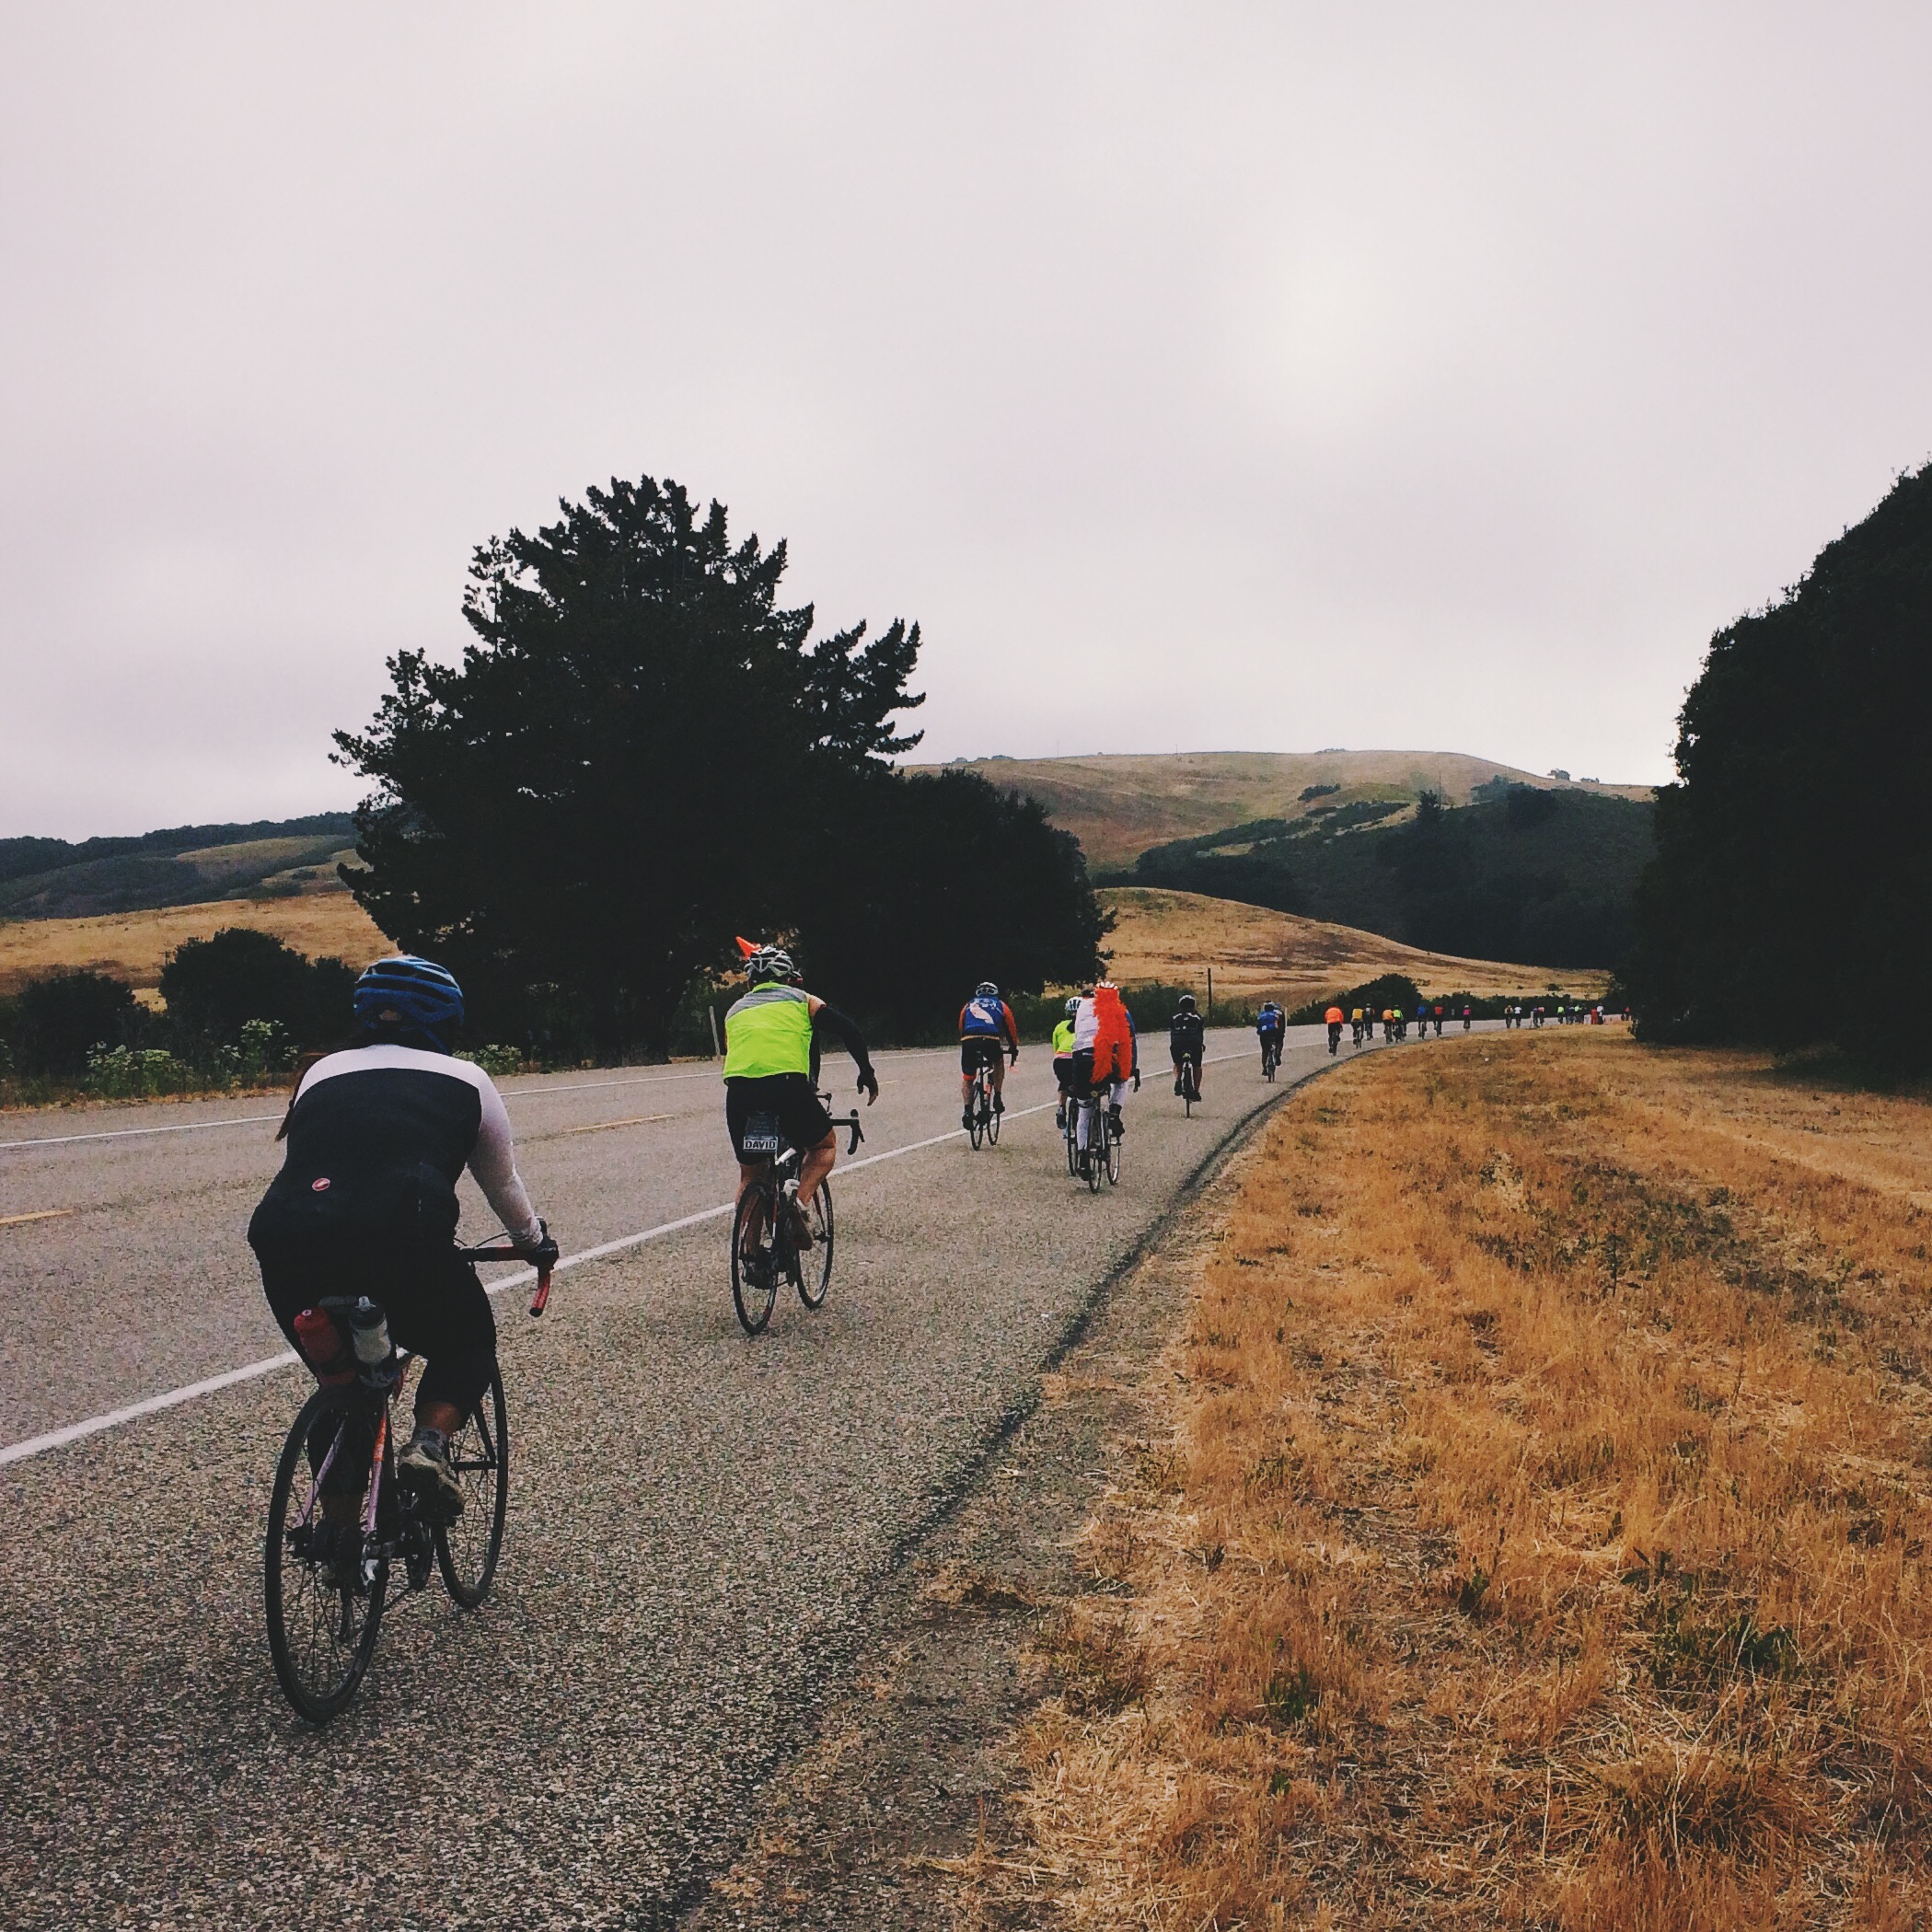
I participate in AIDS/LifeCycle every year for a number of reasons. I first got involved because the focus of my master's thesis research was HIV/AIDS, STIs, and sexual and reproductive health, and I wanted to find ways to support the cause outside of academia. I fell in love with AIDS/LifeCycle, and I kept coming back for more.
I ride because I have friends who have have been touched by HIV or AIDS, and I see that the fight isn't over. I ride because the federal government still refuses to fund effective harm-reduction programs like clean needle exchanges -- which means that we rely on private donations to keep these services afloat. I ride because I love the AIDS/LifeCycle community -- including everyone who has ever donated! -- and what we can accomplish together.
Need some additional encouragement? Check out this link to see exactly how the San Francisco AIDS Foundation will use your money.
Thank you in advance for your support!
---

*I say "approximate" because I've simplified the math a bit. The formula at right should give you your exact odds of winning at least one prize, given that the four winners are drawn sequentially, and that the winning tickets are not put back in the pool for subsequent draws. In this formula, x = the number of tickets purchased. (Formula found here.)
Many thanks to my sister Mia for talking through the math with me in the middle of the night!
Fifteen Centerpiece Geo Bowls
I spent the last two weeks designing and fabricating 15 custom geometric bowls for a global tech company based in San Francisco. Their annual client and developer conference is coming up in a few days, and the bowls will be used as table centerpieces.
A friend on their events team had seen a photo of the geo planter I made a few months ago, and reached out to see if the design could be customized for their needs. I'd never done a production run this large before, but I was excited for the challenge.
Here's how I made the bowls!
First, I created a 3D model of the design in SketchUp. I started with a dodecahedron (my favorite platonic solid) and modified it to create an open, faceted bowl. As soon as I got the thumbs-up from the client, it was time to waterjet cut the pieces. I used Adobe Illustrator to create a vector line drawing of all of the pieces that I'd need to cut out of stainless steel sheet.
The last time I made a piece like this, I did all the waterjet cutting myself, which was time-consuming because I was still learning. Due to the scale of this project, I decided to outsource the cutting. So glad I did! The company I used, Triton Waterjet, was super pro -- clean edges, no burrs or tabs, flawless steel, and quick turnaround time. Here are one hundred pounds of beautiful pentagons, ready to go:
And then the welding marathon began! I started by tacking the faces together at each vertex. A number of metalworkers have asked me how I clamp down the pieces for this type of project. I actually don't use clamps or jigs at all. Instead, I just prop up the pieces on a block -- or even hold them together with my gloved hands -- and do a quick flash-tack to join the pieces. Then I bend the pieces into the correct angle before continuing to weld.
Once the form was tacked together, it was time to weld all the edges. TIG welding is my absolute favorite part of metalworking, and I was thrilled when the moment finally arrived to lay down a bead. And then another one. And then another one. And then another one...
Stainless steel is one of my favorite metals to work with because it welds cleanly and makes shimmery rainbows patterns.
Here's what the bowl looked like after welding all the edges.
For those of you who are really curious about this whole process, here's a four-minute time-lapse video of me tacking and welding a bowl.

Aaaannnd repeat x15!
It was both luxurious and exhausting doing nothing but weld all day long. I welded all fifteen bowls in two and a half days, which is definitely some sort of personal record. What's interesting is how much I improved over the course of the project: When I made the initial prototype, the welding took me six hours (lots of trial and error!). Bowl number one took two and a half hours to weld (better, but still learning). By bowl number four, I'd gotten it down to 40 minutes (I'm a machine!!). I learned a lot about efficiency and scale with this project!
Once the bowls were assembled, it was time for sanding and buffing. I like this step because it's like the big reveal -- I finally get to see the sharp jumble of sheet metal transformed into the lovely and smooth piece I'd envisioned in my mind. For sanding and buffing, a variable-speed angle grinder is my best friend. I started with an 80-grit flapwheel disc to sand down the welds, and then went over the entire outer surface with a Scotch-Brite disc to give it a satiny sheen.
Here's a time-lapse video of me sanding and buffing a bowl. It shortens 45 minutes of elbow grease into a snappy 35 seconds.

Not gonna lie, I was physically exhausted after sanding all 15 bowls. The weight, vibrations, and centrifugal force of the angle grinder did a number on my forearms and hands. My neck ached from bending over, and I was covered in a fine layer of metal dust at the end of each day. It was a relief to finally move on from this stage!
For the last step, I gave each bowl a coat of clear metal wax, which hardens and cures after being buffed. A protective sealant isn't really necessary for stainless steel, as it won't rust or tarnish, but I like the way wax looks. It gives the piece a little extra sheen, and it keeps fingerprints from appearing on the surface.
Here's a close-up of the bottom of a bowl, on which I'd stamped my company name, letter by letter. I had recently gotten coffee with Meyghan Hill from Whorehaus Studios (she's a kickass LA-based designer, welder, and business woman), and when chatting about this project, she insisted that I mark each piece with my company name -- brilliant. I immediately ordered metal alphabet stamps for myself. Thank you for the tip, Meyghan!
And here's a photo of the bowl at the conference!
Time-Lapse Sanding
I took a time-lapse video of me sanding down one of the stainless steel bowls I welded earlier this week. First I used a variable-speed angle grinder with an 80-grit flapwheel disc to sand down the welds. Then used a Scotch-Brite disc to buff the entire outside of the bowl to a lovely, satin finish. This speedy, 35-second video captures 45 minutes of elbow grease!

Time-Lapse TIG Welding
This week, I'm making 15 stainless steel centerpiece bowls for a tech company's annual conference. This is the largest production run I've done so far. It took me two and a half hours to weld the first bowl together, but by bowl number six, I'd gotten it down to 40 minutes. Here's a four-minute time-lapse video I made of me welding one bowl at 12x speed.

Elektra Steel's First Stockist: Paxton Gate
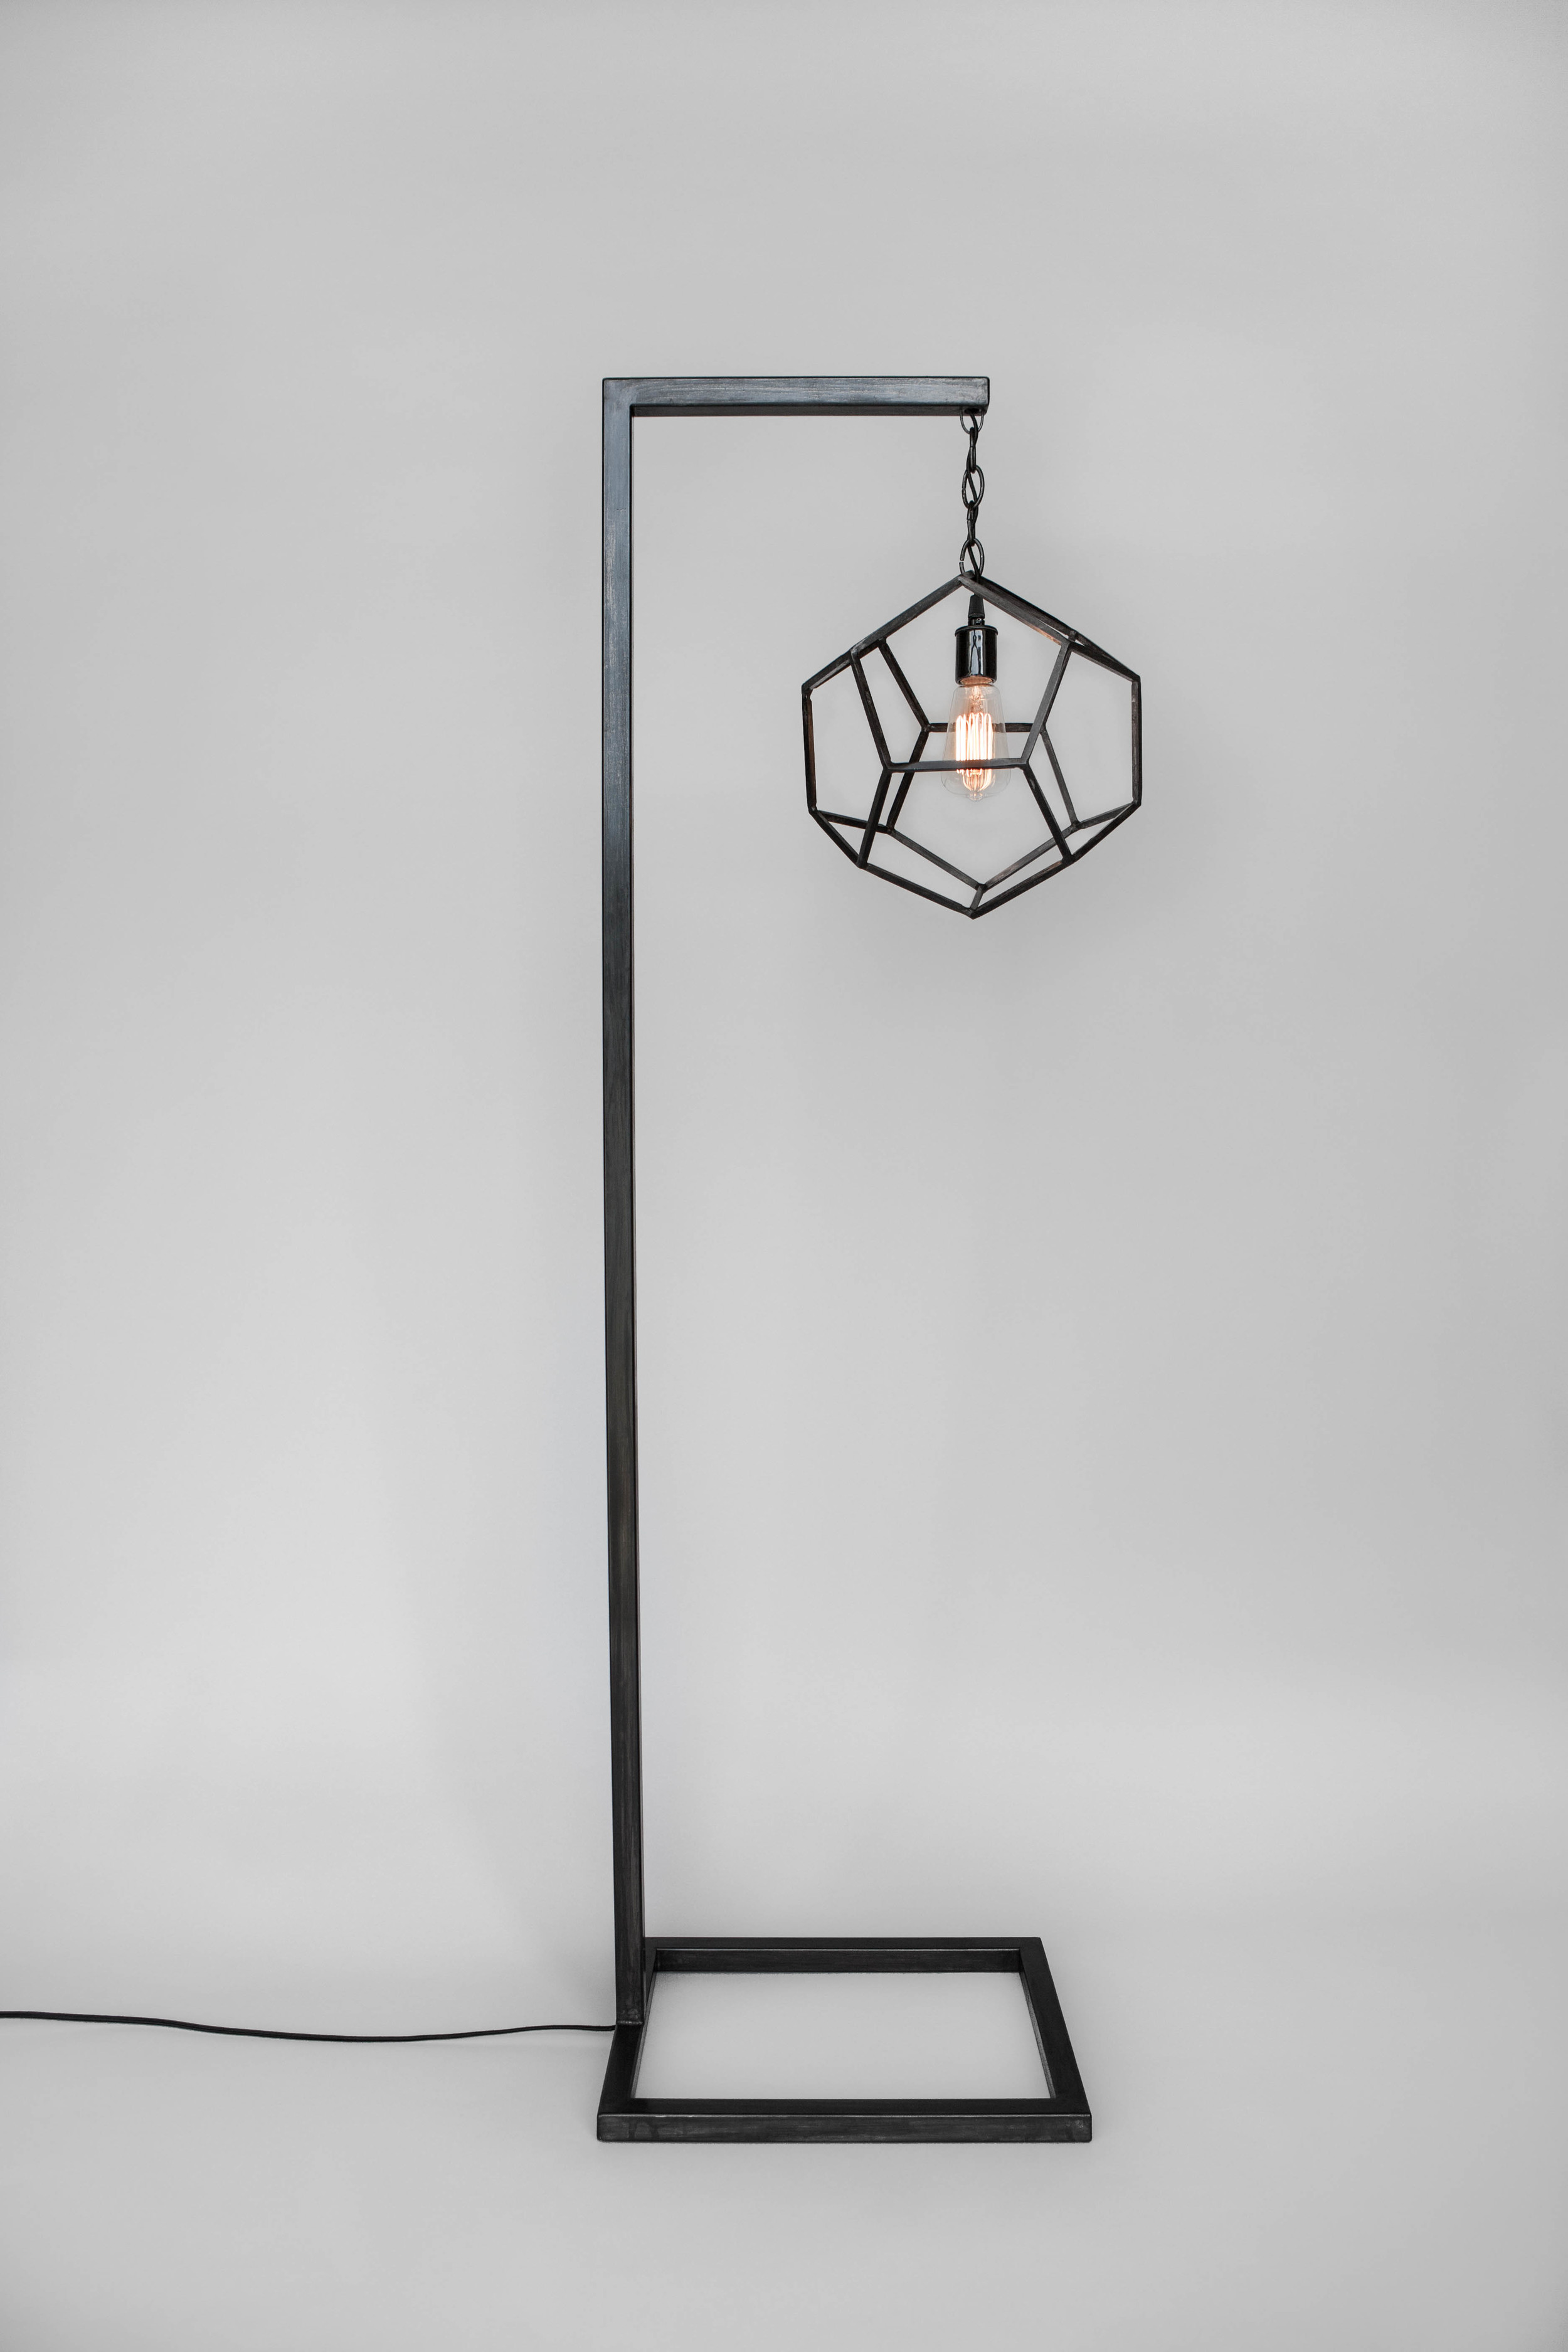
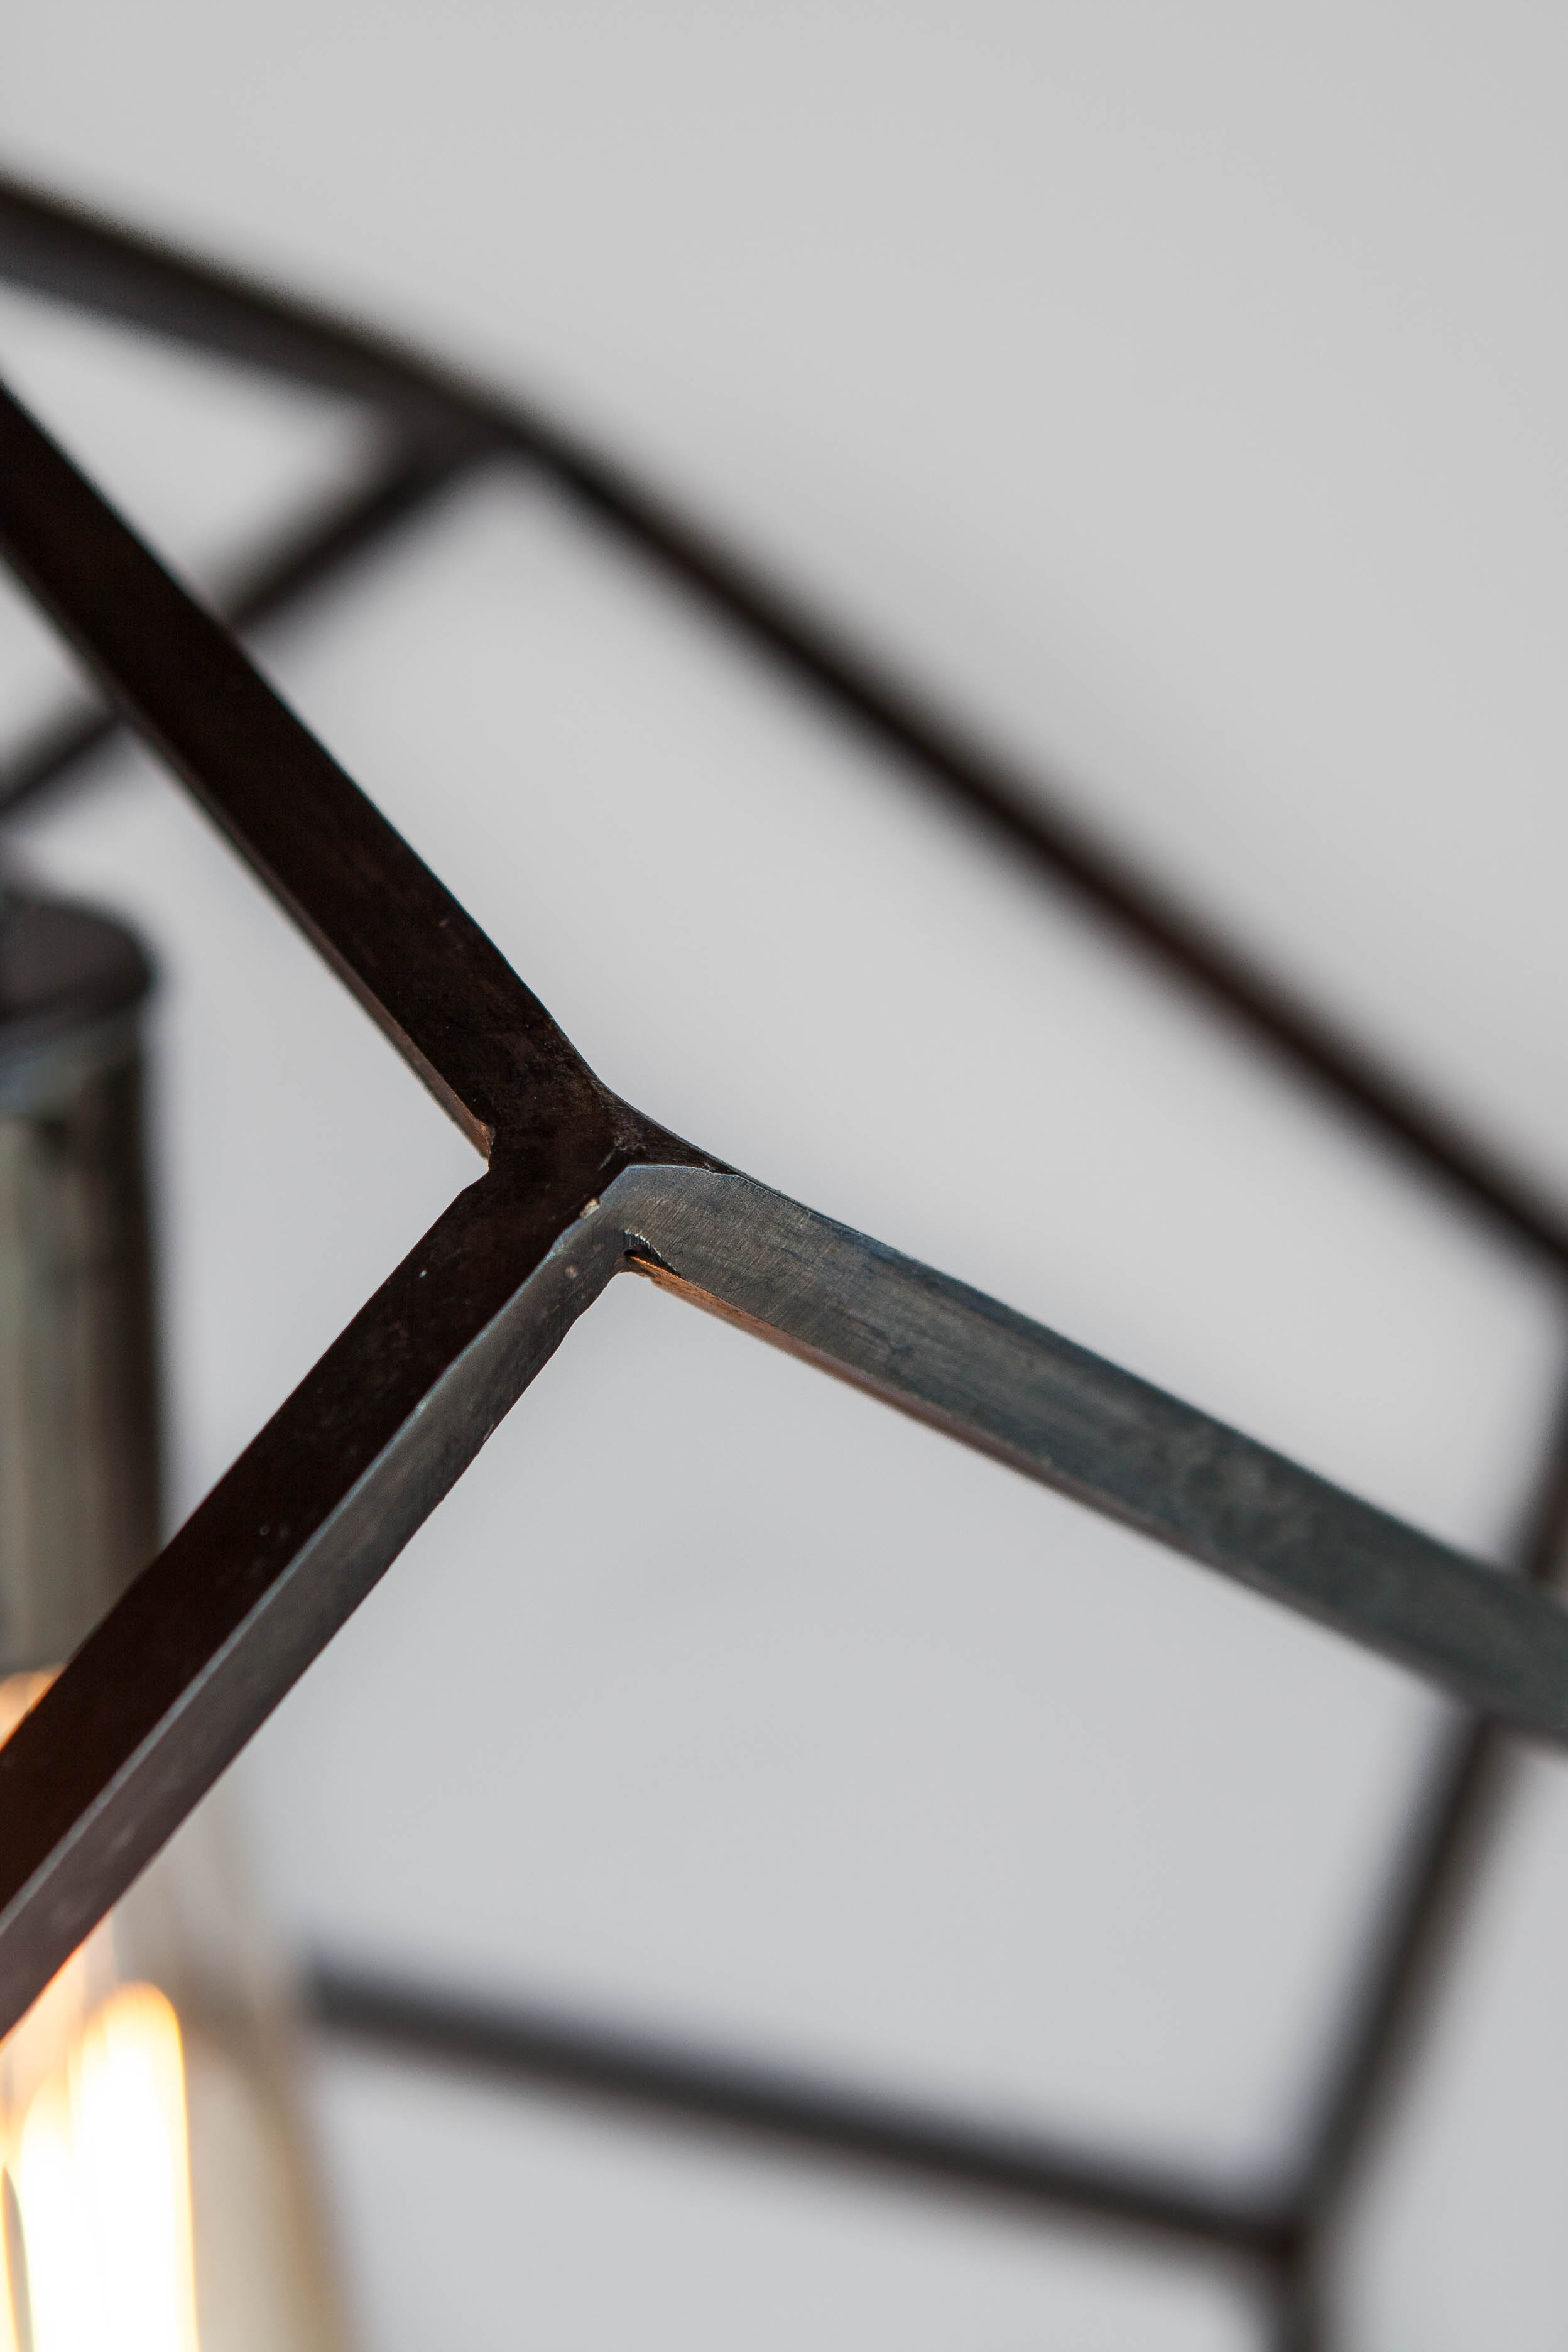
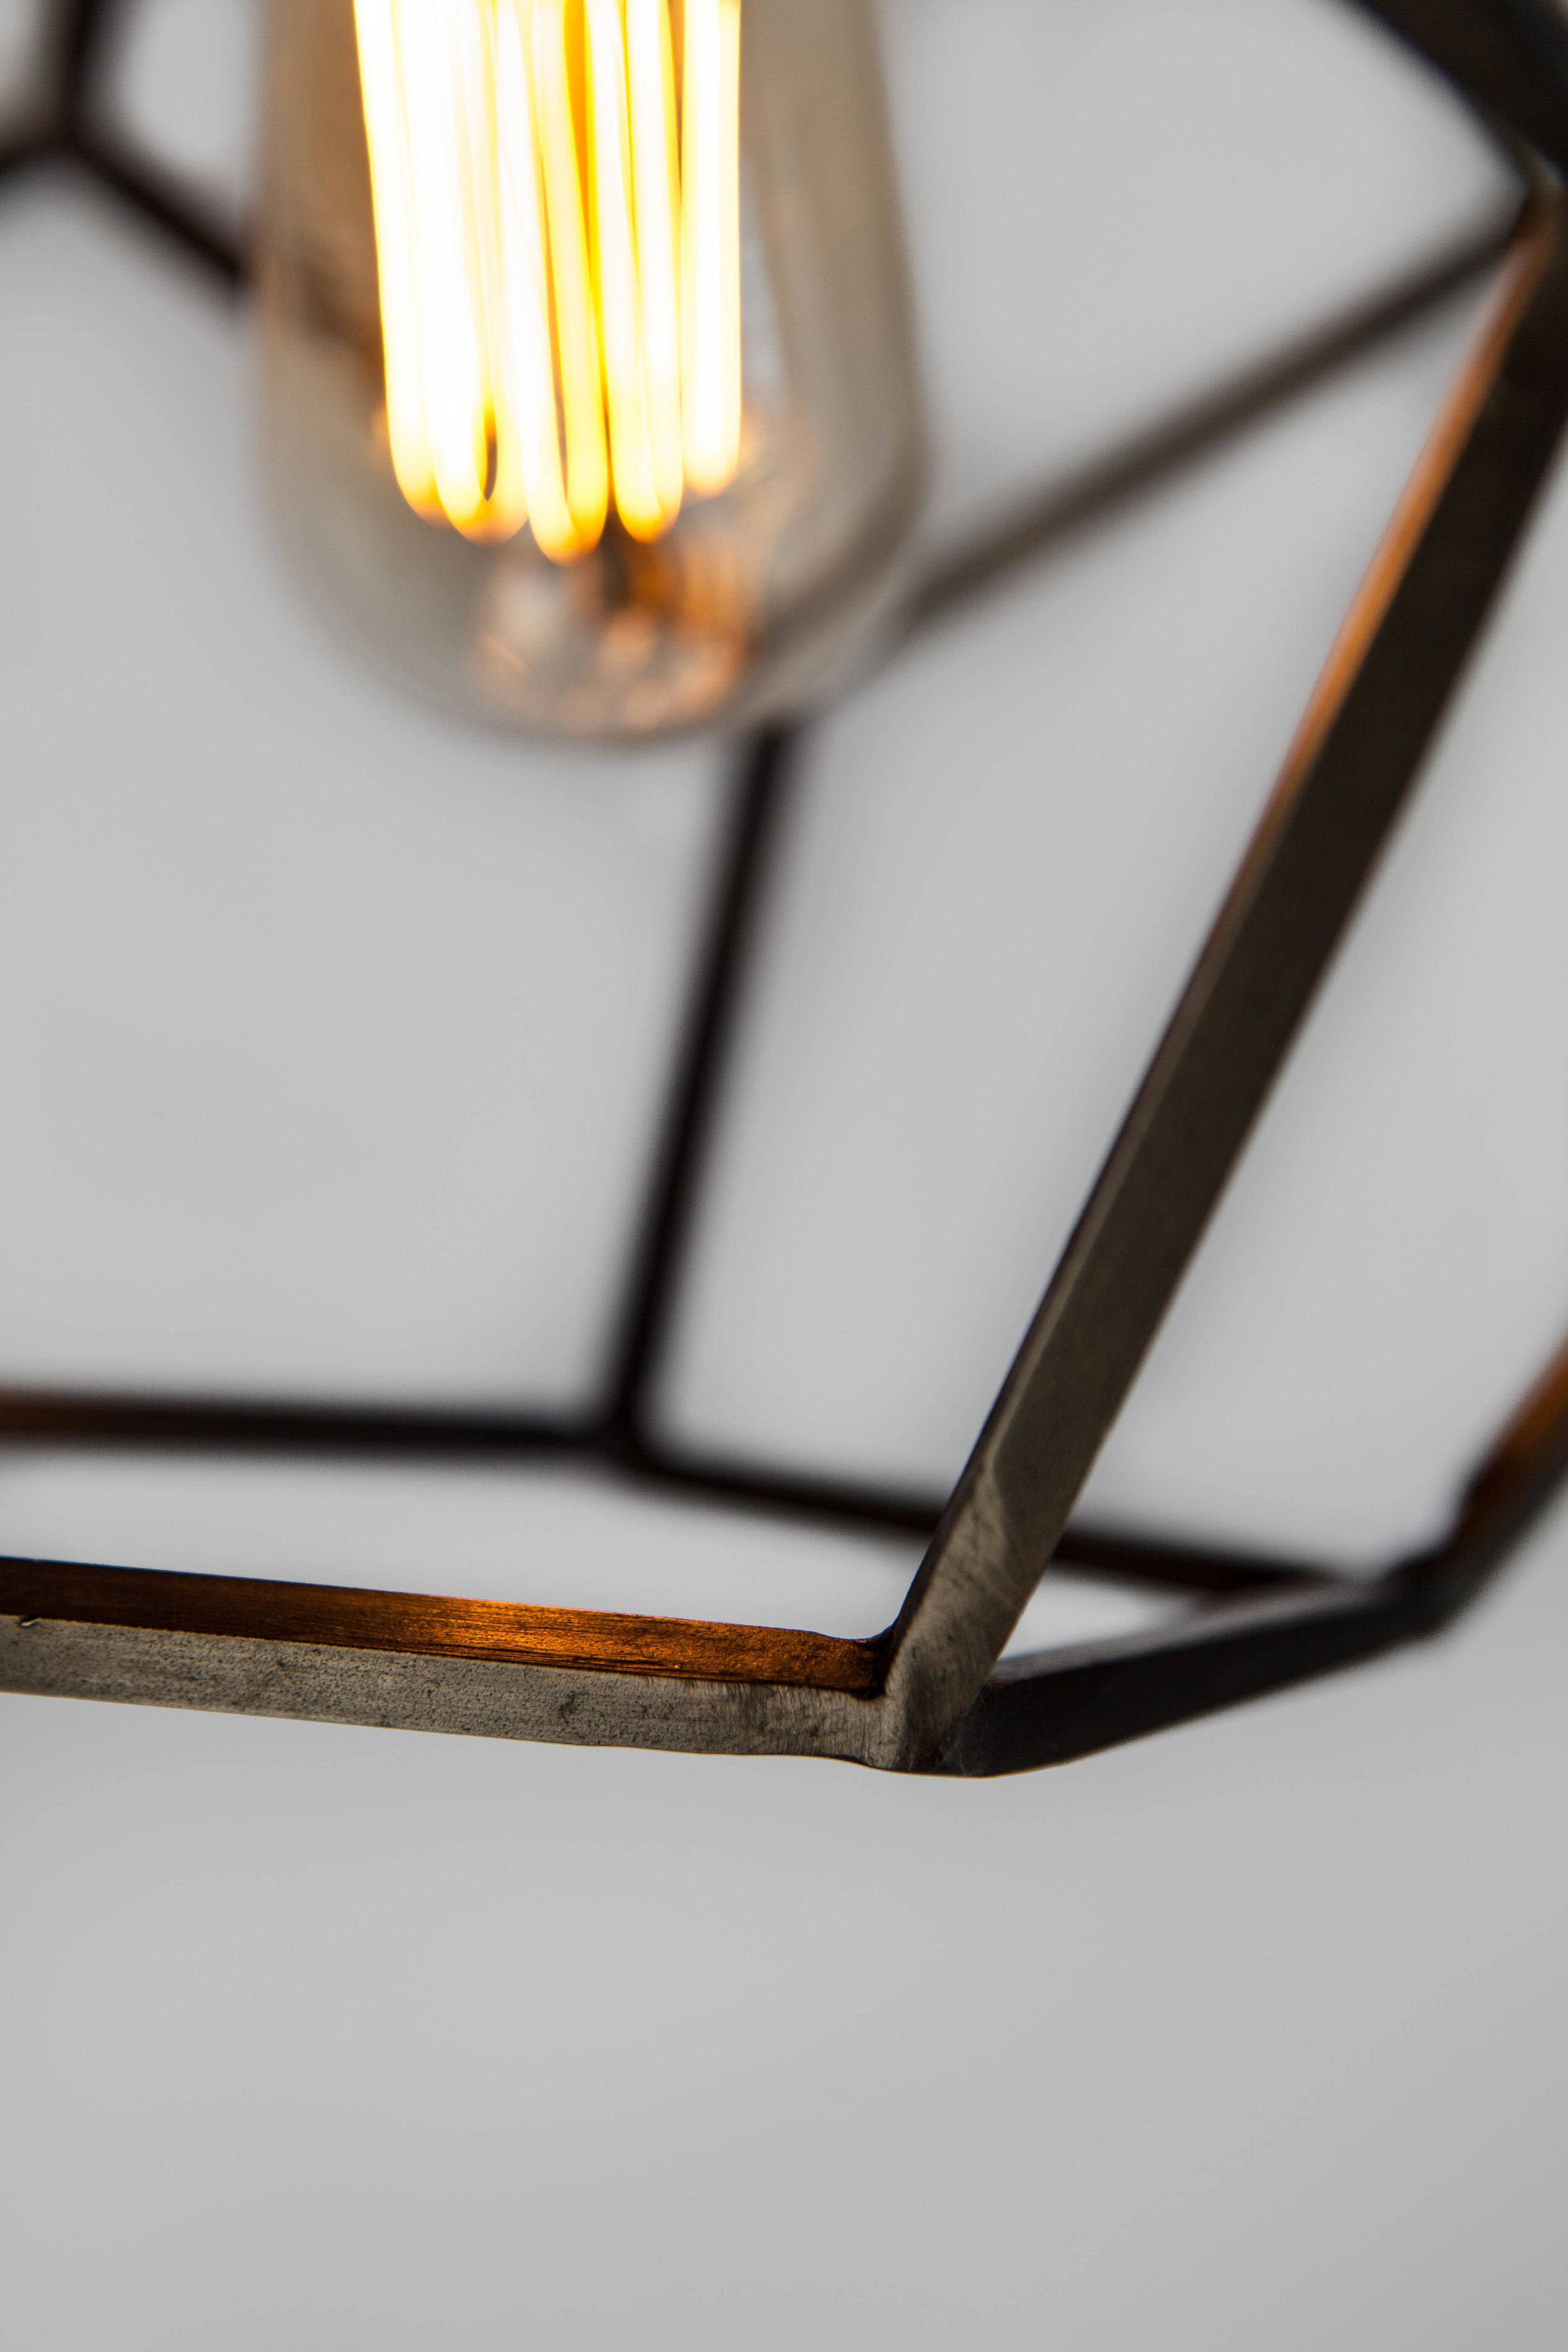
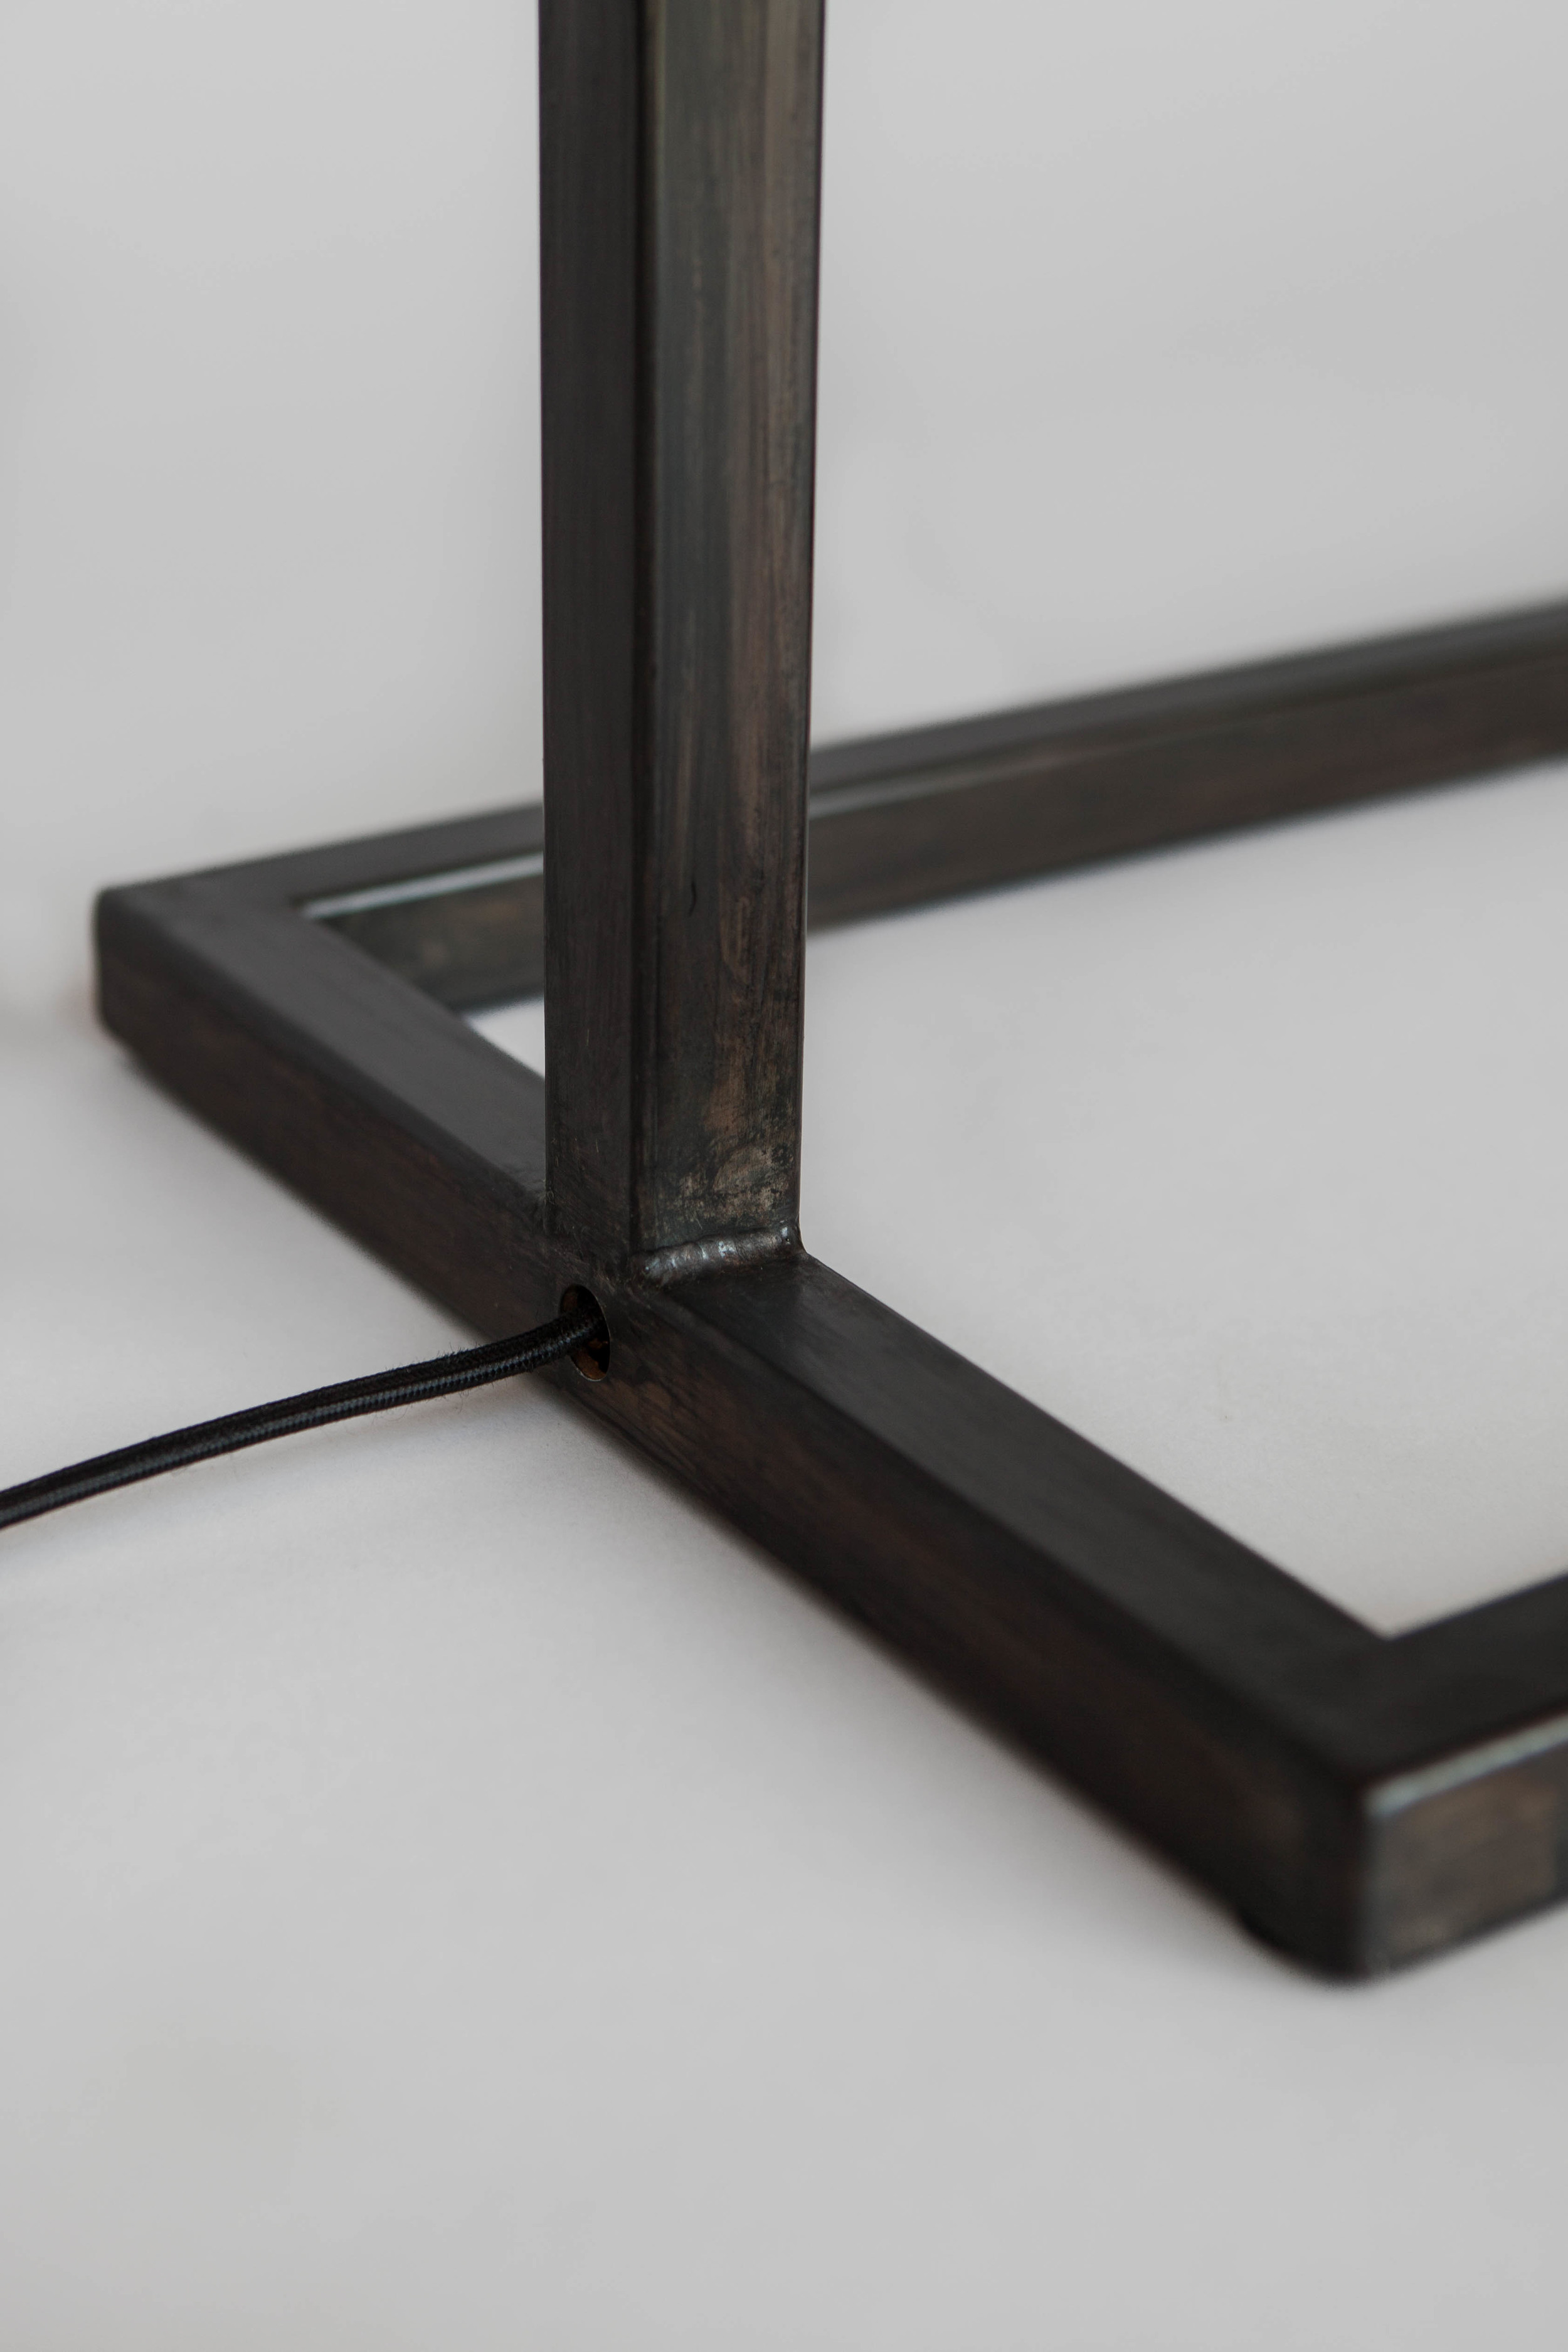
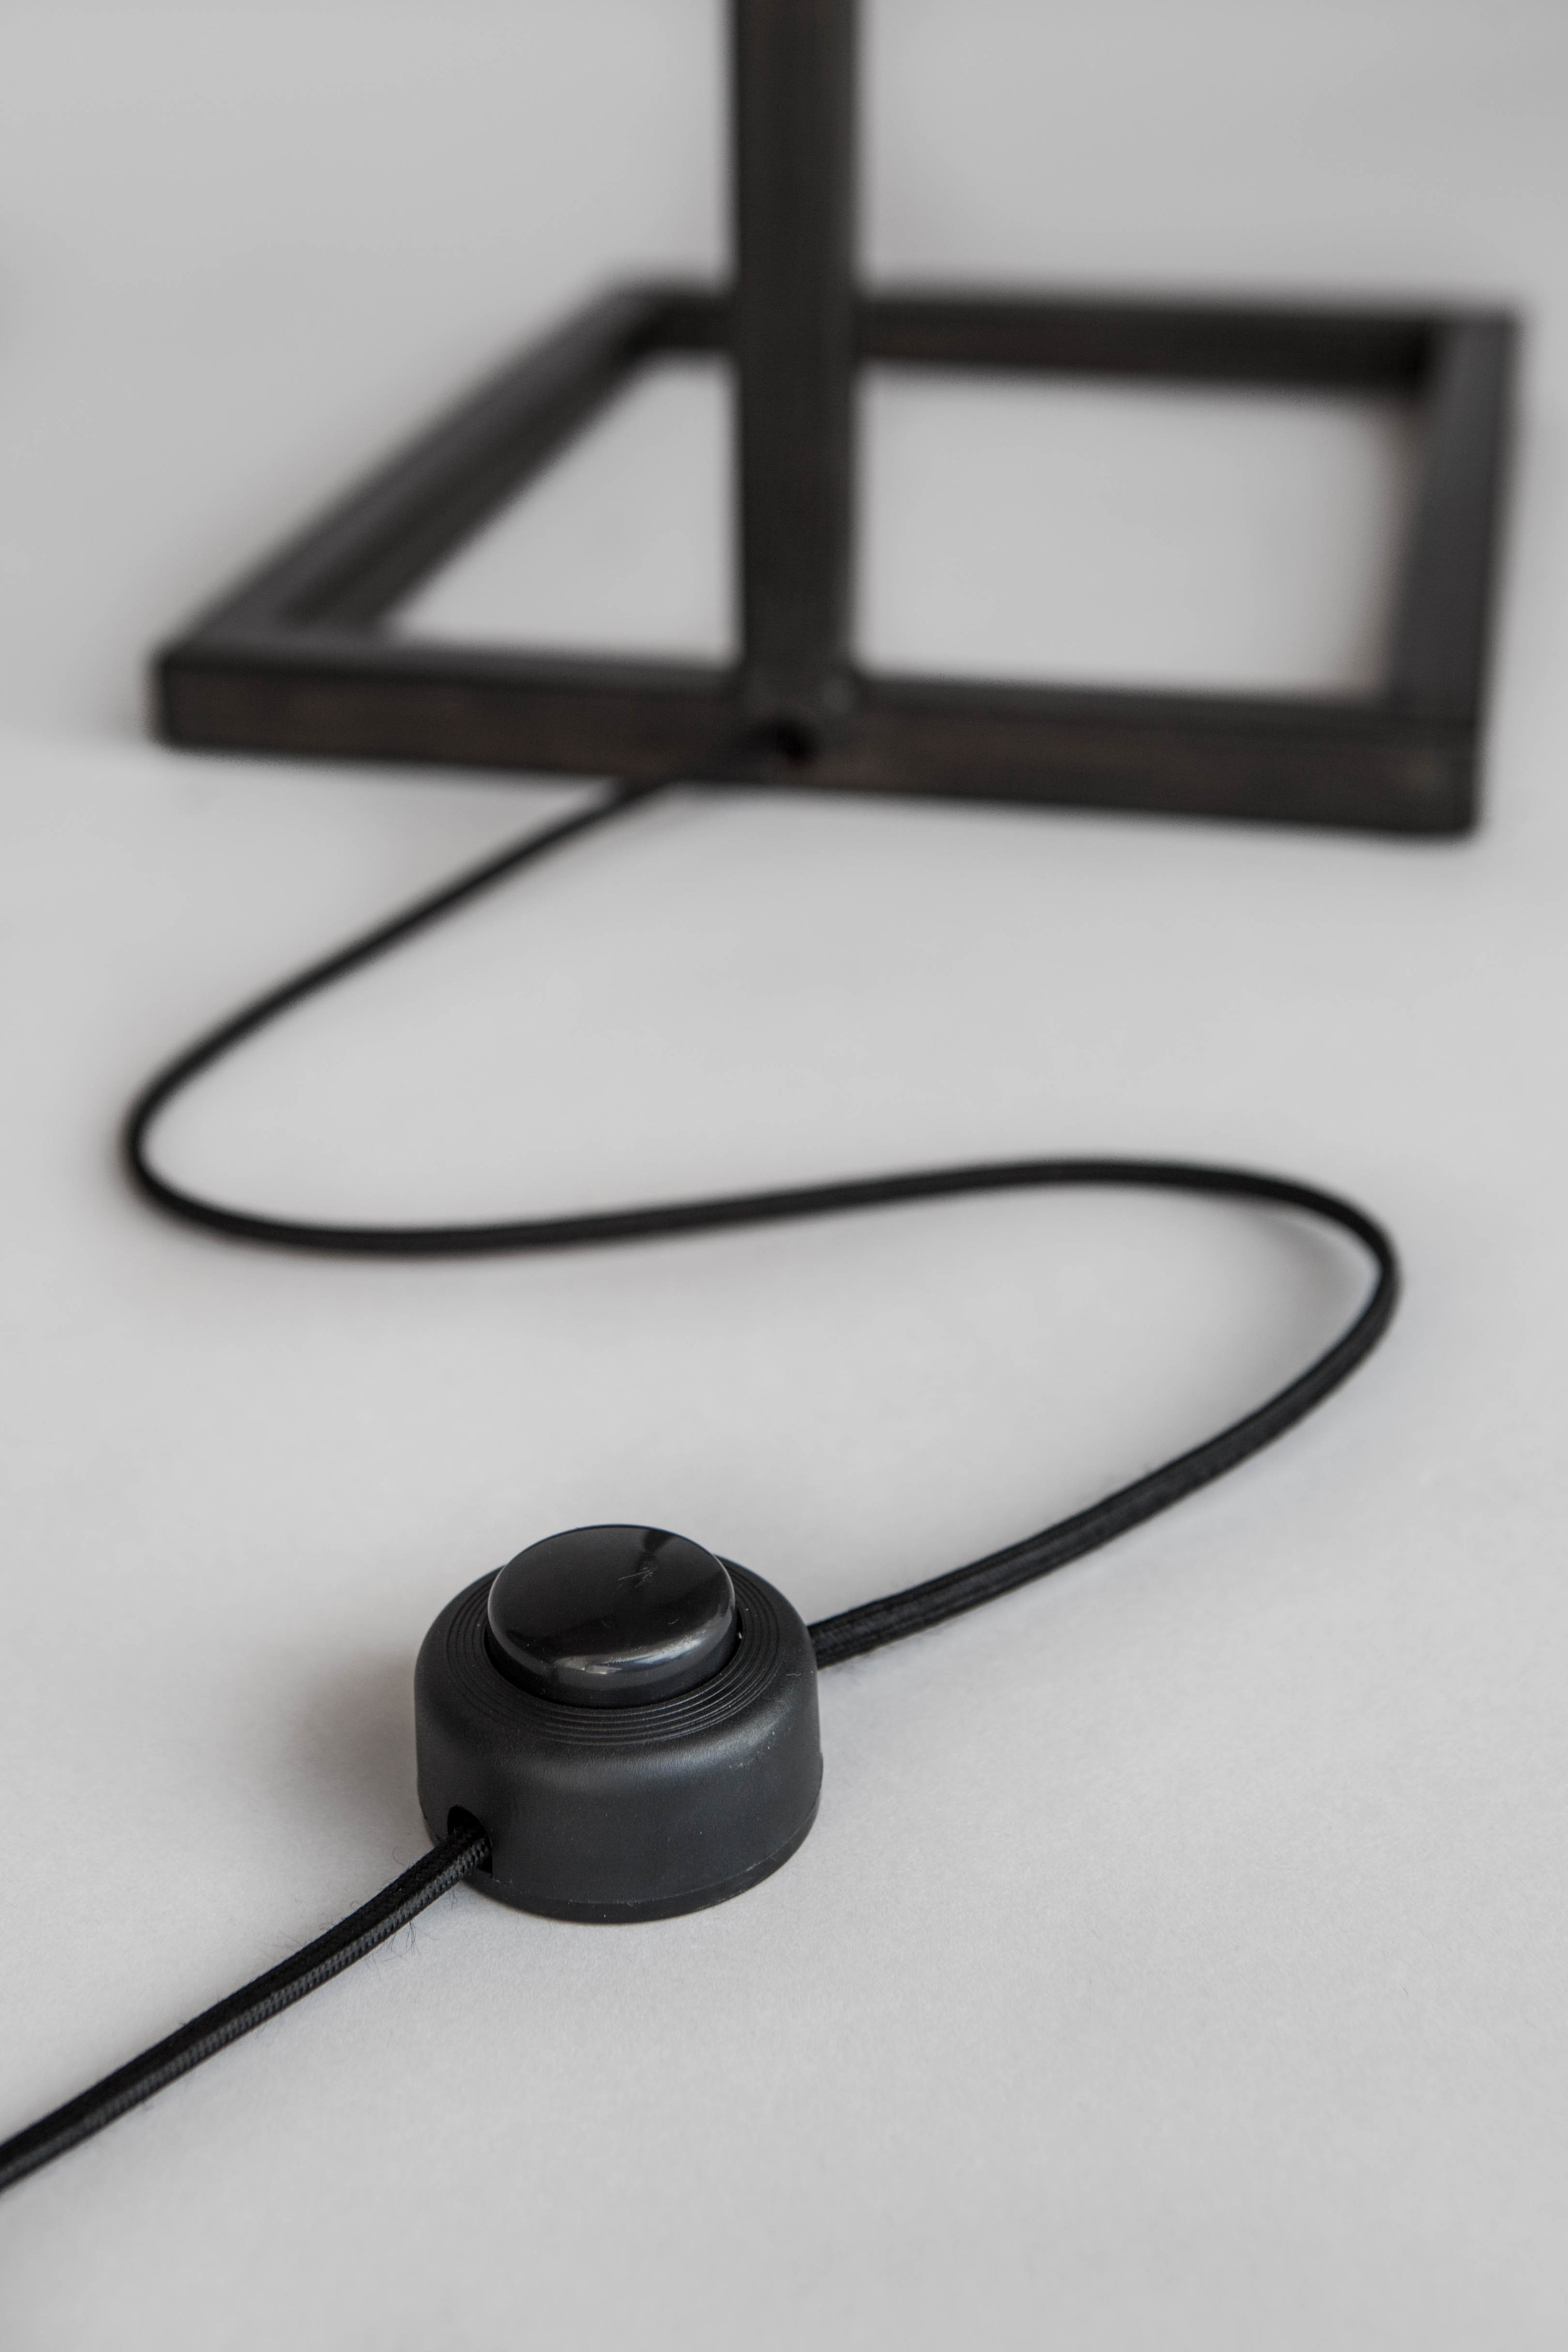
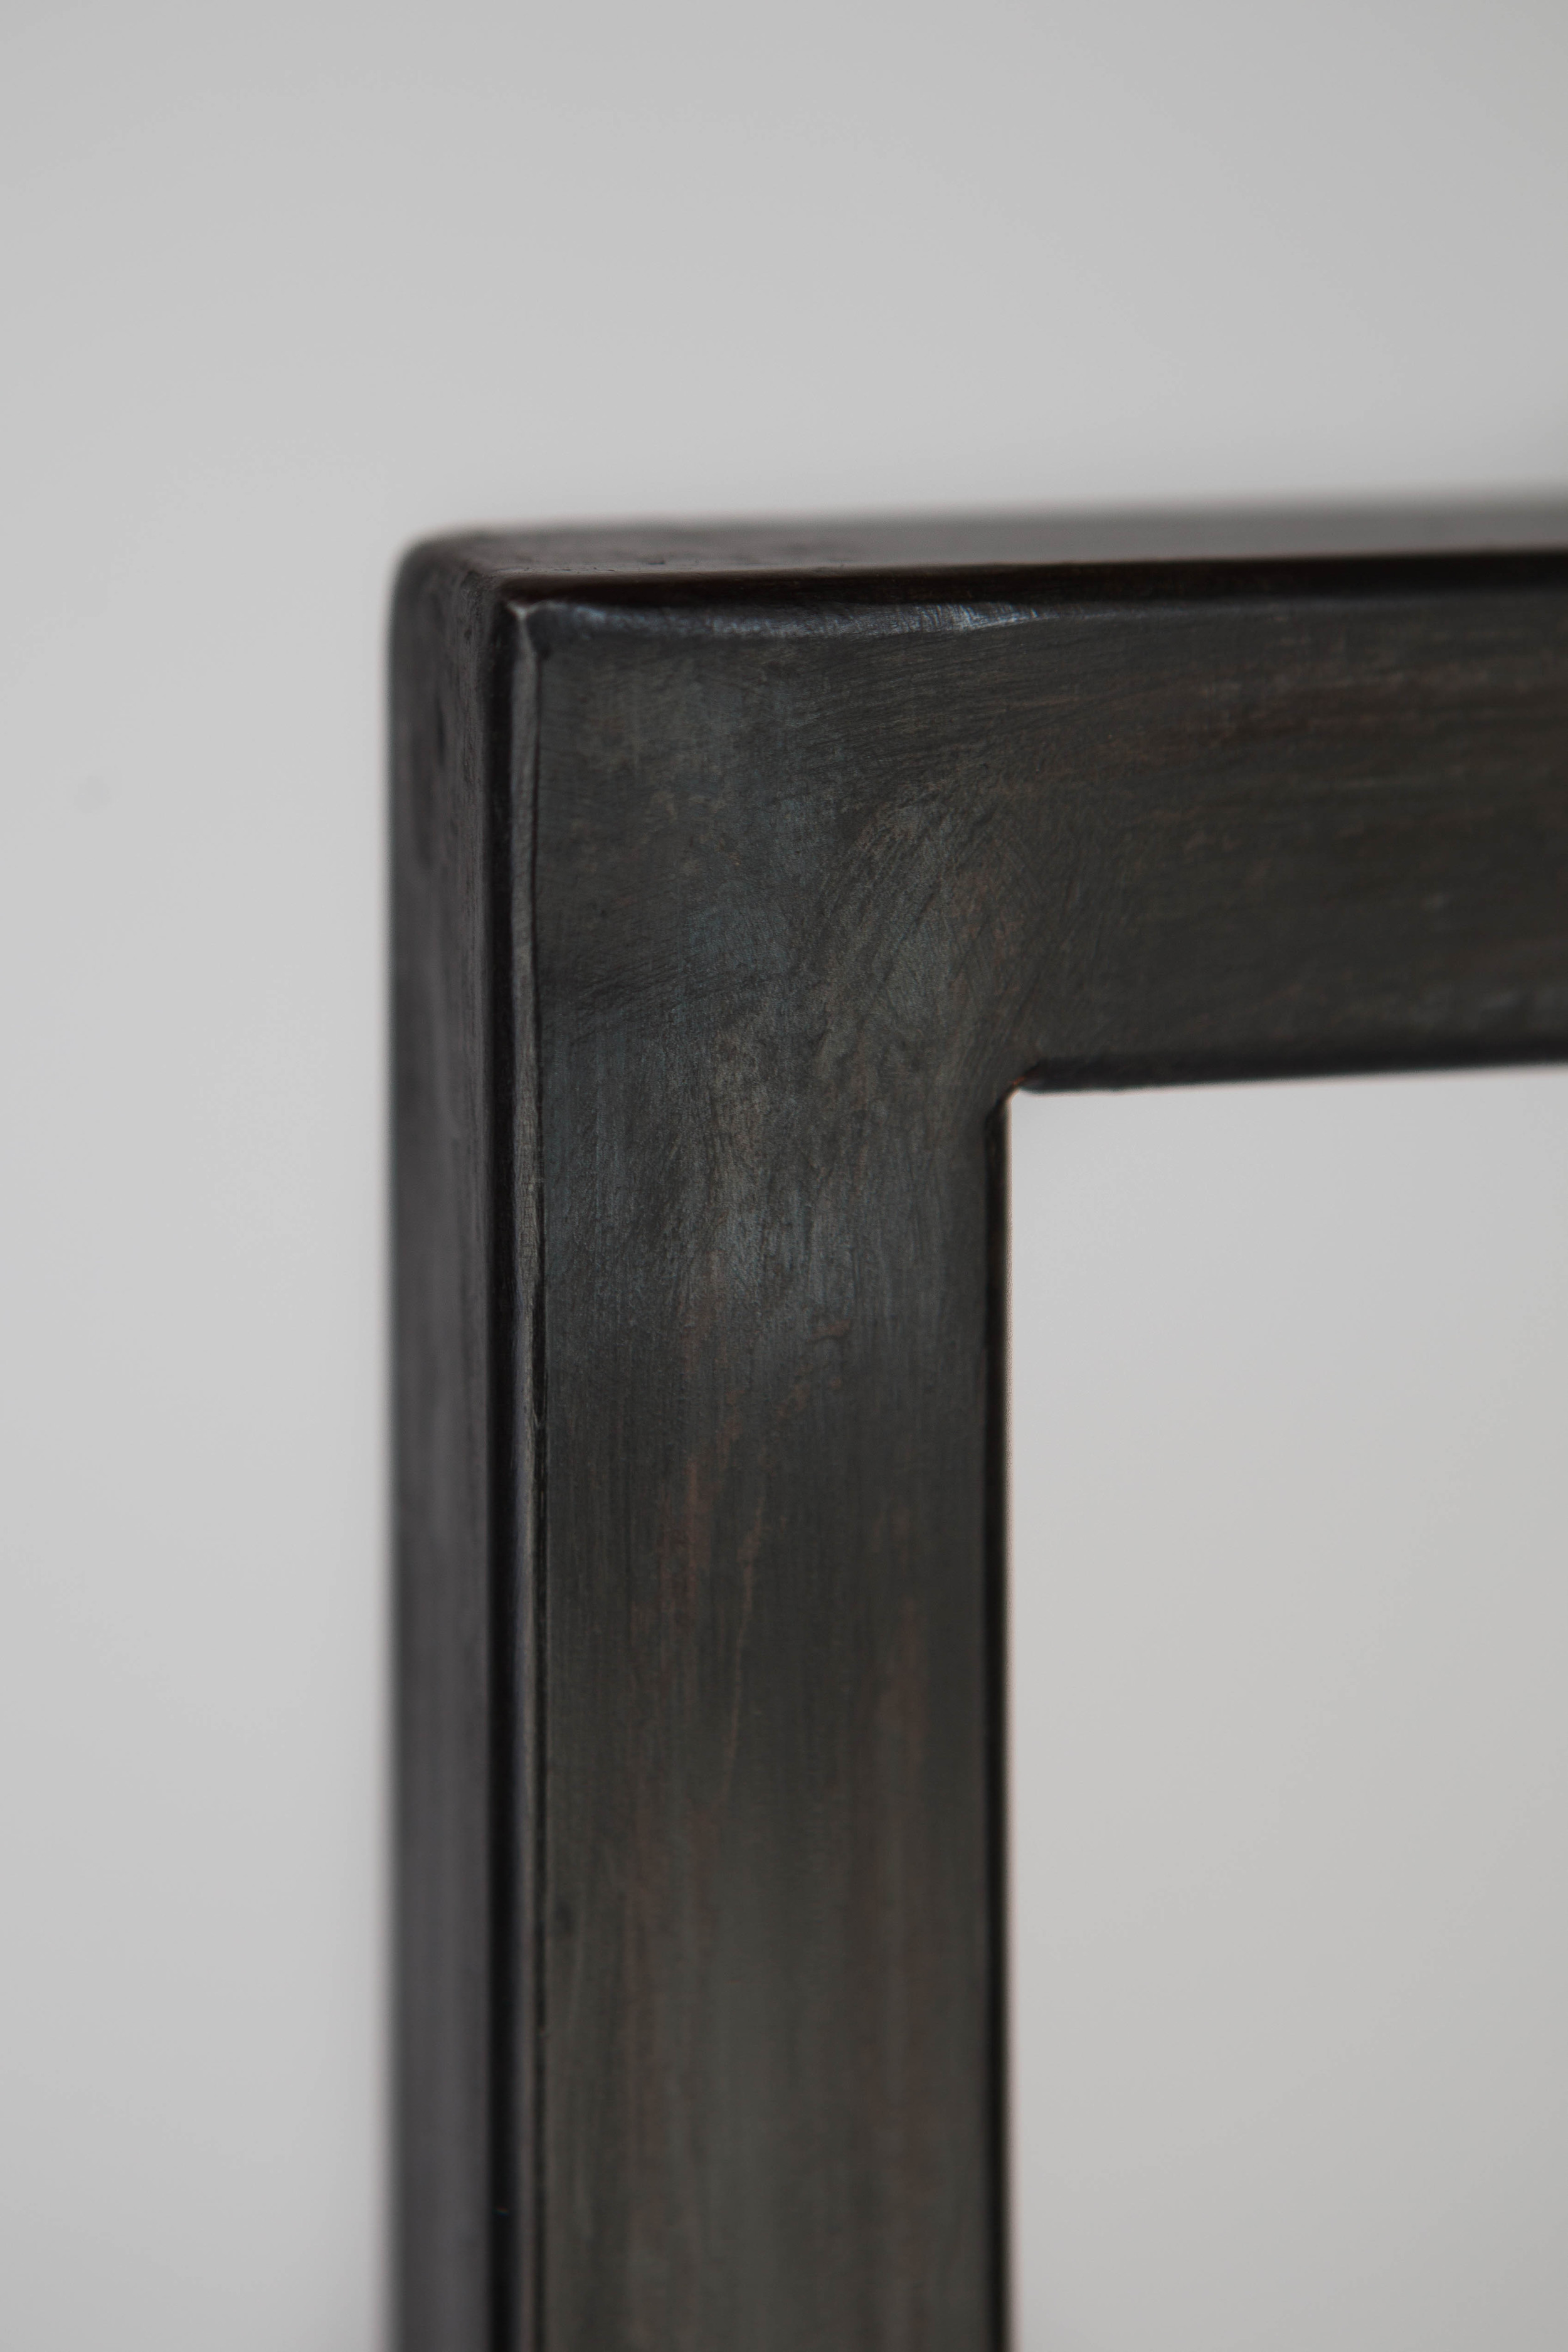
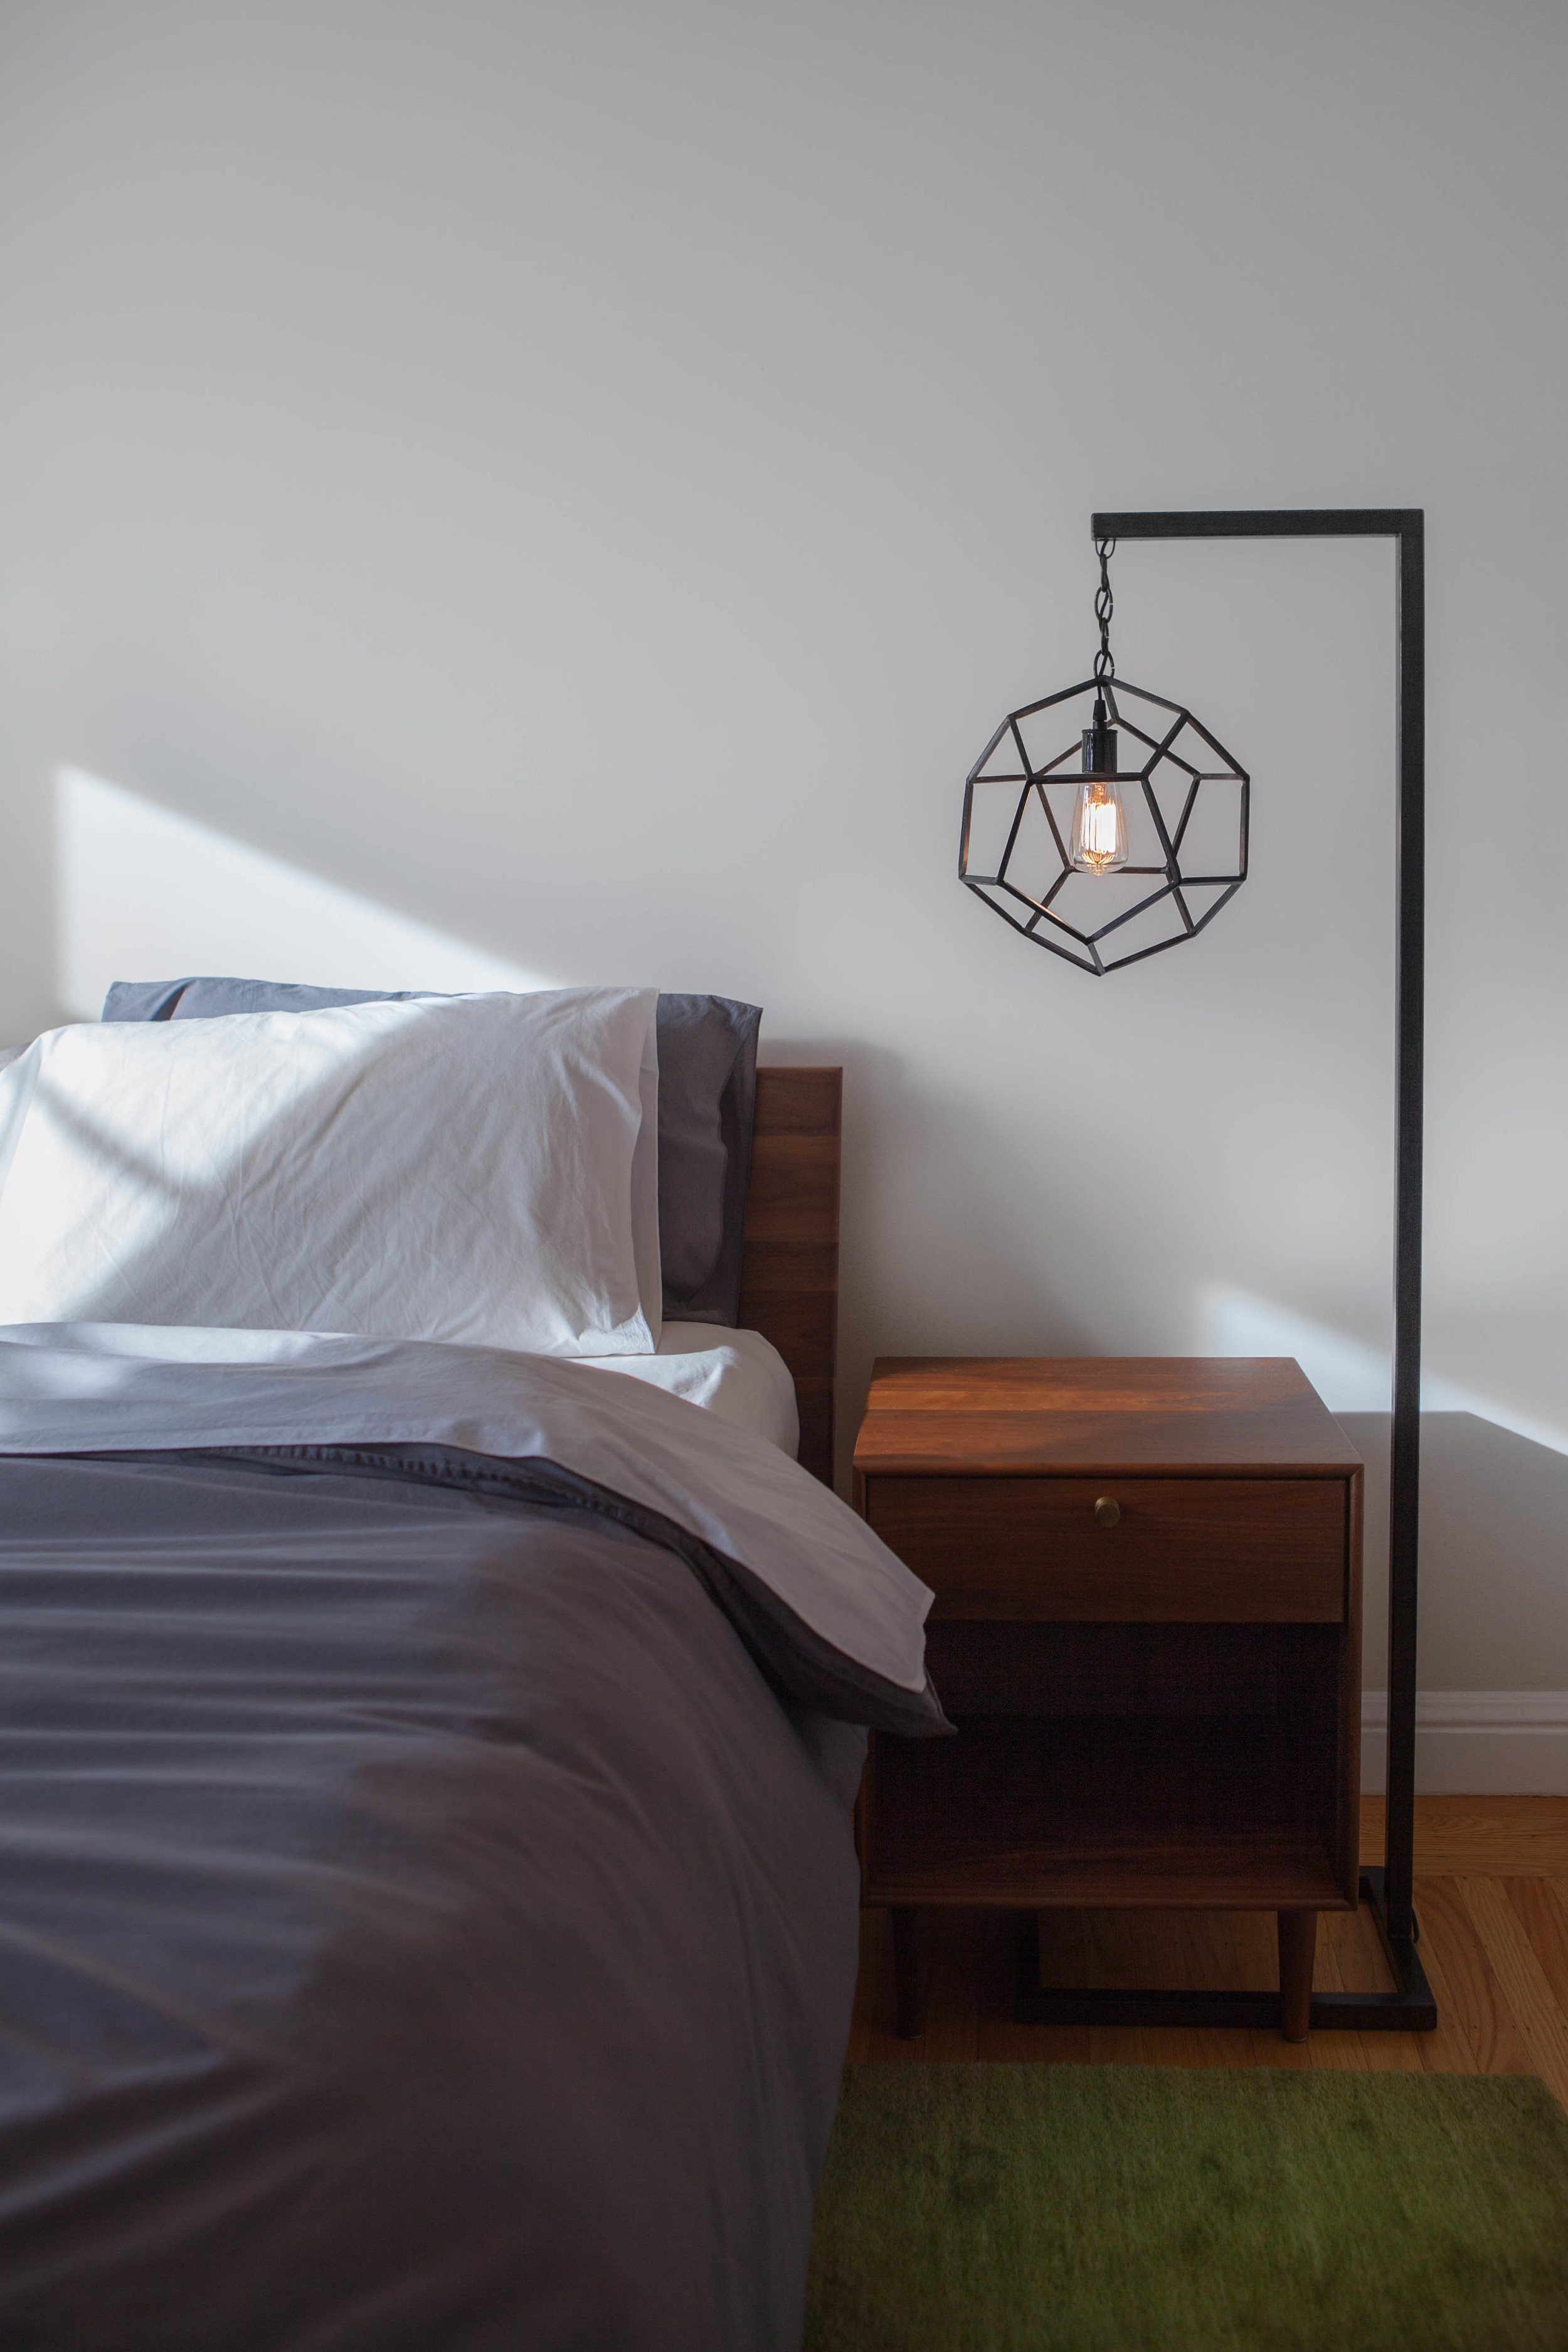
I'm excited to announce that my dodecahedron floor lamp is now available for purchase at Paxton Gate, both online and at their retail location in San Francisco's Mission District.
The dodecahedron floor lamp, nestled amongst feathers, eggs, terrariums, and other curiosities at Paxton Gate in San Francisco.
If you've ever strolled down Valencia Street, I'm sure you've noticed their striking window displays. They specialize in taxidermy, skeletons, rare insects, exotic plants, and succulents: "treasures and oddities inspired by the garden and natural sciences," in their words. Totally up my alley.
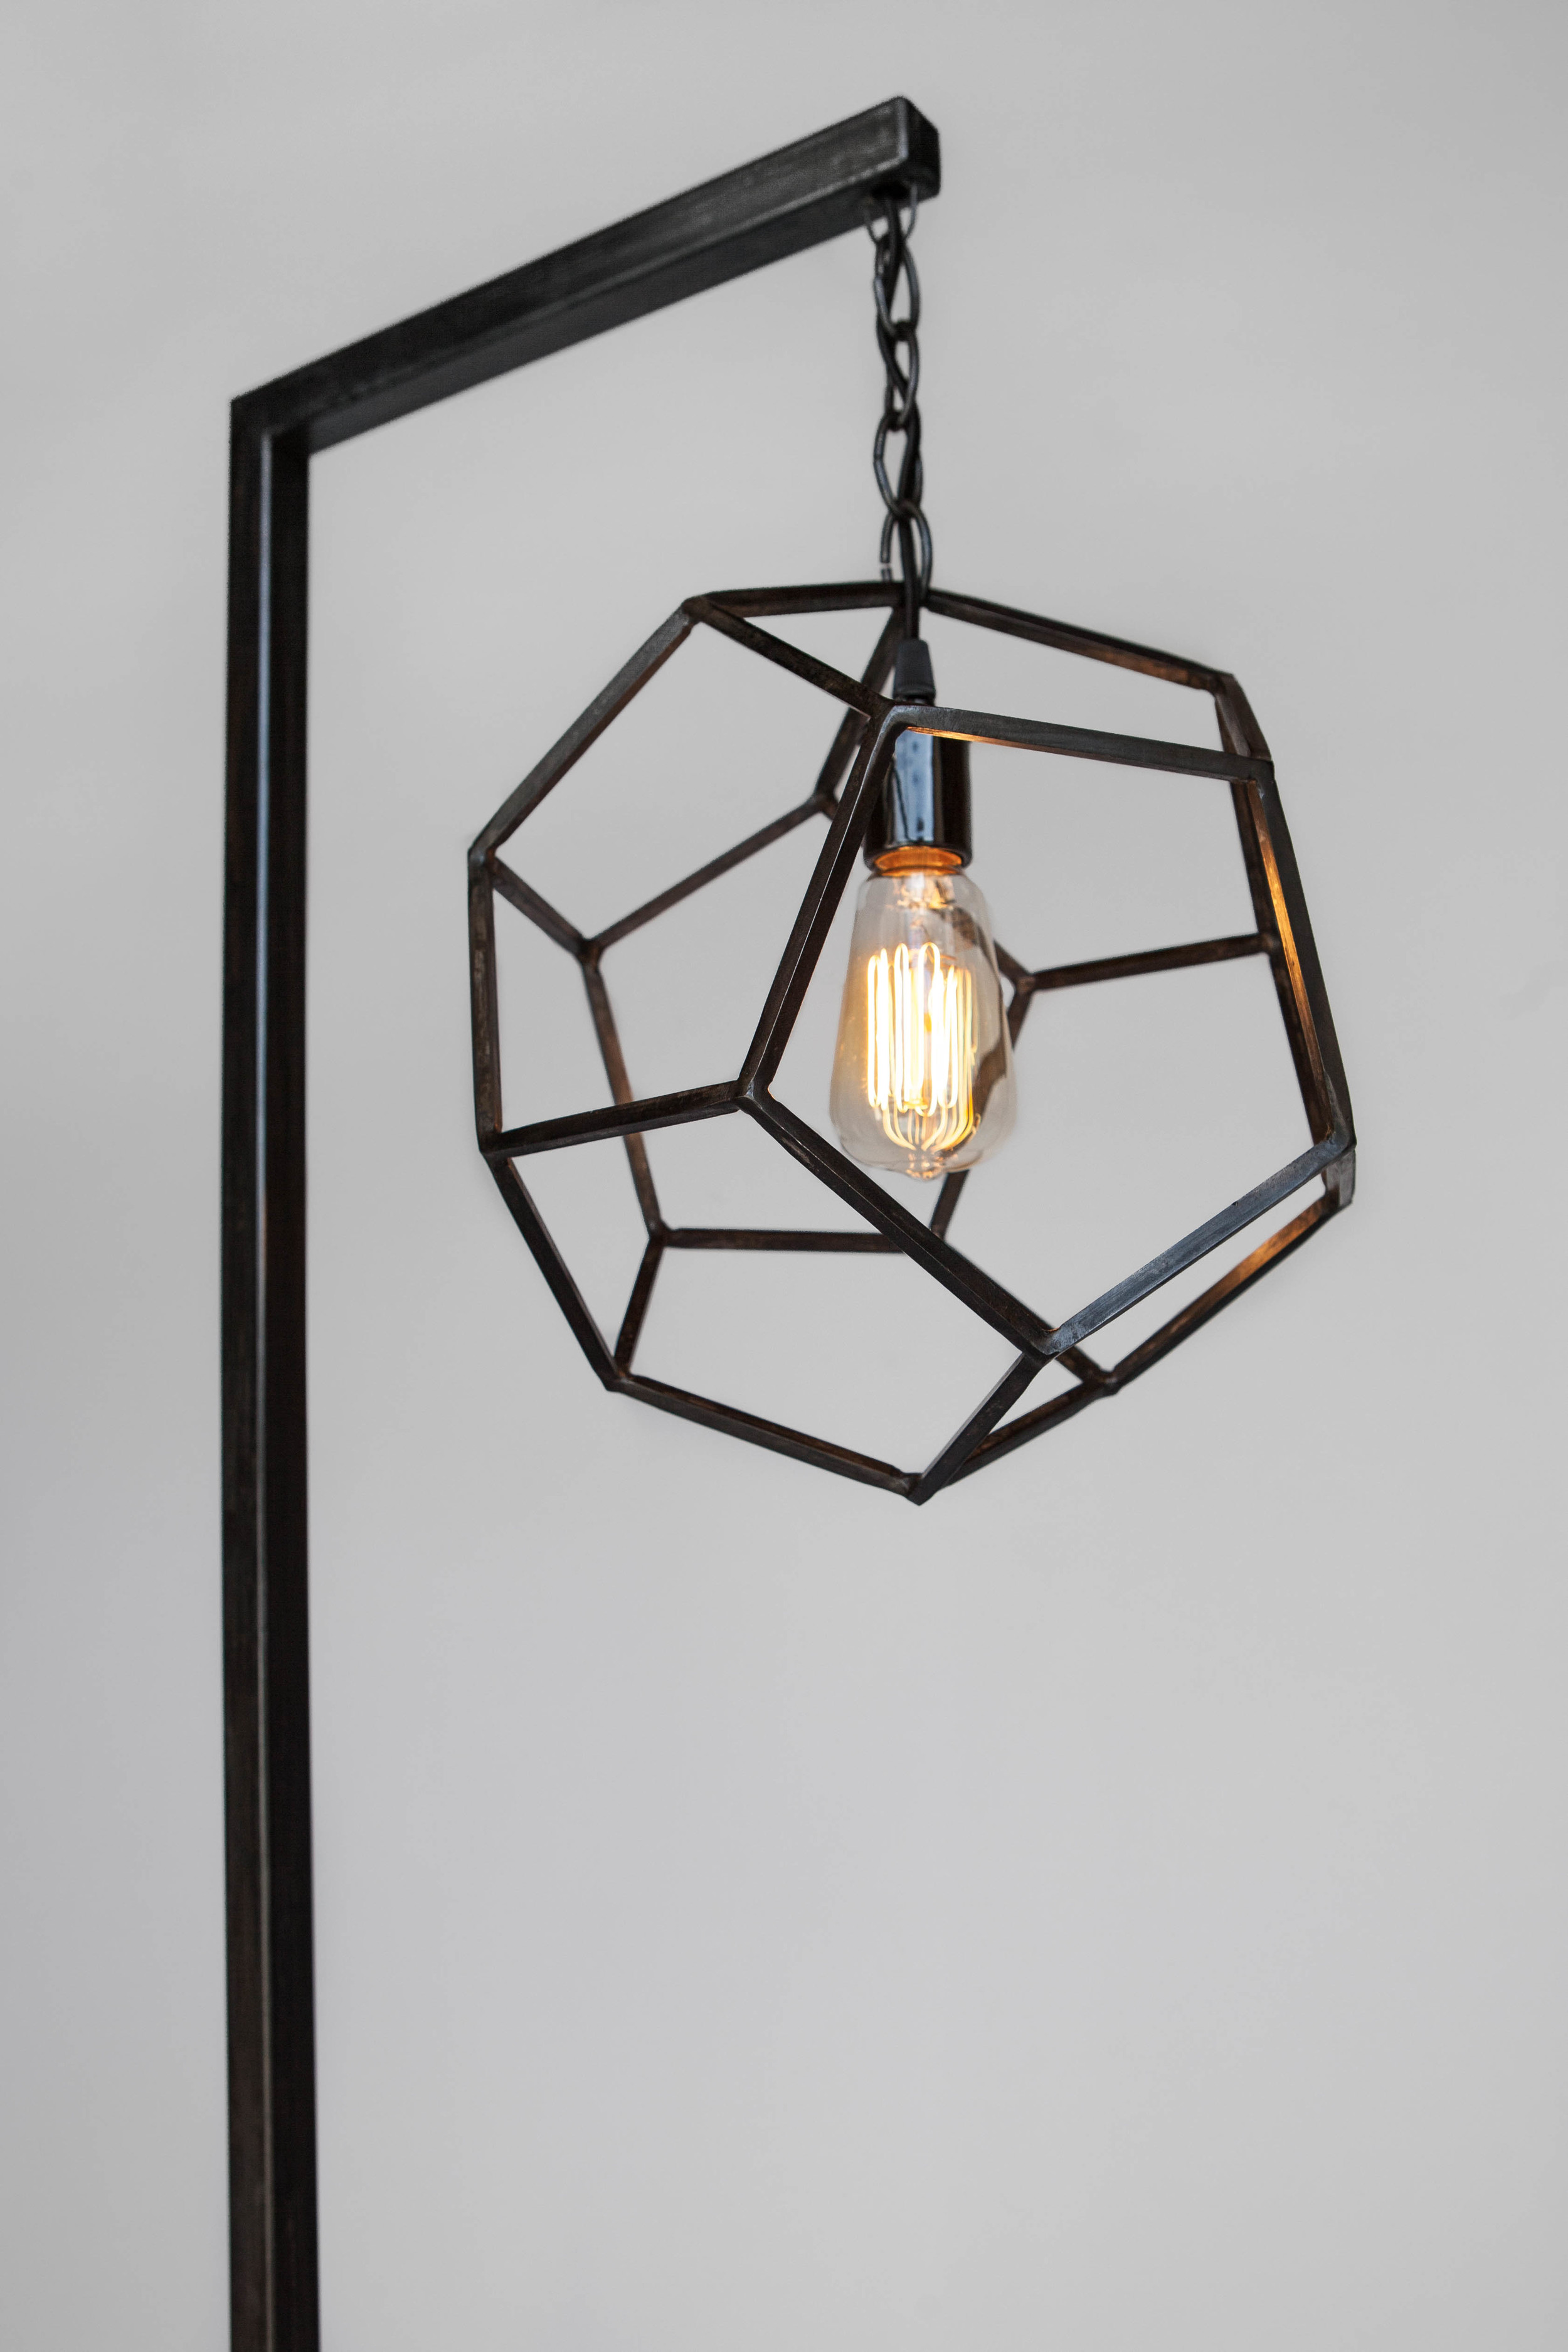
Another shot of the lamp.
Paxton Gate has actually been one of my favorite stores since I was in ninth grade -- I would occasionally stop to explore their charming and macabre curiosities on my way home from high school. So, you can imagine how excited I am to have them as my very first stockist!
I recently got introduced to Paxton Gate by my friends Vinit and Spencer at The Pricerie. The Pricerie's mission is to connect makers with appraisers in order to help them price their work. This is a much-needed service, in my opinion: every artist and maker I've talked to has struggled with pricing.
Anyway, I submitted my geo planter to be priced, and one of the five expert appraisers they matched me with was Michael Levy, Creative & Operations Director at Paxton Gate. He saw some of my other work, asked Vinit and Spencer for an intro, and the rest is history.
Next time you're exploring the Mission, swing by Paxton Gate and take a look in person! Not local? Click here to see product details, dimensions, and additional photos.
Photo Editing with Lightroom
It took two solid days to narrow down my 1000+ photos down to ten, but I did it. And after that was done, I spent another three days obsessively tweaking the contrast, exposure, whites, blacks, highlights, and shadows using Lightroom. For someone who's detail-oriented and has a perfectionist streak, I could have easily just disappeared down the rabbit hole. But! It's time to post the photos and move on with my life. I have things to make!
Here's a before-and-after example of the kind of photo editing I was doing:
Pretty amazing how some basic adjustments can bring a dull photo to life.
And without further ado, here are the final photos!
I still don't feel like the photos are perfect yet -- feel free comment if you have suggestions or advice! -- but they're good enough for now. I still have a lot to learn about product photography and photo editing, but I'm excited to have added both abilities to my skill set! If anyone is interested in doing the same, I highly recommend the online tutorials on Lynda. Thanks, Jen and Phil, for the tip!
Crash Course in Product Photography
The past week has been a crash course in product photography. I decided to fast-track this skill development because I have a retailer who may be interested in the dodecahedron floor lamp. If all goes well, I'll never see it again -- which means I need to properly document it before it finds its permanent home!
I started by watching some tutorials from the Etsy Seller Handbook. Then I made brunch for a photographer friend in exchange for a photography 101 class, in which I picked his brain about light, aperture, speed, ISO, depth of field, and workflow (see his terrific handwritten notes here). My partner Phil borrowed a fancy DSLR camera and lens from his work, and I invested in some gear (9'-wide paper backdrop, tripod, and the stand thingies to hold up the backdrop). I turned our garage into a photo studio, gave the lamp one last coat of black metal wax (love that stuff; so slick), and got started. Our dog Simi kept me company, snoozing in the sun and occasionally barking at passers-by (rude!).
I turned our garage into a photo studio.
I spent two full days shooting the lamp. Turns out product photography is hard! Some examples of my frustrations:
- Why are all my photos blurry?
- Our garage floor isn't level!
- How can I tell if something is truly in focus?
- My left eye hurts from squinting.
- How did that crease get in the paper backdrop?
- How do you turn on autofocus?
- Why isn't autofocus working?
- Why won't the shutter click all the way down? (True story.)
- My back hurts from standing in weird, contorted positions.
- Shit, low battery. Where can I find a replacement battery?
- Simi, stop barking at the neighbors!
I'm lucky to have some great help, though: Both Phil and our roommate Bradley (a.k.a. GMUNK) answered a million questions for me throughout the last couple days, and Phil even drove home in the middle of the day to drop off a replacement battery and fix some camera settings. I took about 1,000 photos over the two days, and by photo number 800 or so, I think I actually started to get the hang of it.
Simi kept watch while I took photos. She hunted mice in the garage (ew) and barked at a few people innocently walking their dogs (oops).
I took a cursory look at the pics last night, and some of them look pretty good! I'm about to go watch a tutorial on how to use Lightroom to sort and edit my photos. So, hopefully I'll have sexy new lamp photos to post on my website shortly!
My main take-aways from this learning experience:
- The auto setting on a $1200 DSLR works pretty damn well, if you ask me.
- I'm excited to be adding photography and photo editing to my skill set. I imagine (hope!) that future shoots will be considerably more efficient and less painful than this one.
- Learning new skills is totally exhausting. I can't wait to get back to doing things that I'm actually already good at (like welding). :)
The view from the sidewalk. Don't miss Simi's goofy grin.